Step-by-Step Instructions
Executing a cabinet transformation requires disciplined adherence to a multi-step process. Rushing through application intervals or ignoring dry times will undermine the durability of your finish. Follow these structured phases to guarantee professional results.
Phase 1: Disassembly and Labeling: Remove all cabinet doors, drawer fronts, and hardware hinges using a cordless drill driver. Place hinges and screws into labeled plastic bags. Label every door and drawer box with painter’s tape on the unpainted hinge pocket or edge using a numerical system (such as D1, D2 for doors and DR1, DR2 for drawers) so you reinstall each piece in its exact original location without alignment issues.
Phase 2: Degreasing and Cleaning: Kitchen cabinets accumulate invisible grease layers and cooking oils that prevent paint bonding. Scrub every door, frame, and drawer face thoroughly with a diluted trisodium phosphate (TSP) mixture or severe degreaser. Wipe down all surfaces with clean water and fresh rags to remove soap residue. Allow wood surfaces to dry completely for at least two hours before sanding.
Phase 3: Sanding and Patching: Scuff-sand every square inch of the cabinet boxes and doors using 120-grit sandpaper to break the existing gloss finish. You do not need to strip down to raw wood unless old paint is peeling; you simply need to create a dull mechanical profile for primer bonding. Fill deep scratches or unwanted hardware holes with wood filler, let it dry for two hours, and sand patches flush with 220-grit sandpaper. Vacuum away dust and wipe surfaces with a damp tack cloth.
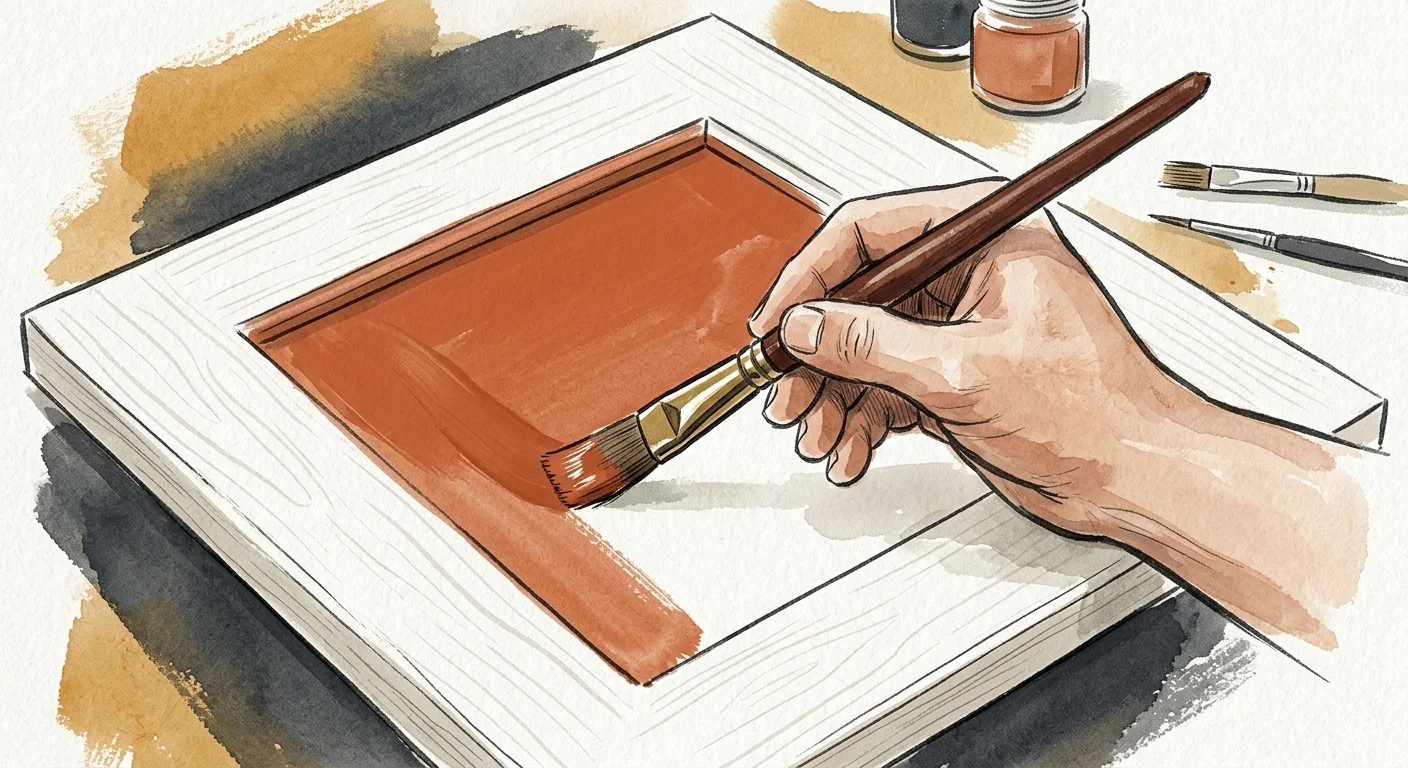
Phase 4: Bonding Primer Application: Apply one even coat of high-adhesion shellac or acrylic hybrid primer using your angled brush for recessed door panels and a foam roller for flat surfaces. Work in the direction of the wood grain to minimize texture. Maintain a wet edge to prevent lap lines. Allow primer to dry for four to six hours, then scuff-sand lightly with 220-grit sandpaper to knock down raised wood grain or dust nibs. Clean off sanding dust again.
Phase 5: Topcoat Application and Curing: Apply your chosen cabinet paint in thin, deliberate layers. Avoid overloading your brush or roller, which causes paint sags in panel corners. Apply the first topcoat, let it dry for six to eight hours, sand lightly with 220-grit sandpaper, tack clean, and apply the second topcoat. Most high-performance enamels dry to the touch in hours but require 20 to 30 full days to cure to maximum hardness. Reattach hardware carefully and handle doors with extreme care during this curing window.
Troubleshooting Common Issues: If you spot paint runs or sags, let the area dry completely before sanding the imperfection flush with 220-grit sandpaper and applying a thin cover coat. If paint feels tacky after 24 hours, lower humidity in your room using a dehumidifier or air conditioner, as high moisture slows alkyd drying times significantly.