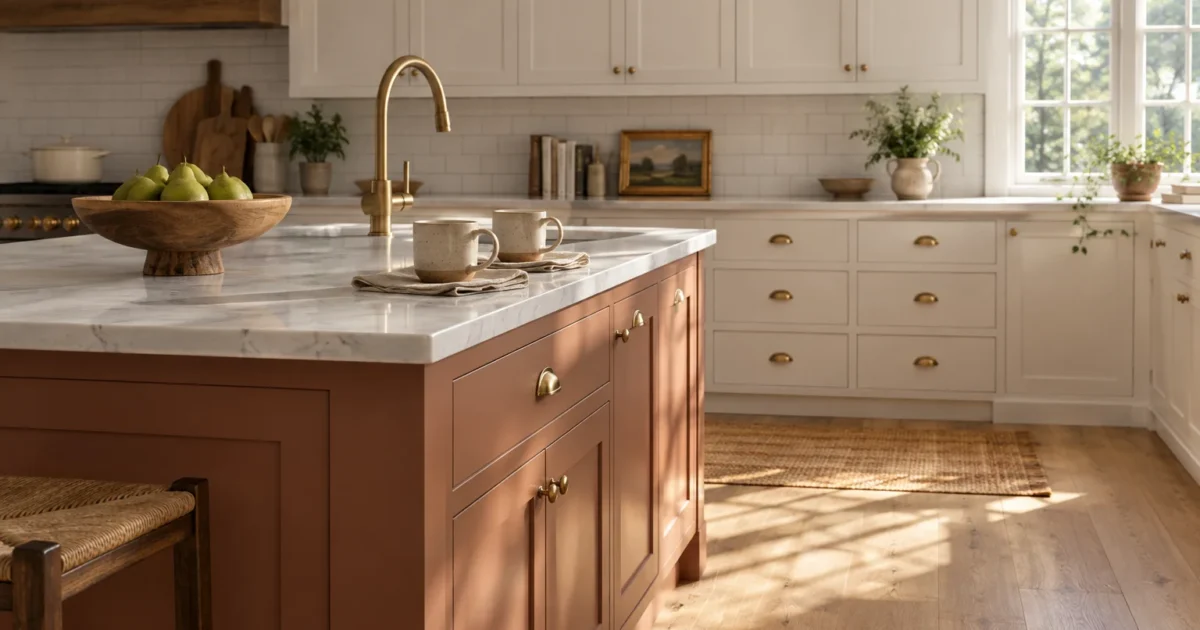
Plain white cabinets and pristine subway tile can leave your cooking space feeling sterile rather than welcoming. Introducing the right warm kitchen colors instantly restores balance and personality without requiring an expensive total remodel.
A thoughtful splash of cozy kitchen paint across an island, an accent wall, or surrounding trim creates visual depth; it turns a stark space into an inviting culinary hub.
Discover how strategic paint colors white kitchen spaces embrace can soften harsh lighting and update white kitchen layouts with lasting charm.
Project Overview & Why It Matters
Monochromatic white kitchens dominated design trends for years because they project cleanliness and maximize natural illumination. However, unbroken white surfaces often show every speck of grime while generating a chilly, clinical ambiance.
Introducing warm kitchen colors breaks up that visual monotony. A warm hue acts as an earthy anchor that softens hard stone countertops and reflective cabinet doors.
Color psychology reveals that warm hues stimulate appetite and encourage conversation. Painting key kitchen surfaces transforms a cold workspace into a natural gathering zone for family and friends.
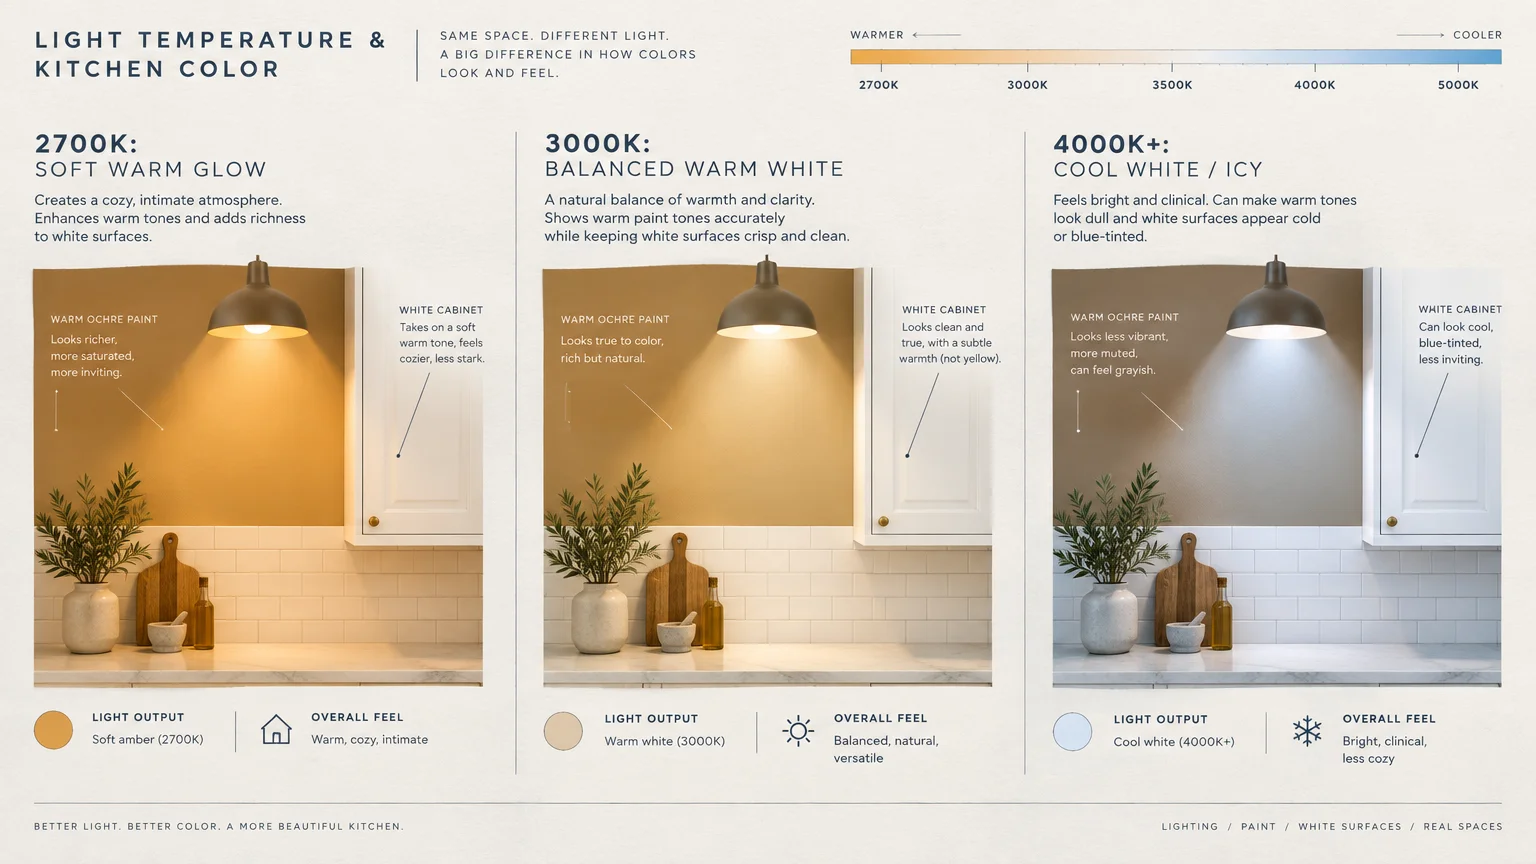
Your lighting temperature plays a crucial role in this transformation. Cool light bulbs make white surfaces look icy, whereas warm paint tones harmonize with 2700K to 3000K fixtures to produce an inviting glow.
Repainting select surfaces delivers an exceptional return on investment. You completely alter the mood and perceived value of your home over a single weekend without tearing out structural components.
Tools, Materials, and Prep Checklist
Proper tools guarantee professional, clean results that withstand years of kitchen wear. Gather your supplies before opening any paint cans to ensure an efficient workflow.
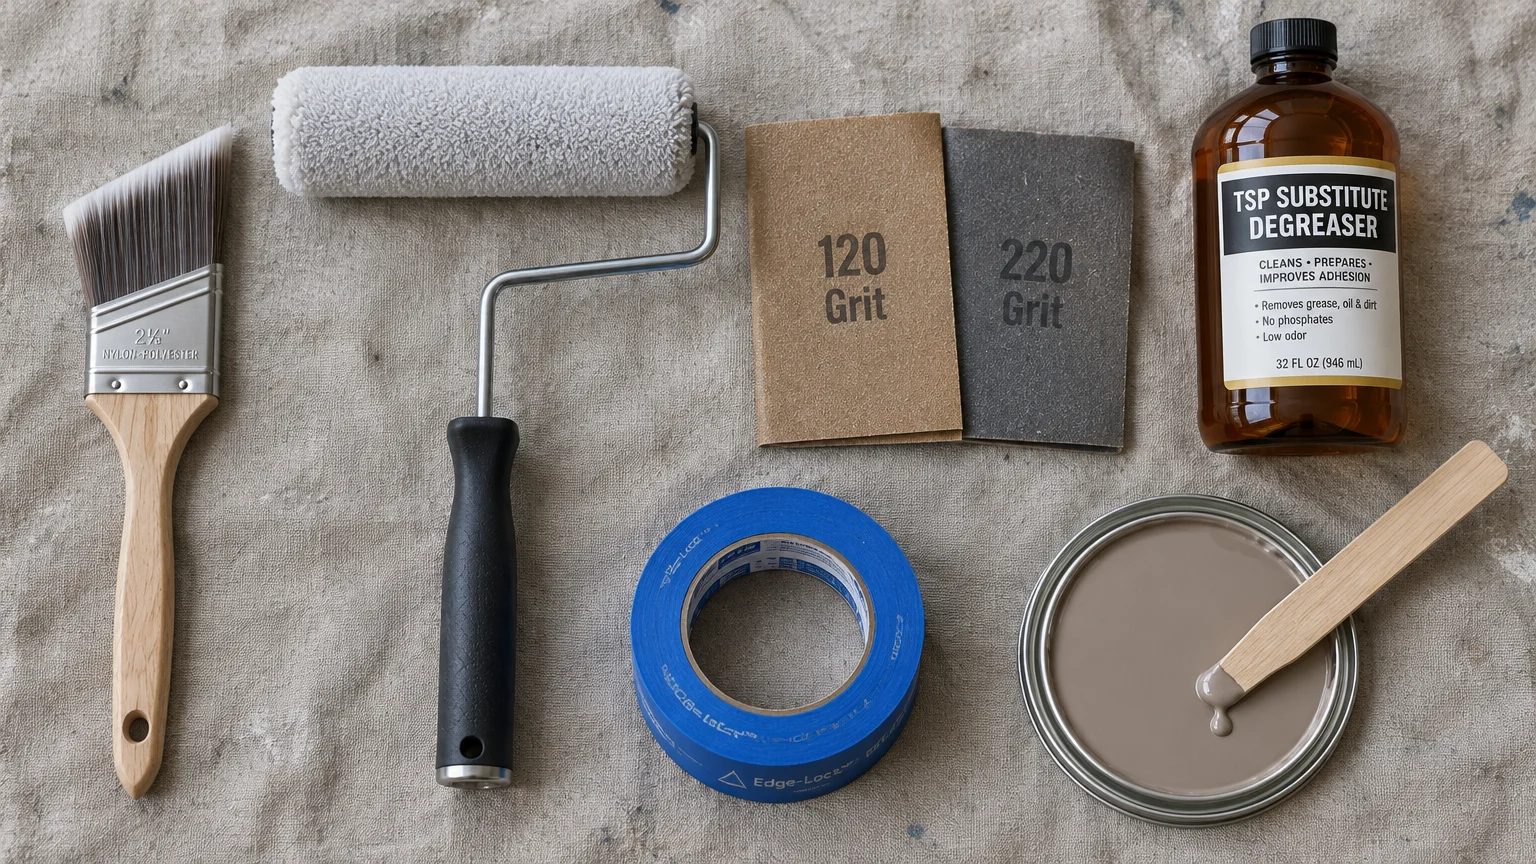
Angled Sash Brush: Invest in a two-inch or two-and-a-half-inch nylon-polyester angled sash brush. This flexible tool provides precise control when cutting straight lines against white ceilings and cabinets.
Microfiber Roller: Use a nine-inch roller with a three-eighths-inch nap microfiber cover. Microfiber holds ample paint while preventing heavy stipple texture on smooth kitchen walls.
Degreasing Cleaner: Airborne cooking grease creates an invisible film that prevents paint from adhering. Scrub every surface with a trisodium phosphate substitute from The Home Depot before priming.
Sandpaper: Keep 120-grit sandpaper for leveling surface imperfections and 220-grit sheets for light scuffing between coats. Sanding guarantees a smooth mechanical bond for new coatings.
Painter’s Tape: Select premium painter’s tape featuring edge-lock technology. Sharp tape lines prevent bleed-through along crisp white cabinet frames and subway tile grout lines.
Canvas Drop Cloths: Choose heavy canvas drop cloths instead of slippery plastic sheeting. Canvas absorbs rogue drips immediately and stays firmly planted on hard kitchen floors.
Bonding Primer: Pick an interior acrylic bonding primer to seal patches and bridge old paint sheens. Primer provides an even foundation that prevents uneven sheen flashing.
Kitchen-Grade Paint: Select a durable satin or semi-gloss interior paint formulated with mildewcides. Quality kitchen formulations resist frequent scrubbing and withstand elevated humidity levels.
Step-by-Step Instructions
Phase 1: Deep Cleaning and Surface Prep
Cooking splatters collect on surrounding walls, so wash all target surfaces with your degreasing solution. Clearing countertops beforehand gives you plenty of unobstructed room to work safely.
Rinse the cleaned surfaces thoroughly using clean water and lint-free microfiber rags. Residual cleaning detergents can compromise paint adhesion just as severely as grease.
Fill any nail holes or drywall dents with lightweight spackle, then sand patches smooth with 120-grit paper. Scuff-sand glossy existing trim with 220-grit sandpaper to promote strong mechanical bonding.
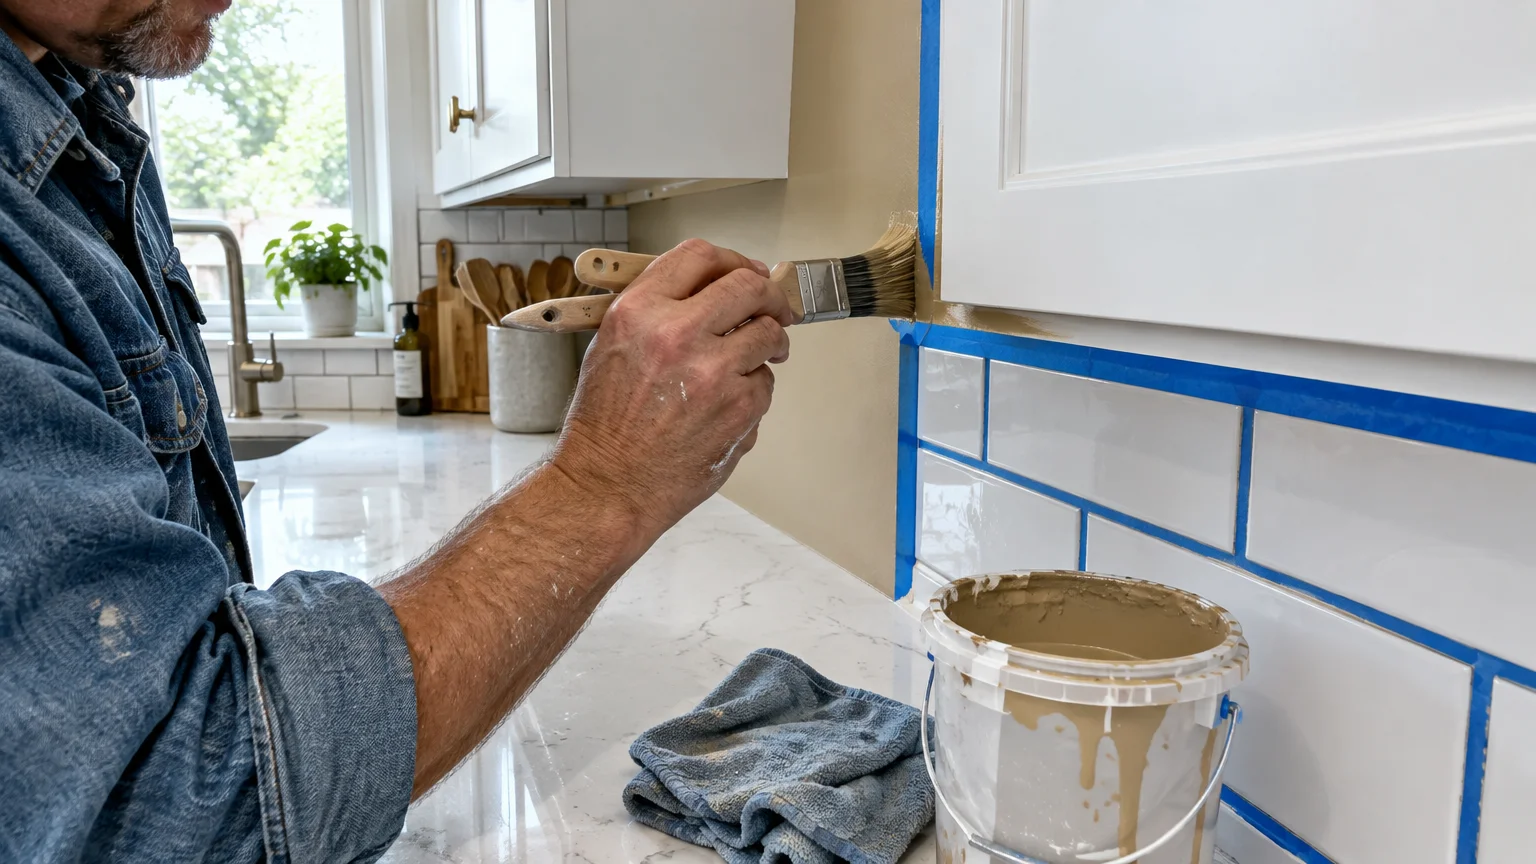
Apply painter’s tape along tile edges, trim, and cabinet joints. Press the tape edges firmly using a clean putty knife to ensure a leak-proof barrier against wet paint.
Phase 2: Priming and Cutting In
Wear eye protection and review safety guidelines from the U.S. Environmental Protection Agency regarding proper room ventilation. Open windows and run an exhaust fan to circulate clean air.
Apply bonding primer over raw drywall patches or dark existing wall colors. Priming prevents porous drywall mud from soaking up topcoat pigments unevenly.
Cut in a two-inch border around trim, ceiling lines, and cabinetry with steady, deliberate strokes. Maintain a wet edge by painting manageable five-foot sections at a time.
Phase 3: Rolling and Layering
Pour paint into your tray, loading the roller cover evenly across the textured ramp. Avoid submerging the roller core, which leads to annoying drips and splatters.
Roll the paint onto the wall in an overlapping “W” pattern over a three-by-three-foot area. Fill in the pattern with light, vertical strokes moving in the same direction.
Allow the first coat to dry according to the can instructions, generally two to four hours. Inspect the surface under bright work lights before proceeding with the second coat.
Apply a second thin coat using the identical rolling technique. Two uniform thin coats build superior durability and depth of color compared to a single heavy application.
Phase 4: Curing and Cleanup
Peel painter’s tape away while the second coat is still slightly damp to the touch. Pull the tape smoothly backward at a forty-five-degree angle to avoid tearing fresh edges.
Wash your brushes and roller frames promptly in warm, soapy water. Spin out excess moisture and hang brushes bristle-down to preserve their shape for future projects.
Allow the paint film to cure undisturbed for several days before hanging heavy decor or reinstalling electrical switch plates. Full curing takes two to three weeks under typical conditions.
Style & Finishing Touches
Choosing the right paint colors white kitchen layouts accommodate requires studying undertones under varied lighting conditions. The following eleven warm kitchen colors bring sophistication, comfort, and timeless beauty to plain white spaces.
1. Creamy Greige
Greige merges modern gray sophistication with the welcoming warmth of traditional beige. It neutralizes harsh reflective glare from glossy white cabinets without dulling the brightness of the room.
Apply creamy greige across perimeter walls to provide a soft, unified backdrop. It establishes an elegant transition between white upper cabinetry and warm hardwood flooring, especially when paired with brushed brass hardware.
2. Earthy Terracotta
Terracotta brings the rich, sun-baked personality of Mediterranean pottery into your cooking area. This grounding hue injects instant warmth that contrasts crisply against stark white millwork.
Paint a center island or breakfast nook with terracotta to anchor the room. Pair the clay tones with matte black hardware and woven pendant lights for balanced, organic luxury.
3. Muted Sage Green
Muted sage contains subtle yellow undertones that make it distinctly warmer than mint or seafoam green. It introduces a nature-inspired tranquility that balances the clinical feel of plain white kitchens.
Use muted sage on lower cabinets or tongue-and-groove wainscoting beneath white subway tile. Explore curated palettes from Benjamin Moore to find warm sage options that coordinate with oak open shelving.
4. Rich Golden Ochre
Golden ochre delivers solar energy into north-facing kitchens that suffer from shadowy, cool natural light. Its honeyed depth counters the chilly blue cast that often compromises white cabinetry.
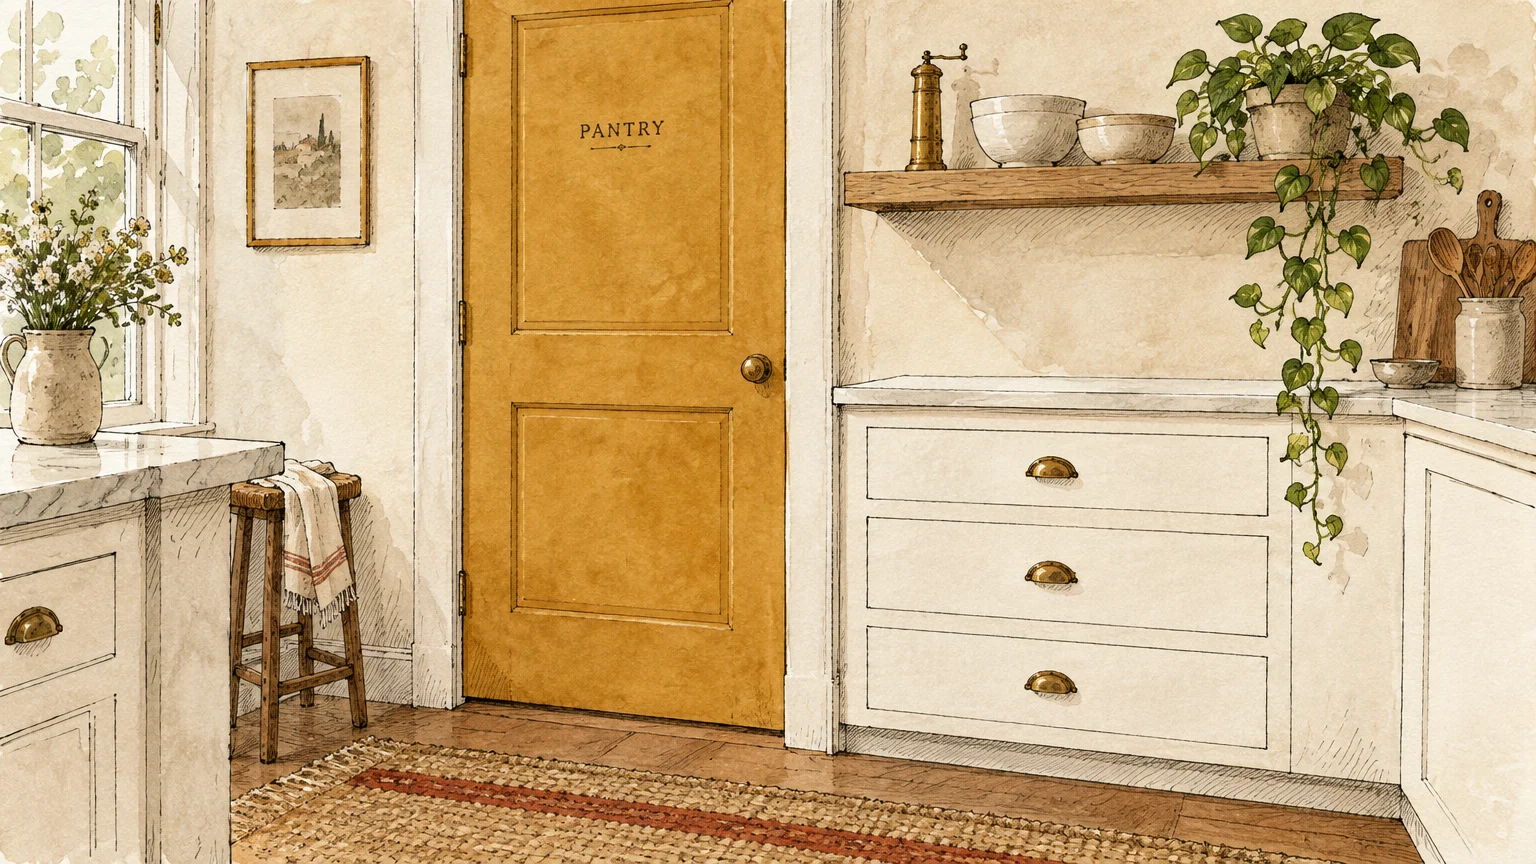
Coat an accent wall or paint your pantry interior in ochre to create an intimate destination. Pair it with warm butcher-block cutting boards and unlacquered brass to make white countertops pop.
5. Dusty Blush
Dusty blush functions as an understated, modern neutral with quiet red and tan undertones. It softens hard architectural lines and reflects flattering, radiant light across white stone counters.
Paint the walls surrounding a breakfast banquette or coffee station in this gentle tone. Incorporate polished nickel or satin brass fixtures to amplify its sophisticated, cozy appeal.
6. Warm Mushroom Taupe
Mushroom taupe provides an earthy bridge between gray tile backsplashes and white painted cabinets. Its nuanced mix of brown and stone-gray establishes visual substance without shrinking the room.
Coat your kitchen island base or custom range hood shroud in mushroom taupe to anchor the space. The color harmonizes effortlessly with marble veining and warm natural oak flooring.
7. Warm Olive Green
Warm olive green relies on heavy golden-brown bases to generate a grounded, heritage mood. It provides a striking contrast against plain white shaker cabinets while maintaining an organic feel.
Apply warm olive across lower cabinets or a bank of tall pantry doors for a tailored two-tone look. Pair the shade with antique brass cup pulls for classic farmhouse elegance.
8. Soft Apricot Peach
Soft apricot peach infuses your kitchen with the continuous radiance of morning sunshine. The gentle blend of orange and cream neutralizes the starkness of cool LED recessed lighting.
Paint the primary kitchen walls with soft apricot peach, leaving trim and cabinetry crisp white. Coordinate the color with rattan counter stools to create a bright, inviting morning gathering spot.
9. Warm Navy with Red Undertones
Warm navy relies on violet or deep red undertones rather than icy green bases. This velvety shade creates dramatic, tailored contrast against clean white cabinets without feeling chilly.
Coat a sprawling center island or built-in dry bar in warm navy. Find deep navy formulas from Sherwin-Williams, pairing them with champagne bronze hardware for a luxurious finish.
10. Deep Caramel
Deep caramel replicates the comforting, golden tones of toasted maple and weathered saddle leather. It introduces deep, cozy elegance that immediately transforms cold white kitchens into inviting spaces.
Apply caramel to a focused accent wall behind open shelving displaying white ceramic dishware. The white ceramics stand out crisply against the rich, honey-brown background.
11. Soft Buttercream
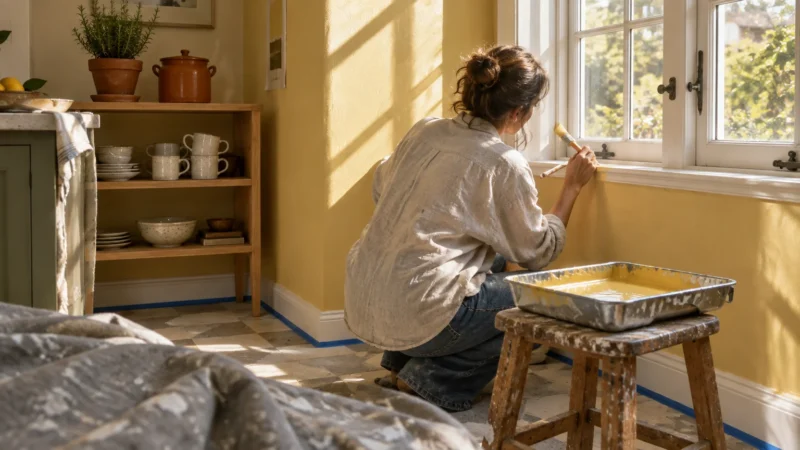
Buttercream offers vintage, sunny charm that sterile pure white kitchens sorely lack. It brings sweet, cheerful warmth to your walls without veering into aggressive, garish yellow tones.
Coat window casings, ceiling soffits, or entire dining walls in soft buttercream. Pair it with polished nickel fixtures to keep the cheerful yellow looking refined, fresh, and modern.
Maintenance & Long-Term Care
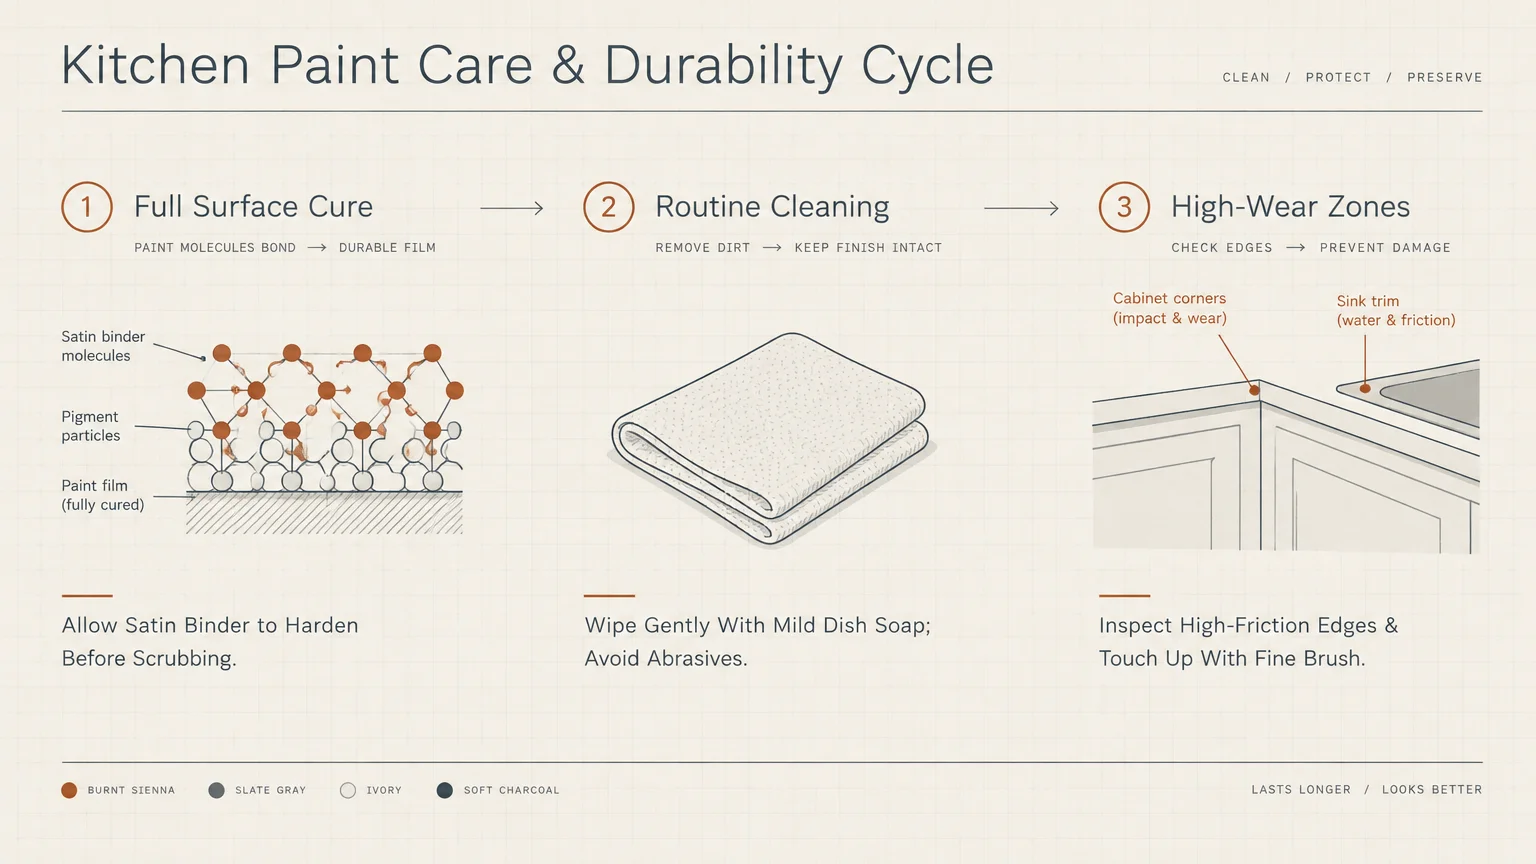
Kitchen surfaces encounter high humidity, cooking oils, and heavy foot traffic every day. Proactive maintenance protects your new cozy kitchen paint and keeps your color looking fresh.
Wipe food splatters quickly using a soft microfiber cloth dipped in warm, soapy water. Avoid coarse scrub sponges or ammonia cleaners, which can dull the paint’s protective sheen.
Steam from dishwashers and boiling pots can soften fresh paint films over time. Always run your exhaust vent hood while cooking to minimize humidity and grease accumulation on walls.
Store leftover paint in tightly sealed glass jars labeled with the date, room, and formula. Keep jars in a conditioned utility closet rather than an unheated garage where freezing destroys paint chemistry.
Touch up minor scuffs using a small foam brush rather than a roller. Dab the paint gently onto the blemish and feather the edges outward to blend seamlessly with the existing surface.
FAQ
What sheen is best for warm kitchen colors around white cabinets?
Satin and semi-gloss sheens perform best on kitchen walls and cabinetry. They resist moisture and allow regular scrubbing without stripping away the color or leaving permanent water spots.
Eggshell finishes can work on low-traffic perimeter walls away from the stove. However, satin provides the ideal balance between soft light reflection and heavy-duty cleanability for busy households.
Can you paint an island a warm color while keeping white perimeter walls?
Yes, two-tone layouts represent one of the most effective ways to update white kitchen designs. Painting the island creates an attractive central anchor while preserving open perimeter brightness.
Choose a deeper hue like warm olive, terracotta, or warm navy for the island. The contrast grounds the room and turns builder-grade layouts into customized, high-end spaces.
How does natural light affect cozy kitchen paint shades?
North-facing windows deliver cool, bluish light that can make warm paints look slightly muted. South-facing windows cast warm, golden illumination that intensifies yellow, terracotta, and caramel undertones.
Always test color swatches on multiple walls across different times of day. Morning light highlights different pigments than afternoon sunset or evening artificial incandescent lighting.
Do warm paint colors clash with cool marble or quartz countertops?
Warm paint colors balance cool stone countertops by preventing the kitchen from feeling like a sterile laboratory. Choosing paints with subtle stone or gray undertones creates natural harmony.
Select warm shades such as greige or mushroom taupe to echo subtle slab veining. These versatile neutrals bridge cool countertop surfaces with warm wooden floorboards seamlessly.
How many coats of paint should you apply over white surfaces?
Plan on applying two full coats of premium paint over clean, primed surfaces. While high-grade paints offer strong hide, a second coat ensures true color depth and uniform sheen.
Skipping the second coat often leaves faint white streaks visible under angled kitchen lighting. Two thin coats deliver superior durability against frequent cleaning and daily cooking wear.
Takeaway & Next Steps
Transforming a plain white kitchen does not require gut renovations or costly cabinet replacements. Introducing thoughtful, warm kitchen colors restores visual depth, cozy warmth, and lasting charm to your home.
First, pick three paint samples and paint large sample swatches on poster board. Hang them near your white cabinetry to evaluate how their undertones change throughout the day.
Next, clean your target surfaces thoroughly with a degreasing wash and patch any imperfections. Taking time to prep properly guarantees a smooth, professional finish that will last for years.
Finally, mask your trim with precision painter’s tape and apply your chosen color over a rewarding weekend project. A single can of paint completely reimagines your kitchen’s personality.
We want to see your kitchen transformation! Share your project photos with our community showcase, or subscribe to our newsletter for weekly practical home improvement guides.