You can dissolve stubborn mineral crust and heavy soap scum without spending hours scrubbing your bathroom walls. A few smart chemical reactions loosen hard water buildup quickly so surfaces wipe clean in minutes.
Standard retail cleaners often promise effortless shine but leave behind streaky residue and harsh fumes. Using targeted pantry staples and proven mechanical tricks delivers far better results with minimal elbow grease.
These practical shower cleaning hacks will help you restore cloudy shower glass, brighten grimy grout lines, and strip limescale from metal fixtures. Let us transform your weekly chore into a quick, predictable routine.
Project Overview & Why It Matters
Hard water minerals like calcium and magnesium bind with body wash and bar soap fats. This chemical combination creates stubborn calcium stearate, commonly known as soap scum.
When these deposits dry onto your enclosure, they etch delicate surfaces over time. Immediate removal preserves the clarity of tempered glass panels and protects expensive plumbing finishes.
Regular neglect forces homeowners to use harsh abrasive pads that scratch smooth acrylic pans and glaze layers. Gentle chemical dissolution dissolves deposits safely while preserving manufacturer warranties.
Implementing tested bathroom cleaning tips cuts your active scrubbing time dramatically. You reclaim your weekend while keeping your bathroom hygienic and visually pristine.
Clean shower glass also brightens the entire room by reflecting ambient and natural light. A sparkling enclosure instantly elevates your home aesthetic and impresses visiting guests.
Tools, Materials, and Prep Checklist
Gathering the right materials beforehand guarantees a smooth workflow and prevents accidental surface damage. Basic household supplies will handle almost every cleaning challenge in this guide.
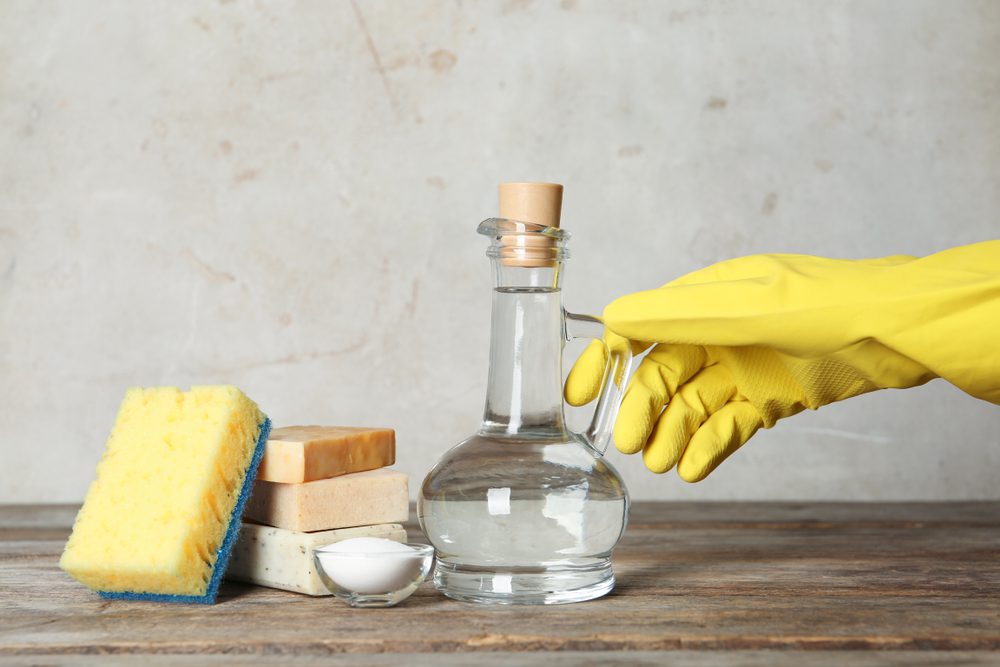
White Distilled Vinegar: Pick up a standard gallon jug containing five percent acetic acid. Vinegar dissolves alkaline limescale bonds and cuts through mineral crust effortlessly.
Liquid Dish Soap: Standard blue dish detergent acts as a powerful surfactant. It cuts through oily body wash residues so the vinegar can penetrate deeper.
Baking Soda and Hydrogen Peroxide: Baking soda provides gentle mechanical abrasion without scratching tile glazes. Peroxide lifts embedded mildew discoloration from porous grout channels.
Dryer Sheets and Microfiber Cloths: Moisture-wicking microfiber towels leave zero lint behind on mirrors and polished chrome. Reused dryer sheets offer gentle softening agents that dislodge water spots.
Tools and Protective Equipment: Keep a silicone-blade squeegee, a soft-bristle detail brush, a spray bottle, and rubber gloves nearby. Protect your hands and eyes from acidic mist during application.
Extendable Tub and Tile Scrubber: An extendable scrub pole prevents painful back strain when reaching high tiles and awkward glass corners. Look for scrub heads with replaceable microfiber and non-scratch scouring pads.
You can find all necessary supplies at major home retailers like The Home Depot for modest expense. Investing in dedicated cleaning tools ensures fast, repeatable maintenance.
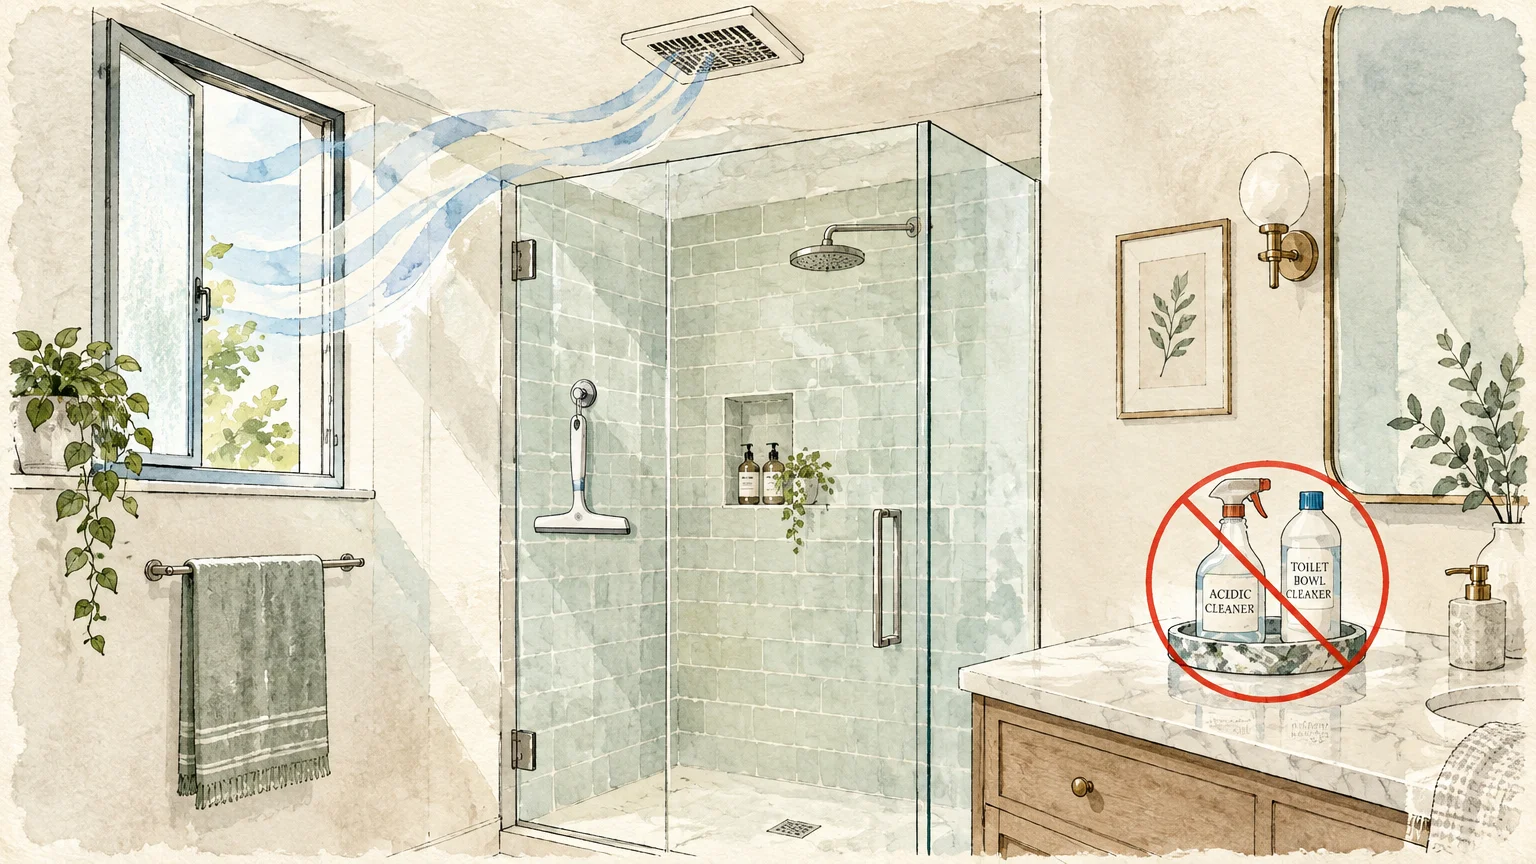
Pre-Cleaning Ventilation: Turn on your exhaust fan and open nearby bathroom windows before applying any warm vinegar or cleaning agents. Proper ventilation keeps indoor air fresh and disperses vaporized acetic acid quickly.
Surface Safety Warning: Never apply acidic cleaners like vinegar or lemon juice to natural stone such as marble, limestone, or travertine. Acid chemically etches calcium carbonate stones and leaves permanent dull spots.
Consult guidelines from the Natural Stone Institute if your shower features real granite, slate, or marble. Use pH-neutral stone cleaners exclusively on those sensitive surfaces.
Step-by-Step Instructions
Follow these seven targeted shower cleaning hacks to strip buildup systematically across every corner of your enclosure. Work from top to bottom so dissolved grime washes harmlessly down the drain.
Hack 1: The Heated Vinegar and Dish Soap Spray
Soap scum creates a water-resistant film that repels basic household cleaners. Combining warm distilled vinegar with concentrated grease-cutting dish soap breaks this tough barrier immediately.
Heat one cup of white vinegar in a microwave-safe container until warm to the touch. Pour the heated liquid into a spray bottle and gently swirl in one cup of liquid dish soap.
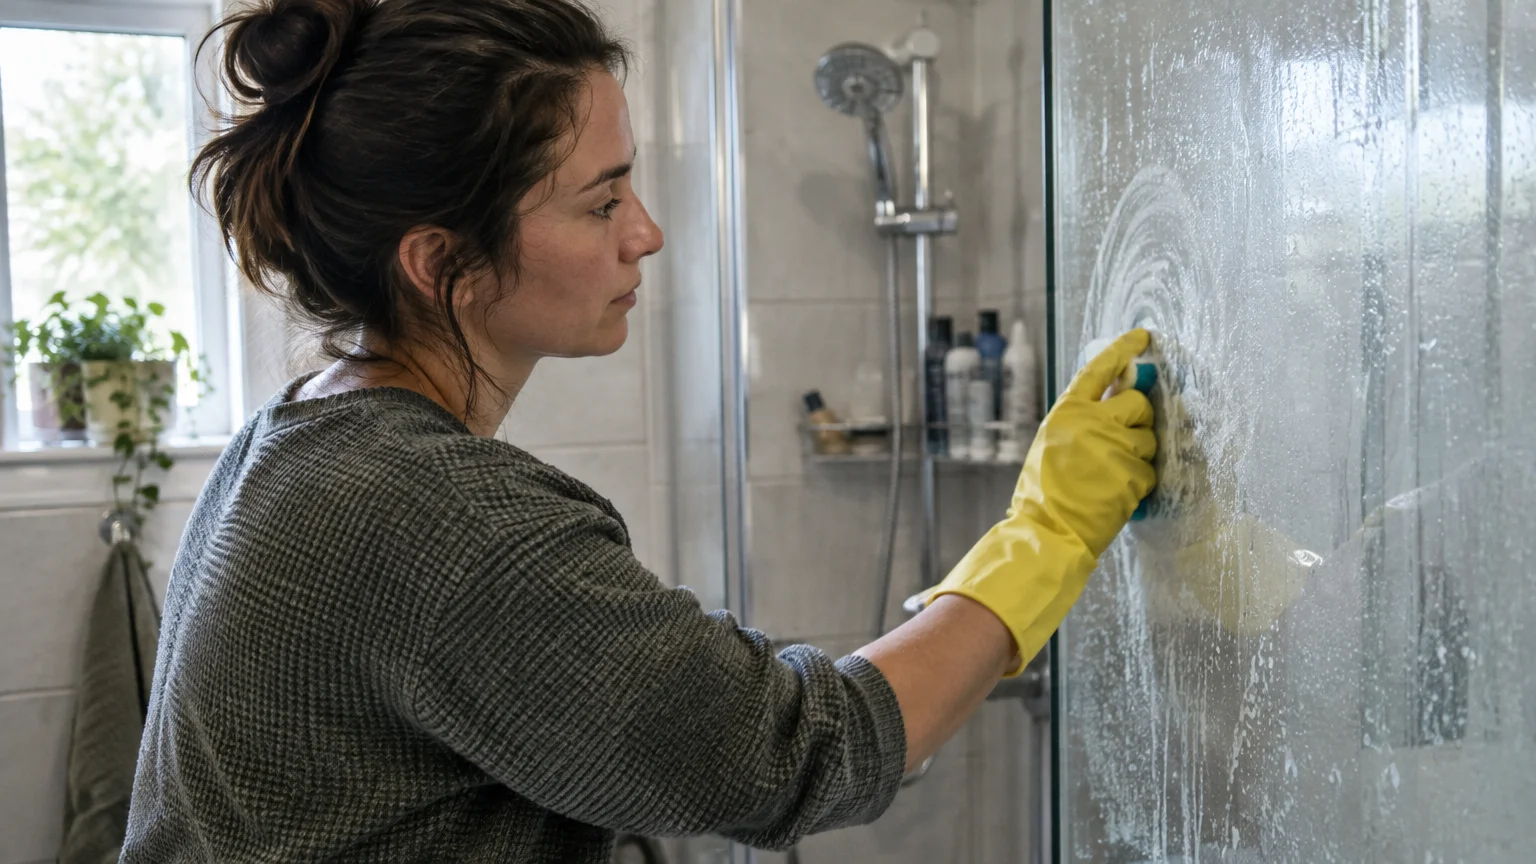
Spray the mixture generously over your shower doors, acrylic walls, and fiberglass basin. Let the solution dwell for thirty minutes so the mild acid breaks down the calcium bonds.
Wipe the surface clean with a damp non-scratch sponge before rinsing thoroughly with warm water. The grease-cutting surfactant carries away loosened grime without requiring heavy physical pressure.
If thick mineral scale remains along the lower door track, increase the dwell time to forty-five minutes. Re-spray the area halfway through to ensure the acidic solution remains moist and actively dissolves bonds.
Hack 2: The Plastic Bag Showerhead Descaler
Mineral deposits frequently clog individual spray nozzles, which slashes your water pressure and creates erratic spray patterns. You can dissolve these internal obstructions without removing the fixture from your wall.
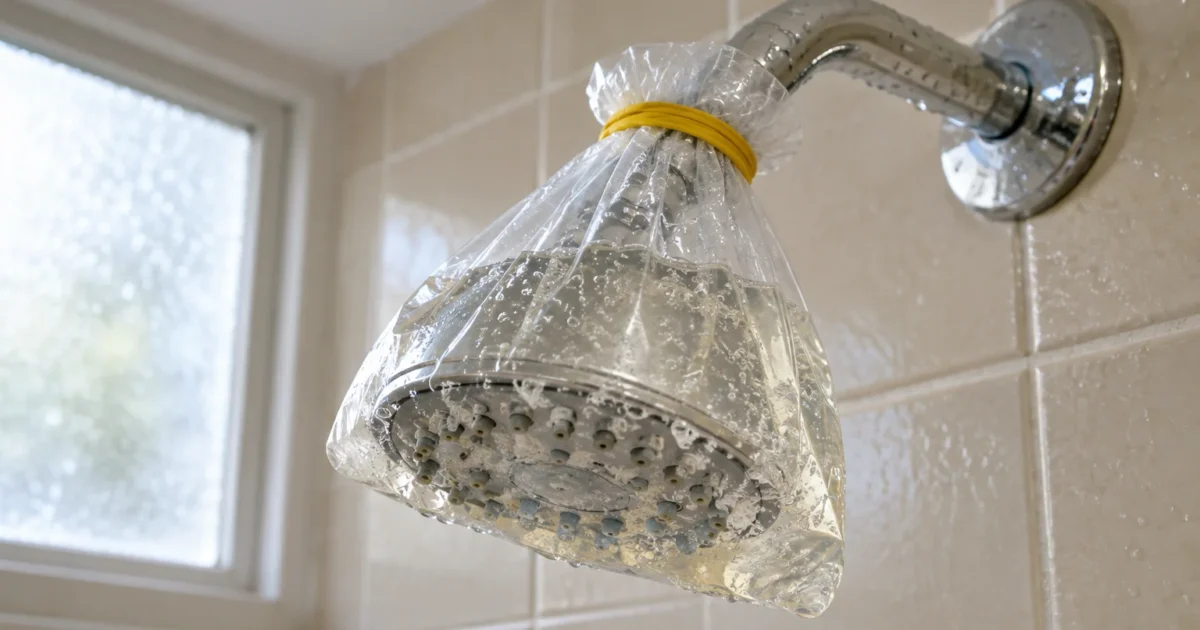
Fill a sturdy zip-top plastic freezer bag halfway with pure white distilled vinegar. Carefully slip the open bag upward over your showerhead until all nozzles submerge completely in the liquid.
Secure the bag tightly around the fixture neck using a heavy-duty rubber band or zip tie. Ensure the wrap holds firmly so the heavy liquid does not slip off the pipe.
Allow the showerhead to soak undisturbed for two to four hours while the acid dissolves limescale. If you have delicate brass or nickel finishes, limit the soak time to thirty minutes.
Remove the bag, discard the vinegar, and run hot water for one minute to flush dislodged sediment. Scrub nozzle tips gently with an old toothbrush to release any remaining debris.
For stubborn mineral deposits inside silicone nozzles, massage each tip gently between your fingers after soaking. This flexes the rubber orifice and expels remaining limescale particles directly into the water stream.
Hack 3: Baking Soda and Peroxide Grout Detailing
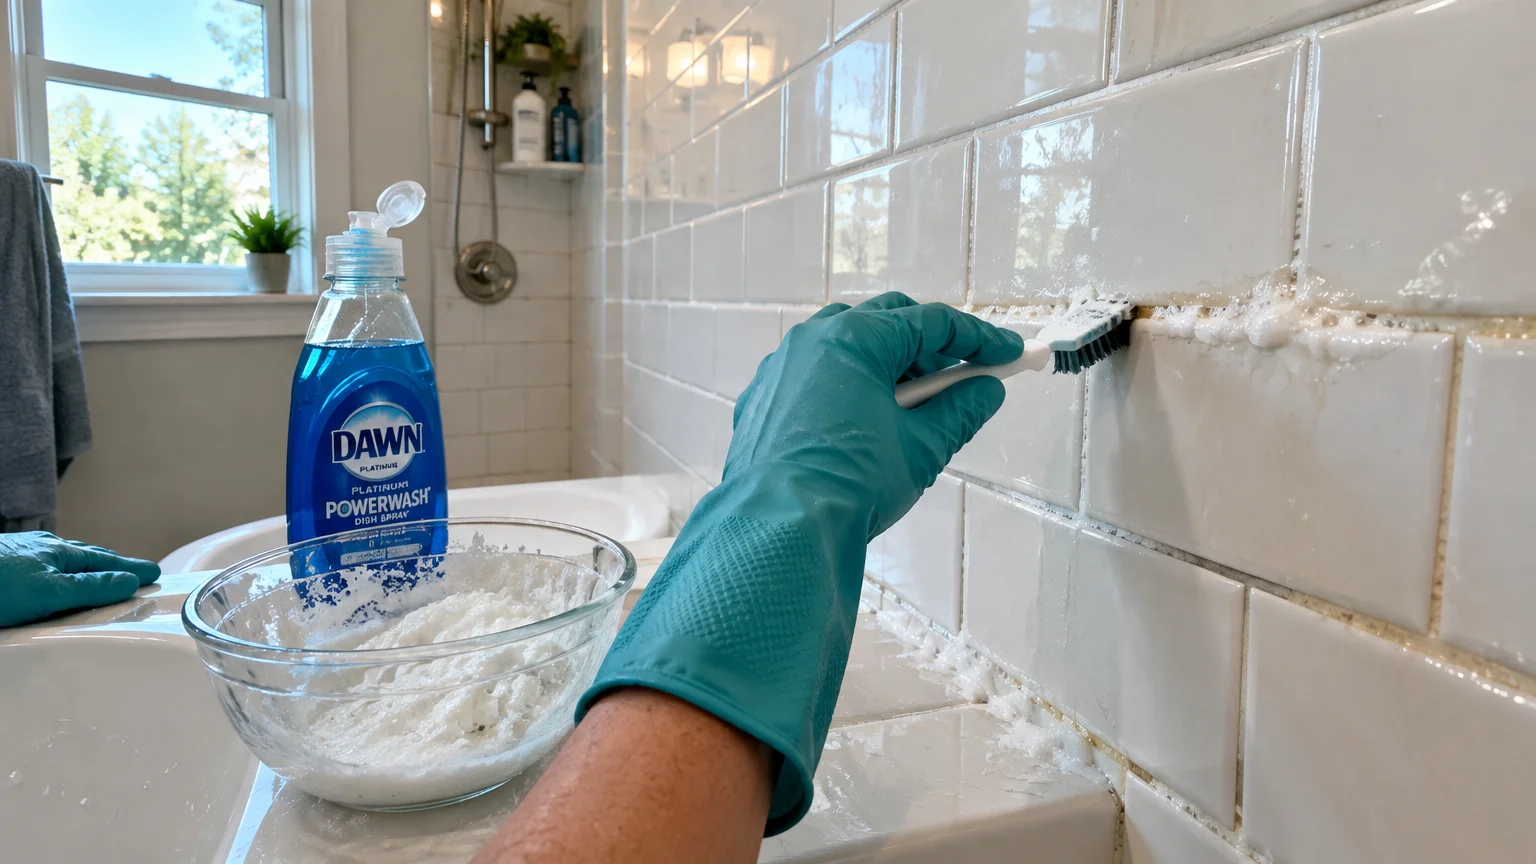
Grout lines collect stagnant water and soap sediment, making them prime targets for dark grime and surface mildew. A fast foaming paste brightens dingy lines without releasing toxic chlorine fumes.
Mix two parts baking soda with one part three percent hydrogen peroxide to create a spreadable paste. The effervescent action pushes cleaning agents deep into porous cementitious grout.
Spread the paste along discolored grout joints using a stiff nylon grout brush or an old toothbrush. Let the bubbling mixture sit on the dirty lines for fifteen minutes.
Scrub along each joint using firm, circular motions to loosen trapped oils and fungal spores. Rinse the walls thoroughly with your handheld sprayer to leave clean, bright borders.
Avoid mixing hydrogen peroxide with acidic vinegar in the same container under any circumstances. Combining these two chemicals creates peracetic acid, which produces corrosive fumes that irritate your eyes and respiratory system.
Hack 4: Dryer Sheet Polishing for Chrome and Fixtures
Used laundry dryer sheets contain specialized fabric softeners that break down stubborn mineral bonds on slick surfaces. This quick trick transforms cloudy metal fixtures and spotted glass dividers instantly.
Moisten a used dryer sheet with a few drops of warm tap water. Rub the sheet directly over water-spotted chrome faucets, handles, and metal trim pieces.
The conditioning ingredients quickly loosen hard water buildup without scratching chrome plating or brushed metal finishes. Buff the fixture dry with a clean microfiber cloth to reveal a mirror shine.
You can also glide the damp sheet along the lower edges of glass doors where water spots gather. Rinse away any leftover softening film with warm water to prevent slippery residues.
Used dryer sheets work better than fresh ones because excessive concentrated wax on new sheets can streak glass. Save sheets from your laundry dryer cycles specifically for your bathroom cleaning kit.
Hack 5: Microfiber and Isopropyl Alcohol Glass Finishing
Traditional glass cleaners often leave streaky residues on shower enclosures because they dry too slowly. Isopropyl alcohol flashes off rapidly, which prevents new water streaks from forming during cleaning.
Mix equal parts seventy percent rubbing alcohol and distilled water inside a dedicated spray bottle. Distilled water prevents new mineral deposits from drying onto the glass during application.
Mist the glass panels lightly after you remove soap scum with your primary cleaning wash. Wipe the surface immediately using a waffle-weave microfiber glass towel in horizontal sweeping motions.
The alcohol eliminates micro-thin grease smears that cause optical distortion on your glass panels. Your shower doors will achieve crystal-clear optical clarity that lets natural room light pour through.
Keep your glass cleaning cloths separate from oily kitchen rags during laundry cycles to prevent fabric softener transfer. Launder microfiber towels with mild liquid detergent and tumble dry on low heat without fabric softeners.
Hack 6: Gentle Pumice Detailing for Tough Porcelain Limescale
Heavy mineral rings around drain collars and glazed porcelain corners resist ordinary liquid cleansers. A genuine volcanic pumice stone safely scrapes away calcified crust without harming tough vitreous china.
Submerge the pumice stone in clean water for five minutes before touching any bathroom surface. Both the stone and the target surface must stay completely wet during the entire process.
Rub the wet stone gently over thick limescale rings using light, even pressure. The softening wet pumice forms an abrasive slurry that grinds away minerals without scratching hard porcelain glaze.
Crucial Warning: Never use a pumice stone on fiberglass, acrylic tubs, chrome fixtures, or delicate tile glazes. Confine this mechanical hack strictly to heavy porcelain and unpainted cast-iron fixtures.
Check manufacturer guidelines before scraping around drain hardware assemblies or enameled metal surfaces. The U.S. Environmental Protection Agency recommends physical mineral removal as an eco-friendly alternative to caustic drain chemicals.
Hack 7: Water-Repellent Windshield Treatment as a Shield
Preventing mineral accumulation is always faster than scrubbing hardened deposits later. Applying an automotive hydrophobic glass treatment shields your clean shower glass against hard water minerals for weeks.
Ensure your shower doors are completely clean, dry, and free of any soap film before starting. Damp surfaces prevent the polymer coating from cross-linking properly with the glass silica.
Apply a small amount of liquid water-repellent sealant onto a dry microfiber towel. Buff the liquid onto the interior glass surface using firm circular strokes.
Allow the product to dry to a light haze according to the bottle directions. Buff away the haze with a clean microfiber towel dampened with a splash of cold water.
Water will now bead up tightly and roll into the drain instead of drying on the glass panels. This single step eliminates up to eighty percent of future soap scum accumulation.
Reapply the hydrophobic treatment every four to six weeks to keep water beading cleanly down the panels. Regular renewal ensures limescale never gets a direct chemical foothold on your glass surface.
Style & Finishing Touches
Once your shower looks immaculate, consider small hardware updates to elevate your daily bathroom aesthetic. Freshly cleaned tile pairs exceptionally well with updated contemporary plumbing trim and matching accessories.
Replacing an outdated showerhead with a wide rainfall model or a multi-function handheld unit boosts functionality. Matte black and brushed brass finishes add striking visual contrast against white subway tile walls.
Choose hardware with factory-applied physical vapor deposition coatings when shopping for new plumbing items. These advanced finishes resist mineral corrosion and tarnishing far better than standard electroplated metal.
You can also upgrade your storage solutions to keep cleaning clutter off shower ledges and floors. Install sleek corner shelves made from solid composite materials or rustproof stainless steel wire baskets.
Matching amber glass pump dispensers for shampoo, conditioner, and body wash create an upscale spa atmosphere. Coordinated containers eliminate messy plastic bottles that trap moisture and encourage scum buildup underneath.
Consider frameless glass door designs if you plan a full shower remodel in the near future. Frameless enclosures eliminate the metal channels and rubber gaskets where hard water deposits and soap scum thrive.
Maintenance & Long-Term Care
Maintaining a clean enclosure requires consistent small habits rather than exhausting weekend scrubbing marathons. Adopting a thirty-second daily routine prevents hard water buildup from hardening into stubborn crust.
Hang a high-quality silicone squeegee inside your shower using an adhesive hook out of the direct water spray. Wipe down glass panels and smooth tile walls immediately after finishing every shower.
Ventilate your bathroom thoroughly after bathing by running your exhaust fan for twenty minutes. Good airflow lowers humidity levels and halts fungal growth before spores can root into grout joints.
Perform a quick weekly misting with a diluted vinegar spray to dissolve fresh mineral films effortlessly. If you have natural marble, use a pH-neutral daily shower cleaner recommended by stone professionals.
Inspect silicone caulking along baseboards and inside corners every six months for peeling or mold penetration. Scrape away compromised sealant and apply fresh mold-resistant silicone caulk to prevent structural water damage.
Check plumbing connection joints periodically for slow leaks that feed constant mineral buildup along escutcheon plates. Addressing small plumbing drips immediately keeps limescale from etching metal finishes permanently.
Deep clean your bathroom exhaust fan grille twice a year using a vacuum brush attachment. Clean fan blades pull humid air outdoors efficiently, preventing lingering dampness from feeding mildew across fresh grout.
FAQ
How often should I clean my shower glass to prevent permanent etching?
Squeegee your glass doors after every shower and perform a deep clean every two weeks. Leaving hard water minerals on untreated glass can permanently etch microscopic pits into the glass pane over time.
Once silica etching occurs, chemical cleaners cannot reverse the hazing, requiring mechanical polishing or complete pane replacement. Consistent wiping avoids this irreversible structural damage entirely.
Can I use bleach to clean black spots out of shower grout?
Avoid using straight chlorine bleach on colored grout because it degrades cement binders and bleaches pigments unevenly. Bleach also fails to penetrate porous grout deeply enough to kill microscopic fungal roots.
Use hydrogen peroxide mixed with baking soda or an oxygenated bleach cleaner instead. Consult safety standards from the Centers for Disease Control and Prevention regarding proper mold cleaning procedures.
Why does soap scum come back so fast on my tile walls?
Traditional bar soaps contain animal fats and fatty acids that bind directly with dissolved tap water minerals. Switching to liquid body washes or synthetic detergent cleansing bars cuts soap scum generation significantly.
Installing a whole-home water softener or a dedicated showerhead filter also reduces the mineral load hitting your tiles. Softer water allows cleansers to rinse away freely without leaving sticky stearate residue.
What is the safest way to remove hard water deposits from gold or brass fixtures?
Avoid leaving aggressive acids or abrasive powders on specialty decorative metallic finishes. Vinegar left on unlacquered brass or thin electroplated gold can cause discoloration or strip the delicate topcoat.
Dilute vinegar with equal parts water and apply it with a soft microfiber cloth for brief contact periods. Rinse the metal thoroughly with fresh water and dry it immediately to preserve the decorative plating.
When should I call a professional instead of using DIY cleaning hacks?
If your shower floor exhibits persistent foul odors, spongy underfoot flex, or widespread dark mold underneath clear silicone caulk, hire a licensed contractor. These signs suggest hidden waterproofing membrane failure beneath the tile layer.
Professional stone restoration specialists are also necessary if natural marble has suffered deep acid etching or dullness. Professional diamond honing restores high-polish sheen that chemical DIY hacks cannot replicate.
Takeaway & Next Steps
Stripping grime from your shower does not require costly commercial detergents or painful hours on your knees. Deploying these targeted shower cleaning hacks dissolves stubborn calcium bonds and restores brilliant shine efficiently.
You protect valuable bathroom fixtures and glass enclosures by handling mineral deposits before they cause permanent damage. A clean enclosure makes your daily routine feel brighter and significantly improves home hygiene.
Inspect Your Surfaces: Identify whether your shower features ceramic tile, fiberglass, acrylic, or natural stone so you select safe cleaners.
Mix Your Solutions: Blend warm vinegar and dish soap in a spray bottle, then tackle limescale buildup across glass panels today.
Establish Daily Habits: Hang a squeegee inside your stall and commit to wiping down wet walls after every shower.
We would love to see your gleaming bathroom results; share your project photos with our community or subscribe for weekly renovation ideas.