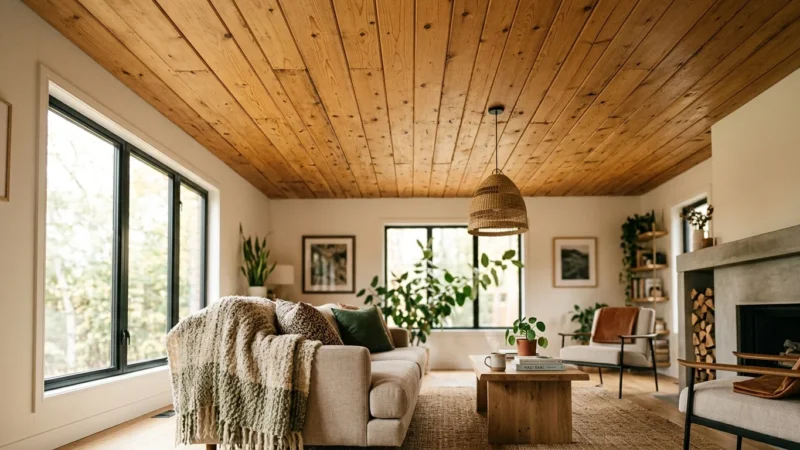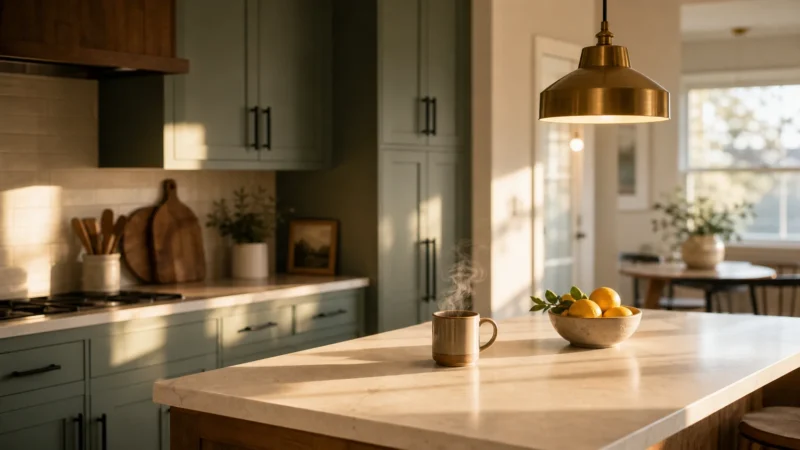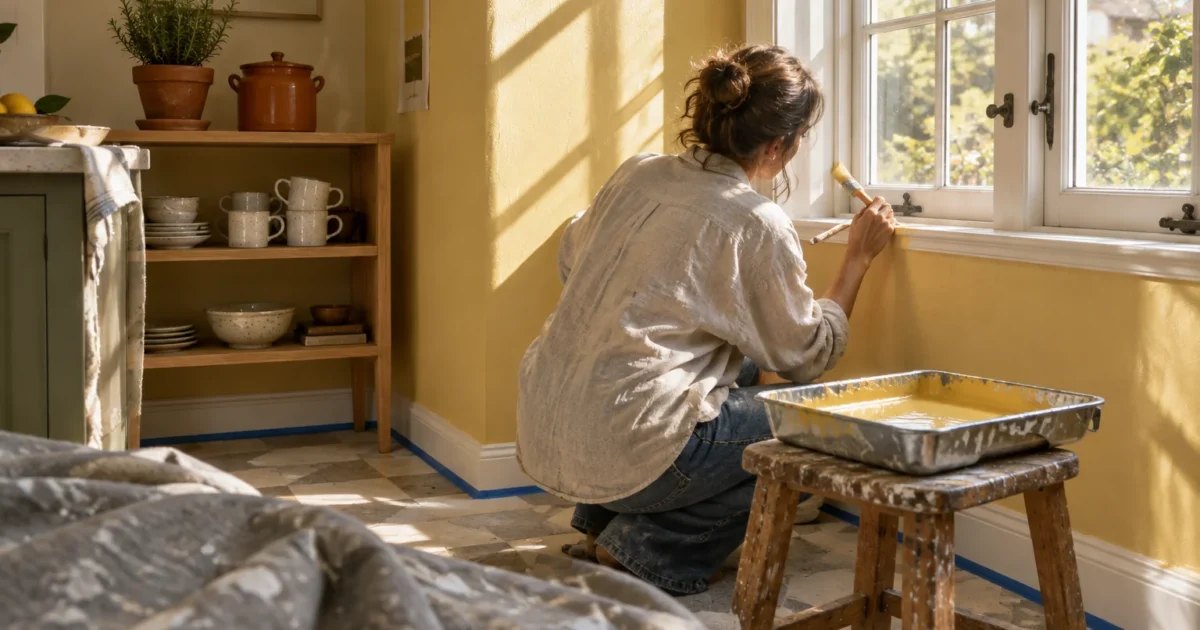
Transform your cooking space into a vibrant morning retreat by pairing the right wall shade with your home’s natural light. The right color bounces sunlight into dim corners and instantly expands compact layouts.
A radiant kitchen lifts your daily mood while boosting overall resale value with minimal upfront investment. You can easily complete this DIY refresh over a single weekend with basic supplies.
Explore these twelve designer-approved sunny kitchen paint colors and learn the exact painting techniques required for durable, streak-free walls.
Project Overview & Why It Matters
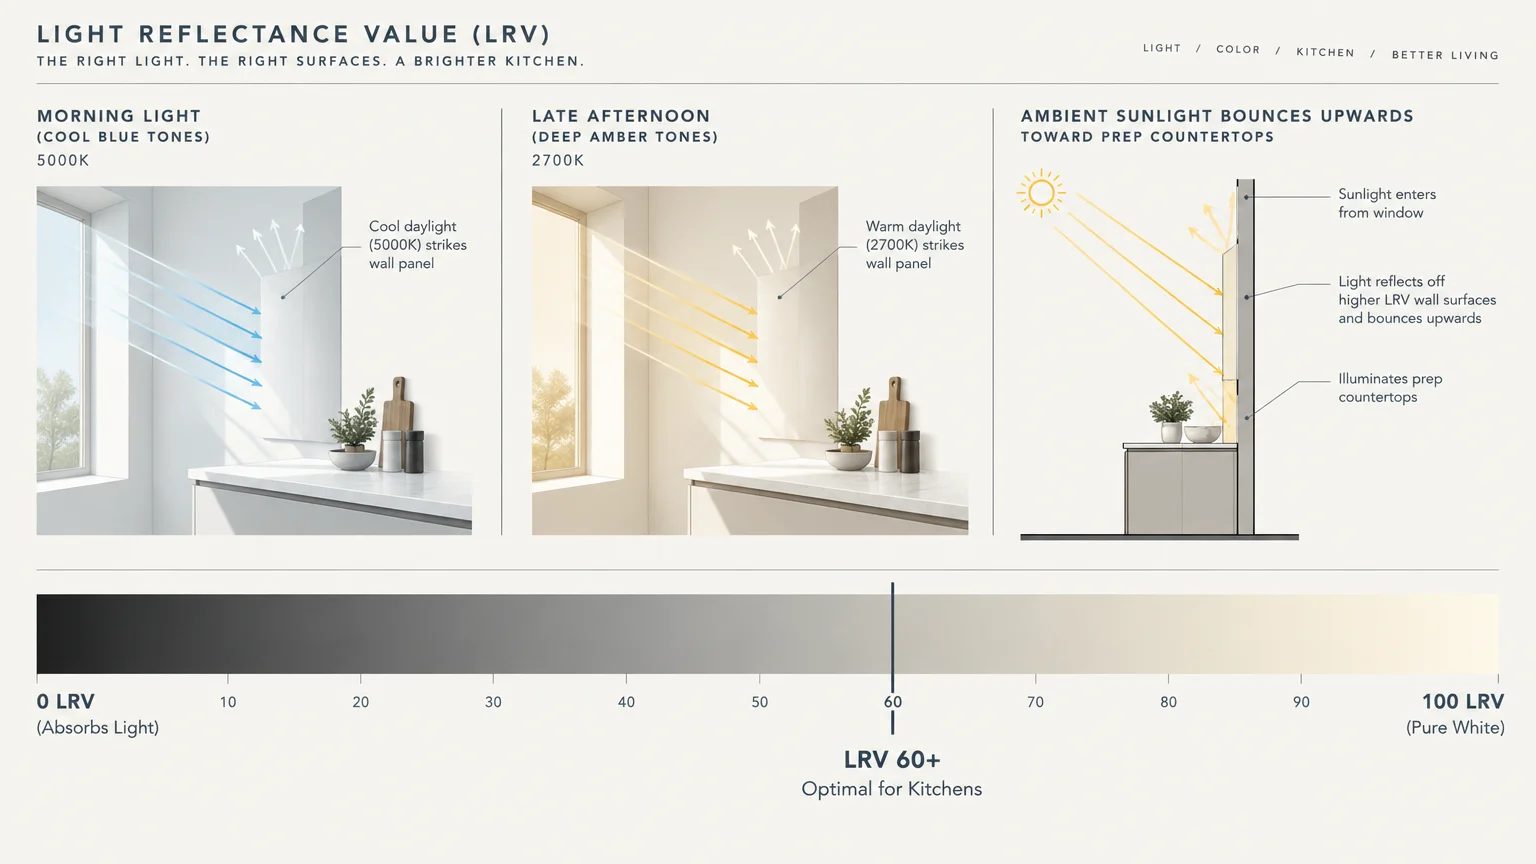
Natural light transforms kitchen surfaces throughout the day; morning rays look cool and blue, while late afternoon beams cast deep amber tones. Selecting the best kitchen colors requires balancing these shifting light temperatures with your artificial lighting.
Designers measure this reflectivity using Light Reflectance Value, or LRV, on a scale from zero to one hundred. Colors with an LRV above sixty reflect abundant ambient light, keeping your food preparation zones bright and welcoming.
Bright kitchen ideas do more than elevate aesthetics; they also improve safety around sharp prep cutlery and boiling pots. A well-lit, highly reflective kitchen minimizes shadows across your countertops, reducing eye strain during evening meal preparation.
Repainting delivers one of the highest returns on investment in residential home improvement. According to real estate analysis from Zillow, warm and luminous kitchens routinely attract stronger buyer interest and faster offers.
Whether you cook in a narrow galley kitchen or a sprawling open-concept space, bright hues unify your cabinetry, countertops, and flooring effortlessly.
Tools, Materials, and Prep Checklist
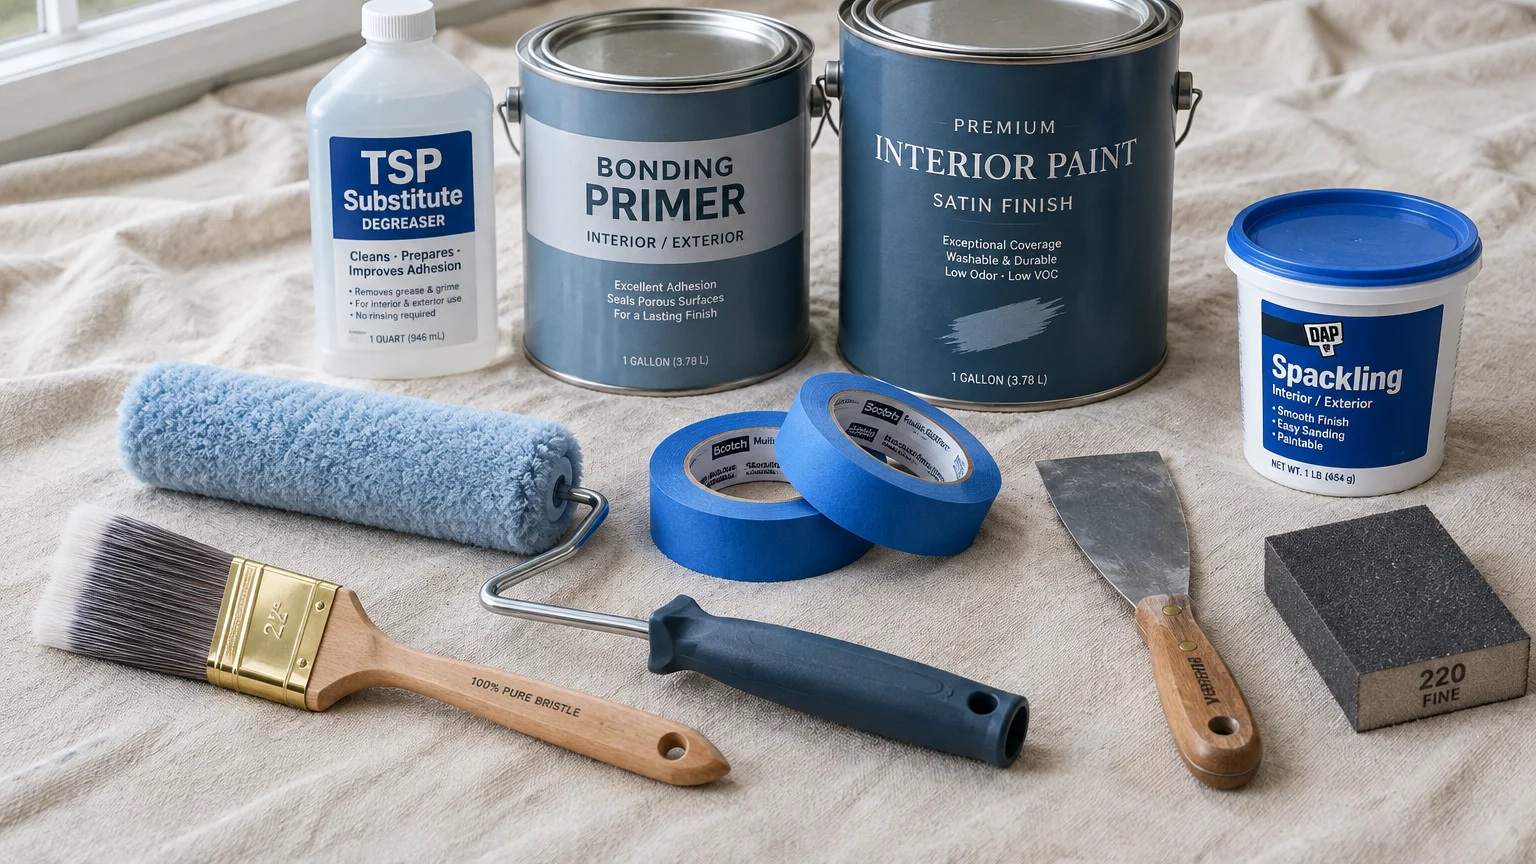
Gathering professional-grade painting tools prevents mid-project store runs and guarantees crisp, clean wall edges. Quality tools also lay down paint evenly, eliminating unsightly lap marks and thin patches.
Premium Paint: Purchase two gallons of interior satin or semi-gloss paint ($90–$140). This quantity covers up to eight hundred square feet with two full coats.
Stain-Blocking Primer: Buy one gallon of latex acrylic bonding primer ($25–$45). Primer seals porous drywall repairs and blocks persistent cooking grease stains from bleeding through.
Surface Prep Cleaner: Pick up one quart of trisodium phosphate, or TSP substitute ($8–$12). This concentrated degreaser removes stubborn airborne oils from walls near your range.
Applicators and Rollers: Grab a two-and-a-half-inch angled sash brush and a nine-inch roller frame with three-eighths-inch microfiber covers ($25–$40). Microfiber delivers exceptionally smooth, stipple-free coverage on drywall surfaces.
Surface Protection: Invest in two heavy-duty canvas drop cloths and two rolls of multi-surface painter’s tape ($35–$50). Woven canvas stays put on hardwood or tile floors and absorbs accidental splatters without leaking.
Patching Supplies: Keep lightweight spackle, a flexible putty knife, and two-hundred-twenty-grit sanding sponges handy ($15–$20). Smooth walls reflect light evenly, whereas dents cast distracting dark shadows.
Step-by-Step Instructions
Follow a structured method to achieve durable, commercial-grade results in high-traffic cooking environments. Skipping preparation creates peeling paint and visible roller overlaps under bright daylight.
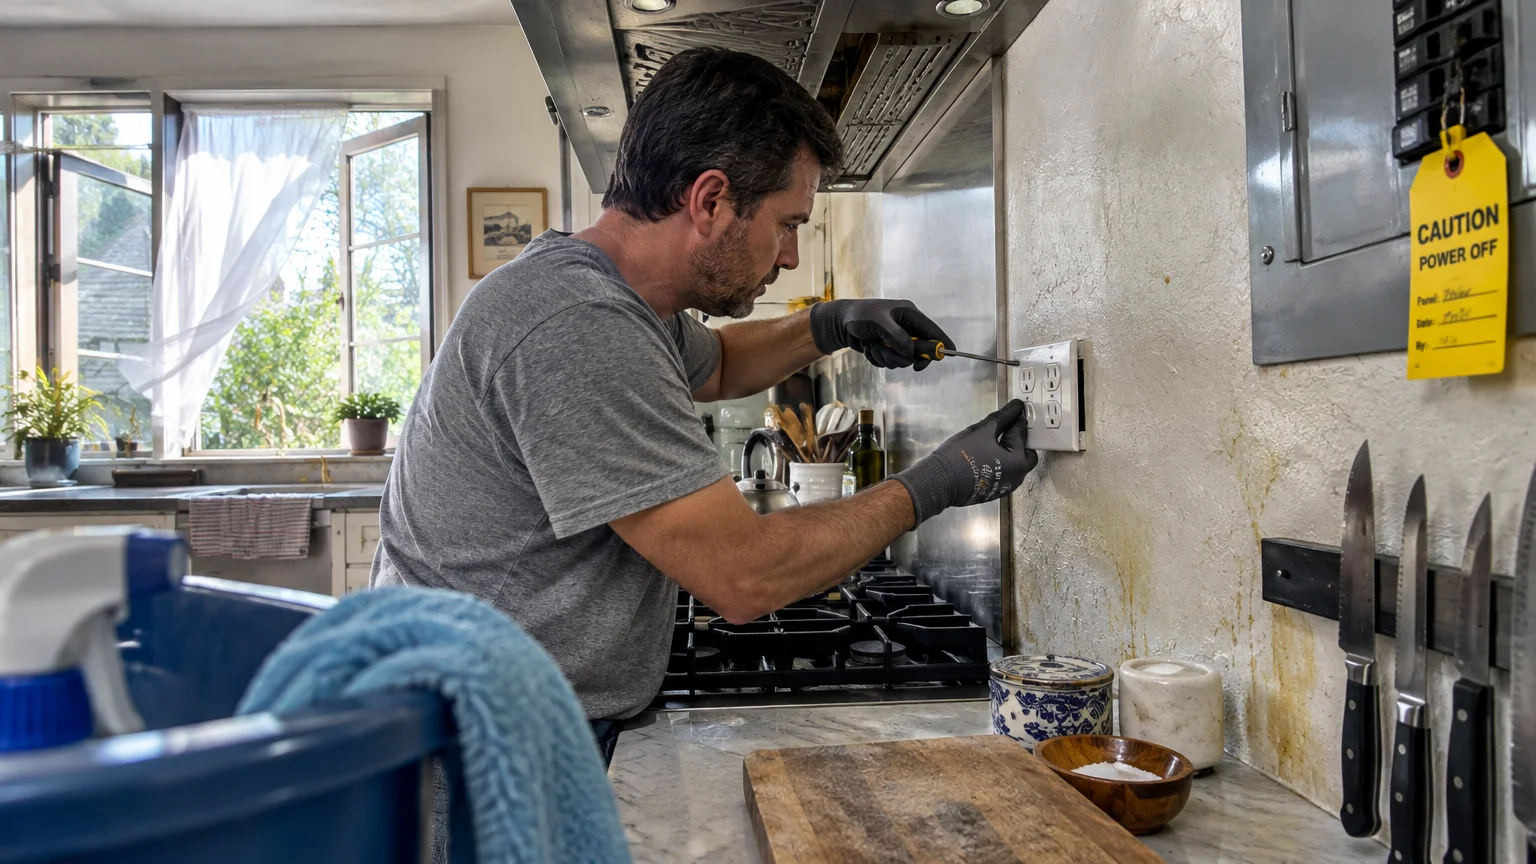
Phase 1: Workspace Safety and Surface Degreasing. Shut off power to wall outlets at your service breaker before removing faceplates. Ventilate the room thoroughly by opening adjacent windows and running exhaust fans.
Check the age of your property prior to scraping any existing wall layers. The U.S. Environmental Protection Agency mandates certified lead-safe practices for disturbing paint in homes constructed before 1978.
Scrub every square foot of wall with your diluted TSP solution, paying special attention to areas behind the stove. Rinse with clean warm water and let the walls dry completely for two hours.
Phase 2: Patching, Sanding, and Masking. Fill minor drywall gouges with lightweight spackle, feathering the edges flat against the surrounding drywall. Sand the patched areas smooth once dry, then wipe down the entire perimeter with a tack cloth.
Press painter’s tape firmly along baseboards, cabinet edges, and backsplash tile lines. Seal the tape edge with a damp rag or putty knife edge to prevent paint from bleeding beneath the barrier.
Phase 3: Priming and Cutting In. Apply your stain-blocking primer along wall perimeters, ceiling lines, and corners using your angled sash brush. Work in manageable three-foot sections, maintaining a wet edge to avoid harsh lap marks.
Roll the remaining broad wall surfaces with primer using smooth, overlapping vertical strokes. Let the primer cure for at least four hours before applying your tinted wall paint.
Phase 4: Rolling the Finish Coats. Cut in your sunny topcoat color along all masked borders. Immediately follow with your nine-inch roller, applying paint in a classic “W” or “M” pattern across six-foot sections.
Smooth the section with light downward vertical passes before moving to the next square. Wait four hours, then apply a uniform second coat to achieve deep, rich color saturation.
Troubleshooting Common Flaws: If you spot roller lap marks under harsh morning sun, your paint dried too quickly. Add a small volume of paint extender to slow drying times, and never roll over semi-dry paint.
If paint peels off when pulling masking tape, slice the tape seam gently with a sharp utility knife. Always pull tape outward at a sharp forty-five-degree angle while the final coat feels slightly tacky.
Style & Finishing Touches
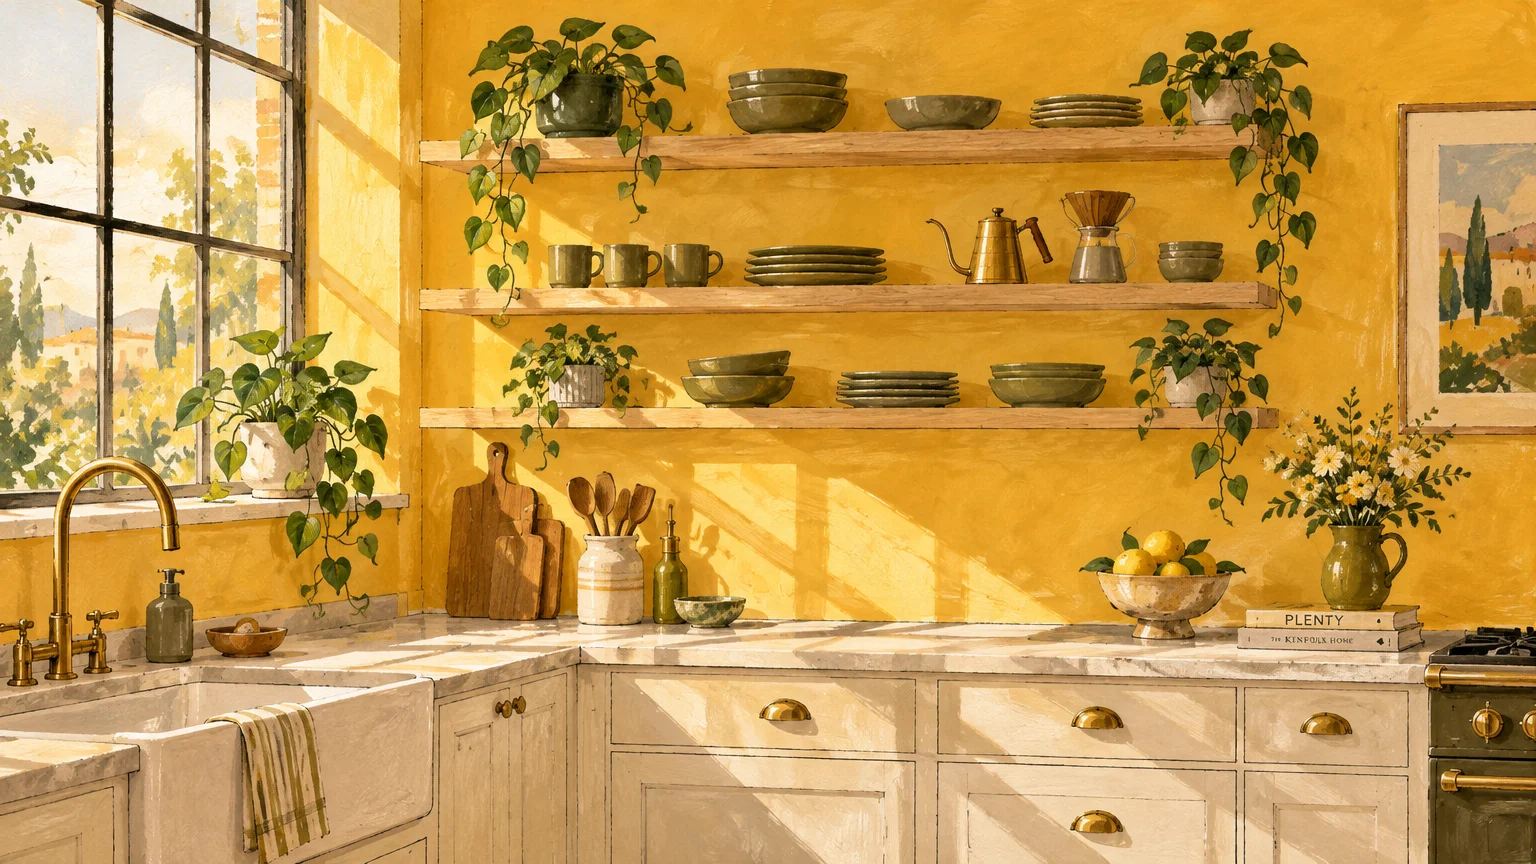
Selecting the right sunny kitchen paint colors requires evaluating your home’s unique orientation and architectural materials. Here are twelve proven hues that capture natural light and infuse your kitchen with warmth.
1. Buttermilk Cream
Buttermilk cream offers a delicate yellow undertone that softens morning daylight while maintaining an impressive seventy-two LRV. It pairs exceptionally well with classic white shaker cabinets and honed soapstone countertops.
2. Pale Lemon Chiffon
Pale lemon chiffon embodies classic yellow kitchen paint, infusing gloomy north-facing rooms with breezy optimism. Pair this cheerful citrus tone with brushed brass hardware and open birch shelving for clean visual warmth.
3. Golden Ochre
Golden ochre delivers deep, earthy Mediterranean warmth that thrives in sunny, south-facing spaces without washing out. This rich tone contrasts beautifully with dark walnut island cabinetry and natural brick backsplashes.
4. Warm Alabaster White
Alabaster white reflects maximum ambient sunlight with an eighty-two LRV while avoiding the clinical sterility of cool whites. Its creamy undertone complements matte black fixtures and warm white oak flooring effortlessly.
5. Terracotta Blush
Terracotta blush captures the radiant warmth of baked earth, mimicking late-afternoon sunshine across west-facing walls. This cozy shade pairs naturally with unlacquered brass faucets and handcrafted ceramic tiles.
6. Peach Nectar
Peach nectar blends soft pastel yellow with gentle coral notes, producing a warm glow that flatters kitchen dinner guests. Contrast this inviting shade against navy blue islands or slate gray cabinetry.
7. Sunlit Sage
Sunlit sage combines botanical tranquility with warm golden undertones that come alive under bright morning rays. It offers an earthy alternative that harmonizes with butcher block countertops and potted windowsill herbs.
8. Sky Mist Blue
Sky mist blue evokes expansive cloudless skies, bouncing natural light throughout compact cooking spaces without feeling sterile. Honey oak millwork and woven rattan pendant lights provide gorgeous organic balance against this airy hue.
9. Honey Wheat
Honey wheat strikes an elegant balance between golden straw and warm greige, bringing refined farmhouse charm to open kitchens. Its grounding amber base anchors broad perimeter walls and highlights honed black granite counters.
10. Pale Butterscotch
Pale butterscotch radiates rich caramel warmth that compensates for fading afternoon light in east-facing kitchens. Combine this decadent shade with antique bronze hardware and warm mahogany trim for a welcoming look.
11. Apricot Glow
Apricot glow delivers an energetic burst of citrus energy that stimulates conversation around busy kitchen islands. Use this cheerful shade on a focal window wall paired with crisp white crown molding.
12. Champagne Beige
Champagne beige merges shimmering cream and subtle golden taupe to produce a luminous, upscale designer aesthetic. It gently shifts across changing daylight, pairing seamlessly with fluted oak cabinetry and polished nickel accents.
Coordinating Materials and Hardware Upgrades
Enhance your sunny wall paint by introducing contrasting textures throughout your kitchen. Matte cabinet finishes balance shiny satin wall sheens, preventing unwanted glare from strong sunlight.
For budget-friendly upgrades under two hundred dollars, swap dated cabinet knobs for warm champagne bronze or brushed brass pulls. Reputable retailers like The Home Depot offer bulk packs of modern cabinet hardware.
If you have a mid-range budget of five hundred to fifteen hundred dollars, install floating white oak shelves against your newly painted sunny walls. Open shelving breaks up broad color expanses and displays everyday stoneware attractively.
For luxury renovations over three thousand dollars, complement your sunny kitchen paint with integrated cove lighting and custom quartz splashbacks. Thoughtfully layered ambient lighting amplifies warm undertones long after the sun sets.
Maintenance & Long-Term Care
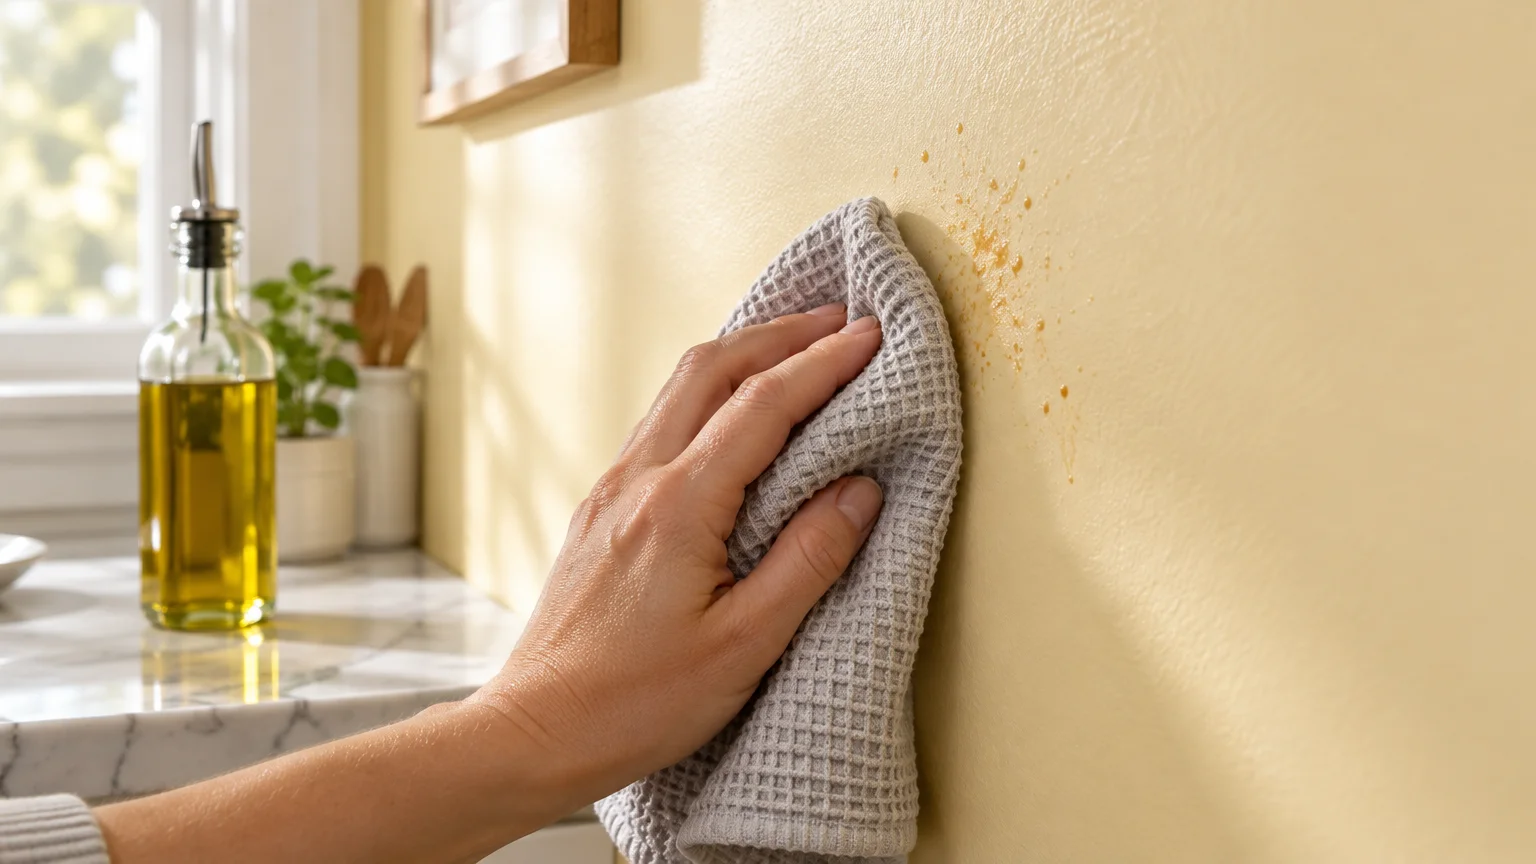
Kitchen walls endure daily assaults from grease splatters, steam, and high-heat cooking vapors. Maintaining your pristine paint finish requires gentle cleaning methods that preserve the protective paint film.
Wait thirty full days after painting before washing your walls with liquid detergents. The American Coatings Association notes that latex acrylic coatings require a month to reach complete chemical cure.
Clean routine food splatters using a soft microfiber sponge dampened with warm water and mild dish soap. Never use abrasive scouring pads or ammonia-based cleaners, which permanently dull satin paint sheens.
Inspect wall surfaces around your dishwasher, range hood, and sink every six months for moisture buildup. Wipe away trapped condensation promptly to prevent mildew spores from forming on the paint surface.
Store your leftover paint in an airtight glass jar away from freezing basement temperatures. Label the container with the brand, formula code, room name, and date for seamless spot touch-ups later.
FAQ
What is the best paint finish for kitchen walls?
Satin and semi-gloss finishes work best for kitchens because their tight resin seals resist moisture and grease. Flat and matte finishes absorb cooking oils and burnish when scrubbed, making them impractical near stoves.
How does natural light direction affect kitchen paint colors?
North-facing rooms receive cool, bluish light that can make pale yellows look greenish, requiring warmer golden tones. South-facing kitchens enjoy warm, intense light, allowing you to use softer, paler tints without losing vibrant warmth.
Can yellow kitchen paint make a small kitchen feel bigger?
Yes, yellow hues with high light reflectance values bounce illumination into dark corners, visually pushing walls outward. Pairing soft yellow walls with bright white ceilings makes low kitchen ceilings appear noticeably taller.
Do I need a separate primer if my paint contains primer?
Self-priming paints work well over existing intact paint films in clean condition. However, you still need dedicated stain-blocking primer when covering grease spots, water stains, or raw patched drywall.
How do I test paint swatches accurately before committing?
Paint two coats on two-foot square poster boards rather than painting directly onto your existing wall. Move the sample board to different walls at morning, noon, and night to observe shifting undertones.
Takeaway & Next Steps
Infusing your kitchen with sunny hues creates an energizing culinary haven that elevates your home’s character and resale appeal. A thoughtful palette pairs warmth with durability, providing lasting daily enjoyment.
Step 1: Evaluate your kitchen’s window orientation and calculate your wall square footage today.
Step 2: Purchase three peel-and-stick color samples from your local paint retailer to test against your cabinets.
Step 3: Gather your cleaning supplies and prep your walls this weekend for a flawless application.
We would love to see your kitchen transformation! Share your finished project photos with our editorial team, or subscribe to our newsletter for weekly home renovation inspiration.