A stubborn musty smell at home signals hidden moisture and active microbial growth—not just stale air you can mask with candles. By targeting damp zones, scrubbing buildup, and boosting airflow, you can eliminate odors at the source.
This guide walks you through seven practical, budget-conscious steps to restore a fresh smelling home safely. Each method pairs everyday tools with proven moisture standards so your fixes actually last.
Grab a few basic supplies and reclaim your indoor air in a single weekend.
Project Overview & Why It Matters
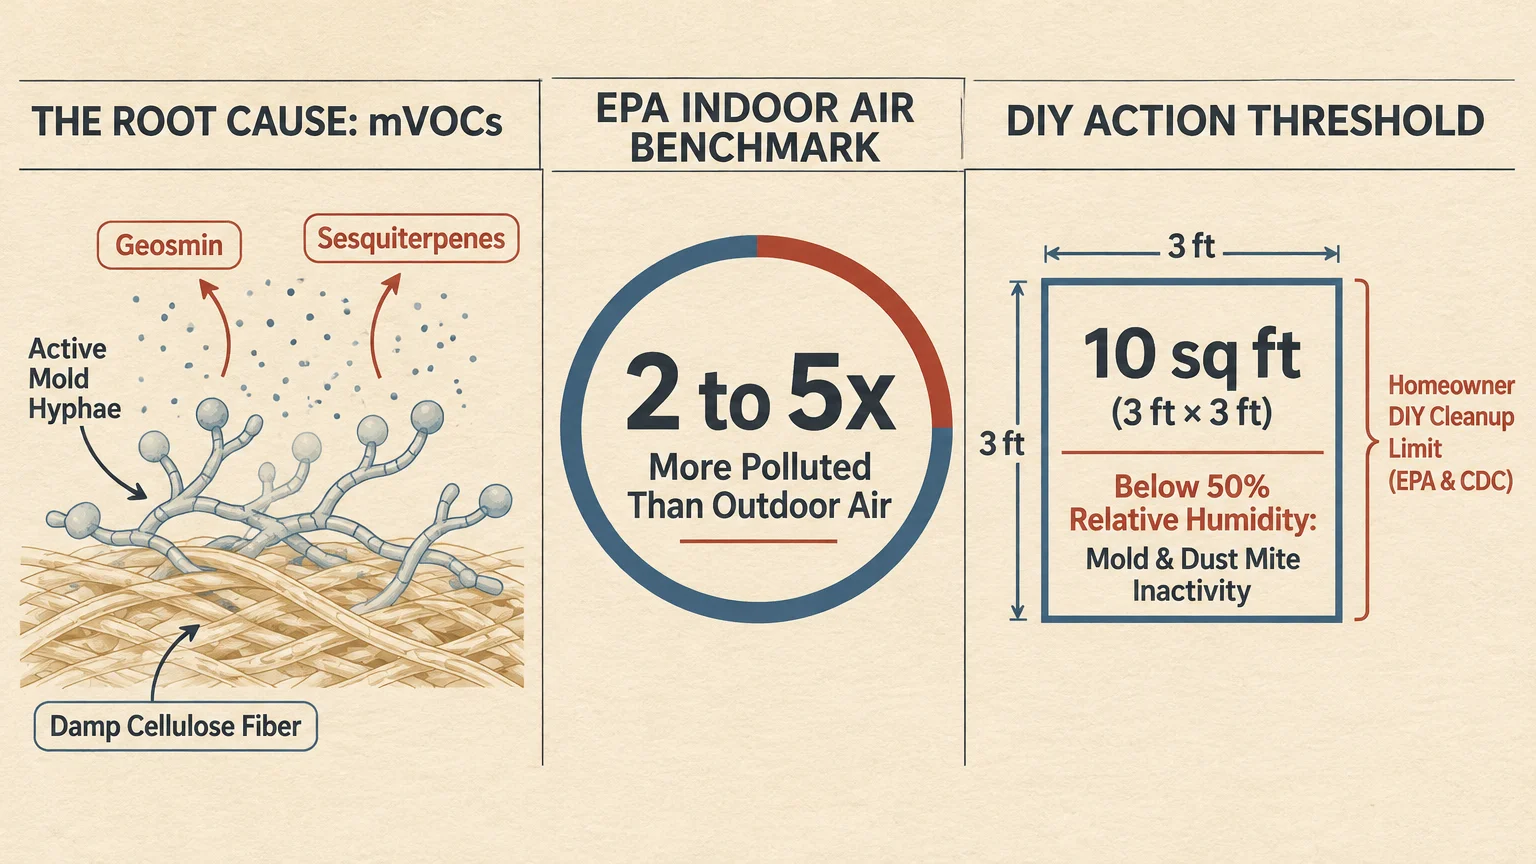
That unmistakable mold and mildew smell comes from microbial volatile organic compounds—known as mVOCs—released when active mold colonies digest damp organic materials. Compounds like geosmin and sesquiterpenes drift into your living space until you remove the moisture feeding them.
Once you dry out the area and remove the colony, odor production drops sharply. Masking the scent with sprays only covers the symptom while indoor air stays stale.
The U.S. Environmental Protection Agency (EPA) notes that indoor air can be 2 to 5 times more polluted than outdoor air. Tackling home odor removal protects your lungs, preserves drywall and flooring, and keeps repair bills from climbing.
Ideal Spaces to Tackle First
Focus on rooms where water, steam, or poor airflow meet porous surfaces. Basements, crawl spaces, bathrooms, laundry rooms, and closets along exterior walls top the priority list.
Kitchen sink cabinets, HVAC closets, and poorly ventilated mudrooms also trap dampness fast. Walking your home with your nose first lets you map every trouble spot before you spend a dime.
The Payoff of Moisture-First Odor Removal
Controlling indoor moisture solves two problems at once by eliminating odors and stopping structural decay. Dust mites cannot survive when indoor humidity stays below 50%.
Quick fixes also help you decide what you can clean yourself versus when to call a specialist. Both the EPA and CDC advise that homeowners can typically handle mold patches smaller than 10 square feet—roughly 3 feet by 3 feet.
Tools, Materials, and Prep Checklist
Before you start scrubbing or buying equipment, gather the right gear for safe cleanup and accurate diagnostics. Most items are available at local hardware stores without blowing your weekend budget.
Diagnostic and Moisture Gear
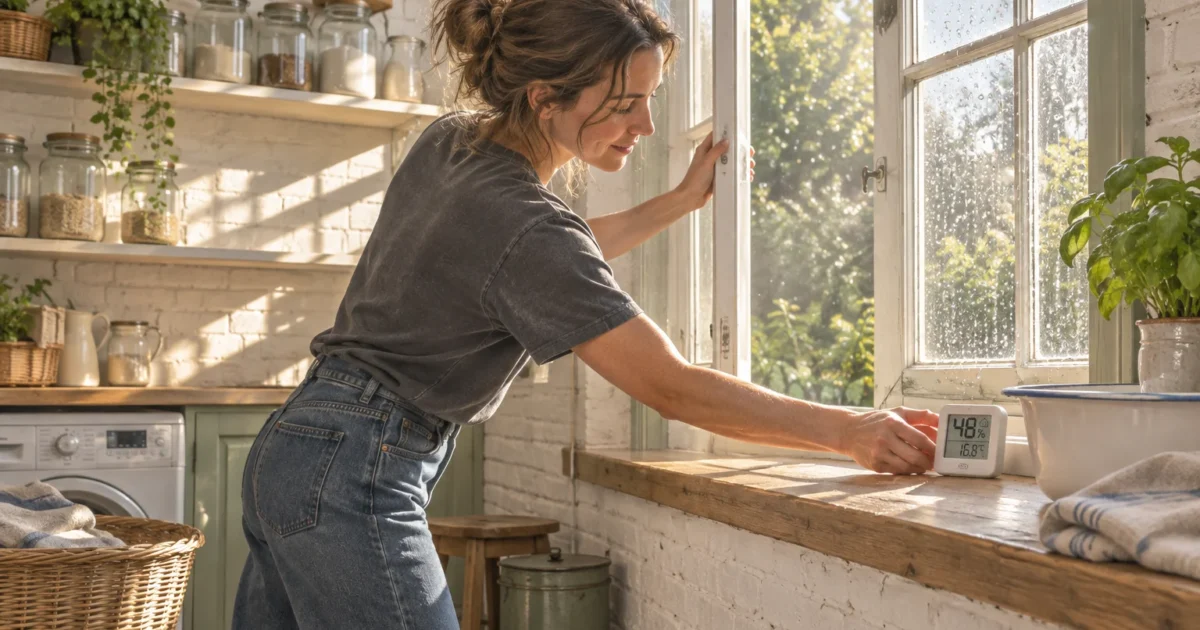
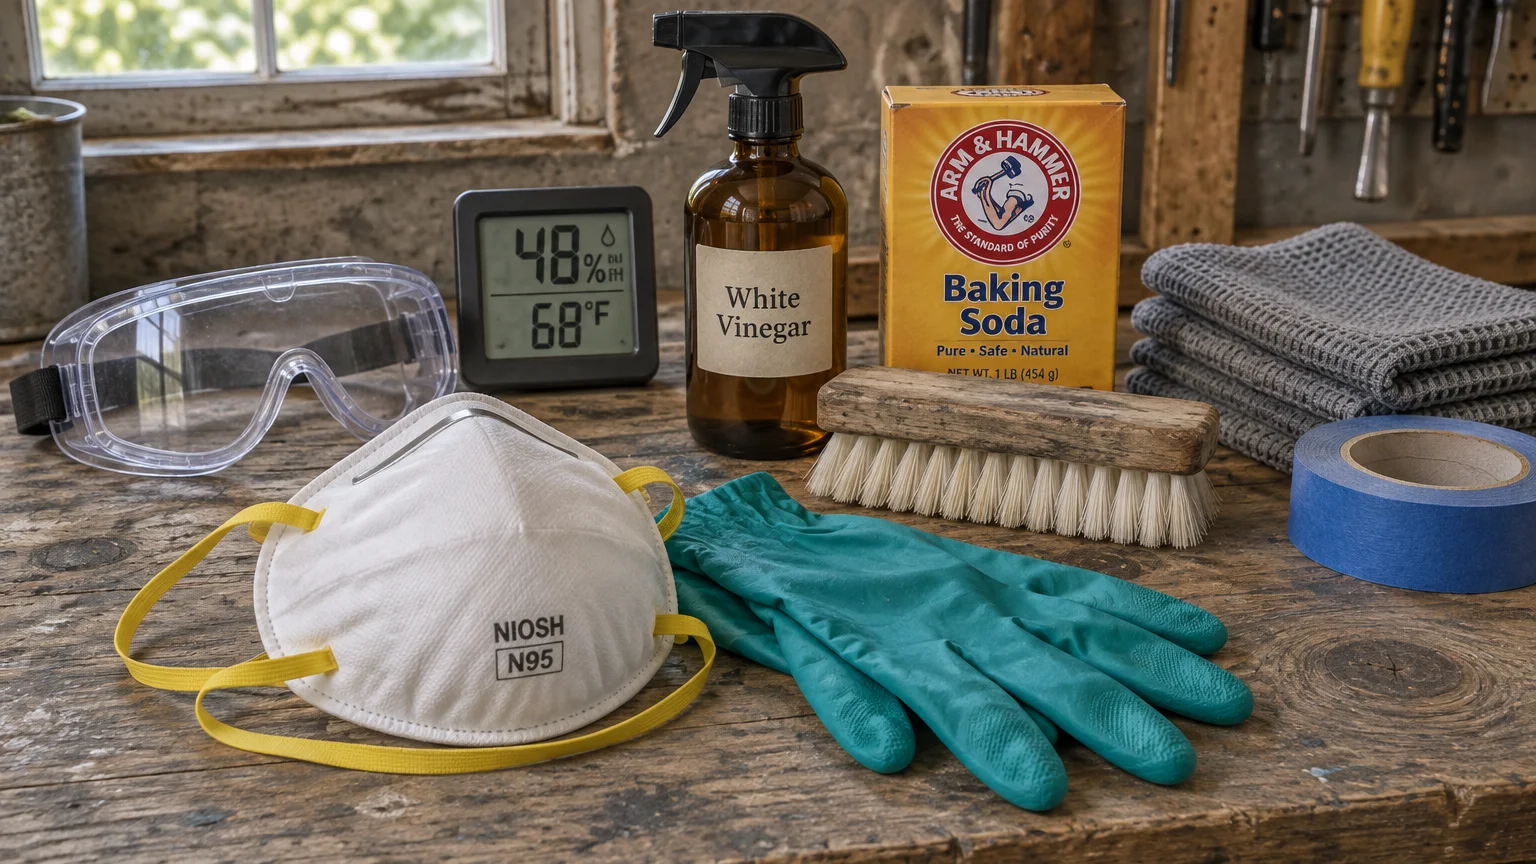
Pick up at least one digital hygrometer for around $15 to measure relative humidity (RH) room by room. Placing sensors in your basement, primary bathroom, and bedroom gives you instant data instead of guesswork.
Keep a bright flashlight and a disposable moisture barrier—like plastic sheeting and painter’s tape—on hand for inspecting dark corners under sinks. A sturdy box fan or utility blower helps speed up drying in damp rooms.
Safe Cleaning Supplies and Protective Gear
Stock up on mild household dish detergent, clean microfiber cloths, stiff-bristled nylon scrub brushes, and heavy-duty trash bags. You will also need white vinegar and baking soda for appliance descaling—never for mixing with bleach.
For mold spots under 10 square feet, both the EPA and CDC recommend wearing a NIOSH-approved N95 respirator, which filters 95% of airborne particulates. Pair your mask with non-porous nitrile, vinyl, or rubber gloves plus unvented goggles.
Air and Hardware Upgrades
Check your existing HVAC filter size so you can swap in a clean replacement right away. If dampness lingers in basements or bathrooms, plan for an ENERGY STAR-certified dehumidifier or an upgraded exhaust fan.
Bathroom exhaust fans typically retail from $50 to $500 depending on airflow capacity and sound ratings. Portable air purifiers with true HEPA and activated carbon run under $100 for small rooms up to $500 for mid-range spaces.
Prep and Chemical Safety Rules
Safety Warning: Public health agencies—including the CDC, the New Jersey Department of Health, and the Alabama Department of Public Health—warn never to mix common household cleaners. Combining bleach with vinegar or lemon juice releases toxic chlorine gas that burns eyes and lungs.
Mixing bleach with ammonia creates toxic chloramine gas, while mixing bleach with rubbing alcohol forms toxic chloroform. Combining hydrogen peroxide and vinegar produces corrosive peracetic acid.
Open windows, run exhaust fans, and keep children, pets, and anyone with asthma, COPD, allergies, or weakened immune systems out of cleanup zones. Always keep one cleaner in its own bucket and rinse thoroughly before switching methods.
Step-by-Step Instructions
Work through these seven phases in order so you stop moisture first, remove existing contamination safely, and lock in cleaner air. Skipping straight to air purifiers without drying the room wastes filter life and electricity.
Way 1: Measure Humidity and Dry Out Damp Zones Within 48 Hours
Set your $15 digital hygrometer in your mustiest room and wait for a steady reading. The EPA recommends keeping indoor relative humidity below 60% and ideally between 30% and 50%, while the CDC advises staying no higher than 50% all day.
ASHRAE Standards 55 and 62.1 similarly recommend 30% to 60% RH and keeping dew-point temperatures below 60°F during unoccupied hours. If readings climb above 50% or 60%, hunt down plumbing drips, wet bath mats, or foundation seepage immediately.
Both the EPA and CDC state that wet or water-damaged materials must dry completely within 24 to 48 hours to stop mold growth. Aim fans across damp concrete or subflooring and run an ENERGY STAR dehumidifier—which uses 20% less energy under the October 1, 2025 specification.
Troubleshooting Tip: If humidity stays high in a closed closet or basement after drying visible spills, check exterior grading and downspout extensions outside that wall. Rainwater pooling against your foundation forces moisture straight through porous masonry.
Way 2: Scrub Surface Mold With Detergent and Water
Suit up with your N95 respirator, unvented goggles, and rubber gloves before touching any visible grime. For hard, non-porous surfaces like tile, glass, sealed wood, and concrete, the EPA recommends scrubbing mold off with detergent and water and drying completely.
Notice that the EPA states chlorine bleach and other biocides are not recommended as routine cleanup cleaners. Bleach cannot penetrate porous wood or drywall to reach deep mold roots, and dead spores still trigger allergic reactions unless you scrub them away.
If you choose to disinfect a non-porous surface after scrubbing, follow the CDC maximum dilution limit of 1 cup—8 ounces—of household laundry bleach per 1 gallon of water. Never paint or caulk over mold, because the EPA warns that paint will peel over active growth.
Safety Callout: Stop immediately if a mold patch exceeds 10 square feet, hides inside wall cavities, or smells like sewage after flooding. Larger jobs call for qualified pros following commercial EPA mold remediation guidelines.
Way 3: Upgrade Bathroom and Kitchen Exhaust Ventilation
Hot showers and boiling pots pump gallons of water vapor into drywall, ceilings, and hallway closets every week. When exhaust fans wheeze or vent into the attic instead of outdoors, your home traps humid air and grows mildew behind baseboards.
Test your bathroom fan by holding a single square of toilet paper near the grille while it runs. If the fan cannot hold the paper firmly against the grate, dust-clogged blades or disconnected ducting are starving your airflow.
Unplug or shut off the breaker, pop off the plastic cover, and vacuum lint off the blower wheel and motor housing. Inspect the attic to confirm your duct runs all the way outside through a roof or soffit cap—never into attic insulation.
If your unit is undersized or loud, check airflow ratings against Home Ventilating Institute (HVI) and ASHRAE Standard 62.2 benchmarks. ASHRAE 62.2 requires bathroom fans to exhaust at least 50 CFM intermittently—or 20 CFM continuously—and kitchen range hoods at least 100 CFM outdoors.
HVI recommends 1 CFM per square foot of bathroom floor area, with a 50 CFM minimum for bathrooms up to 50 square feet, delivering 8 air changes per hour. Swapping in a quiet $50 to $500 fan clears steam before odors settle into towels and trim.
Way 4: Purge Stale Air With True HEPA and Activated Carbon
Once you stop leaks and scrub surfaces, airborne spores and lingering mVOC gases can still hang in bedrooms and basements. Running the right portable air cleaner helps you get rid of odors faster while capturing stray particles.
According to the EPA, true HEPA filters trap at least 99.97% of airborne particles at 0.3 microns, including mold spores and fine dust. However, HEPA media alone lets gaseous odors pass right through.
To adsorb musty gases and VOCs, choose a unit that pairs true HEPA filtration with a thick activated carbon filter. Keep in mind that the EPA notes Clean Air Delivery Rate (CADR) ratings only measure particle removal, not gas or odor performance.
Budget under $100 for small-room purifiers covering 150 to 200 square feet, or $100 to $500 for mid-range HEPA-plus-carbon units covering 300 to 500 square feet. Heavy-carbon models for large open basements run $500 to $1,000 or more, with replacement filters averaging $41 to $55 every 6 to 8 months.
Safety Callout: Skip ozone-generating air purifiers or shock machines marketed for home odor removal. Both the EPA and the California Air Resources Board (CARB) warn against using ozone generators in occupied homes, because levels high enough to decontaminate air exceed public health limits by 5 to 10 times.
Way 5: Strip Biofilm From Your Washing Machine and Laundry
Sometimes that stubborn musty smell at home walks right out of your laundry basket and fills every closet. Researchers Kubota et al. (2012) identified the bacterium Moraxella osloensis as a primary culprit behind musty smells on poorly dried clothes.
That bacterium generates a sharp volatile compound called 4-methyl-3-hexenoic acid whenever damp fabrics sit too long in the washer or hamper. Front-loading washers also trap soap scum and lint inside rubber door gaskets, feeding slimy microbial colonies.
Pull back the rubber boot on your front-loader, wipe trapped hair and grime out of every fold, and scrub the detergent dispenser drawer with warm soapy water. Check the lower drain pump trap if your model has one, keeping a shallow pan underneath for residual water.
Research cited by the American Society for Microbiology shows bacteria and biofilm survive standard eco wash cycles below 60°C, or 140°F. Run an empty maintenance wash once a month at 60°C (140°F) minimum to break down hidden slime.
For extra mineral descaling, appliance care guides recommend placing 2 cups of white vinegar in the detergent drawer and 1/2 cup of baking soda in the empty drum on a hot cycle. Never run vinegar in the same load as chlorine bleach, and leave the washer door ajar between loads.
Way 6: Clear HVAC Filters, Coils, and Condensate Drains
Your central heating and cooling system circulates air through every bedroom, hallway, and living area multiple times a day. If your evaporator coil, condensate pan, or filter smells damp, every supply vent broadcasts that mold and mildew smell across the house.
Switch your thermostat off and slide out the return air filter to check for gray dust mats or dark moisture spots. ENERGY STAR advises checking HVAC filters monthly and replacing them at least every 3 months, noting that restricted airflow cuts system efficiency by up to 15%.
Next, follow EPA guidance by opening your air handler access panel—after shutting off the furnace breaker—to inspect the condensate drain pan underneath the indoor cooling coil. Standing water in that pan breeds slime fast and points to a clogged drain line.
Use a wet-dry vacuum on the exterior condensate drain pipe to pull out algae plugs, then flush the indoor pan with clean water to confirm smooth drainage. If you suspect slime coats the evaporator coil fins, hire a licensed HVAC technician for a coil cleaning.
Hold off on paying for whole-house duct cleaning unless you see real contamination inside the trunk lines. The EPA does not recommend routine air duct cleaning unless you find visible mold growth inside ducts, vermin infestation, or heavy debris blowing from registers.
When ductwork genuinely needs service, 2026 Angi and NerdWallet data show air duct cleaning averages $389 to $390—typically $270 to $509, or $25 to $50 per vent. The National Air Duct Cleaners Association (NADCA) estimates $450 to $1,000 for an average full-system job, so steer clear of sub-$100 bait-and-switch flyers.
Way 7: Discard Unsalvageable Porous Materials and Call Pros for Big Jobs
Some damp items cannot be saved with detergent, fans, or activated carbon alone. Both the EPA and CDC instruct homeowners to discard porous materials—including soaked carpet, padding, insulation, upholstered furniture, and swollen drywall—that stayed wet beyond the safe drying window.
Bag ruined items inside thick contractor trash bags right in the room before carrying them through clean hallways. Leaving even one damp rug pad or waterlogged cardboard box in a basement keeps feeding airborne odors.
Know when DIY cleanup crosses into professional territory so you protect your health and resale value. According to 2026 Angi national data across 7,940 projects, professional mold remediation averages $2,369, with most homeowners spending $1,223 to $3,758.
Small bathroom projects often land between $500 and $1,000, while HVAC remediation runs $3,000 to $10,000 and whole-house work reaches $10,000 to $30,000. Inspections add $250 to $350, or $400 to $700 with lab testing, though the CDC notes routine mold testing is unnecessary because all visible or smelled mold requires removal regardless of species.
Style & Finishing Touches
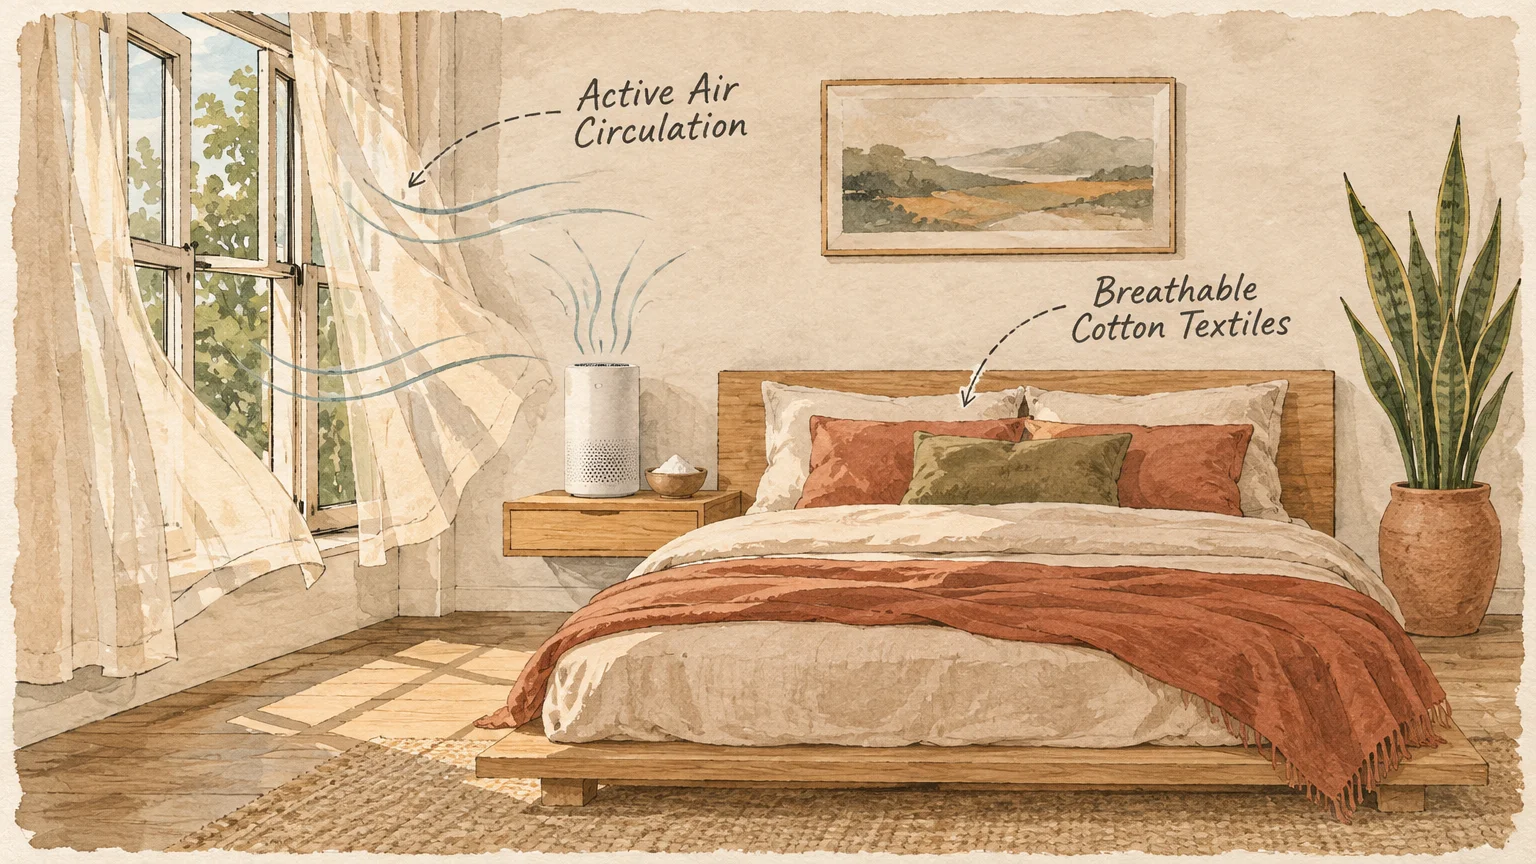
Once your home passes the sniff test, smart material and fixture upgrades keep dampness from returning while sharpening the look of your rooms. You can match these improvements to any renovation budget.
Budget-Friendly Swaps Under $100
Replace heavy fabric shower curtains and soggy foam bath mats with washable waffle-weave cotton or fast-drying stone bath mats. Swap solid wooden closet doors in damp basements for louvered doors that let conditioned air circulate around coats and shoes.
Raise cardboard storage off basement concrete by switching to open wire shelving and clear latching plastic bins. Paint cleaned bathroom and laundry walls in light, moisture-resistant satin or semi-gloss whites, warm greiges, or pale sage greens that brighten tight rooms and wipe down effortlessly.
Mid-Range Upgrades for Better Airflow
Install humidity-sensing wall switches on your bathroom exhaust fans so fans turn on automatically when steam spikes and shut off after humidity drops. Upgrading to a quieter fan with an integrated LED trim ring gives dated ceilings a crisp modern look.
Swap out rusty floor registers for powder-coated steel or matte black vent covers during your room refresh. In entryways and mudrooms, replacing wall-to-wall carpet with waterproof luxury vinyl plank or porcelain tile prevents wet boots from feeding subfloor odors.
Whole-Home Air Quality Investments
Look for ENERGY STAR-certified air purifiers, which use at least 40% less energy than standard models, and match their neutral matte housings to your room palette. Pairing an ENERGY STAR dehumidifier with a built-in drain pump lets basements run continuously into a floor drain without heavy bucket lifting.
Maintenance & Long-Term Care
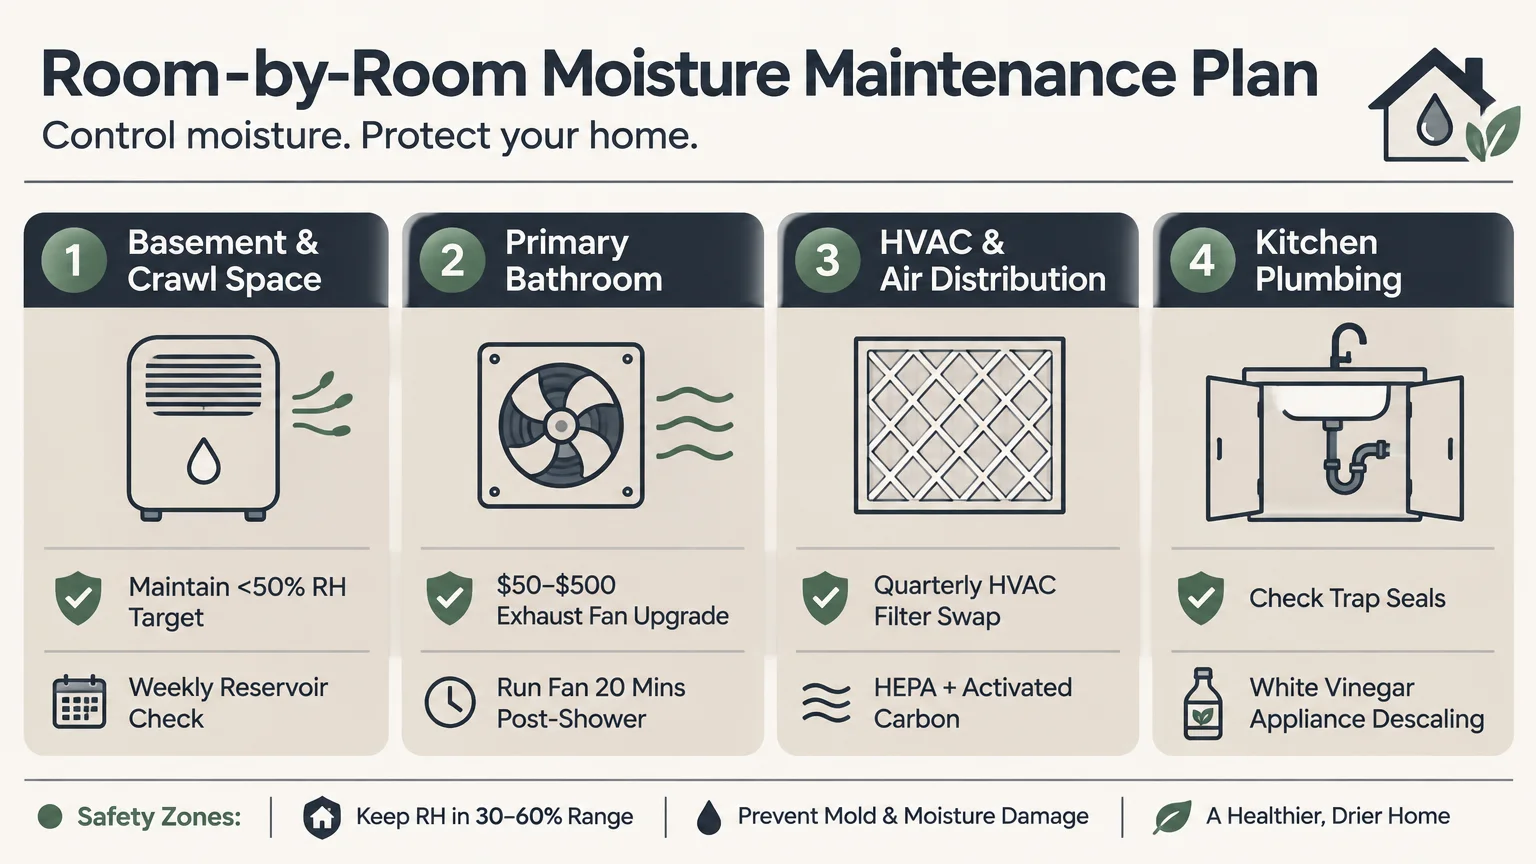
Keeping a fresh smelling home takes far less effort than chasing down entrenched mildew after a rainy season. Build quick humidity and filter habits into your normal household calendar.
Monthly Quick Checks
Glance at your digital hygrometers once a week and verify every zone sits between 30% and 50% RH. Check your central HVAC filter monthly so dust buildup never chokes airflow or stresses your blower motor.
Run your washing machine’s monthly hot maintenance cycle at 60°C (140°F) minimum and wipe the rubber door gasket dry afterward. Pour a cup of clean water into rarely used basement floor drains or guest shower traps so sewer gases cannot slip past dry P-traps.
Seasonal Prevention Habits
Every spring and fall, walk your home’s perimeter to clear leaves from gutters and confirm downspouts discharge water well away from foundation walls. Vacuum bathroom exhaust fan grilles and check outdoor vent flappers so birds or lint never block airflow.
During humid summer stretches, keep crawl space vents properly managed and verify your dehumidifier coils stay dust-free. Before storing seasonal coats, winter boots, or patio cushions, let every piece air out completely in a dry room.
FAQ
Should I test the air for mold before cleaning up a musty smell?
No, routine mold testing is usually unnecessary and slows down your cleanup. The CDC does not recommend routine mold sampling because no federal exposure limits exist, and any visible or smelled mold must be removed regardless of the species.
Can I just run an ozone machine to erase stubborn basement odors?
Avoid using ozone generators anywhere people or pets live. Both the EPA and CARB warn against ozone air cleaners in occupied homes, noting that concentrations required to sanitize air run 5 to 10 times higher than safe public health standards.
Does vinegar kill mold better than household bleach?
Neither chemical replaces physical scrubbing and moisture control. For hard surfaces, the EPA recommends scrubbing mold off with simple detergent and water, drying completely, and reserving biocides for rare cases because bleach cannot penetrate porous wood or drywall.
How can I tell if my air purifier actually removes musty smells?
Look beyond standard CADR particle scores and check the filter construction inside the unit. Per the EPA, true HEPA catches 99.97% of 0.3-micron particles like spores, while a substantial activated carbon filter bed is required to adsorb odor-causing gases and VOCs.
When should I hire a mold remediation contractor instead of cleaning myself?
Call a qualified pro whenever mold covers more than 10 square feet, hides inside wall cavities or HVAC ductwork, or stems from contaminated floodwater. You should also bring in professionals if anyone in your home has severe asthma, lung disease, or a weakened immune system.

Takeaway & Next Steps
Eliminating a musty smell at home comes down to starving microbes of moisture, scrubbing away buildup safely, and upgrading your everyday airflow. With basic protective gear, a $15 hygrometer, and smart ventilation habits, you can protect your indoor air without guesswork.
Take these three immediate steps today to start clearing the air:
1. Check your baseline humidity: Place a digital hygrometer in your dampest room and confirm readings stay below 50% to 60% RH.
2. Inspect filters and laundry seals: Swap any dusty HVAC filter and wipe down your washing machine gasket before running a hot monthly maintenance cycle.
3. Tackle small trouble spots safely: Put on gloves and an N95 mask to scrub mold patches under 10 square feet with detergent and water, then dry everything within 24 to 48 hours.
Did you knock out a stubborn basement or bathroom odor this weekend? Share your before-and-after project photos with fellow readers or subscribe to TheAmericanHouse.com for practical weekly renovation and home maintenance ideas.