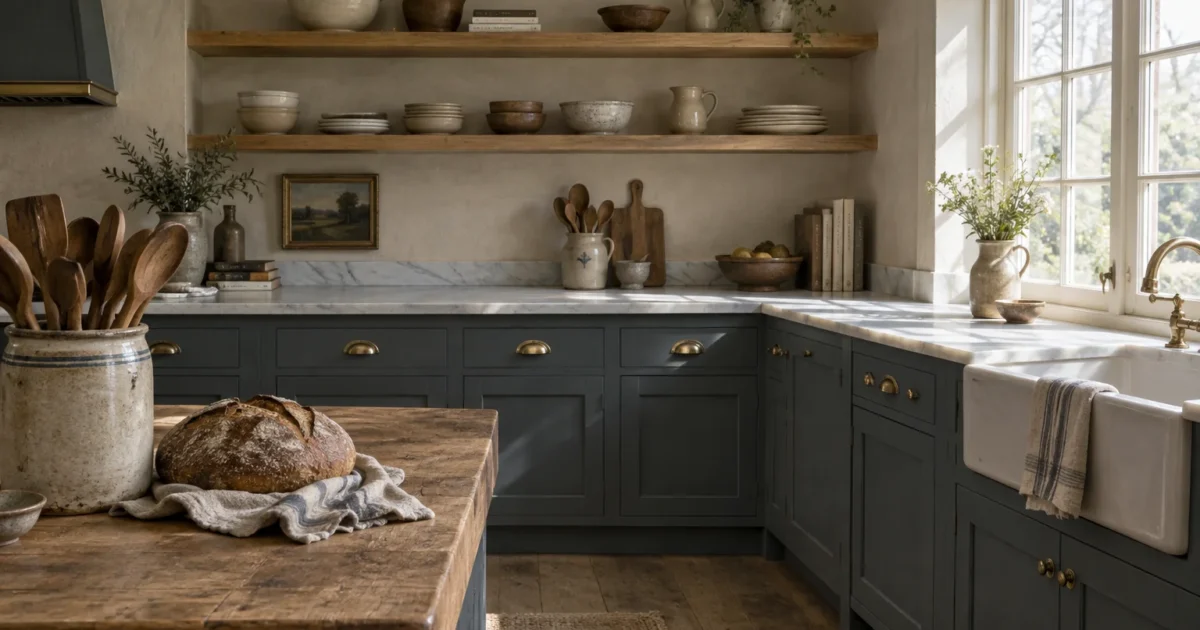
You can transform your kitchen into an enduring space that never goes out of style. Choosing the right paint scheme protects your renovation budget and elevates your daily cooking routine.
Flashy color fads fade quickly, leaving homeowners stuck with dated cabinetry and expensive remodel regrets. Investing in kitchen colors that last ensures your space remains fresh, functional, and inviting across decades.
Discover practical kitchen paint ideas, smart preparation tips, and professional finishing methods. This hands-on roadmap guarantees your classic kitchen design withstands heavy daily use with effortless grace.
Project Overview & Why It Matters
Kitchens serve as the hardworking centerpiece of modern home life. Designing with proven kitchen color palettes delivers maximum visual impact without exposing you to expensive stylistic mistakes.
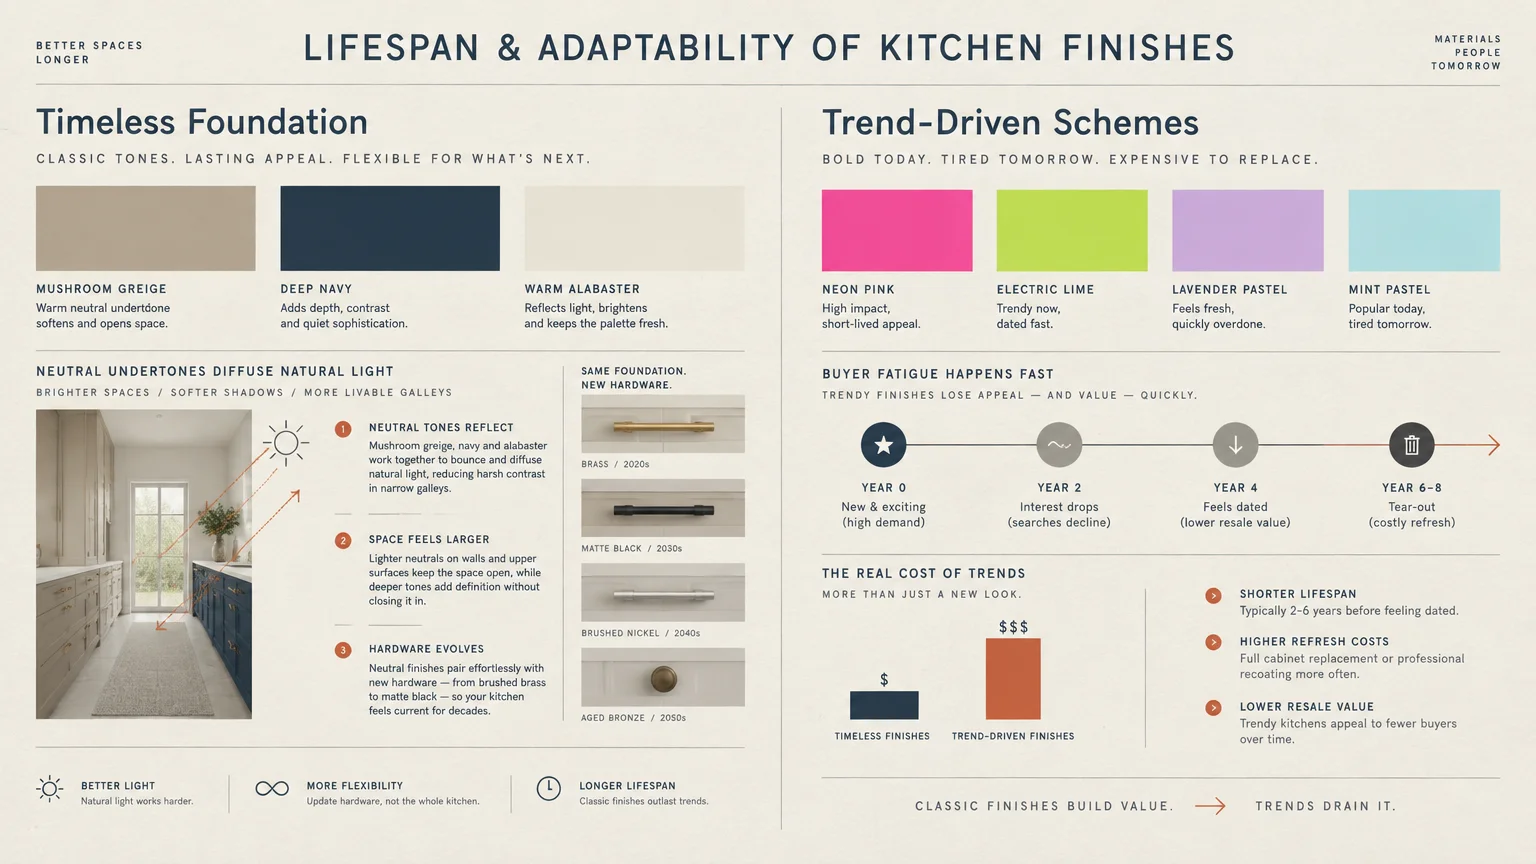
A timeless aesthetic directly protects your property equity over time. Potential home buyers gravitate toward balanced, neutral tones that accommodate their personal taste without requiring an immediate tear-out.
Classic schemes simplify ongoing maintenance and hardware updates. A balanced foundational shade lets you swap seasonal accents, counter stools, and lighting fixtures without repainting your entire room.
Replacing kitchen cabinetry completely can cost tens of thousands of dollars. Refinishing solid wood boxes with resilient enamel achieves a showroom appearance at a tiny fraction of that expenditure.
Color choices also dictate how natural light travels through your living spaces. Lighter classic hues bounce ambient sunshine across narrow galleys, while richer tones supply architectural substance to expansive floor plans.
Tools, Materials, and Prep Checklist
Flawless paint finishes rely on thorough surface prep work rather than application speed. Gathering your supplies ahead of time keeps your workspace organized and prevents costly project delays.
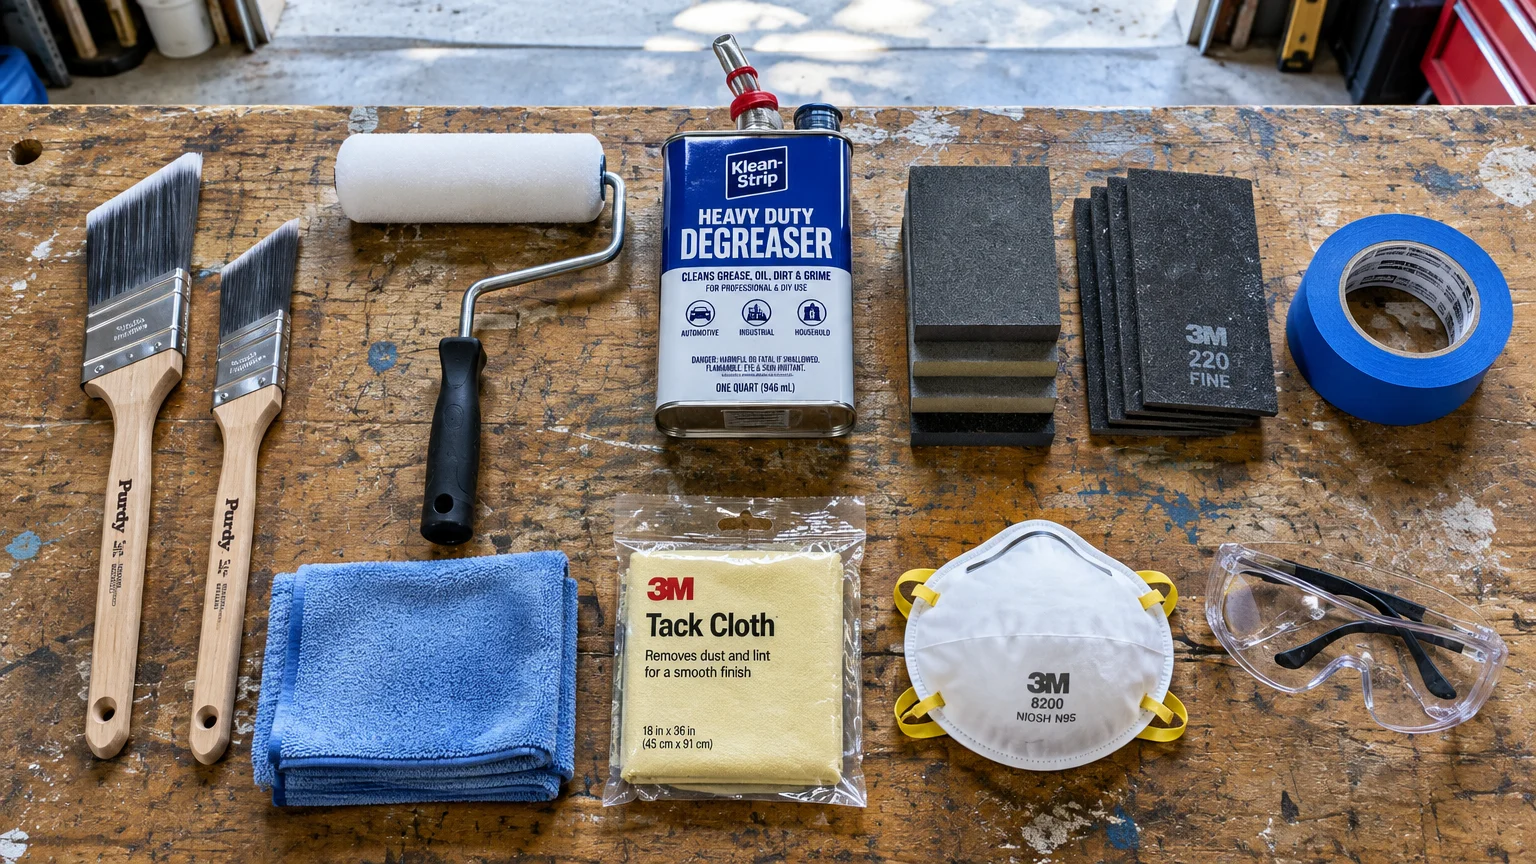
Equip yourself with premium angled sash brushes and high-density foam rollers. These specialized tools lay down smooth coats on flat cabinet panels without leaving heavy stipple textures.
Stock up on painter tape, canvas drop cloths, medium sanding blocks, and fine sanding sponges. Clean microfiber rags and tack cloths are essential for eliminating airborne dust particles.
You need a heavy-duty degreasing cleaner to strip stubborn cooking oils from cabinet frames. The Environmental Protection Agency provides helpful guidance on choosing non-toxic household cleaning agents.
Select an oil-based or dedicated acrylic bonding primer formulated for slick cabinetry. Standard drywall primers cannot provide the necessary adhesion required for heavy culinary friction points.
Purchase a waterborne alkyd or cabinet-grade enamel topcoat. Leading paint manufacturers like Sherwin-Williams engineer these coatings to level out smoothly and resist kitchen grease.
Safety equipment must remain your highest priority throughout the preparation phase. Wear snug nitrile gloves, splash goggles, and an approved particulate respirator during all sanding operations.
Review safety recommendations from the Occupational Safety and Health Administration regarding indoor air quality and ventilation. Position an exhaust fan in an open window to remove fumes.

Step-by-Step Instructions
Phase 1: Disassembly and Deep Cleaning
Start by removing every cabinet door, drawer face, and piece of hardware. Number each hinge and door location using blue painter tape to ensure smooth reassembly later.
Set up a dedicated drying station in your garage or an unused spare room. Protect floors and worktables with heavy canvas drop cloths rather than slippery plastic sheeting.
Scrub every surface thoroughly using your degreaser mixed with warm water. Concentrate on areas surrounding your cooktop and range hood where grease mists accumulate unnoticed.
Rinse the wood thoroughly with damp cloths to remove chemical residue. Allow all components to dry completely before you touch them with sandpaper.
Phase 2: Surface Repair, Sanding, and Priming
Inspect all frames and doors for gouges, dents, or stripped hinge holes. Fill blemishes with sandable wood filler, smoothing each patch slightly proud of the surface with a putty knife.
Scuff-sand all faces and cabinet face frames using medium sanding sponges. You only need to dull the factory gloss to give your new primer physical grip.
Vacuum all sanding debris with a brush attachment, then wipe the surfaces with a tack cloth. Skipping dust removal produces a rough, pebbled texture on your final topcoat.
Apply your bonding primer evenly, working in the natural direction of the wood grain. Use your angled sash brush for detailed trim grooves and foam rollers for wide panels.
Let the primer cure fully according to the manufacturer specifications. Rushing the recoat timeline traps underlying moisture and causes premature paint peeling down the road.
Phase 3: Paint Application and Curing
Sand your cured primer lightly with fine-grit sandpaper to eliminate raised wood grain. Clear away dust using a fresh tack cloth before opening your enamel paint can.
Apply your first coat of cabinet enamel in thin, uniform strokes. Two or three thin coats cure far harder and look smoother than a single heavy coat.
Check for runs or drips immediately along panel corners and edges. Smooth them out right away with a dry brush tip before the enamel begins to tack up.
Allow the first coat to dry overnight before applying your final finish layer. Maintain consistent room temperatures and low humidity to support proper chemical curing.
Store any paint-soaked rags safely in a water-filled, sealed metal container. This critical safety step prevents spontaneous combustion risks associated with curing oil-based and alkyd materials.
Let the painted pieces cure undisturbed for several days before mounting hardware. Rehang your doors carefully according to your numbering system to avoid scratching the fresh enamel.
Style & Finishing Touches
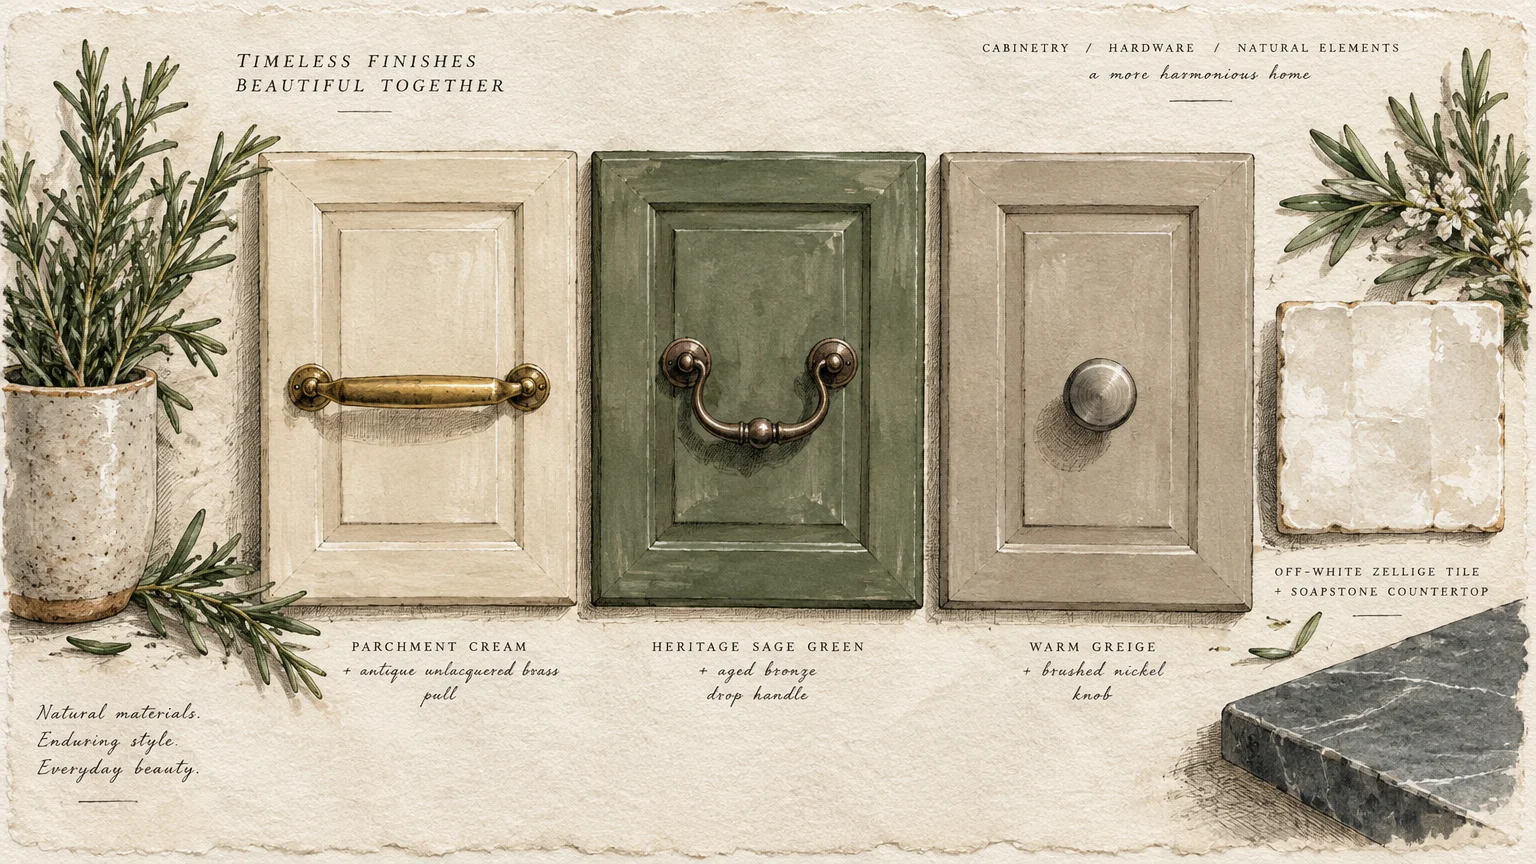
Choosing classic kitchen design concepts protects your home against rapid aesthetic obsolescence. Below are eleven timeless kitchen colors that maintain their beauty through every passing season.
1. Crisp Warm White and Polished Brass
Warm white delivers timeless clarity without the harsh clinical glare of pure stark white. Its delicate creamy undertones capture natural sunlight and brighten shadowy room corners.
Pair this shade with unlacquered brass pulls, white quartz, and warm butcher block accents. Natural white oak flooring provides the perfect foundation to balance the luminous cabinetry.
2. Classic Navy and Bright Marble
Navy blue provides rich visual grounding while remaining softer than deep jet black. It adds handsome weight when applied to kitchen islands or lower base cabinets.
Contrast navy woodwork against crisp white Carrara marble surfaces and polished nickel cabinet latches. Light hardwood floors and glossy white subway tiles prevent the dark navy from feeling heavy.
3. Soft Sage Green and Muted Gold
Sage green bridges interior living areas with outdoor natural gardens. This muted botanical tone functions as an organic neutral that feels both calming and grounded.
Combine sage cabinetry with brushed gold hardware, cream quartz countertops, and honed limestone backsplashes. Natural white oak floating shelves emphasize the botanical, organic atmosphere.
4. Charcoal Gray and White Subway Tile
Charcoal gray delivers substantial architectural drama without darkening your entire kitchen perimeter. It anchors open-concept rooms and creates clear focal definitions.
Offset charcoal base units against bright white subway tile finished with light gray grout. Polished chrome fixtures and medium-toned oak flooring provide bright, reflective balance across the perimeter.
5. Creamy Ivory and Natural Walnut
Creamy ivory provides a soft, welcoming glow that flatters traditional moldings and raised panels. It avoids yellow cast while creating a comfortable, lived-in character.
Anchor ivory wall cabinets with an island crafted from rich, unstained walnut. Matte black cup pulls and dark honed soapstone counters offer gorgeous tactile contrast against the creamy woodwork.
6. Coastal Blue-Gray and Slate
Blue-gray brings the relaxed tranquility of coastal living into inland family homes. Its subdued gray undertone prevents the color from resembling bright nursery paint.
Pair blue-gray doors with dark honed slate counters and antique pewter pulls. Vertical beadboard backsplashes and whitewashed pine flooring complete the serene coastal aesthetic.
7. Forest Green and Honed Soapstone
Forest green offers historical dignity and rich depth that honors historic architecture. This heritage shade commands attention without ever feeling gimmicky or trendy.
Pair rich green cabinets with dark charcoal soapstone and aged brass bridge faucets. Brick floor pavers or warm terracotta tiles complement this moody, English-inspired design.
8. Greige and White Oak
Greige merges the comforting warmth of beige with the sleek tailoring of modern gray. It shifts organically throughout the day as natural window lighting changes.
Unite greige cabinetry with quarter-sawn white oak flooring, textured limestone, and creamy composite countertops. Brushed bronze hardware adds subtle contrast without overpowering the soft palette.
9. Monochromatic Warm White on Off-White
Layering closely related white tones creates complex visual texture without harsh contrast. Paint trim, walls, and millwork in varying sheen levels of the same basic formula.
Pair satin-finish cabinets with handmade glossy zellige backsplash tiles and tumbled travertine floors. The shifting surface reflections keep monochromatic rooms lively, luminous, and visually engaging.
10. Dove Gray and Carrara White
Dove gray offers a gentle, whisper-soft neutral that flatters rooms with limited window openings. It highlights detailed door profiles while reflecting abundant artificial light.
Incorporate fine gray marble veining across your countertops and backsplashes to tie the palette together. Clear glass cabinet knobs and polished chrome faucets introduce vintage sparkle against the soft gray backdrop.
11. Deep Espresso and Cream
Deep espresso wood finishes provide timeless luxury when balanced by surrounding bright elements. Rich dark stains showcase natural grain patterns while anchoring your layout.
Keep perimeter walls and backsplashes creamy white to maintain open visual space. Pair espresso island cabinetry with warm brass hardware and under-cabinet task lighting to illuminate dark corners.
Budget Upgrades and Hardware Variations
Hardware updates provide immediate visual dividends for minimal upfront spending. Replacing builder-grade pulls with solid forged brass transforms standard cabinetry instantly.
Install continuous LED light strips beneath upper cabinet runs to highlight your new paintwork. Quality task illumination enhances visibility during evening cooking and elevates ambiance.
Add simple crown molding along standard stock cabinets before applying your primer. This custom trim detail delivers high-end custom millwork appeal on a standard DIY budget.
Swap outdated plastic outlet covers for matching screwless wall plates. Clean switch covers maintain crisp lines across newly painted walls and tiled backsplashes.
Maintenance & Long-Term Care
Preserving painted cabinetry requires gentle cleaning routines and prompt spill management. Aggressive chemical cleaners quickly degrade specialized enamel topcoats and dull their luster.
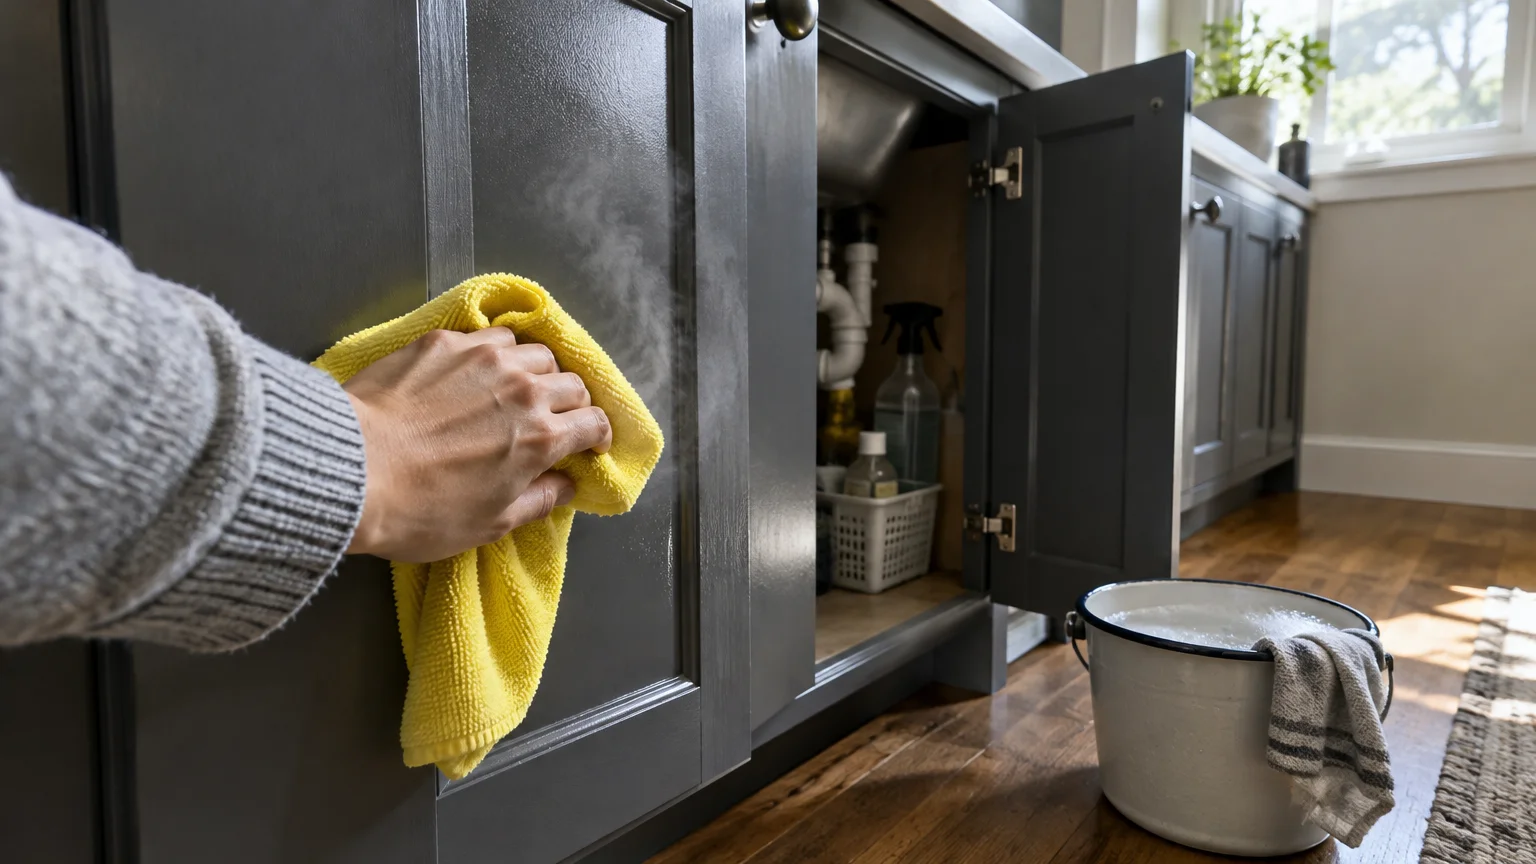
Wash your cabinet surfaces with warm water and mild liquid dish soap using soft microfiber cloths. Avoid harsh abrasive scouring pads that leave fine scratch patterns in the finish.
Wipe away steam, grease, and liquid splashes immediately after every cooking session. Unchecked moisture around dishwashers and sinks weakens paint adhesion and swells underlying wood fibers.
Inspect hinge screws and drawer glides once each year to tighten loose fittings. Proper alignment prevents cabinet doors from rubbing together and chipping their painted perimeters.
Replace worn clear bumper pads on door corners to cushion daily slamming. Fresh silicone bumpers absorb closing impact and safeguard delicate paint edges from chipping.
Transfer leftover paint into clean glass canning jars and store them in conditioned interior spaces. Clearly write the formula name, brand, and date on the jar lid.
Repair small paint chips promptly with a fine artist brush to seal the exposed substrate. Sealing chips immediately stops moisture from traveling beneath adjacent paint coatings.
FAQ
What kitchen cabinet color has the highest resale value?
Warm white and light cream cabinetry consistently yield the highest return on investment. Home buyers view neutral kitchens as clean, spacious, and immediately adaptable to their own personal furnishings.
Neutral perimeters let buyers visualize their personal decor without factoring in immediate remodel expenses. This broad aesthetic appeal makes white palettes the most reliable choice for protecting equity.
What paint sheen is best for kitchen cabinets?
Satin and semi-gloss enamels provide the ideal balance of durability and surface aesthetics. They clean easily and resist steam without accentuating minor wood flaws like high-gloss finishes do.
Satin offers a modern, velvety look, while semi-gloss delivers superior scrub resistance around trash pulls. Avoid flat or matte sheens, which trap grease and burnish under scrubbing.
How do I test paint colors in my kitchen lighting?
Paint generous sample boards and position them near windows and shadowy corners. Track how changing daylight and artificial fixtures alter the undertones over several days.
Evaluate your swatches under your actual kitchen light bulbs at night. Warm LED bulbs amplify yellow undertones, while cool bulbs highlight blue and gray pigments.
Can I repaint cabinets without stripping the old finish completely?
Yes, you do not need to strip bare wood if the existing coating adheres firmly. Simply wash away grease, scuff-sand the surface gloss, and apply a premium bonding primer.
Chemical stripping is only necessary if your current finish is peeling, flaking, or crazing badly. Sound existing paint provides a stable base once deglossed and primed properly.
When should I hire a professional kitchen painter?
Hire an expert contractor if your cabinet doors suffer from severe veneer peeling or structural rot. Professionals also possess commercial spray equipment that delivers glass-smooth finishes quickly.
If you lack the time or dedicated workspace for extensive disassembly, professional crews save weeks of disruption. Evaluate written estimates and past portfolio examples before signing any contract.
Takeaway & Next Steps
Selecting enduring kitchen color palettes protects your renovation investment and brings daily joy to your home. Careful prep work, proven materials, and thoughtful color pairing guarantee long-term success.
Begin your kitchen project right now by following these three direct actions:
Order sample pots of your top three color choices and paint oversized test boards to observe your room lighting.
Audit your existing cabinet boxes, doors, and hardware to compile a thorough repair and materials shopping list.
Visit your local home improvement retailer to secure quality degreasing agents, bonding primer, and respiratory protection gear.
We invite you to share your finished project photos with our enthusiastic reader community. Subscribe to our weekly renovation newsletter for practical advice, tool comparisons, and fresh home remodeling inspiration!