Step-by-Step Instructions
Building a successful backyard pollinator garden requires systematic execution. Following a structured layout process prevents plant overcrowding, reduces long-term weeding tasks, and establishes strong root networks during the first growing season.
Phase 1: Site Selection and Soil Assessment
Choose a planting location that receives at least six full hours of direct sunlight daily; most high-nectar perennials require full sun to yield maximum sugar concentrations. Avoid low-lying areas where standing water lingers after summer storms. Take soil core samples from a depth of four to six inches throughout your intended bed area, mixing them in a clean container. Most native pollinator friendly plants thrive in slightly acidic to neutral soil with a pH ranging between 6.0 and 7.2.
Phase 2: Bed Preparation and Sheet Mulching
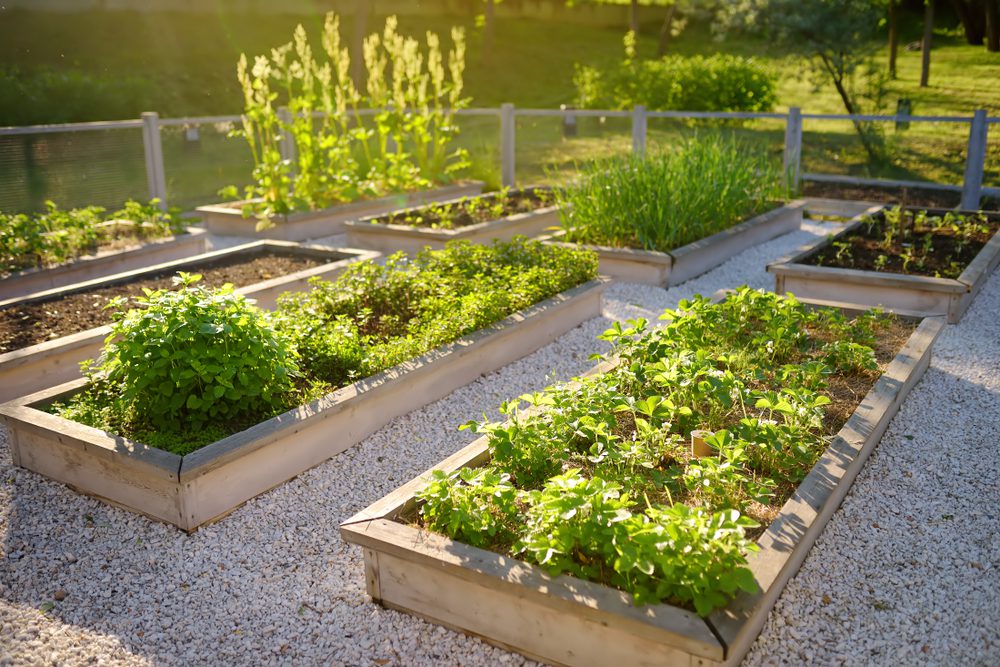
Outline your garden footprint using a garden hose to establish clean, curving borders. Always call 811 to locate underground utility lines before digging. Remove existing lawn grass using a flat spade to slice just below the root crown; alternatively, lay four layers of plain corrugated cardboard directly over the sod. Cover the cardboard with three inches of organic compost to smother turf grass while building rich earthworm activity without disrupting native soil structure.
Phase 3: Plant Layout and Spacing
Arrange potted plants directly on top of prepared soil before digging holes. Space individual perennials 18 to 24 inches apart on center to accommodate mature spread. Cluster identical plant species in odd-numbered groupings of three or five; broad massings of color help foraging bees locate target nectar sources quickly from the air. Position taller species like showy goldenrod toward the rear, mid-sized coneflowers in the center, and low-growing black-eyed Susans along the front border.
Phase 4: Excavation and Planting
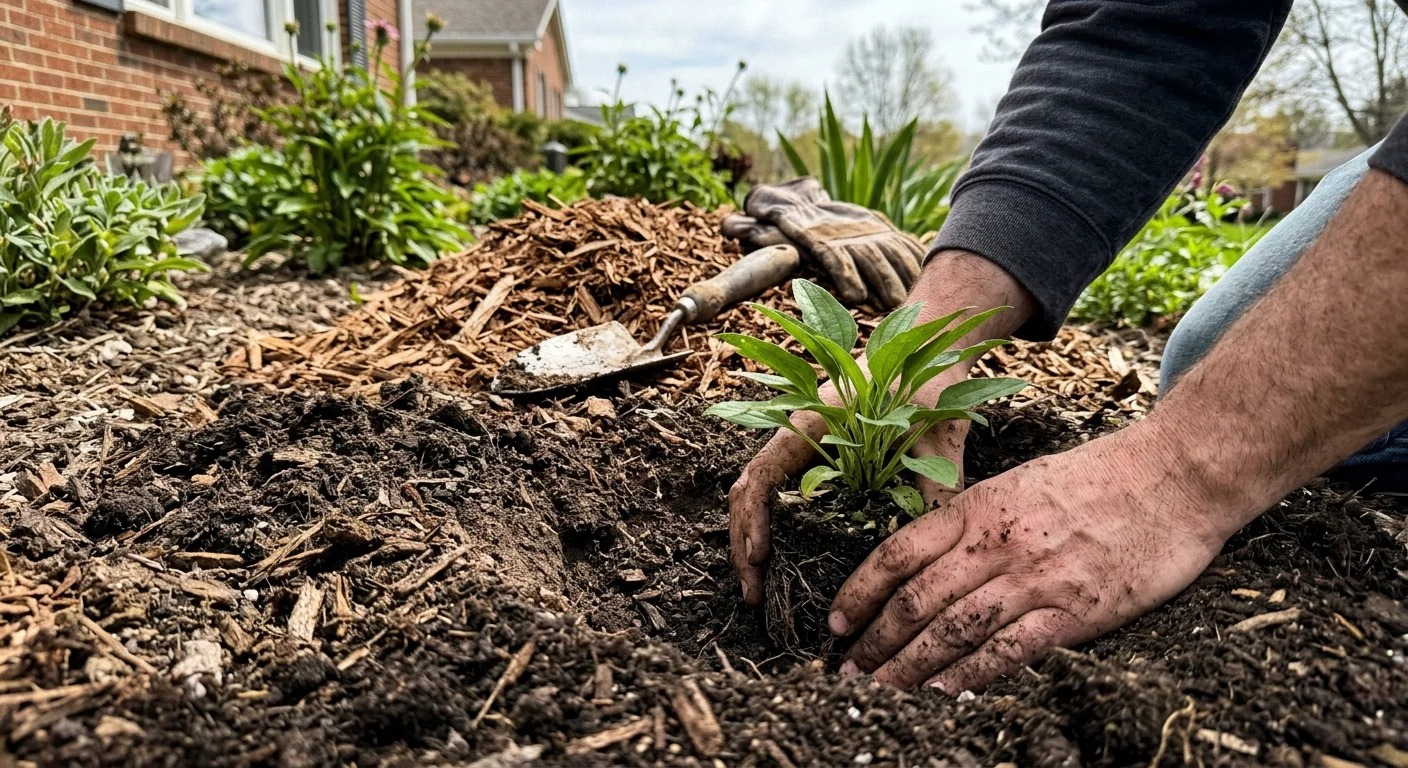
Dig each planting hole twice as wide as the nursery container but equal in depth. Gently tease root balls that wrap tightly around the container perimeter using clean fingers to encourage outward root growth. Set the plant into the hole so the soil line matches the nursery container level, backfilling with a 50/50 mix of native soil and organic compost while firming gently to eliminate air pockets.
Phase 5: Mulching and Initial Care
Spread a two-inch blanket of shredded hardwood mulch across the bed, keeping mulch two inches away from direct stem bases to prevent rot. Saturate the entire garden thoroughly using a soaker hose for 45 minutes to settle the soil around newly planted roots.