Step-by-Step Instructions
Transforming a cluttered residence requires a disciplined, methodical approach. Follow this structured four-phase home decluttering checklist to systematic reclamation without creating chaotic bottlenecks in active living zones.
Phase 1: Establish Your Central Staging Command Center
Clear a dedicated six-foot by six-foot floor space to serve as your central processing hub. Mark four distinct quadrants using floor tape or pre-labeled staging boxes: Keep, Donate, Trash, and Relocate. Position your safety gear, labeling supplies, and waste bags directly at this processing station before touching any stored items.
Maintain clear emergency egress pathways across hallways and stairwells throughout this phase. Never stack heavy containers or loose items on stair steps or directly in front of doorway doors, breaker boxes, or furnace units.
Phase 2: Execute the Four-Box Sorting Method
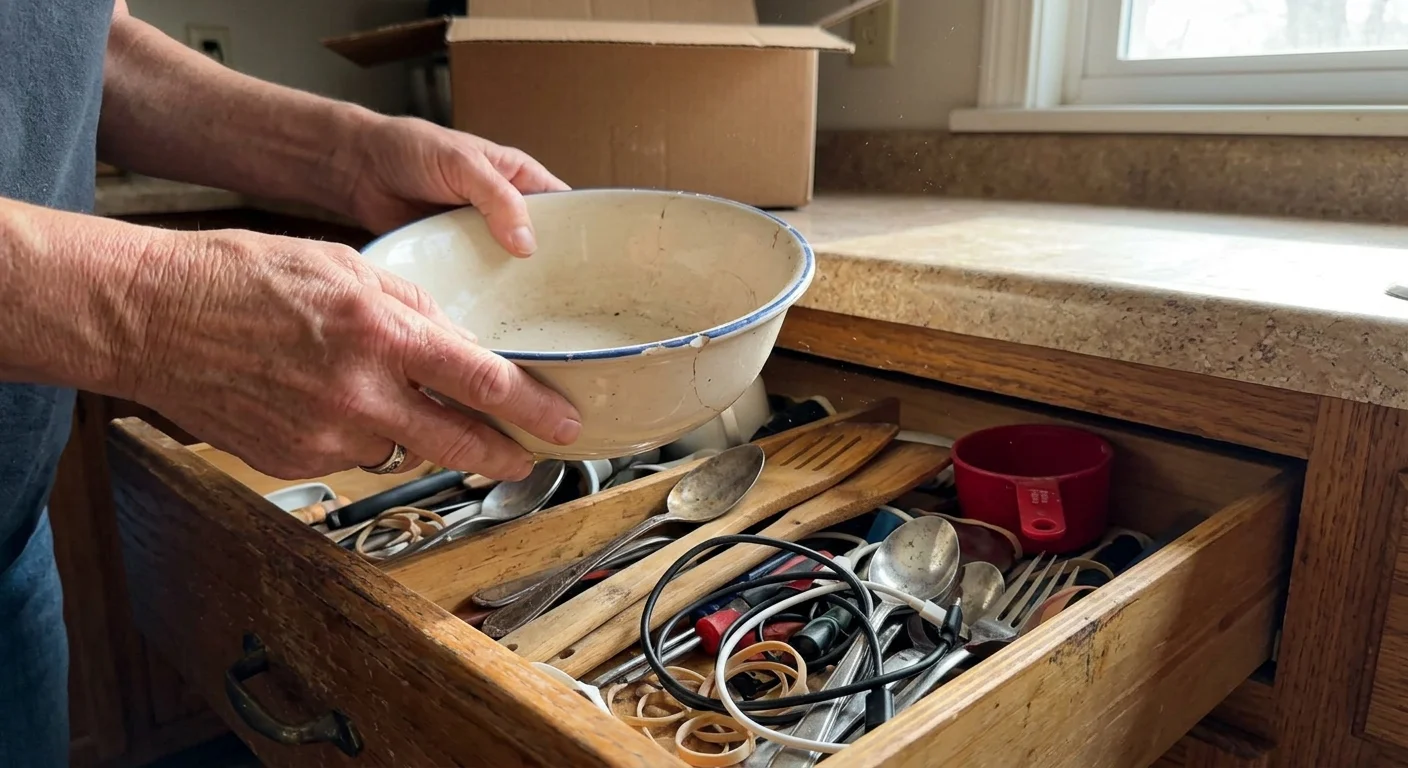
Target a single room at a time, starting with low-emotion, high-utility spaces like a main coat closet or pantry before attempting high-sentiment areas like photo storage. Pick up every single item in the target zone exactly once and force an immediate decision using these structured criteria:
Assign items to Keep only if you have used them within the past twelve months, if they function correctly, and if you possess a specific, dedicated storage location for them.
Assign items to Donate if they remain functional, clean, and complete, but no longer serve your active lifestyle.
Assign items to Trash if they are broken beyond economic repair, missing vital structural components, or pose hygiene risks.
Assign items to Relocate if they belong in a completely different room within the house, placing them immediately into the relocation box for late-stage distribution.
If decision paralysis slows your progress, implement a systematic troubleshooting rule: place questionable items into a sealed holding box, write a date six months in the future on the label, and store it out of sight. If you do not retrieve any item from that box within six months, donate the sealed box intact without re-examining its contents.
Phase 3: Clean and Sanitize Bare Storage Systems
Once you completely empty a closet, cabinet group, or room section, pause the sorting process to execute structural maintenance. Vacuum dust and debris from deep corners, wipe down shelving units with microfiber cloths and multi-surface cleaner, and check walls for water damage, pest activity, or peeling paint.
When working inside damp basements or dark attics, inspect exposed joists and back cabinet walls for microbial growth. Address moisture issues immediately with adequate ventilation and dehumidification before placing clean household items back into the space.
Phase 4: Repopulate Using High-Efficiency Categorization
Reintroduce your retained items into your freshly cleaned spaces using visual ergonomics. Place heavy items and high-frequency essentials between knee and shoulder height to simplify daily access and reduce body strain. Store rarely used seasonal items or secondary supplies on upper shelves or under-bed storage systems.
Label every tote, shelf drawer, and storage basket explicitly using clear typography. Specific labels eliminate guesswork, ensuring that every member of your household knows precisely where items belong during daily cleanups.