Step-by-Step Instructions
Detail 1: Modernize Cabinet and Door Hardware
Replacing flimsy, tarnished hardware instantly elevates your cabinetry and interior doors. Heavyweight pulls crafted from solid brass, forged iron, or matte stainless steel give lightweight doors a substantial, high-end feel.
Remove existing hardware carefully with a hand screwdriver to avoid stripping the wood threads inside the cabinet face. If your new pulls have different hole spacing, fill the old holes with wood filler before drilling fresh mounting points.
Align interior door levers horizontally so they match across your entire hallway. For consistent placement across kitchen cabinets, use an adjustable plastic drilling template to position every pull at the exact same height.
If screws feel loose in hollow interior doors, insert a wooden toothpick coated with wood glue into the hole before driving the screw. This simple trick provides instant bite for the fastener without splitting the jamb.
Detail 2: Standardize Lighting and Color Temperature
Mismatched light bulbs ruin the visual harmony of even the most stylish living areas. Mixing cool blue daylight bulbs with warm yellow incandescent bulbs creates visual clutter and harsh shadows.
Standardize all ambient fixtures across the room using 2700K to 3000K warm white LED bulbs. Review certification standards from ENERGY STAR to choose energy-efficient bulbs with a high Color Rendering Index (CRI 90+).
Install digital LED dimmer switches to gain full control over the room’s mood from morning to evening. Always turn off the corresponding breaker at the main electrical panel before removing old switches.
Troubleshoot flickering bulbs by confirming that your dimmer switch is explicitly rated for dimmable LED loads. Standard legacy dimmers designed for incandescent bulbs often cause modern LED drivers to hum or pulse noticeably.
Detail 3: Reposition Window Treatments for Architectural Height
Hanging curtain rods directly against the window frame cramps your space and makes ceilings feel low. Mounting drapery high and wide creates the illusion of towering ceilings and expansive exterior windows.
Position your curtain rod 4 to 6 inches above the upper window molding, or just below the ceiling crown. Extend the rod 8 to 12 inches past the outer window frame on both sides.
This extended width allows curtain panels to rest fully against the wall when open, exposing the entire glass pane to maximize natural sunlight. Ensure the bottom hem lightly kisses the finished floor rather than pooling excessively.
Use heavy-duty drywall anchors or mount directly into wall studs when installing substantial metal rods. Weak anchors will pull loose over time under the weight of lined blackout or velvet drapery panels.
Detail 4: Install Flush Screwless Wall Plates
Standard builder-grade switch plates with visible, misaligned screws draw negative visual attention to walls. Sleek, screwless polycarbonate wall plates create a smooth, clean architectural finish across your room perimeter.
Test the outlet or switch with your non-contact voltage tester to confirm no current flows through the circuit. Refer to safety best practices from the National Fire Protection Association before proceeding with any electrical maintenance.
Unscrew the old faceplate, secure the new mounting sub-plate directly to the electrical device, and snap the decorative outer cover firmly into place. Ensure the sub-plate sits square against the drywall using your torpedo level.
If an existing outlet sits recessed too deep inside the drywall box, install plastic electrical outlet spacers behind the yoke. Spacers bring the device flush with the wall surface so the new snap-on plate clicks tightly shut.
Detail 5: Refresh Trim Caulk and Paint Edges
Cracked caulk lines along baseboards, crown molding, and door casings make rooms look dated and neglected. Re-caulking these joints establishes crisp, shadow-free lines that make your walls look brand new.
Slice away old, separated caulk using an angled utility knife, then vacuum away all loose debris. Apply a continuous 1/8-inch bead of paintable acrylic latex caulk along the open seam.
Smooth the wet bead immediately with a damp lint-free cloth or a moistened finger to create a seamless concave joint. Allow the caulk to cure for two hours before applying matching trim paint with an angled sash brush.
Avoid using 100% pure silicone caulk on baseboard trim surfaces because paint cannot adhere to silicone. Keep pure silicone strictly reserved for wet plumbing fixtures like tubs, sinks, and shower enclosures.
Detail 6: Layer Modern Room Accents and Textiles
Flat rooms often lack tactile depth and dynamic contrast. Layering modern room accents and rich woven textiles injects warmth and personality into sterile spaces without adding unnecessary clutter.
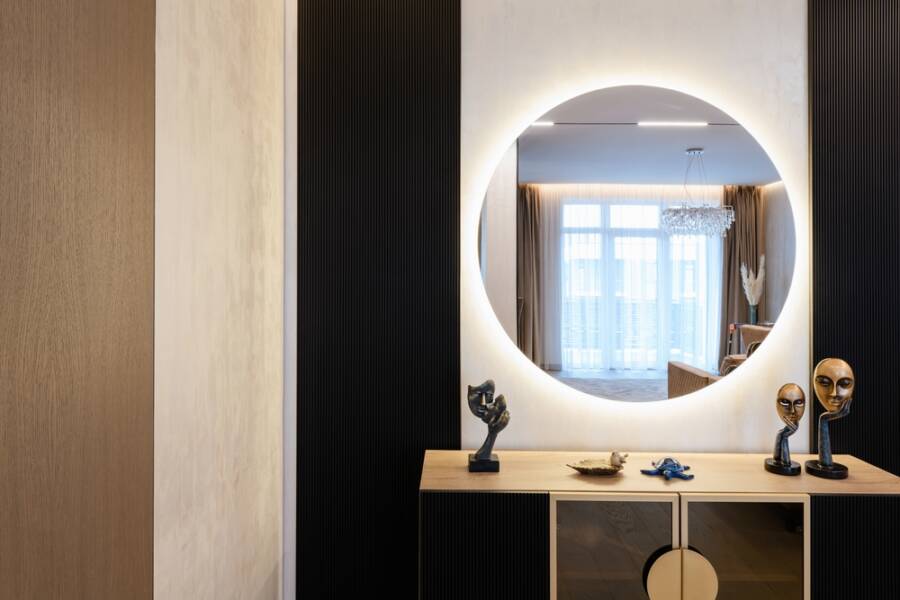
Group decorative objects—such as ceramic vases, stoneware trays, and turned wooden bowls—in odd numbers using the classic rule of three. Vary the heights and textures of these items to create natural visual movement across console tables.
Swap undersized synthetic throw pillows for larger 20-inch or 22-inch covers filled with plush feather-down inserts. Combine contrasting fabric weaves, such as chunky boucle, crisp linen, and brushed wool, to create rich tactile interest.
Anchor your seating arrangement with a properly scaled area rug that extends under the front legs of all primary furniture pieces. A correctly proportioned rug unifies distinct furniture pieces into one cohesive conversation zone.