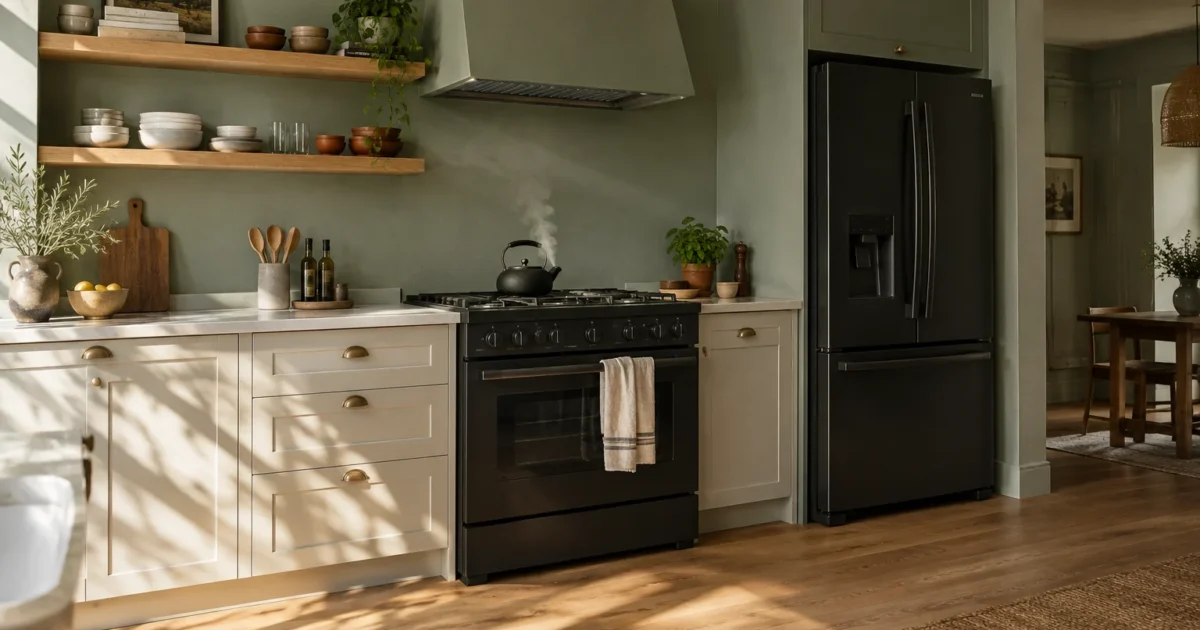
Black appliances instantly anchor your kitchen with striking visual weight and modern sophistication. Pairing them with the right wall paint balances bold contrast while highlighting your cabinetry.
Whether you favor crisp whites, earthy sage greens, or moody navies, thoughtful kitchen colors black appliances love will transform your space. You can achieve high-end designer results on a modest weekend budget.
Use this guide to discover eleven tested paint colors with black appliances, master proper surface preparation, and execute flawless coats that endure daily kitchen life.

Project Overview & Why It Matters
Black appliances command immediate attention because their dark surfaces absorb light and draw the eye. Choosing the best wall colors for black appliances prevents your kitchen from feeling heavy or visually disconnected.
A well-planned color palette bridges your deep appliance surfaces, countertops, and adjacent living spaces. You establish an intentional design vision rather than an accidental clash of undertones.
Designers evaluate Light Reflectance Value (LRV) to balance dark focal points against ambient room light. High LRV shades bounce natural daylight across the room, while deeper hues create cozy, tailored drama.
Kitchen layouts of all sizes benefit from strategic color coordination. Galley kitchens gain a wider feel, while open-concept homes achieve seamless transitions between dining and cooking areas.
Modern black finishes vary significantly across appliance brands. Glossy black enamel reflects perimeter lighting, matte black absorbs light softly, and black stainless steel features subtle gray brushing.
Fresh paint delivers one of the highest returns on investment for DIY home updates. You can completely reinvent your kitchen aesthetic without replacing expensive, perfectly functional cooking equipment.
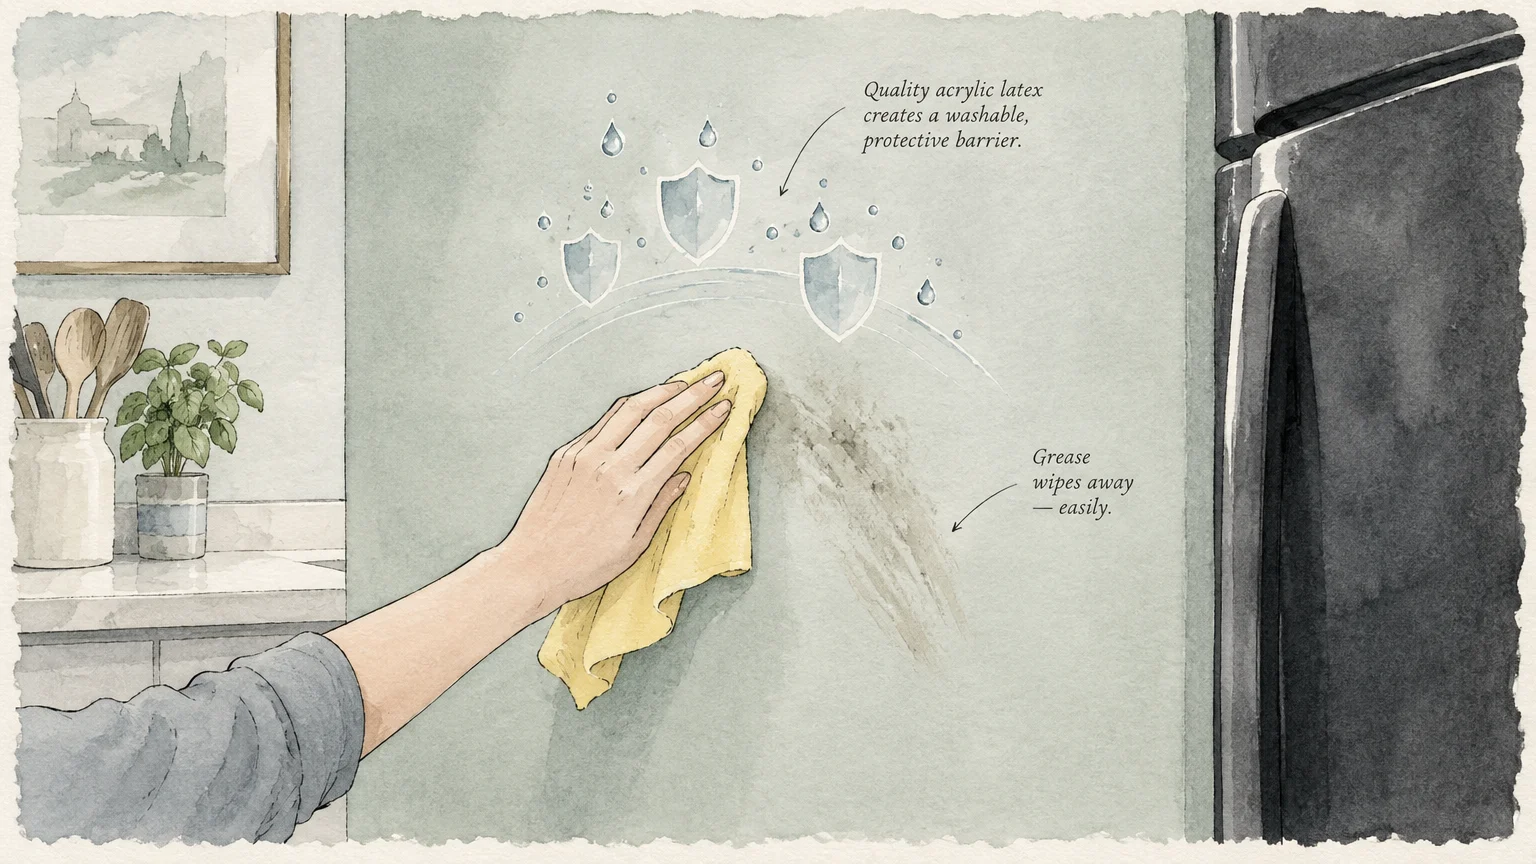
Premium wall paint also creates a protective, washable barrier against kitchen moisture and cooking grease. Your kitchen stays cleaner, brighter, and more inviting for family and guests.
Tools, Materials, and Prep Checklist
Gather your tools and materials before unscrewing your first outlet plate. Staging your workstation keeps your workflow efficient and protects your living spaces from spills.
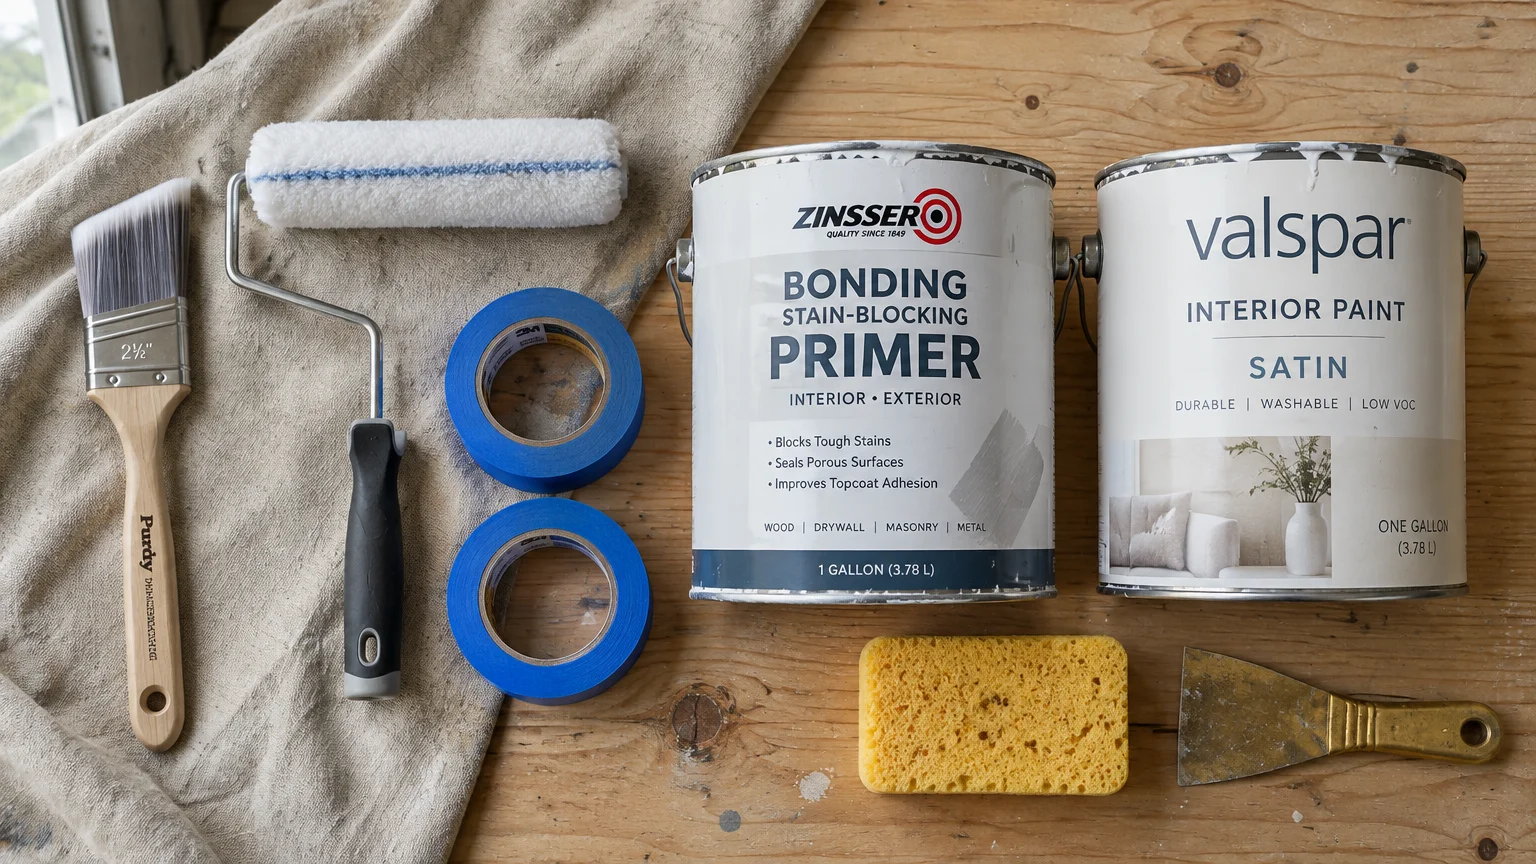
Interior Wall Paint: Buy two gallons of premium acrylic latex paint in an eggshell or satin finish. High-grade formulas cost approximately $50 to $85 per gallon at Sherwin-Williams.
Stain-Blocking Primer: Purchase one gallon of bonding primer for approximately $30 to $45. Primer seals drywall repairs and stops food splatters from bleeding through your finish coats.
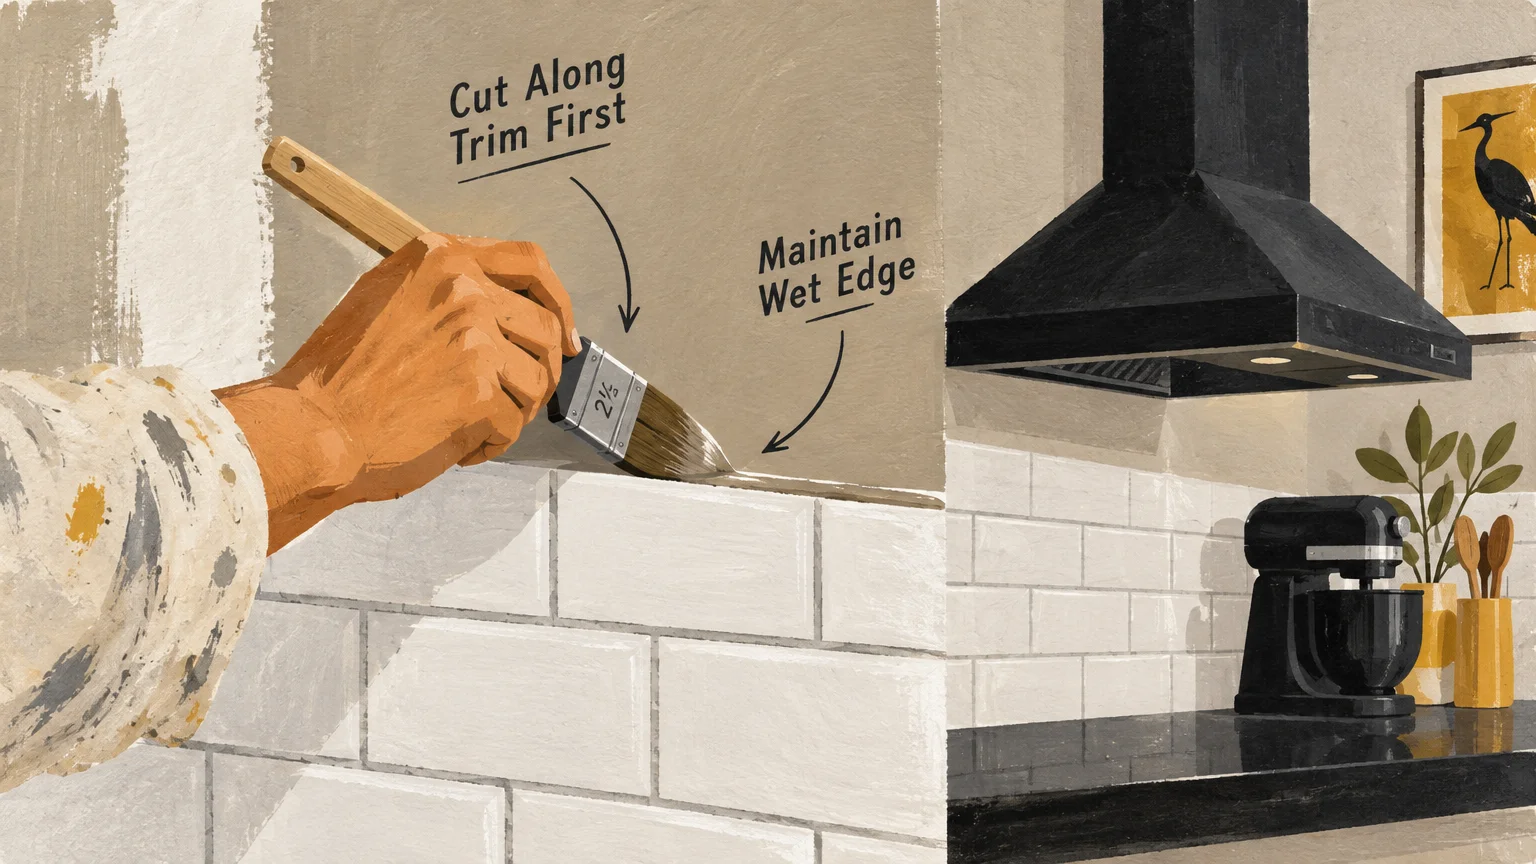
Angled Sash Brush: Invest $15 in a 2.5-inch nylon-polyester angled sash brush. This tool gives you surgical control when cutting in along cabinets, ceilings, and backsplash tile.
Roller Setup: Pick up a nine-inch roller cage, extension pole, and two 3/8-inch nap microfiber roller covers for $25. Microfiber holds ample paint and lays down a uniform, stipple-free coat.
Painter’s Tape: Spend $20 on two rolls of 1.88-inch multi-surface tape from ScotchBlue. Quality tape creates sharp lines and peels away cleanly without damaging delicate wood cabinet finishes.
Canvas Drop Cloths: Purchase heavy canvas drop cloths for roughly $30 from The Home Depot. Heavy canvas stays firmly in place and absorbs accidental paint drips before they reach your flooring.
Cleaning Supplies: Buy a bottle of trisodium phosphate substitute cleaner and heavy-duty sponge pads for $12. Degreasing your kitchen walls ensures proper paint adhesion near stovetops and exhaust vents.
Wall Repair Essentials: Grab lightweight spackle, a two-inch putty knife, and 220-grit sanding sponges for $15. Smoothing wall imperfections beforehand ensures your fresh paint looks professional under bright kitchen lights.
Personal Safety Gear: Use protective eye goggles and an N95 dust mask during prep sanding. If your house was built before 1978, follow EPA Lead-Safe guidelines to handle existing paint safely.
Step-by-Step Instructions
Phase 1: Selecting from 11 Curated Paint Colors
1. Crisp Pure White: Crisp white walls deliver dramatic contrast against black appliances. Try Sherwin-Williams Pure White SW 7005 for a clean, Scandinavian kitchen feel that bounces light into dim corners.
2. Warm Cream: Creamy whites with soft beige undertones soften the heavy presence of dark metal. Benjamin Moore Swiss Coffee OC-45 adds welcoming warmth that pairs beautifully with traditional wood cabinetry.
3. Balanced Greige: Greige merges cool gray and warm beige to create the ultimate flexible neutral. Sherwin-Williams Agreeable Gray SW 7029 bridges dark appliances with lighter countertops and stone floors effortlessly.
4. Earthy Sage Green: Muted sage brings organic serenity into busy cooking spaces. Benjamin Moore Saybrook Sage HC-114 tones down industrial black finishes while complementing butcher block countertops.
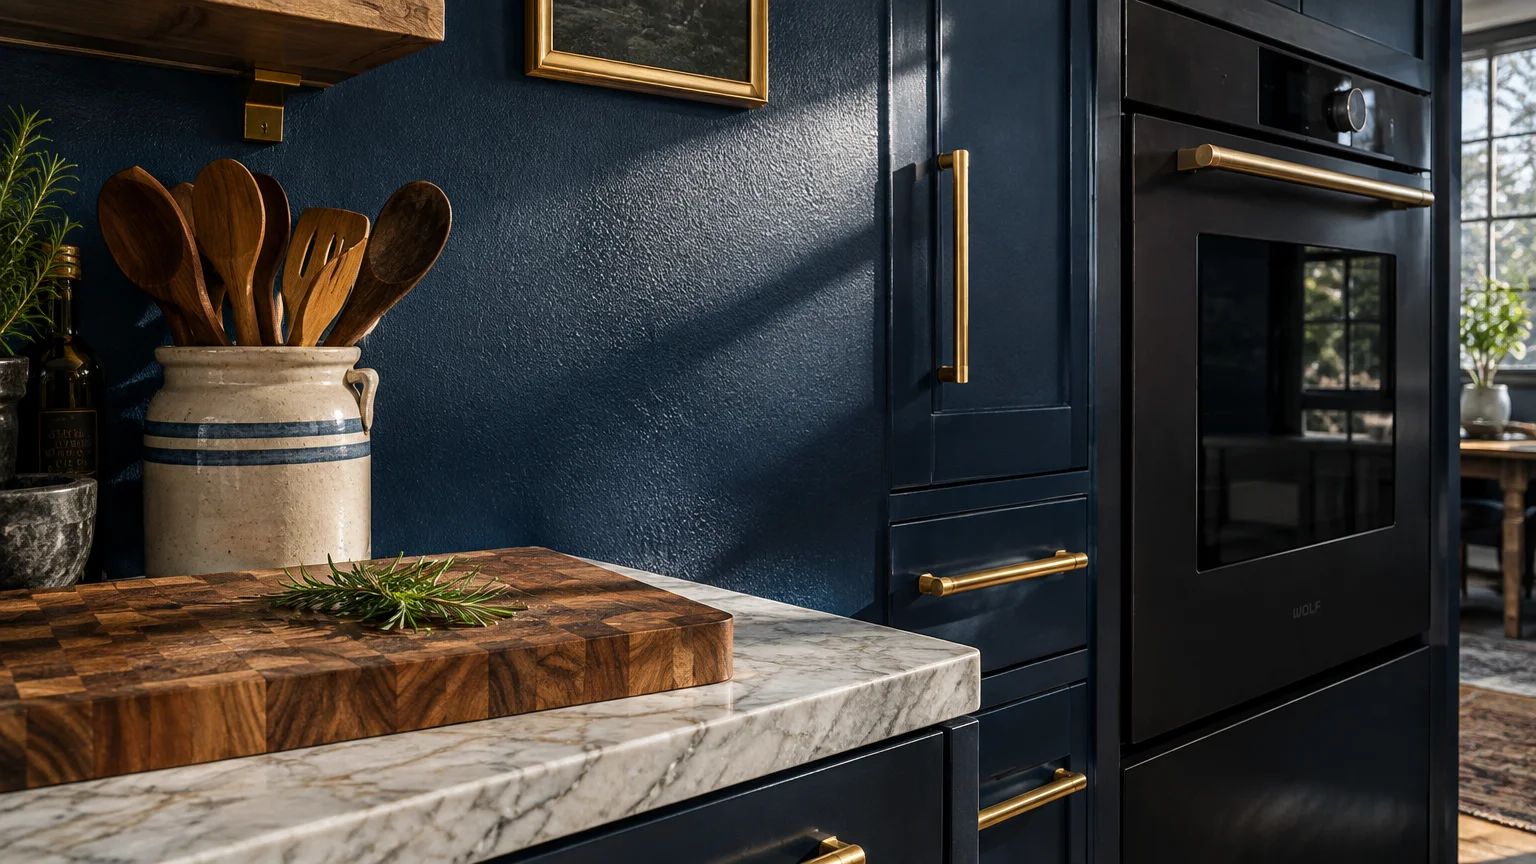
5. Dramatic Midnight Navy: Deep navy walls produce an upscale, restaurant-inspired ambiance alongside black appliances. Benjamin Moore Hale Navy HC-154 creates captivating drama when paired with warm brass cabinet pulls.
6. Sun-Baked Terracotta: Earthy terracotta introduces inviting warmth that tempers the cool edge of black appliances. Farrow & Ball Red Earth No. 64 infuses Mediterranean character into contemporary cooking spaces.
7. Modern Slate Charcoal: Charcoal walls establish an intentional monochromatic aesthetic when paired with black appliances. Benjamin Moore Kendall Charcoal HC-166 delivers sophisticated, gallery-style depth in kitchens with ample natural light.
8. Breezy Coastal Blue: Soft blue with gray undertones offers a cheerful, airy contrast to black appliance fronts. Sherwin-Williams Sea Salt SW 6204 reflects natural sunlight while balancing dark kitchen islands.
9. Saturated Olive Green: Deep olive brings moody, forest-inspired depth to kitchens featuring black ranges or refrigerators. Sherwin-Williams Olive Grove SW 7734 pairs exceptionally well with natural wood accents and black hardware.
10. Gentle Muted Blush: Pale blush acts as an elegant neutral that softens dark appliances without appearing overly feminine. Farrow & Ball Setting Plaster No. 231 adds sophisticated warmth that flatters marble veining.
11. Rich Ochre Gold: Warm mustard tones inject playful retro energy into kitchens with black retro-style appliances. Benjamin Moore Sudbury Yellow HC-82 creates an energetic atmosphere that stimulates conversation and cooking creativity.
Phase 2: Cleaning and Degreasing Surfaces
Pull your appliances away from the walls cautiously to expose hidden dust and grease. Turn off range circuit breakers and shut off refrigerator water lines before moving heavy units.
Mix your degreasing cleaner with warm water according to package directions. Wash all drywall surfaces thoroughly, paying extra attention to cooking zones behind your range and hood.
Wipe walls with a damp sponge soaked in clean water to remove chemical residues. Allowing the drywall to dry completely guarantees reliable paint bonding across all surfaces.
Phase 3: Surface Repairs and Masking
Fill nail holes and gouges with lightweight spackle using a flexible putty knife. Allow the compound to cure for two hours before sanding it flush with 220-grit paper.
Wipe away residual sanding dust using a slightly damp microfiber cloth or tack cloth. Clean surfaces ensure your primer adheres directly to drywall rather than loose powder.
Apply painter’s tape along cabinet frames, baseboards, backsplashes, and trim edges. Burnish the tape edge with a clean putty knife to prevent wet paint from seeping underneath.
Cover your flooring and countertops with heavy canvas drop cloths. Secure cloth edges with tape so they stay stationary while you navigate step ladders.
Phase 4: Applying Bonding Primer
Pour your bonding primer into an unlined metal paint tray. Stir the primer thoroughly with a wooden stir stick to blend settled pigments and binders.
Cut in around ceiling lines, cabinets, and outlets using your angled sash brush. Work in four-foot sections to keep edges wet and maintain seamless transitions.
Roll primer onto wide wall fields using an overlapping “W” motion. Maintain continuous cross-ventilation by cracking windows, following OSHA workplace ventilation practices for indoor air quality.
Let the primer dry for three to four hours before inspecting coverage. Priming ensures consistent color reproduction and prevents dark spots from showing through light paint.
Phase 5: Rolling the Topcoat
Cut in your chosen paint color along all taped borders using your sash brush. Maintain a steady hand and pull your brush in smooth, deliberate strokes.
Load your microfiber roller cover evenly in the paint tray without submerging the roller cage. Roll paint onto the wall from ceiling to baseboard with light, uniform pressure.
Lay off each freshly rolled section by sweeping your roller gently from top to bottom. This technique levels wet paint and eliminates visible roller marks.
Wait four hours before rolling a second thin coat across all wall surfaces. Two thin coats provide superior durability and color depth compared to one heavy coat.
Peel off the painter’s tape while your second coat is still slightly tacky. Pulling tape back against itself at a 45-degree angle ensures crisp, razor-sharp edges.
Style & Finishing Touches
Thoughtful accents tie your newly painted walls and black appliances into a unified design statement. Harmonizing your decorative elements elevates standard kitchen layouts into custom showpieces.
Cabinet Hardware Updates: Swap dated pulls for satin brass, matte black, or polished chrome handles. Brass hardware warms up black appliance packages, while matte black reinforces a modern industrial look.
Color-Correct Lighting: Install LED bulbs with a color temperature between 2700K and 3000K. Warm light softens dark appliance facades and reveals the true undertones of your wall color.
Reflective Backsplash Surfaces: Install glossy ceramic tiles or glazed zellige backsplashes behind your prep areas. Glossy tiles reflect ambient light around the kitchen, offsetting the light-absorbing qualities of dark appliances.
Natural Wood Elements: Mount floating white oak shelves or display rich walnut cutting boards on countertops. Organic timber textures break up sterile surfaces and inject welcoming warmth into modern black appliance kitchen ideas.
Budget-Friendly Upgrades: Replace yellowed plastic switch plates with screwless matte black or brass covers. This simple weekend update costs under $25 and ties your wall surfaces directly to your hardware.
Countertop Coordination: Pair deep wall tones like charcoal or navy with light quartz or butcher block counters. Balanced contrast ensures your meal prep areas remain bright, safe, and visually inviting.
Maintenance & Long-Term Care
Modern latex paints require thirty days to reach full chemical cure and maximum durability. Treat your freshly painted walls gently during this initial month to avoid burnishing the finish.
Wipe away everyday cooking splatters promptly using a microfiber cloth dampened with warm water and mild dish soap. Avoid harsh chemical degreasers or abrasive scouring sponges that strip paint sheen.
Run your kitchen exhaust fan whenever you boil water or cook on the stovetop. Controlling humidity prevents moisture buildup that causes paint bubbling around range hoods and dishwashers.
Preserve remaining paint in a sealed glass mason jar stored in a climate-controlled closet. Write the paint brand, color code, and application date on the lid for quick reference.
Touch up minor scuffs by dabbing leftover paint with a high-density foam brush. Feather the wet edges outward into the surrounding wall to blend the repair invisibly.
FAQ
Do black appliances make a small kitchen feel cramped? Black appliances add visual weight, but pairing them with light wall colors balances the space. Soft whites, creams, and pale greiges reflect light and keep small kitchens feeling open.
What paint sheen performs best in kitchens with black appliances? Satin and eggshell finishes work best for kitchen walls. They deliver adequate scrub resistance and moisture protection without producing intense glare against dark appliance surfaces.
Can you use cool gray wall paint with black appliances? Cool grays work if your countertops and flooring share cool, slate undertones. However, warm greiges and earthy greens generally create a cozier, more balanced kitchen environment.
Should cabinets match or contrast black appliances? Both approaches work depending on your preferred style. Matching black cabinets create dramatic modern minimalism, while white, sage, or natural wood cabinets provide timeless contrast.
When should you hire a professional painter for this project? Hire a licensed painting contractor if you have cathedral ceilings, significant drywall damage, or limited DIY time. Professionals complete complex masking and painting quickly while ensuring flawless, warranty-backed results.
Takeaway & Next Steps
Pairing thoughtful paint colors with black appliances transforms an ordinary cooking space into a designer showcase. You achieve incredible visual impact while working within your existing appliance budget.
First Action: Order peel-and-stick paint samples of your favorite hues from retailers like The Home Depot to test under day and night lighting.
Second Action: Measure your kitchen walls, calculate square footage, and purchase your primer, paint, and masking supplies.
Third Action: Schedule a prep day to degrease your walls, patch imperfections, and tape baseboards before painting.
Snap before-and-after photos of your transformation and share your favorite kitchen paint color ideas with our renovation community!