Step-by-Step Instructions
Follow these practical methods to install robust storage solutions designed specifically for spaces without formal mudrooms. Execute these installations step by step to ensure structural safety and optimal organization.
Solution 1: Install a Wood-Backed Heavy Hook Rail for Coat Storage Small Space
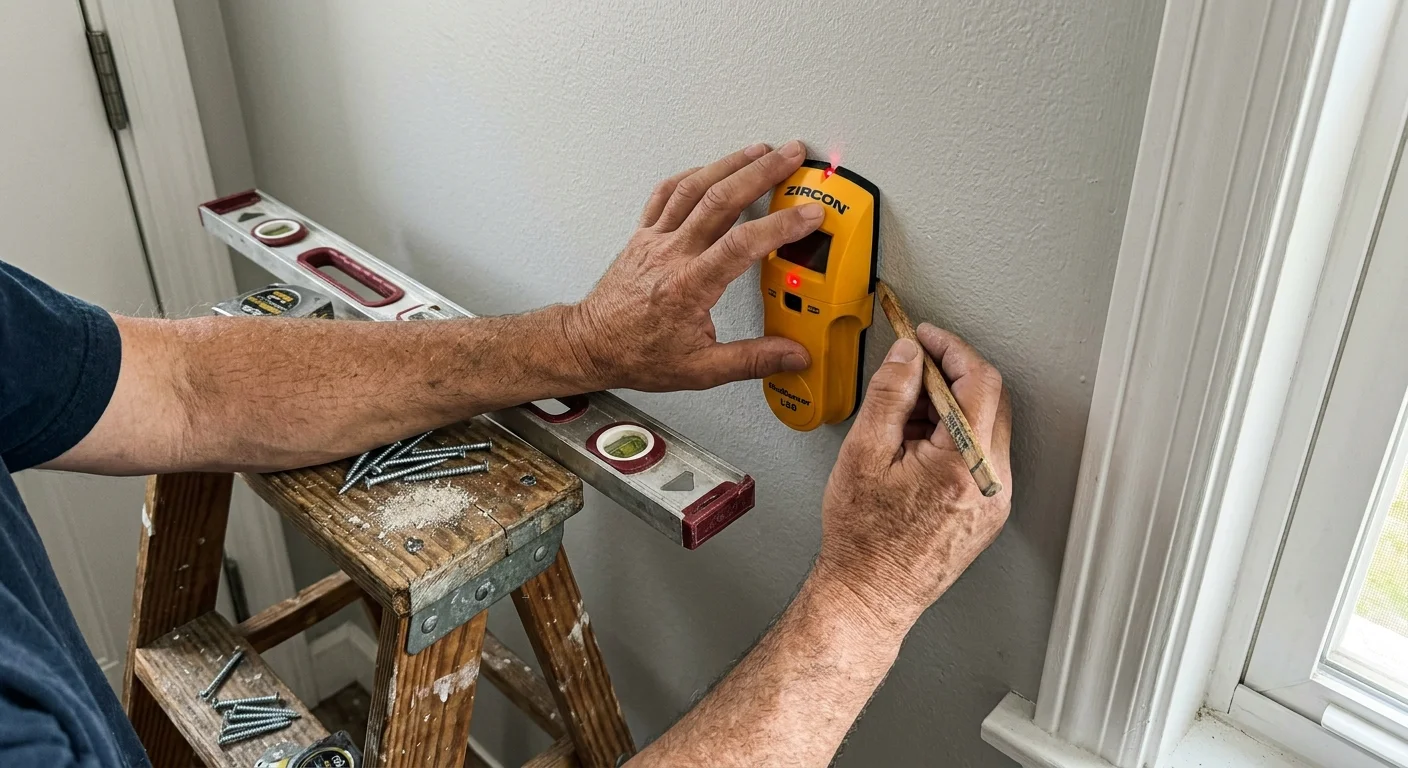
Mounting individual hooks directly into drywall with plastic anchors often results in pulled-out fasteners under the weight of heavy winter coats. Secure a 1-by-6 hardwood backing board directly across two or three wall studs using 3-inch wood screws. Countersink your screw heads, fill them with wood putty, and paint or stain the board. Attach heavy-duty double metal hooks onto the wood rail at 8-inch intervals; this configuration delivers solid support capable of holding heavy winter parkas and backpacks without damaging drywall.
Solution 2: Secure an Ultra-Slim Tilt-Out Cabinet for Shoe Storage Ideas
Standard shoe racks consume excessive floor depth, making them unsuitable for narrow hallways. Select a tilt-out shoe cabinet with a depth between 7 and 9 inches, which conceals up to 12 pairs of shoes inside vertical drop-down drawers. Position the cabinet flush against your baseboard, and use a level to ensure top alignment. Locate at least one wall stud behind the upper cabinet frame and anchor the cabinet using heavy cabinet screws. If no stud aligns, install heavy-duty steel toggle bolts through drywall to prevent tipping hazards.
Solution 3: Build a Wall-Anchored Floating Bench with Lower Storage Cubbies
A floating bench provides seating for putting on shoes while keeping the floor beneath open for easy cleaning. Construct or purchase a heavy wooden bench top rated for at least 300 pounds. Secure a 2-by-4 support cleat horizontally into three wall studs at a standard seating height of 18 inches off the floor using 3.5-inch lag screws. Rest the bench top on the cleat, attach heavy-duty structural steel brackets underneath, and slide low-profile basket trays beneath the bench to hold footwear.
Solution 4: Mount a Modular Metal Pegboard System for Small Entryway Organization
Modular metal pegboards offer customizable storage that adapts as your daily needs change. Position a heavy-gauge steel pegboard panel on your entryway wall, using a spirit level to ensure alignment. Secure the panel corner mounting holes directly into wall studs using heavy washer screws. Insert metal peg hooks, shelf brackets, and wire baskets to hold sunglasses, car keys, mail, and small bags off your primary floor surface.
Solution 5: Convert a Standard Hallway Closet into an Open Drop Zone
If your home features a standard hinged closet near the front entrance, remove the interior door and casing to create an accessible open nook. Take off the door hinges, fill screw holes with wood filler, and paint the inside of the alcove an accent color. Install a low wooden bench inside the bottom of the nook, and mount double coat hooks along the back wall at a height of 60 inches. Add a high overhead shelf 12 inches above the hooks to hold out-of-season bins.
Solution 6: Attach Latch-Side Vertical Drop Trays and Key Hooks
Utilize the wall space directly adjacent to your front door jamb—often spanning 6 to 12 inches—to capture small daily pocket items. Fasten a vertical wooden board fitted with brass key hooks and a narrow mail pocket directly into the jack stud framing your door opening. Ensure your mounting hardware does not interfere with your door casing trim or lock assembly.
Solution 7: Deploy Vertical Corner Shelving to Utilize Unused Dead Space
Corner spaces near main entryways frequently go unused despite providing valuable vertical storage capacity. Install tiered floating corner shelves constructed from solid wood or heavy metal framing. Anchor each shelf bracket into corner framing studs on both adjoining walls using 2.5-inch screws; this creates a sturdy vertical column for holding storage baskets and small items without encroaching on walking paths.
Solution 8: Install High Overhead Wall Shelves Above the Door Frame
The space above your main entry door frame offers valuable storage volume for items you do not access daily. Mount a 10-inch to 12-inch deep wooden shelf 3 inches above your door molding, spanning the width of the wall. Drive heavy shelf brackets directly into the double header beam located above the door frame. Use this shelf to store labeled fabric bins filled with off-season outdoor gear.
Solution 9: Integrate a Multi-Tiered Boot Tray with Absorbent Rubber Liners
Water and melting snow from boots can ruin hardwood floors. Set a heavy rubber tray onto your entry floor, and fit it with a raised grid that elevates shoes above standing water. For multi-pair capacity, assemble a two-tier metal wire rack over the rubber tray; wet footwear drains onto the tray beneath while remaining ventilated, allowing boots to dry faster.
Solution 10: Position a Dual-Purpose Wall Mirror with Integrated Storage Ledge
Combining visual expansion with utility makes narrow entryways feel larger while providing quick organization. Mount a wall-hung mirror featuring a built-in 4-inch deep lower ledge and underside hooks. Secure the mirror frame mounting hardware into wall studs or heavy toggle bolts to support the weight safely; use the ledge for small essentials and the lower hooks for light scarves and dog leashes.
Safety Callout and Troubleshooting: Always verify load capacities before hanging heavy loads; coat racks and floating benches require direct anchoring into solid wood studs or steel toggle bolts. If your walls are out of plumb, use plastic shims behind mounting cleats to create a flush surface. If drilling near electrical switches, shut off power at your breaker box to prevent electrical shock accidents while working.