Step-by-Step Instructions
Assessing thermal performance requires recognizing physical clues throughout your living spaces, followed by an organized inspection of your attic and mechanical zones. Here are the 8 signs your home insulation needs upgrading, along with concrete steps to rectify each issue.
Sign 1: Fluctuating and Uneven Room Temperatures
If your upstairs bedrooms feel like saunas in July while the ground floor remains cool, your upper thermal envelope is failing. Poorly insulated exterior walls and under-insulated attic floors allow rapid radiant heat transfer. Use an infrared thermometer to measure surface temperatures on exterior-facing interior walls; a variance greater than 4 to 5 degrees Fahrenheit between different rooms indicates substantial insulation voids.
Sign 2: Spiking Energy Bills and Overworked HVAC Systems
Because heating and cooling represent up to half of your monthly energy budget, an HVAC unit that cycles continuously without satisfying the thermostat points to severe thermal leaks. Compare your year-over-year kilowatt-hour or natural gas usage against local heating degree days. When usage jumps without a corresponding shift in outdoor weather or household habits, improving home energy efficiency insulation should be your first corrective measure.
Sign 3: Visible Insulation Below Attic Joists
ENERGY STAR guidelines provide a simple visual rule-of-thumb: if your existing attic insulation sits level with or below the tops of the floor joists—which generally measures under 7 to 8 inches or an R-30 rating—your home requires additional coverage. Modern building standards recommend attic levels between R-38 and R-60 depending on your regional climate zone. Adding 8 to 12 inches of loose-fill cellulose or unfaced fiberglass batts across existing material restores required thermal resistance.
Sign 4: Persistent Drafts Around Baseboards, Windows, and Outlets
Cold air rushing past electrical receptacles, baseboard moldings, and switch plates reveals that exterior wall cavities lack adequate density or contain settled batts. Hold a lit incense stick or smoke pen near baseboards on a windy day; drifting smoke confirms unsealed perimeter framing. Installing foam outlet gaskets and injecting slow-rise injection foam into closed wall cavities can remedy these signs of poor home insulation without demolishing interior drywall.
Sign 5: Winter Ice Dams Along Roof Eaves and Gutters
Thick ridges of solid ice forming along your roof edge indicate that warm indoor air is escaping through your ceiling into the attic space. This heat melts the underside of the roof snowpack; the meltwater runs down to the cold roof eaves, refreezes, and forces moisture up under your shingles. Eliminating bypass leaks around plumbing stacks and raising your attic floor insulation to R-49 prevents the attic air from melting roof snow prematurely.
Sign 6: Cold Interior Walls, Ceilings, and Subfloors
During winter, interior surfaces of well-insulated exterior walls should feel warm and dry to the touch. If touching your living room drywall or master bedroom floor feels like touching ice, the framing cavities underneath lack adequate thermal density. Uninsulated floors over unconditioned crawlspaces or unheated garages allow cold ambient air to chill your living spaces from below.
Sign 7: Pest Infestations, Settling, and Water Contamination
While fiberglass and cellulose can technically last several decades, rodent tunneling, roof leaks, or seasonal settling degrade the material’s structural loft. Rodent urine and compressed fiberglass mats reduce thermal resistance by up to 50 percent while introducing airborne pathogens. Inspect for compressed paths, dark staining, or localized moisture; when to replace home insulation becomes obvious once biological growth or rodent nesting compromises the material.
Sign 8: Frozen Pipes and Indoor Condensation
Exposed supply pipes running through exterior walls, basements, or crawlspaces should remain protected by a continuous thermal envelope. If pipes freeze during moderate cold snaps, or if moisture beads up along your interior baseboards, your home suffers from dangerous thermal bridging. Water droplets on drywall surfaces signal that warm, humid indoor air is meeting a freezing wall surface caused by missing exterior insulation.
Remediation Phase 1: Air-Sealing Thermal Bypasses
Never install fresh insulation over unsealed openings. Before adding new materials, crawl across your plywood walkboards and locate every ceiling penetration. Seal around electrical junction boxes, recessed lighting canisters rated for insulation contact (IC-rated), plumbing vent pipes, and chimney chases using fire-rated expanding foam or elastomeric caulk. Install rafter vents or baffles at the roof eaves to maintain unhindered airflow from your soffit vents to the ridge vents.
Remediation Phase 2: Removing Damaged Material or Prepping the Base
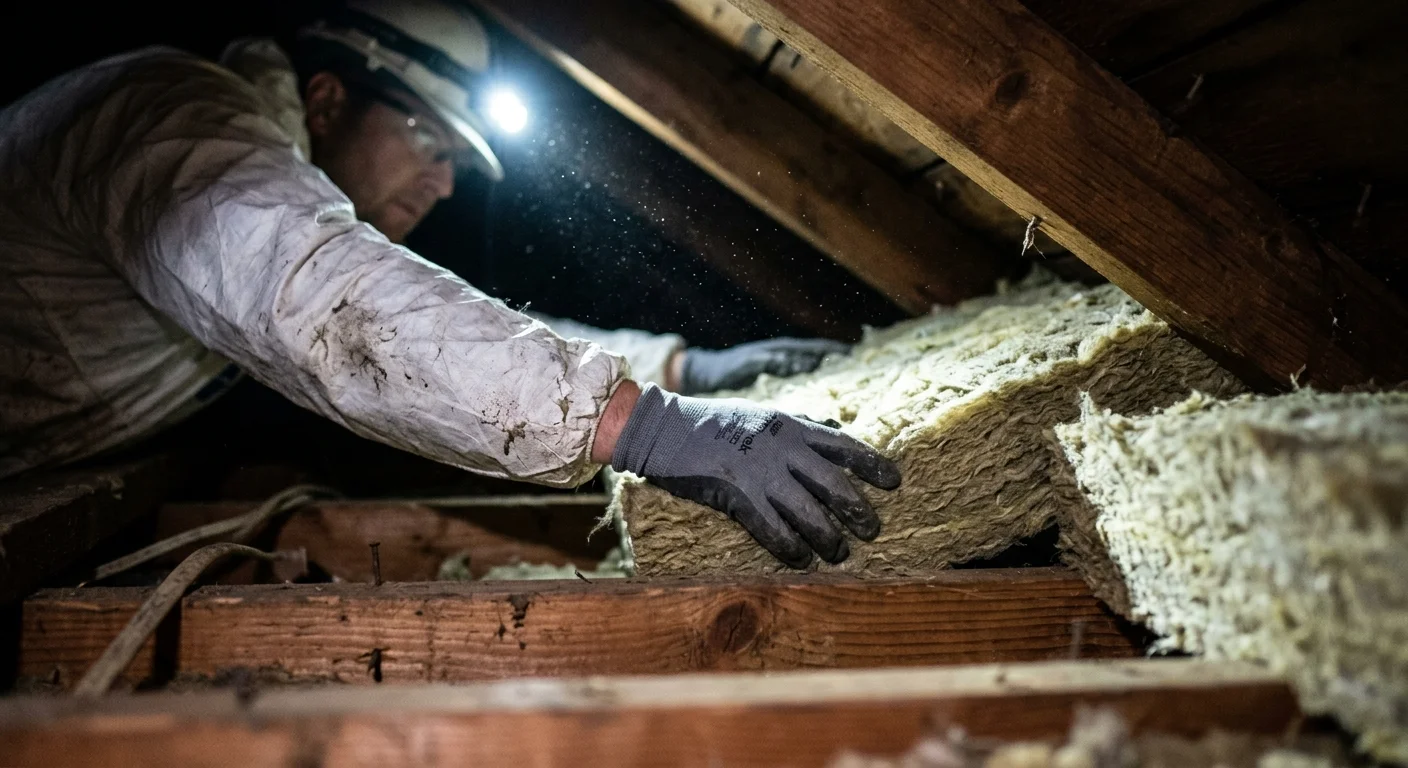
If existing insulation shows heavy rodent infestation, mold contamination, or severe water compression, remove it entirely using a high-powered insulation vacuum or heavy-gauge contractor bags. If the existing material is clean and dry but simply shallow, you can safely install new unfaced rolls directly perpendicular across the existing joists, or blow in loose-fill material to achieve the desired R-value depth.
Remediation Phase 3: Installing the Upgraded Thermal Barrier
When rolling unfaced fiberglass or mineral wool batts, butt the ends tightly together without compressing the fibers, because squished insulation loses its thermal resistance. For blown-in loose-fill cellulose, rent an agitator machine from your local home improvement center; attach depth rulers along attic trusses every 10 feet to ensure an even, consistent R-49 or R-60 blanket across the entire floor plan.