Step-by-Step Instructions
Here are seven proven non-permanent divider strategies that deliver exceptional visual separation and structural stability without requiring construction or permanent hardware installation.
1. Floor-to-Ceiling Tension Rod Curtain Partition
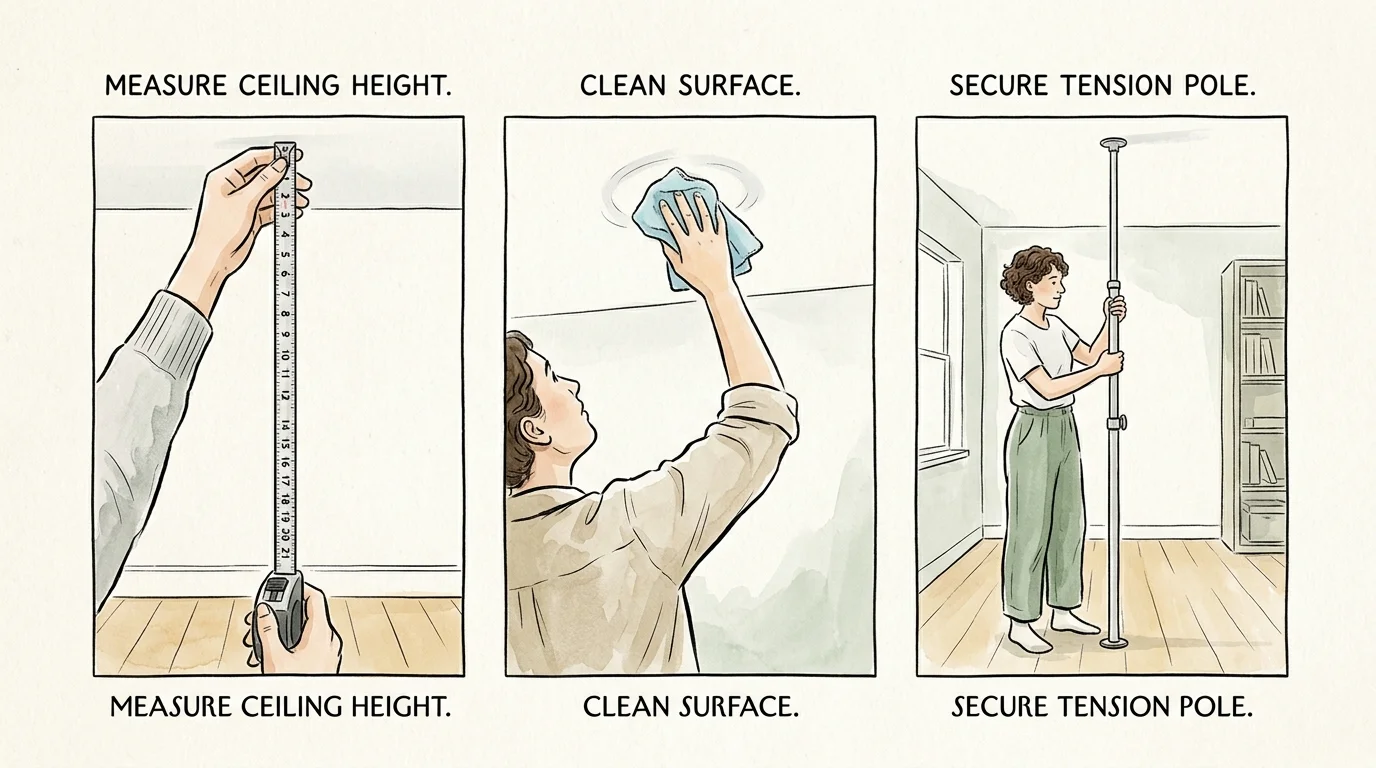
Start by selecting heavy-duty spring-loaded or screw-expandable vertical tension poles equipped with rubber end caps. Position the poles 1/2 inch wider than your intended span to guarantee maximum side pressure. Adjust the height mechanism until the top rubber footpad contacts a ceiling joist, then rotate the bottom tensioning nut clockwise until the pole firmly resists lateral pushing. Slide your curtain rings or fabric rod-pockets onto the horizontal crossbar before locking it into the vertical support clamps. Use heavy velvet or dense linen curtains that extend from ceiling to floor to achieve maximum visual privacy and sound dampening.
2. Open-Back Modular Bookcase Divider
Position an open-back cube storage bookcase perpendicular to an existing perimeter wall. Open-back shelves allow daylight to pass through while physically defining distinct living zones. Level the bookshelf base using high-density felt shims if carpet tack strips or uneven hardwood floorboards create a wobble. To protect safety without drilling into walls, install tension-locked anti-tip safety straps attached to heavy metal base weights or extendable ceiling-compression posts. Load the lowest shelf cubes with heavy hardcover books, storage baskets, or decorative pottery weighing at least 25 pounds total to anchor the center of gravity firmly near the floor.
3. Freestanding Multi-Panel Screen with Acoustic Felt Panels
Unfold a traditional three-panel or four-panel hinged wooden screen into a gentle zig-zag configuration. A straight, fully extended panel screen will fall over easily, whereas an accordion stance creates a stable self-supporting tripod geometry. Upgrade standard screen panels by attaching acoustic felt tiles to the rear face using heavy-duty hook-and-loop adhesive strips. This simple enhancement absorbs mid-frequency sounds, making it an ideal backdrop for remote video calls in multi-purpose bedrooms.
4. Suspended 3D Modular Screen Tiles
Interlock lightweight 3D PVC or felt geometric tiles using the stainless steel C-rings provided in modular divider kits. Build your panel grid on the floor first to verify overall dimensions. Next, install a heavy-duty horizontal tension rod spanning the gap between two opposing walls, positioned tight against the ceiling line. Hang the top row of tiles onto the tension rod using clear acrylic hanging hooks. These geometric tiles create an artful mid-century screen that divides space while letting air and light flow freely.
5. Vertical Plant Wall on Tension Pole Shelving
Combine natural green elements with functional space planning by setting up a vertical plant rack. Set two vertical tension posts approximately 24 to 36 inches apart near a window or secondary light source. Attach adjustable wire or wooden plant trays at alternating heights along the poles. Place low-maintenance, light-filtering house plants—such as snake plants, trailing pothos, ZZ plants, and heartleaf philodendrons—onto the trays. The dense foliage acts as a natural living barrier that filters indoor air and diffuses harsh sunlight.
6. Self-Supporting Sliding Barn Door Assembly
Build a temporary sliding partition by utilizing a freestanding metal or timber gantry frame designed for sliding door hardware. Assemble the exterior box frame according to the manufacturer specifications, ensuring all corner brackets are square. Mount the top sliding track directly to the frame crossbeam rather than your ceiling. Hang lightweight hollow-core wooden doors or fabric-covered frames onto the roller carriages. This freestanding structure gives you full sliding door functionality without attaching heavy mounting brackets into landlord-owned studs.
7. Ceiling-Mounted Adhesive Track with Semi-Sheer Drapes
If tension poles cannot span your room layout due to HVAC ductwork or stepped ceilings, use high-tack acrylic adhesive ceiling tracks. Clean the target ceiling track line thoroughly with isopropyl alcohol and dry it completely. Peel the adhesive backing from the flexible aluminum track segments and press them firmly against the ceiling for 60 seconds per linear foot. Allow the adhesive bond to cure for 24 hours before hanging lightweight semi-sheer fabric panels.
Troubleshooting and Safety Tips
If a tension rod begins to sag in the middle, insert an intermediate vertical support rod or swap heavy blackout curtains for lighter-weight linen blends. When setting up tall dividers on plush carpeting, place wide hardwood spreader plates beneath base feet to prevent tipping caused by carpet pad compression. Always follow general home ergonomics and safety principles by keeping main walkways at least 36 inches wide to maintain clear emergency exit paths.