Tools, Materials, and Prep Checklist
Executing a seamless divider installation requires proper preparation, accurate measurements, and appropriate mounting hardware. Before buying materials, inspect your space carefully. Use a standard 25-foot steel tape measure to capture your floor-to-ceiling height in three separate locations across the planned span. Floors and ceilings in older homes often slope slightly; identifying a 1/2-inch height variance early prevents tension rods from slipping or shelf units from rocking.
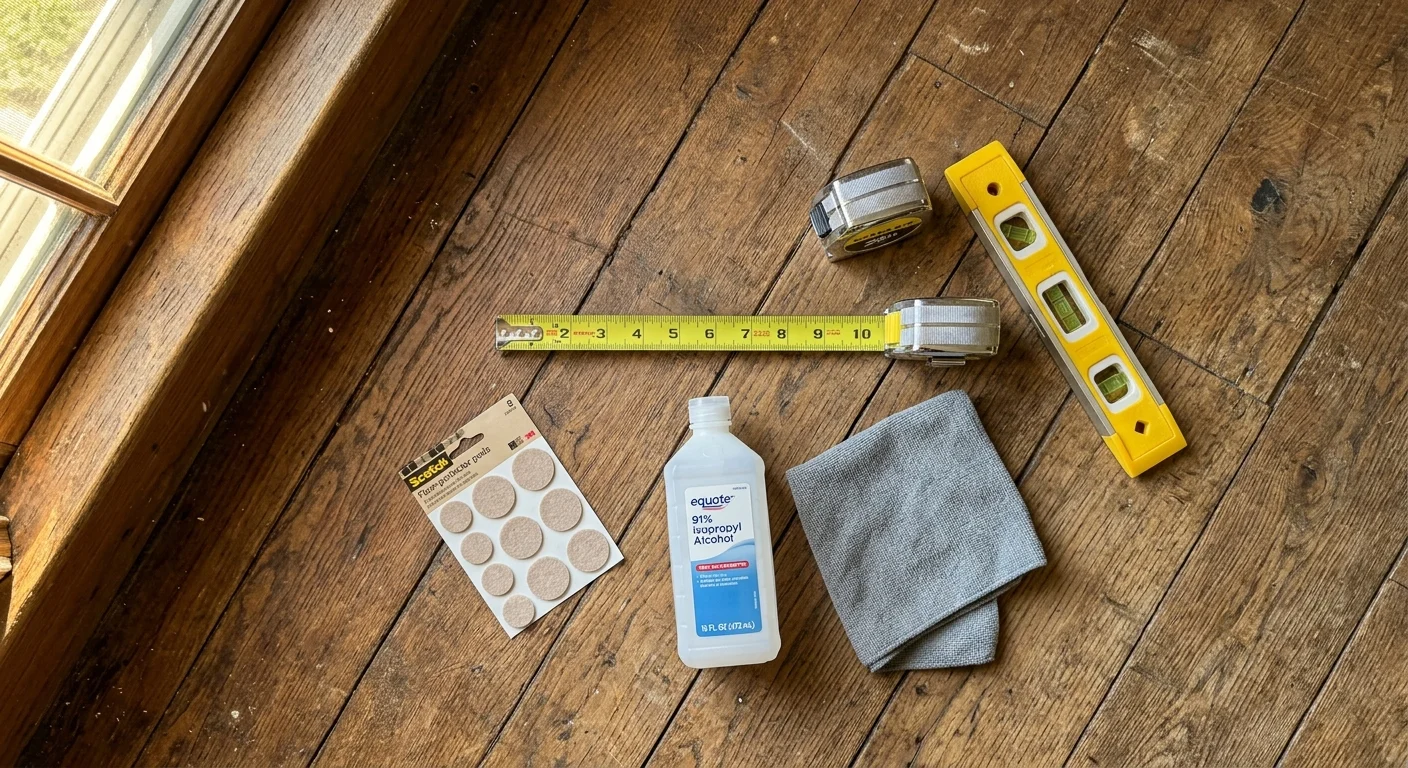
Essential tools for temporary divider projects include a heavy-duty steel tape measure, a torso-height bubble level or cross-line laser level, a digital stud finder, a non-marring rubber mallet, a sharp utility knife, a microfiber cleaning cloth, and 91 percent isopropyl alcohol for surface degreasing.
Required materials depend on your chosen divider style, but a general hardware inventory includes floor-to-ceiling vertical tension poles ($30 to $60 per pair), heavy drapery panels ($25 to $80 per pair), modular cube shelving units ($100 to $350), freestanding multi-panel folding screens ($60 to $200), high-tack removable adhesive hanging hooks ($10 to $25), heavy-duty anti-tip furniture straps ($12 to $25), and self-adhesive felt floor-protector pads ($8 to $15). You can explore hardware options directly through major suppliers like The Home Depot or specialized furniture sources like IKEA.
To prepare your workspace, scrub all ceiling and floor contact surfaces using isopropyl alcohol to eliminate dust and oils. If you plan to anchor tension systems directly under drywall, use your stud finder to locate solid ceiling joists. Aligning vertical tension posts with structural ceiling framing provides maximum pressure resistance without cracking soft gypsum board.