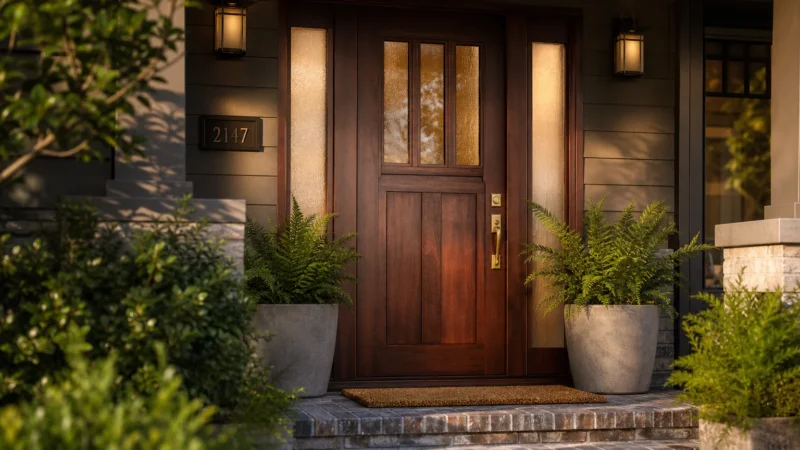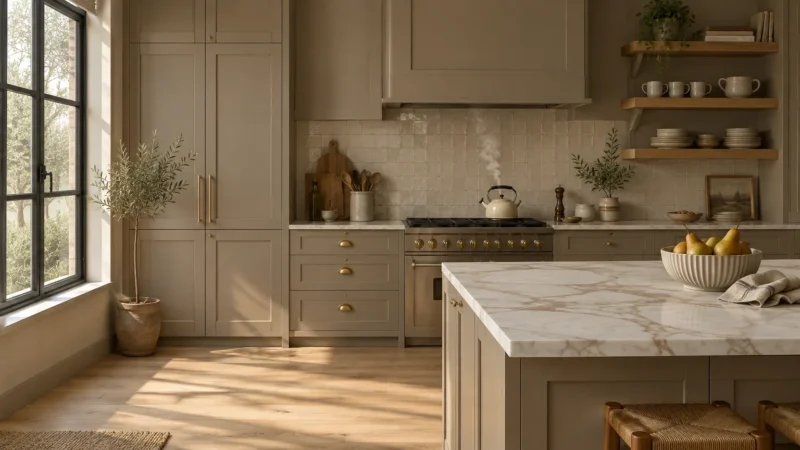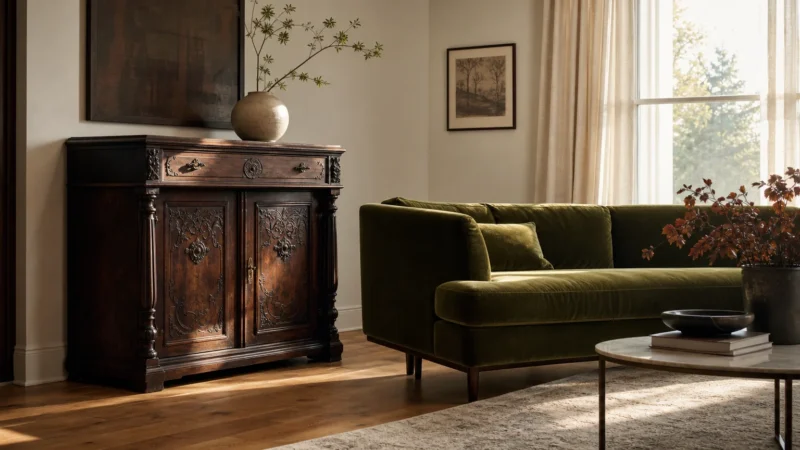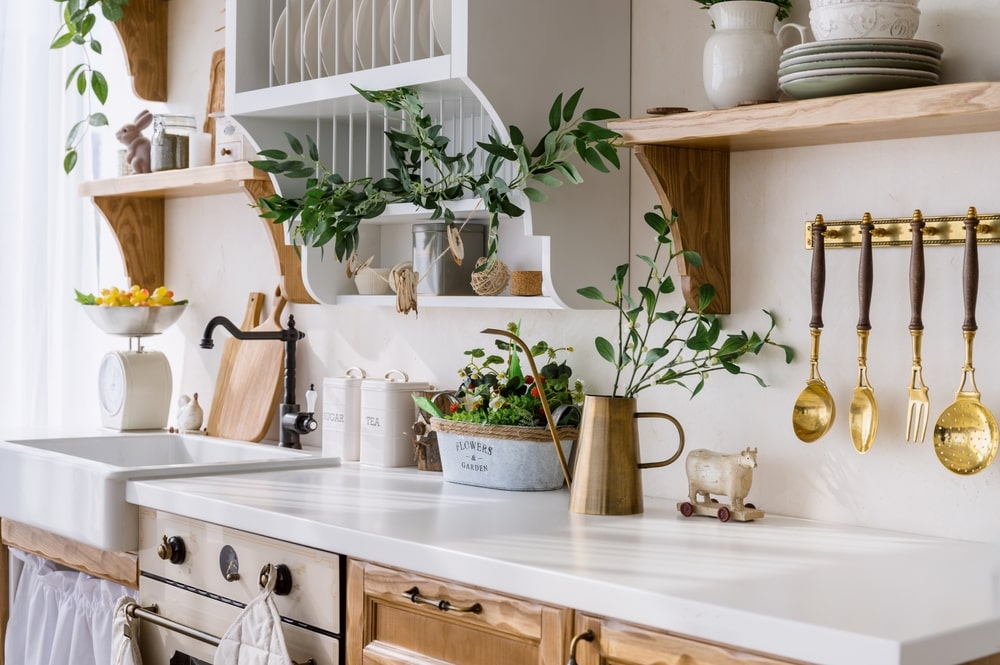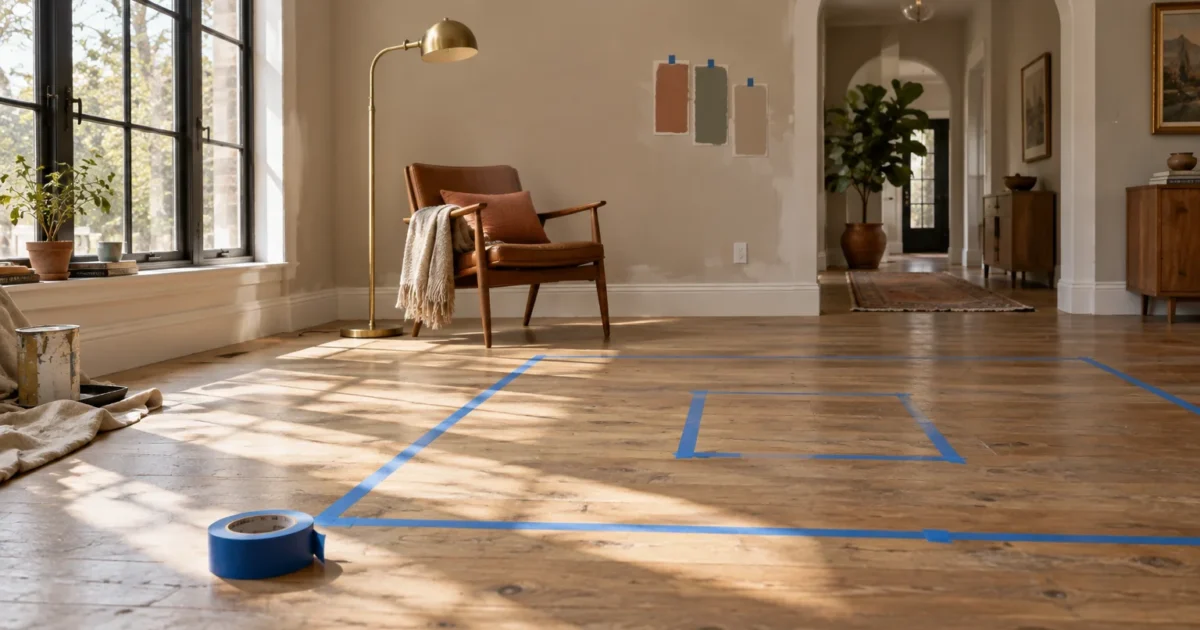
Transforming an uninspired room into a functional, elevated space does not require an expensive degree or an unlimited budget. With an intentional plan, you can turn any cluttered or outdated footprint into your home’s standout sanctuary.
This DIY room design guide breaks the interior design process into practical, manageable milestones. You will learn how to measure accurately, build cohesive color schemes, arrange furniture safely, and curate decor that matches your everyday routine.
Follow these step by step room design techniques to build confidence, maximize square footage, and transform your living environment efficiently.
Project Overview & Why It Matters
A thoughtful room layout changes how you experience your home daily. When you design with clear intention, your space supports your daily habits while showcasing your personal aesthetic.
Proper planning prevents expensive purchasing mistakes and ergonomic frustration. Furnishing without a plan often leads to overcrowded pathways, poor lighting, and buyer remorse.
Strategic interior design also boosts property value and daily functionality. According to real estate valuation studies, homes with cohesive, uncluttered interiors sell faster and command higher appraisal values.
This process works for any area, whether you are refreshing a primary bedroom, organizing a home office, or overhauling an open-concept living room. Every square foot gains utility when aligned with your lifestyle.
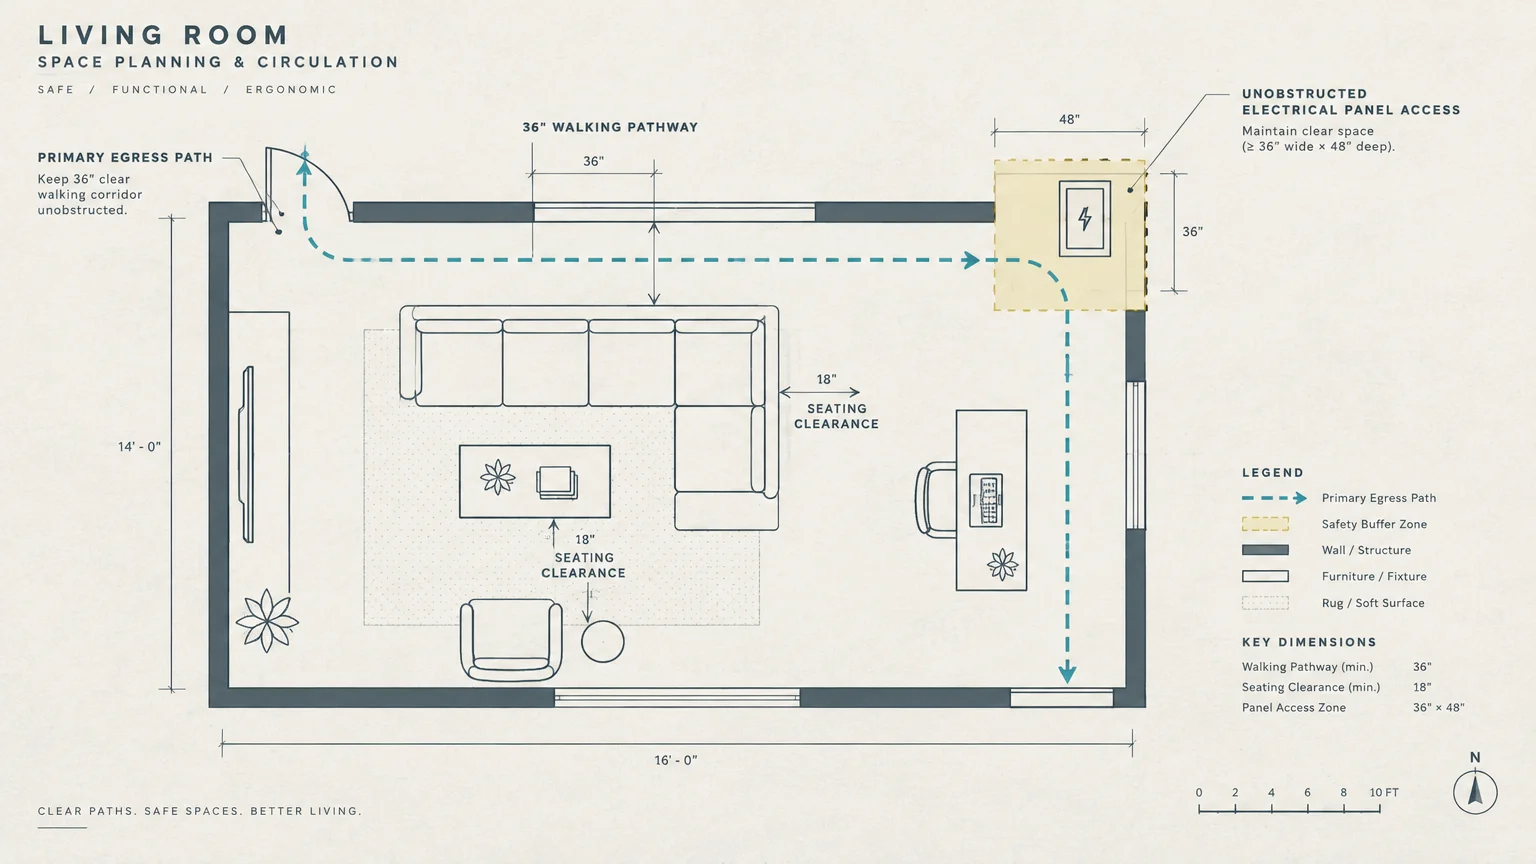
You also safeguard your household by designing around building safety codes. Maintaining clear egress paths and unobstructed electrical panels protects your family during emergencies.
Ergonomics play an equally critical role in everyday satisfaction. Correct desk heights, optimal seating depths, and reachable task lighting prevent physical strain during work and relaxation.
Taking control of your interior layout empowers you to solve persistent storage problems. Customizing storage to your personal belongings keeps clutter off surfaces permanently.
Tools, Materials, and Prep Checklist
Before shopping for furniture or paint, assemble the right diagnostic tools. Proper preparation eliminates guesswork and saves you hundreds of dollars in restocking fees.
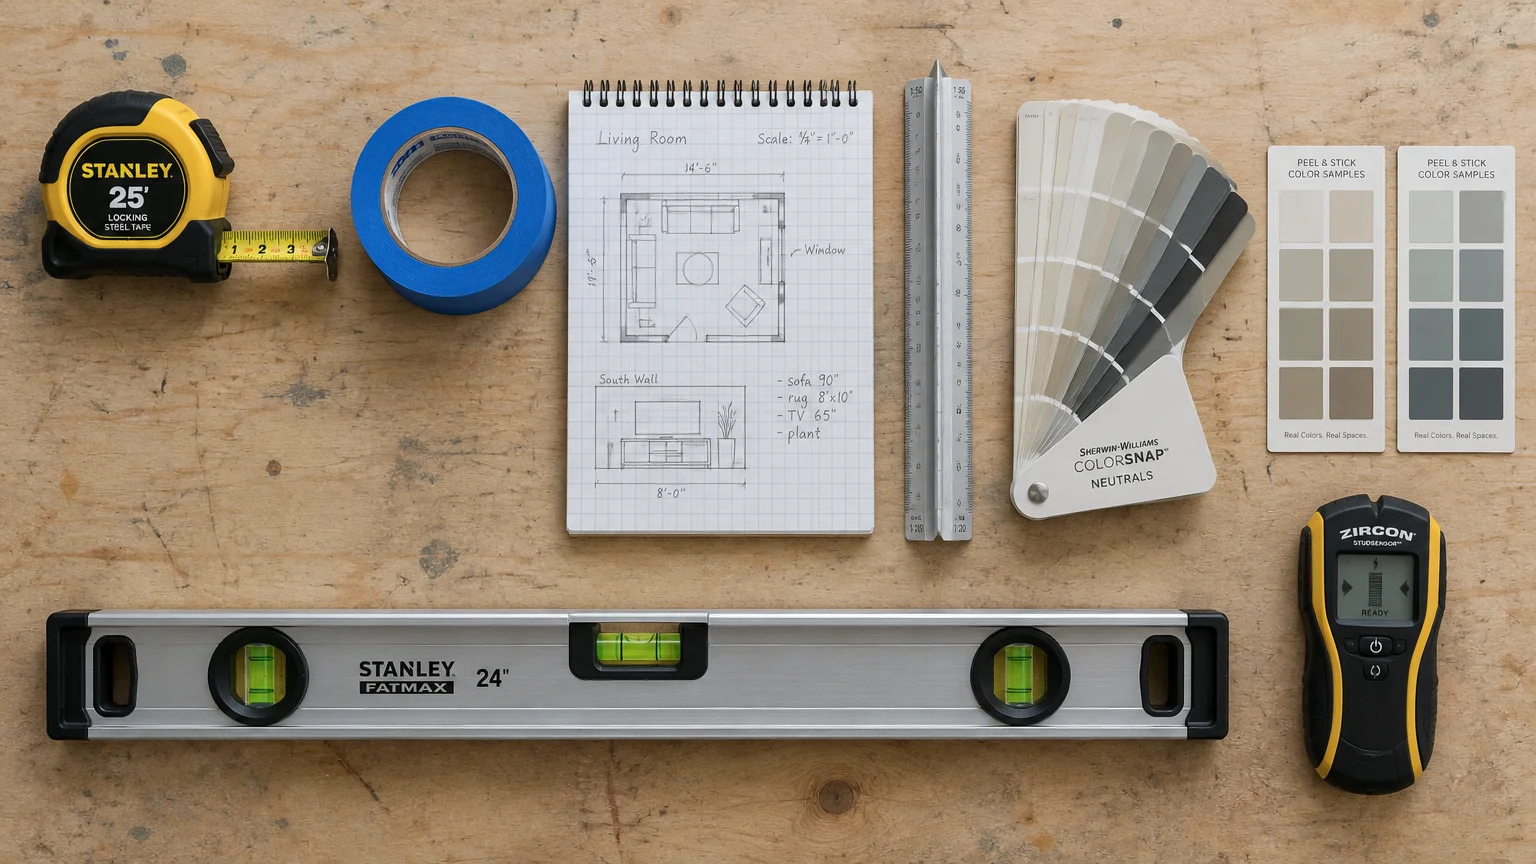
Steel Tape Measure or Laser Measurer ($15–$50): A 25-foot locking tape measure guarantees accurate wall and door clearance data. Laser measuring tools accelerate large-room dimensioning with pinpoint precision.
Grid Paper and Architectural Scale ($8–$15): Quarter-inch grid paper allows you to sketch scaled floor plans by hand. Alternatively, test free digital room planning software to visualize arrangements in three dimensions.
Blue Painter’s Tape ($8–$12): Use wide tape to outline potential furniture footprints directly onto your flooring. This visual mockup reveals tight walking paths before you place delivery orders.
Paint Fan Decks and Swatch Boards ($10–$25): Evaluate paint chips under varied home lighting conditions. Companies like Sherwin-Williams offer peel-and-stick sample sheets that make color testing mess-free.
Drywall Patching Kit and Level ($15–$30): Repair nail holes, dents, and surface blemishes before priming your walls. A 24-inch bubble level or digital torpedo level ensures artwork and shelving hang perfectly plumb.
Digital Angle Finder and Stud Finder ($20–$45): Locate wall framing studs before anchoring heavy mirrors, shelving, or wall-mounted cabinets. Verifying structural anchoring prevents wall tear-out and furniture tip-over hazards.
Begin preparation by fully clearing the room of transient clutter. Wipe down baseboards, patch wall imperfections, and vacuum the subfloor or carpet thoroughly before proceeding.
Inspect existing wall outlets, HVAC registers, and window seals while the room is bare. Completing minor repairs now ensures you will not damage new furnishings during future maintenance.
Step-by-Step Instructions
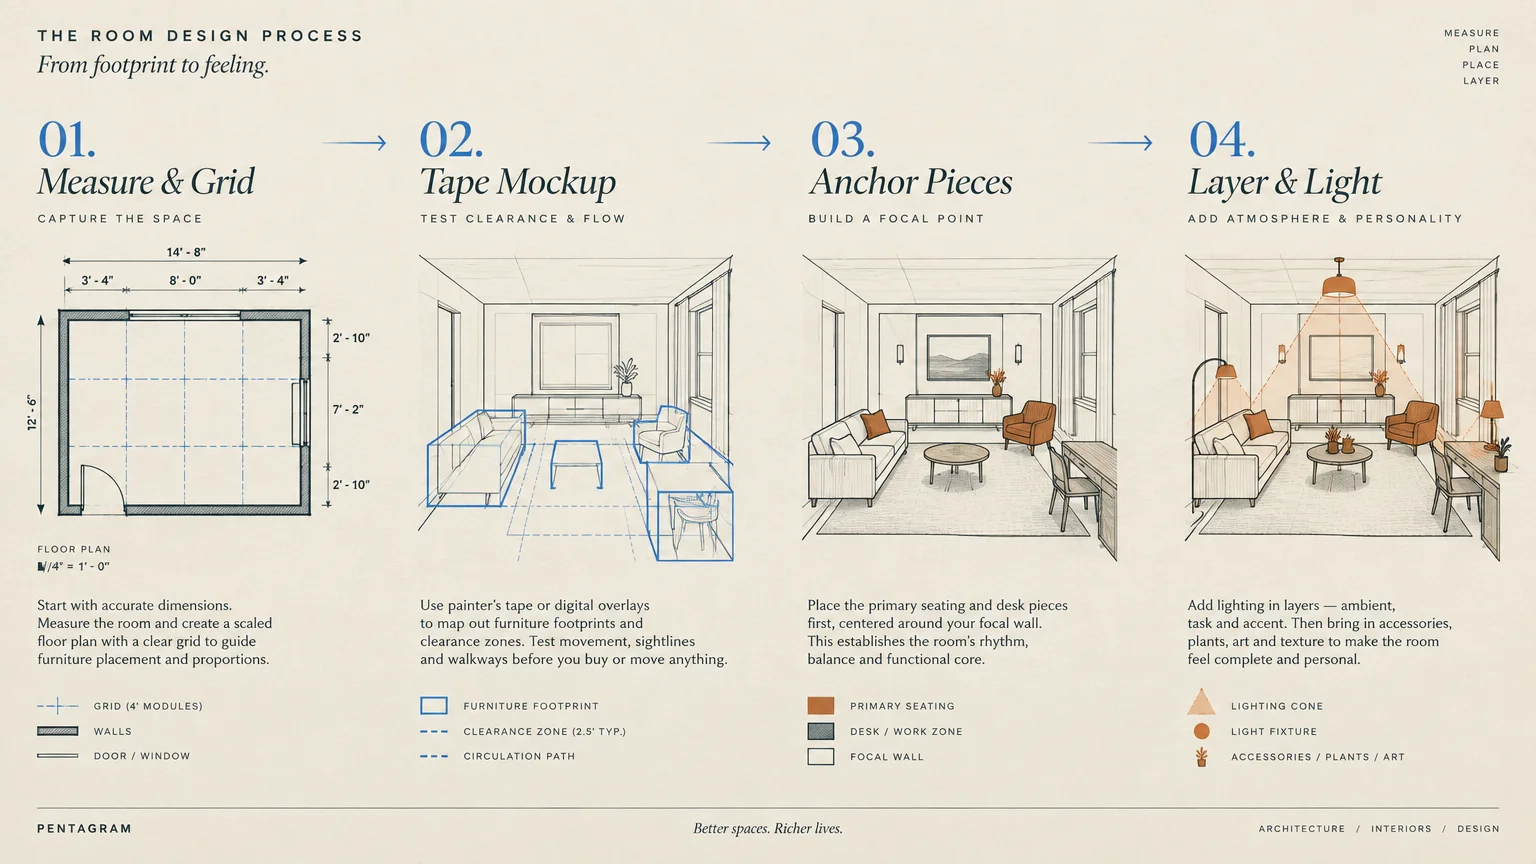
Executing a room makeover feels effortless when you follow an orderly sequence. Use these 12 proven milestones to navigate the interior design process from empty shell to polished retreat.
Step 1: Define Purpose and Lifestyle Needs
Clarify exactly how you will use the space every single day. A living room designed for movie nights requires different seating than one reserved for formal entertaining.
List your non-negotiable functional requirements, such as pet-friendly upholstery, kid-safe rounded corners, or dedicated laptop charging stations. Let lifestyle needs dictate your design choices.
Step 2: Establish a Realistic Budget and Timeline
Set a firm spending ceiling before browsing retail catalogs. Allocate roughly 50 percent of your budget to foundational furniture, 25 percent to lighting and textiles, and 15 percent to accessories.
Reserve the remaining 10 percent as a contingency fund for unexpected shipping fees or structural repairs. Plan a four- to eight-week timeline to accommodate custom furniture lead times.
Step 3: Measure the Architecture and Draft a Floor Plan
Measure wall lengths, ceiling heights, window sills, and door swings with exact precision. Note the placement of heating vents, radiators, light switches, and wall outlets.
Draft a scaled floor plan on graph paper where one quarter inch equals one foot. This critical exercise prevents you from purchasing an oversized sectional that blocks natural sunlight.
Troubleshooting Tip: For rooms with irregular angles or bay windows, measure diagonally across the room from opposing corners. Cross-checking diagonal measurements ensures your square footage calculations remain accurate.
Step 4: Identify the Natural Focal Point
Every successful room possesses a visual anchor that draws the eye upon entering. Natural focal points include wood-burning fireplaces, large picture windows, or built-in bookshelves.
If your room lacks built-in architectural character, create your own focal point. An accent wall, an oversized piece of art, or a sculptural headboard establishes visual hierarchy.
Orient your primary seating to engage this focal feature naturally. Avoid competing focal points, which make rooms feel chaotic and fragmented.
Step 5: Select Your Functional Anchor Pieces
Invest in your largest, most durable items first. In a bedroom, your bed frame and mattress dictate the room; in a living area, your primary sofa leads the layout.
Choose neutral, timeless upholstery for these high-investment items to maximize longevity. You can easily update pillows and throws later as design trends evolve.
Confirm that your chosen anchor pieces will fit through hallways, stairwells, and entry doors on delivery day. Measuring diagonal entry clearances prevents costly delivery rejections.
Step 6: Map Clear Traffic Flow and Safety Clearances
Safety and ergonomics govern good room design steps for beginners. Maintain primary walking corridors of at least 36 inches between major furniture pieces and entryways.
Adhere to residential safety guidelines from organizations like the National Fire Protection Association by keeping doorways and escape windows unblocked. Leave 14 to 18 inches between coffee tables and sofas.
Safety Callout: Never place tall bookcases or freestanding wardrobes where they obstruct heating equipment or window exits. Always anchor tall case goods directly into wall studs with anti-tip brackets.
Step 7: Develop a Cohesive Color Palette
Apply the classic 60-30-10 interior rule to balance color across the room. Dedicate 60 percent of the space to a dominant wall neutral, 30 percent to secondary furniture tones, and 10 percent to vibrant accents.
Test your selected paint swatches on multiple walls to observe undertone shifts during morning and evening light. High-quality paints from Benjamin Moore deliver rich pigments that withstand daily wear.
Troubleshooting Tip: If a paint swatch appears overly yellow or blue in your room, check the color temperature of your light bulbs. Incandescent lighting casts warm yellow tones, while daylight LEDs emphasize cool undertones.
Step 8: Plan a Layered Lighting Scheme
Never rely on a single overhead ceiling fixture to illuminate an entire living space. Instead, layer ambient, task, and accent lighting to create warmth, dimension, and practical illumination.
Pair overhead chandeliers with directional reading lamps and dimmable sconces. Choose warm-white LED bulbs rated between 2700K and 3000K to maintain a welcoming, residential ambiance.
Install dimmer switches on all overhead ambient fixtures to gain instant control over room mood. Dimming your lighting also extends bulb life and reduces household electrical consumption.
Step 9: Choose Durable Textiles and Floor Coverings
Area rugs unify furniture arrangements while providing sound dampening and underfoot comfort. Ensure your rug is large enough so at least the front legs of all seating rest on its pile.
Select durable, stain-resistant fibers like wool, performance polyester, or flat-woven blends for high-traffic rooms. Layer soft drapery panels near the ceiling to visually expand vertical height.
Always position a non-slip rug pad beneath floor coverings regardless of rug thickness. Rug pads prevent dangerous slips and cushion backing fibers from ground-in grit.
Step 10: Curate Functional Accent Furniture and Storage
Integrate secondary seating, side tables, and closed storage units to support your anchor pieces. Storage ottomans and credenzas conceal electronic cords, games, and extra linens seamlessly.
Vary the silhouettes and materials of your accent pieces to prevent a flat, catalog-matched appearance. Mix warm wood species with brushed metals or ceramic textures.
Ensure every seated guest has an easily reachable surface to place a drink or book. Side tables should match or sit within two inches of adjacent chair arm heights.
Step 11: Hang Wall Art and Window Treatments at Proper Scale
Mount your wall artwork so its visual center hangs roughly 57 to 60 inches above the finished floor. When hanging art above a sofa, leave roughly six to eight inches of breathing room.
Install curtain rods four to six inches above window frames and extend brackets past the sides. This mounting trick allows curtain panels to frame the glass without blocking incoming natural light.
Troubleshooting Tip: If your artwork looks dwarfed by a massive blank wall, arrange multiple smaller frames in a tight gallery grid. Treat the entire gallery cluster as a single large visual composition.
Step 12: Layer Decorative Accessories and Personal Touches
Complete your room design by introducing personal collections, books, and living greenery. Houseplants purify indoor air while injecting organic texture and vibrancy into unused corners.
Group decorative objects on shelves in odd-numbered clusters, varying their heights and textures. Edit your displays rigorously so surfaces feel curated rather than overcrowded.
Step back periodically and view the space from multiple doorways. Removing just one or two non-essential accessories often brings the entire composition into perfect harmony.
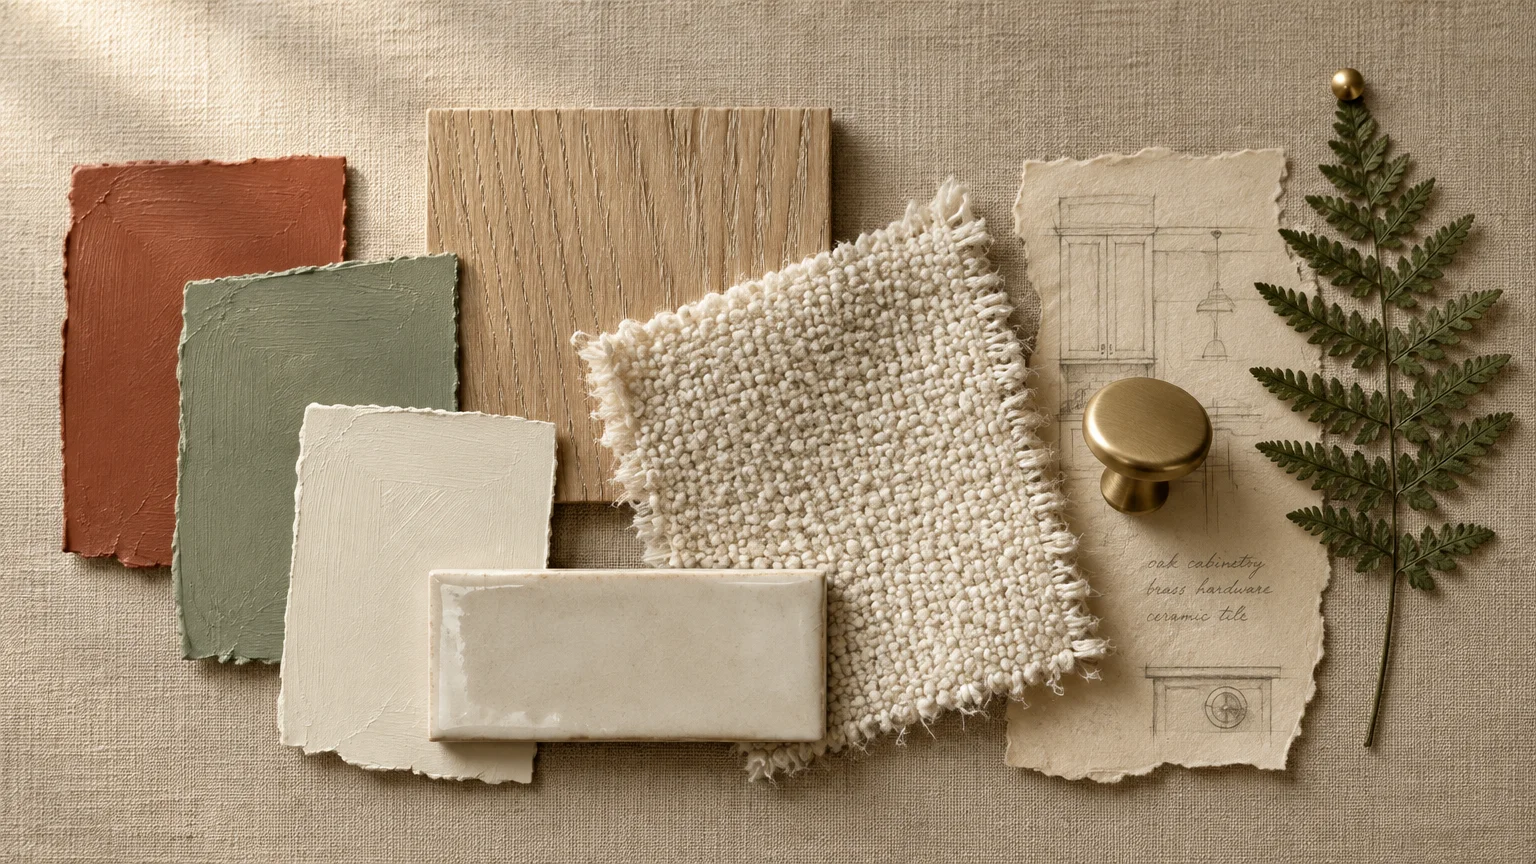
Style & Finishing Touches
Refining your design style helps unify disparate elements into a polished aesthetic. Whether you lean toward organic modern, transitional, or mid-century design, consistency remains key.
The American Society of Interior Designers recommends repeating architectural finishes at least twice across a room. This subtle repetition anchors disparate elements into a unified whole.
Budget-Friendly Styling: Upgrade standard cabinet pulls with solid brass hardware for immediate impact. High-end hardware elevates affordable, flat-pack cabinetry instantly without exceeding modest remodeling budgets.
Frame inexpensive art prints with custom-cut, oversized matting inside off-the-shelf frames. The broad negative space mimics upscale gallery presentations for a fraction of bespoke framing costs.
Mid-Tier Enhancements: Install two-piece decorative crown molding or classic picture-frame picture molding along bare walls. Millwork introduces deep architectural shadows that give plain drywall spaces tailored sophistication.
Swap builder-grade electrical switches for sleek rocker plates equipped with integrated smart dimmers. Automated ambient lighting adjusts to natural sunlight, maximizing comfort throughout the day.
Luxury Upgrades: Commission custom radiator covers or motorized window shades tailored to your window casings. Tailored textile treatments provide superior thermal insulation while showcasing fine craftsmanship.
Incorporate architectural salvage, such as a vintage fireplace mantel or antique mirror, to inject one-of-a-kind soul. Historic elements ground newly purchased modern pieces and prevent sterile showroom aesthetics.
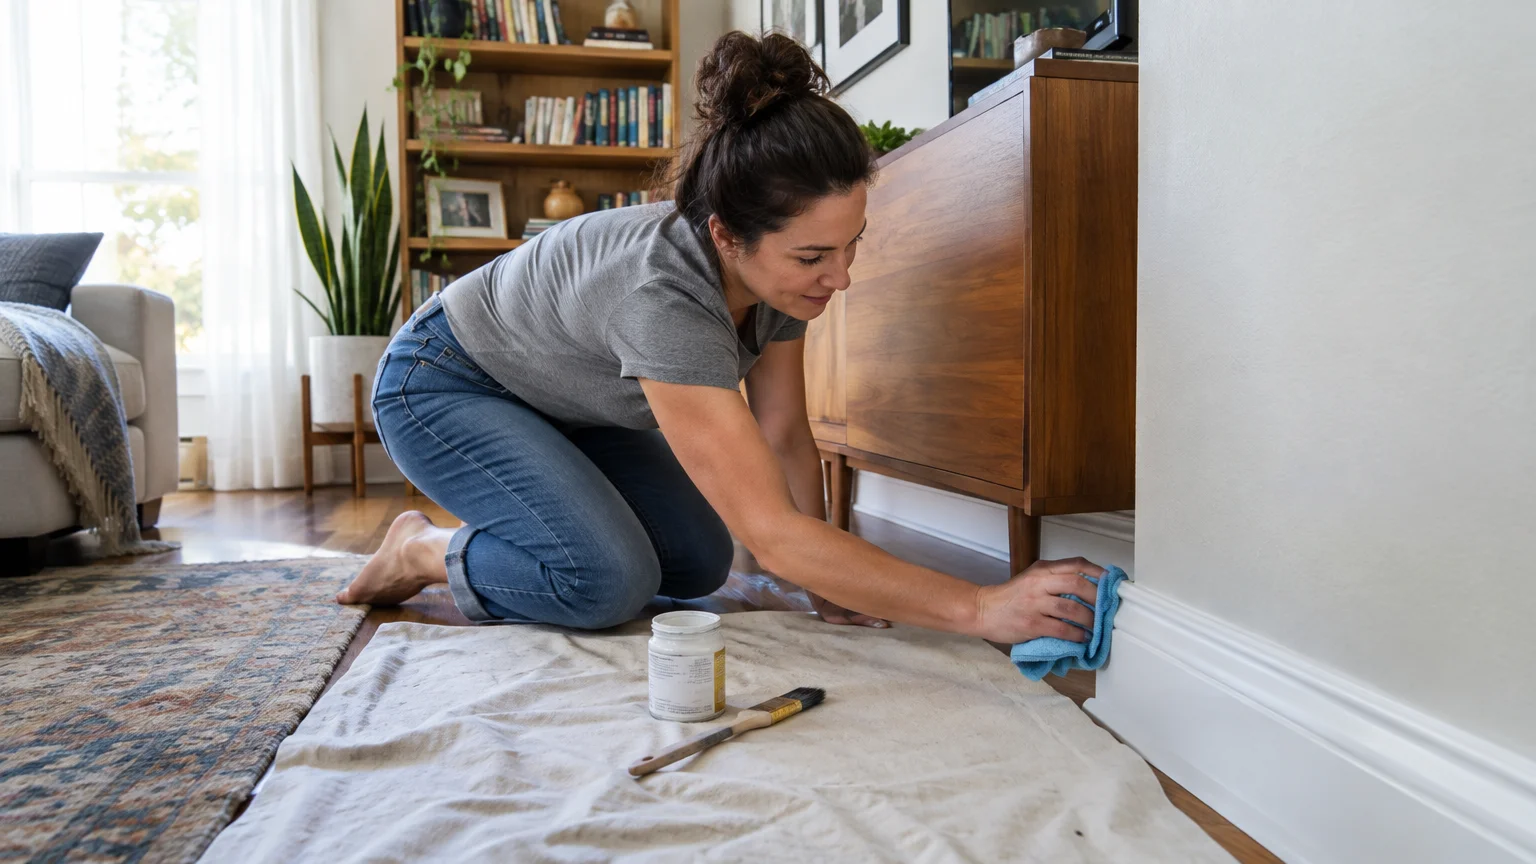
Maintenance & Long-Term Care
A well-designed room retains its beauty only when supported by regular maintenance habits. Protect your decorative investments by establishing simple seasonal cleaning and upholstery care routines.
Rotate upholstered cushions and mattresses every three to six months to promote even wear. Vacuum fabric weaves using a clean brush attachment to prevent dirt fibers from abrading upholstery.
Position delicate leather and natural wood furniture away from direct, unfiltered sunlight. Harsh ultraviolet rays bleach organic stains and cause fine veneers to crack prematurely.
Dust ceiling light fixtures, lampshades, and ceiling fans twice yearly to optimize lumen output. Clean light diffusion keeps your layered lighting scheme crisp, warm, and inviting.
Inspect wall anchors and picture hanging wires periodically to guarantee structural security. Tighten loose table hardware and reapply felt protective pads beneath furniture legs annually.
Review your layout seasonally to confirm heating and air conditioning registers remain unobstructed. Keeping airflow paths free lowers utility costs and protects wood furniture from thermal shock.
Spot-clean rugs immediately after spills occur using clean, lint-free microfiber towels and lukewarm water. Blot liquids gently from the outer rim inward to avoid spreading stubborn stains.
FAQ
How much should I budget to design a single room from scratch?
A realistic DIY room design budget ranges from $2,500 for entry-level furnishings to $12,000 for mid-range, heirloom-quality pieces. Always allocate roughly 10 percent of your total capital for shipping and sales tax.
Prioritize your budget toward pieces you touch daily, especially mattresses, sofas, and ergonomic office chairs. Save money on accent tables, wall decor, and decorative throw pillows.
In what order should I buy furniture for a new room?
Always purchase your primary anchor pieces first, such as your sofa, bed frame, or dining table. Secure the anchor rug next, followed by secondary accent chairs, lighting, and decorative accessories.
Buying large items first establishes spatial scale and prevents you from overcrowding valuable floor territory. Adding lighting and art last lets you solve specific brightness and color balance gaps.
How do I make a small room feel significantly larger?
Use furniture with exposed, slender legs to allow light to flow underneath seating footprints. Hang full-length mirrors opposite windows to bounce natural daylight across the room.
Paint your walls and trim the same light neutral tone to eliminate harsh dividing boundaries. This optical technique visually expands narrow perimeters and raises visual ceiling height.
When should I hire an interior designer versus doing it myself?
Hire a certified interior designer or licensed architect if your project involves moving load-bearing walls, relocating plumbing, or rewiring main electrical feeds. Tackle cosmetic updates, layout mapping, and furnishing purchases independently.
Professional trade contractors ensure structural adjustments meet local building codes and pass city building inspections. For furnishing and decorating, following a step by step room design workflow delivers fantastic personal results.
What is the biggest mistake beginners make when designing a room?
The most frequent error is purchasing matching showroom furniture sets that overwhelm square footage and look generic. Buying an undersized rug that floats disconnected in the room center also ruins proportion.
Take time to curate individual pieces that complement one another rather than matching exactly. Ground your seating arrangement with a generous rug that touches all primary seating pieces.
Takeaway & Next Steps
Designing a comfortable, stylish room is an attainable skill that transforms how you enjoy your home. By following these structured milestones, you replace expensive guesswork with intentional, enduring design choices.
A successful space harmonizes functional safety, ergonomic comfort, and personal aesthetic expression. You now have the exact tools needed to craft a living space that serves your daily needs.
Action 1: Clear all loose clutter from your target room and measure perimeter wall dimensions, window casings, and door clearances with a tape measure.
Action 2: Draft a scaled floor plan on graph paper and map out safe 36-inch walkways using blue painter’s tape across your flooring.
Action 3: Establish your spending ceiling and order physical paint chips and fabric swatches to evaluate undertones under home lighting conditions.
Are you tackling a room refresh this weekend? Share your before-and-after project photos with our editorial community or subscribe to our newsletter for weekly renovation ideas and expert homeowner guides.