Transforming your bathroom into a modern sanctuary requires selecting surfaces that balance enduring durability with forward-thinking design. The latest bathroom tile ideas blend tactile organic textures, rich earth-inspired tones, and seamless installations that instantly elevate your daily routine.
Design movements showcased at major international expos reveal a sharp pivot away from sterile, cool aesthetics toward inviting, restorative retreats. You can achieve a high-end luxury look while protecting your investment and simplifying your weekend cleaning routine.
Whether you plan a full wet-room overhaul or a simple floor refresh, modern bathroom tile selections deliver unprecedented visual impact for every budget.
Project Overview & Why It Matters
Bathroom renovations represent one of the most effective ways to build equity and improve daily comfort in your home. Tile serves as your bathroom’s first line of defense against moisture while establishing the foundational aesthetic for the entire space.
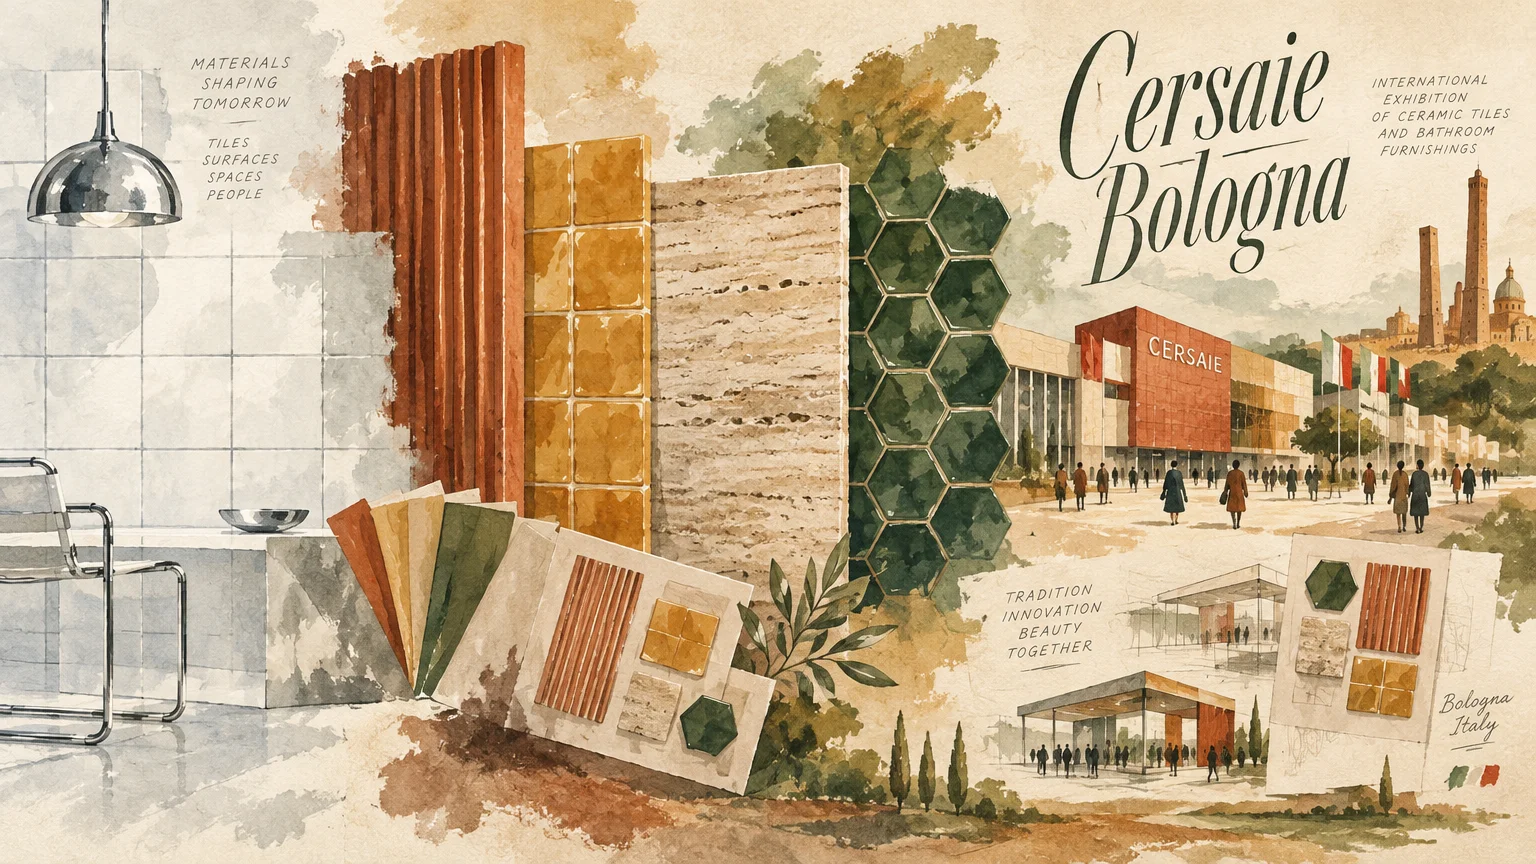
International design showcases set the stage for upcoming residential renovations across North America. At Cersaie 2026, held in late September 2026 in Bologna, Italy, approximately 600 exhibitors across 16 pavilions presented emerging surface concepts to nearly 100,000 visitors.
These European concepts quickly cross the Atlantic through premier trade events. Coverings 2026 at the Las Vegas Convention Center demonstrated how commercial innovations translate into accessible residential products for American homeowners.
The industry will officially unveil the Coverings Top 10 Tile Trends of 2027 report on February 23, 2027, celebrating National Tile Day. You can gain an advantage by planning your remodeling projects around these verified shifts right now.
Selecting modern bathroom tile shapes how you experience your home each morning. Thoughtful tile design trends elevate small powder rooms into jeweled display spaces and expand primary bathrooms into serene home spas.
High-performance porcelain and ceramic installations protect your framing from rot, mold, and structural water damage. Modern digital printing technologies allow these tiles to capture the authentic warmth of natural stone without demanding burdensome seasonal maintenance.
Today’s bathroom tile trends 2027 prioritize emotional wellness through sensory engagement. Replacing cold, reflective white subway tile with tactile, warm surfaces grounds your interior and creates a welcoming personal retreat.
Tools, Materials, and Prep Checklist
Accurate budget planning prevents mid-project compromises and costly supply delays. Tiling a standard bathroom typically costs homeowners between $1,500 and $5,000 depending on fixture complexity and plumbing obstacles.
Larger spaces or custom floor-to-ceiling installations expand your budget between $3,000 and $12,000. If you focus solely on replacing your floor, expect national project averages between $1,304 and $4,350.
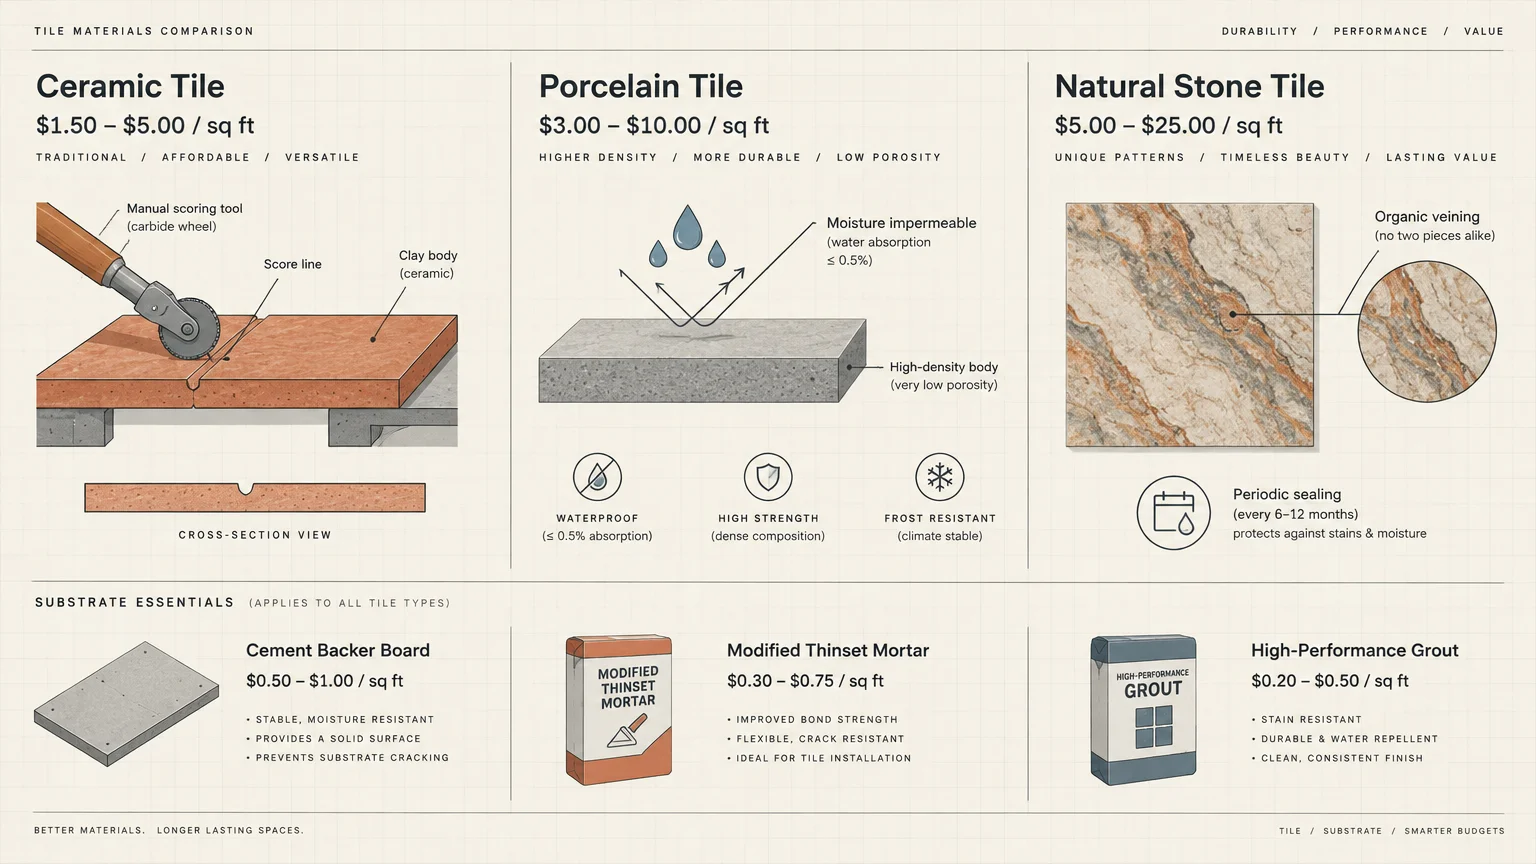
Ceramic Tile: Budget $1.50 to $5.00 per square foot for standard ceramic wall applications. Ceramic cuts easily with manual scoring tools, making it an ideal choice for budget-conscious DIYers.
Porcelain Tile: Allocate $3.00 to $10.00 per square foot for dense, moisture-impervious porcelain. Porcelain provides exceptional scratch resistance and withstands heavy foot traffic in active family bathrooms.
Natural Stone Tile: Plan for $5.00 to $25.00 per square foot for authentic marble, limestone, or quartzite. Stone delivers unmatched organic variation, though you must seal it periodically to prevent deep mineral staining.
Substrate and Mortar: Cement backer board costs roughly $0.50 to $1.00 per square foot. Modified thinset mortar adds $0.30 to $0.75 per square foot, while high-performance grout runs $0.20 to $0.50 per square foot.
Tile Waste Allowances: Standard tile installations require ordering 10% to 15% extra material to cover cuts, border alignment, and transit breakage. Always store an extra unopened box in your garage for future plumbing repairs.
Small bathrooms using trending large-format panels can increase material waste up to 30% due to awkward edge cuts. Conversely, compact mosaic formats navigate narrow floor drains efficiently, keeping material waste under 5%.
Essential Hand Tools: Secure a notched trowel matched to your tile dimensions, a rubber grout float, and a margin trowel. You will also need a mechanical tile cutter, a tape measure, and a four-foot carpenter level.
Power Cutting Equipment: Rent a continuous-rim wet tile saw to ensure chip-free cuts through vitrified porcelain and natural stone. Add diamond hole-saw bits to bore clean openings for plumbing supply lines and shower valves.
Personal Protective Equipment: Wear ANSI-certified safety glasses, nitrile-dipped work gloves, and heavy-duty gel knee pads. Review guidance from the Occupational Safety and Health Administration and wear an N95 respirator to prevent silica dust inhalation during dry cuts.
Step-by-Step Instructions
Phase 1: Subfloor Inspection and Substrate Preparation
Inspect your subfloor thoroughly before purchasing materials to avoid structural tile cracking down the road. Confirm your wooden subfloor features a minimum thickness of 1-1/8 inches across sturdy joists to prevent excessive deflection.
Fasten half-inch cement backer board over a combed bed of modified thinset mortar using corrosion-resistant backer screws. Stagger all panel joints, tape them with alkali-resistant fiberglass mesh, and fill the seams flush with thinset.
Apply two continuous coats of liquid waterproofing membrane across all shower enclosures and wet areas. Extend the membrane at least six inches up adjoining walls and across curb transitions to establish an impenetrable moisture barrier.
Phase 2: Layout Planning and Dry Fitting
Locate the exact center of your floor or focal feature wall by snapping chalk reference lines. Measure toward perimeter walls to ensure edge cuts remain wider than half a tile width, avoiding unsightly slivers.
Dry-fit several rows of tile along your chalk axes while utilizing interlocking mechanical spacer clips. Review guidelines from the Tile Council of North America to establish recommended joint widths for your chosen material format.
Mark complicated cuts around toilet flanges, heating registers, and shower supply pipes using a contour gauge. Always double-check your measurements before making wet saw cuts to keep project waste within your calculated budget.
Phase 3: Mortar Application and Tile Setting
Mix your modified thinset mortar in a clean five-gallon bucket until it reaches the consistency of firm peanut butter. Let the mortar slake for ten minutes before remixing; never add extra water after slaking begins.
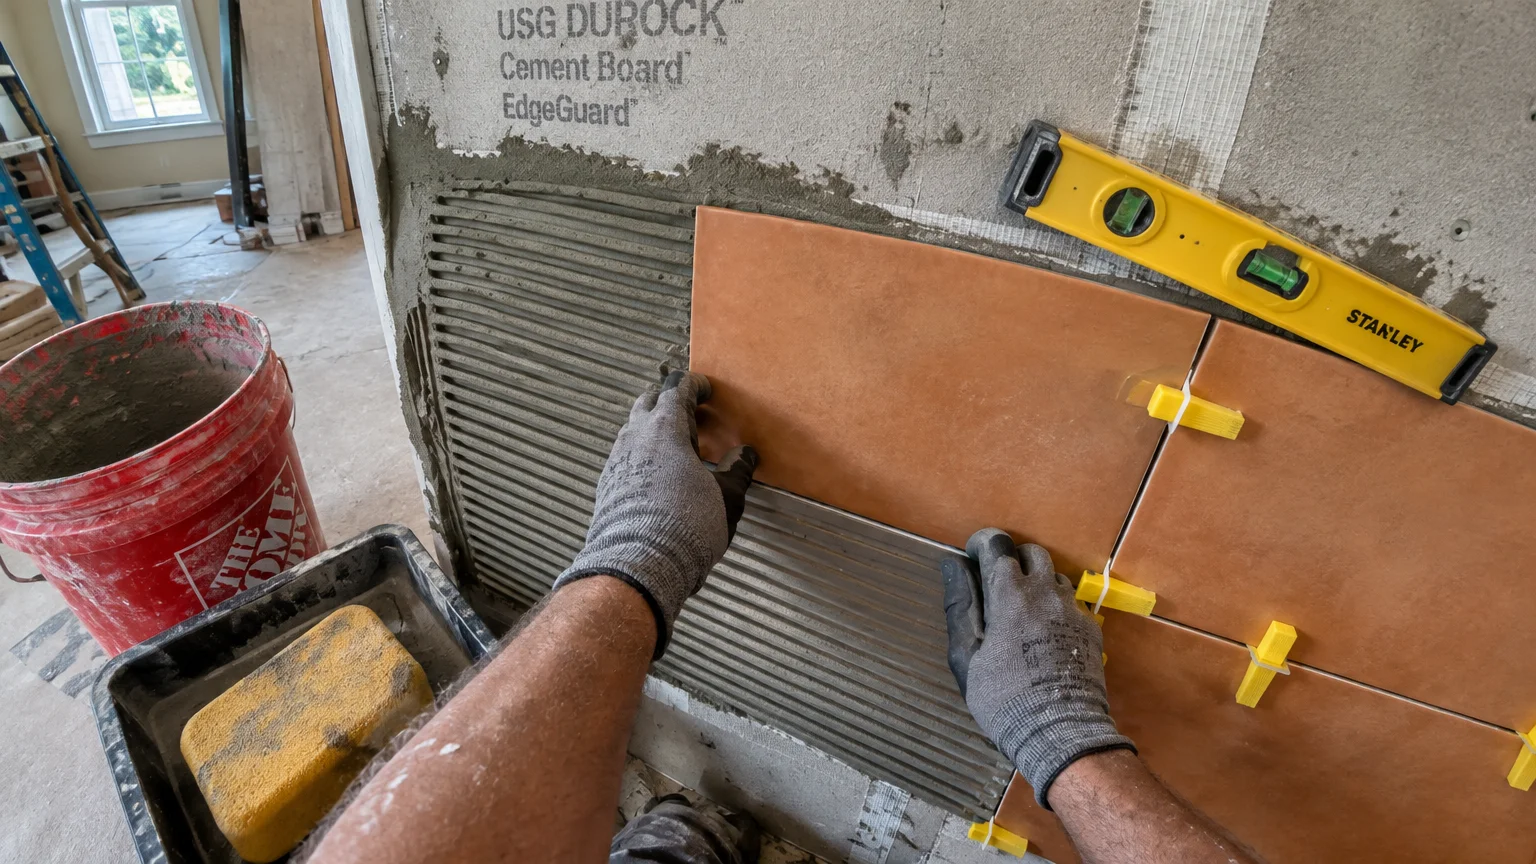
Comb mortar onto the substrate using the flat side of your trowel to burn it into the surface. Follow immediately with directional ridges combed in straight, parallel lines using the trowel’s notched edge.
Back-butter large panels by applying a thin, flat layer of fresh mortar across the entire tile back. Press each tile firmly into place, shifting it perpendicular to the combed ridges to collapse air pockets and maximize adhesive coverage.
Insert reusable leveling clips at every corner and along tile edges to eliminate vertical lippage across adjacent surfaces. Verify plumb and level across every third row using your spirit level, adjusting damp mortar immediately if alignment drifts.
Phase 4: Grouting and Perimeter Sealing
Allow your thinset mortar to cure undisturbed for a full 24 hours before removing spacer clips. Vacuum debris and dried mortar nibs from open tile joints using a shop vacuum equipped with a fine-dust filter.
Mix your chosen grout according to manufacturer ratios and pack it diagonally across the joints using a rubber float. Hold the float at a 45-degree angle to fill joint cavities completely without gouging wet grout.
Wipe the tile faces with a damp, circular sponge after the grout firms up for 15 to 30 minutes. Rinse your bucket frequently in clean water to prevent spreading thick residue across textured tile faces.
Buff away lingering surface haze with a dry microfiber cloth several hours later. Seal all interior corners, baseboards, and shower pan perimeters with color-matched 100% silicone sealant to accommodate natural building movement without cracking.
Style & Finishing Touches
Current design directions blend timeless architectural proportions with rich organic character. These best bathroom tiles reflect contemporary lifestyle demands, pairing tactile luxury with easy cleaning routines.
1. Taj Mahal Quartzite-Look Porcelain
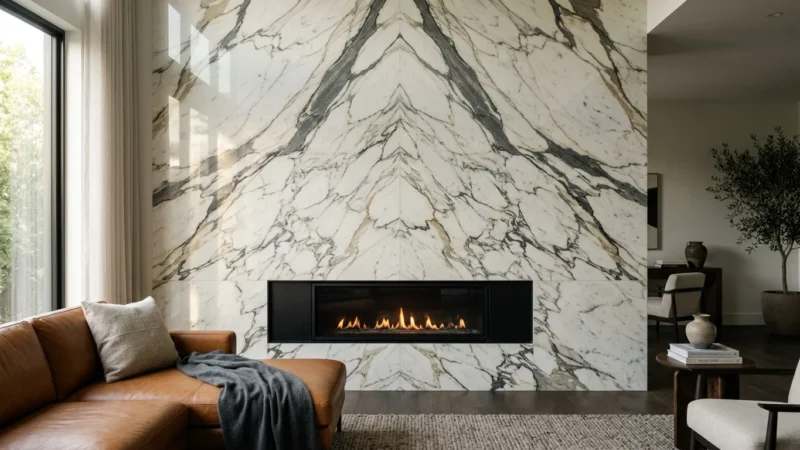
Homeowners are stepping away from high-contrast Carrara marble in favor of warm, luminous stone aesthetics. Large-format porcelain mimicking Brazilian Taj Mahal quartzite features a creamy ivory base laced with soft caramel and golden mineral veining.
This style delivers the opulent appearance of natural quartzite without porous vulnerabilities or acidic etching risks. Pair Taj Mahal porcelain slabs with unlacquered brass plumbing trim and rift-sawn white oak vanities for balanced warmth.
2. Full-Room Tile Drenching
Tile drenching envelops entire bathrooms in a single monochromatic color palette across floors, walls, and vanity fronts. Instead of introducing clashing trim pieces, you establish depth by pairing identical color tones across alternating matte and polished sheens.
This design technique visually expands compact powder rooms and eliminates choppy visual boundaries in open master suites. Select soft warm beige or misty moss tones to create an enveloping, cocoon-like atmosphere throughout your shower enclosure.
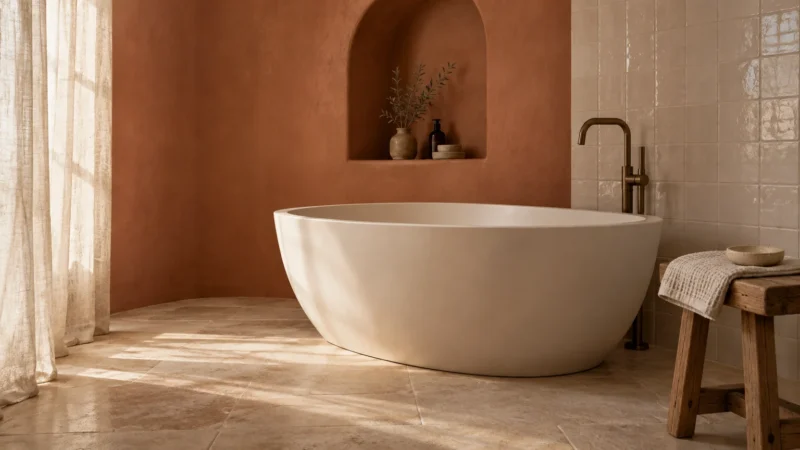
3. Earthy Terracotta and Warm Sand Ceramics
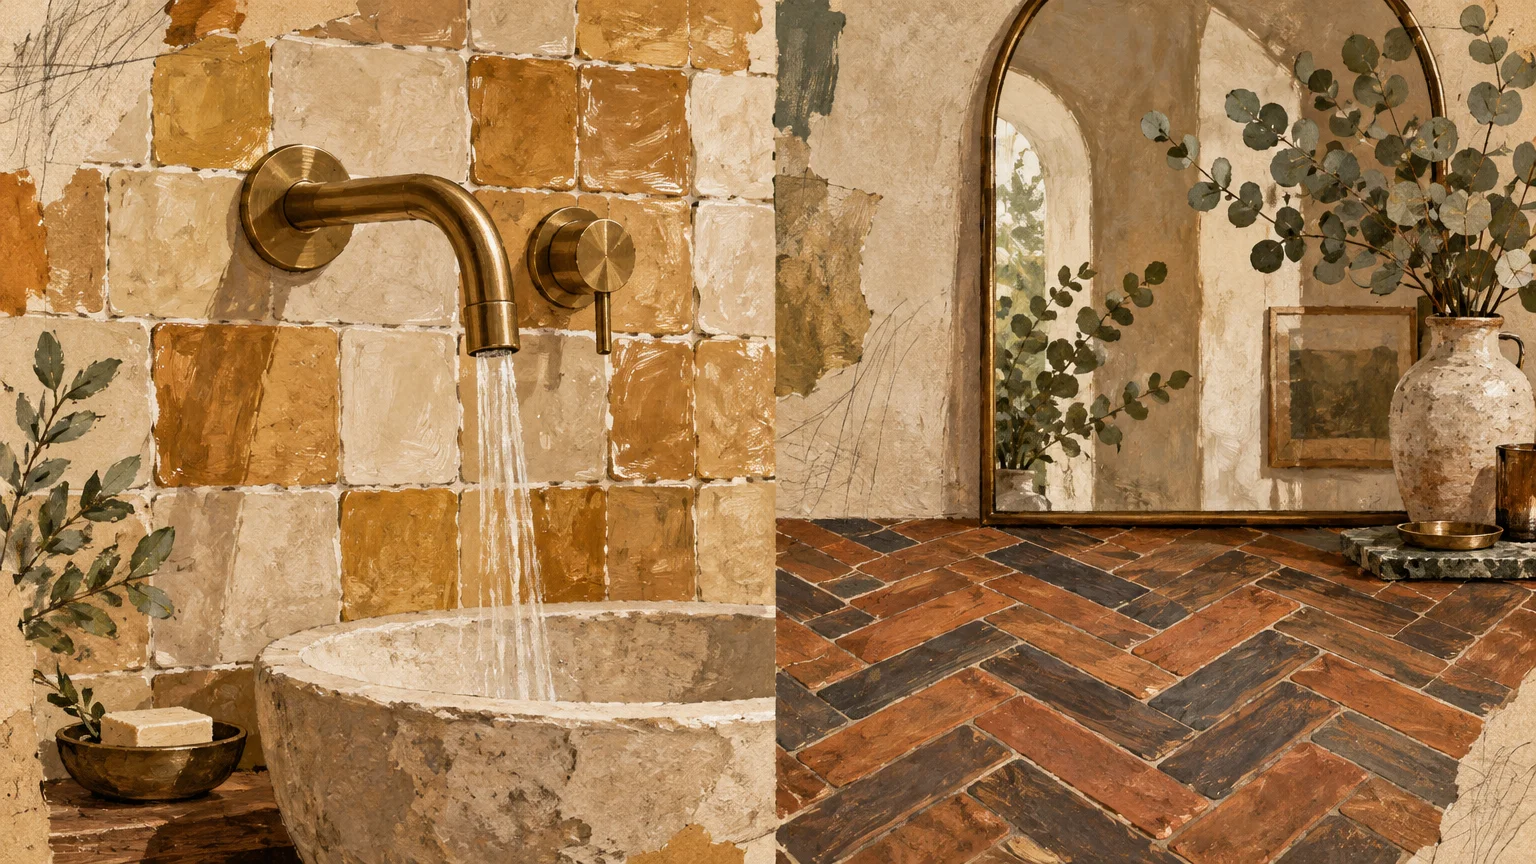
Cool greys and sterile hospital whites have officially exited the contemporary residential design vocabulary. Modern ceramic lines now celebrate grounding neutrals, highlighting desert sand, toasted almond, warm camel, and baked terracotta.
These sun-drenched tones introduce inviting organic character into windowless bathrooms that otherwise feel dim and cold. Complement warm terracotta floor tiles with matte black hardware and linen shower curtains to strike a clean balance between rustic and modern.
4. Fluted and 3D Ribbed Relief Panels
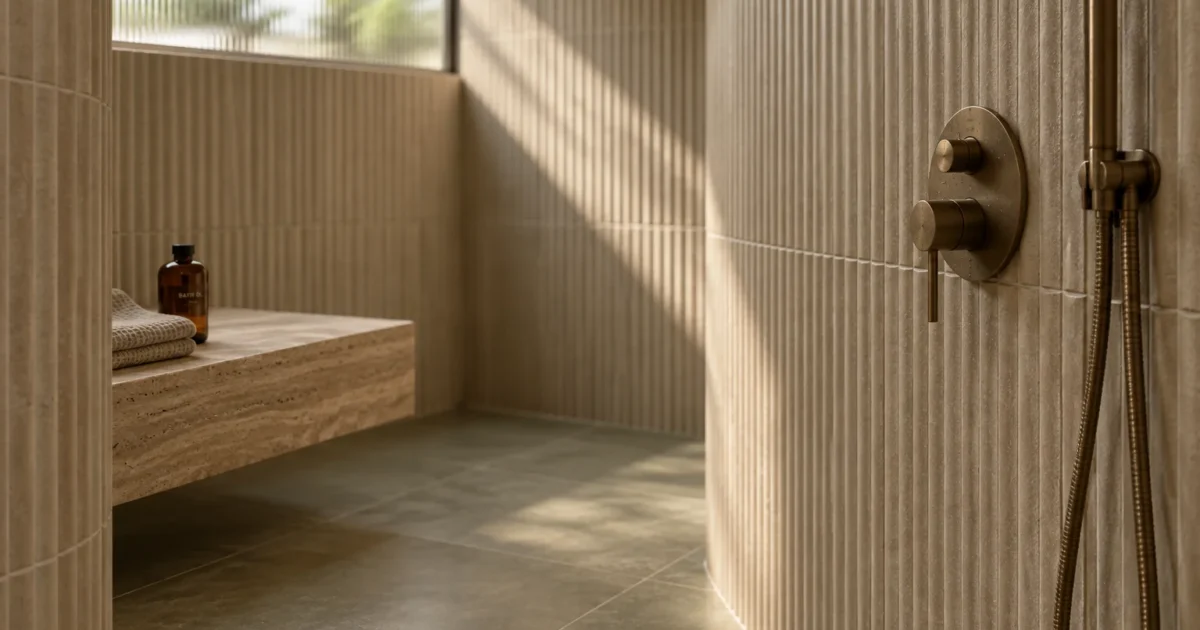
Three-dimensional relief tiles transform flat drywall partitions into captivating sculptural installations. Fluted porcelain tiles incorporate vertical grooves that cast subtle, rhythmic shadows across your bathroom walls as natural light shifts.
Installing ribbed vertical tiles behind your vanity mirror creates an architectural focal point that draws eyes upward toward the ceiling. Keep maintenance simple by specifying glazed finishes that shed soap mist effortlessly when wiped with microfiber towels.
5. Dramatic Oxblood and Burgundy Marble Veining
Deep, romantic reds are making an aggressive comeback across premier residential bathroom design portfolios. Homeowners are embracing dramatic porcelain slabs featuring dark oxblood, rich Bordeaux, and plum veining woven through warm alabaster backgrounds.
This saturated look injects undeniable drama into modern bathrooms without overwhelming everyday visibility. Balance deep wine-toned feature walls against brushed bronze faucets, warm white floor tiles, and dimmable architectural sconce lighting.
6. Seamless XXL Porcelain Slabs
Extreme panel scale defines modern luxury shower design across contemporary American homes. While 24×48-inch panels remain standard, massive porcelain slabs up to 48×110 inches and 163×324 cm cover entire shower enclosures virtually without grout lines.
These expansive dimensions eliminate dirt-collecting seams across wet environments, cutting your routine scrubbing time dramatically. Work with experienced fabrication teams equipped with vacuum suction frames to transport and position these oversized panels safely.
7. Velvety Filled Travertine
Travertine continues its strong design resurgence, but modern manufacturing gives this classic Mediterranean stone an updated, practical execution. New porcelain interpretations feature velvety-smooth, factory-filled surfaces rather than the pitted, unfilled cavities found in historic installations.
This velvety matte texture provides reassuring slip resistance underfoot while preventing bathwater from pooling inside raw stone voids. Combine filled travertine floor tiles with soft plaster wall finishes and fluted timber accents for an authentic Mediterranean spa aesthetic.
8. Tactile Woven Textile and Sisal Textures
Innovative digital glaze applications allow modern porcelain surfaces to replicate the tactile depth of natural textiles. Manufacturers stamp fine geometric weaves, tailored houndstooth marquetry, and organic sisal patterns directly into dense porcelain surfaces.
These fabric-inspired tiles deliver visual softness to tiled bathrooms, breaking up the harsh acoustic echoes common in hard-surface spaces. Use woven textile-look porcelain across bathroom floors to create the luxurious impression of permanent, waterproof area rugs.
9. Oversized Botanical Shower Murals
Biophilic design evolves beyond standard indoor houseplants through the rise of dramatic, large-format botanical porcelain panels. Continuous porcelain slabs feature oversized palm fronds, leafy botanical silhouettes, and muted watercolor floral murals engineered specifically for wet environments.
A single botanical feature panel behind your shower bench creates an immersive focal point that withstands high humidity effortlessly. Frame botanical porcelain panels against quiet sage or cream border tiles to prevent your bathroom from feeling visually crowded.
10. Handcrafted Micro-Mosaics and Checkerboards
At the opposite end of the scale spectrum, miniature geometric mosaics provide intricate, artisanal detail underfoot. Modern checkerboard floors step away from stark black-and-white grids, pairing softened olive greens with warm creams or muted terracotta with sand.
Slightly irregular, zellige-style micro-tiles catch bathroom lighting from varied angles, producing a charming handmade character across feature walls. Plentiful grout lines in mosaic layouts offer natural traction, making them an exceptionally safe choice for curbless shower floors.
Maintenance & Long-Term Care
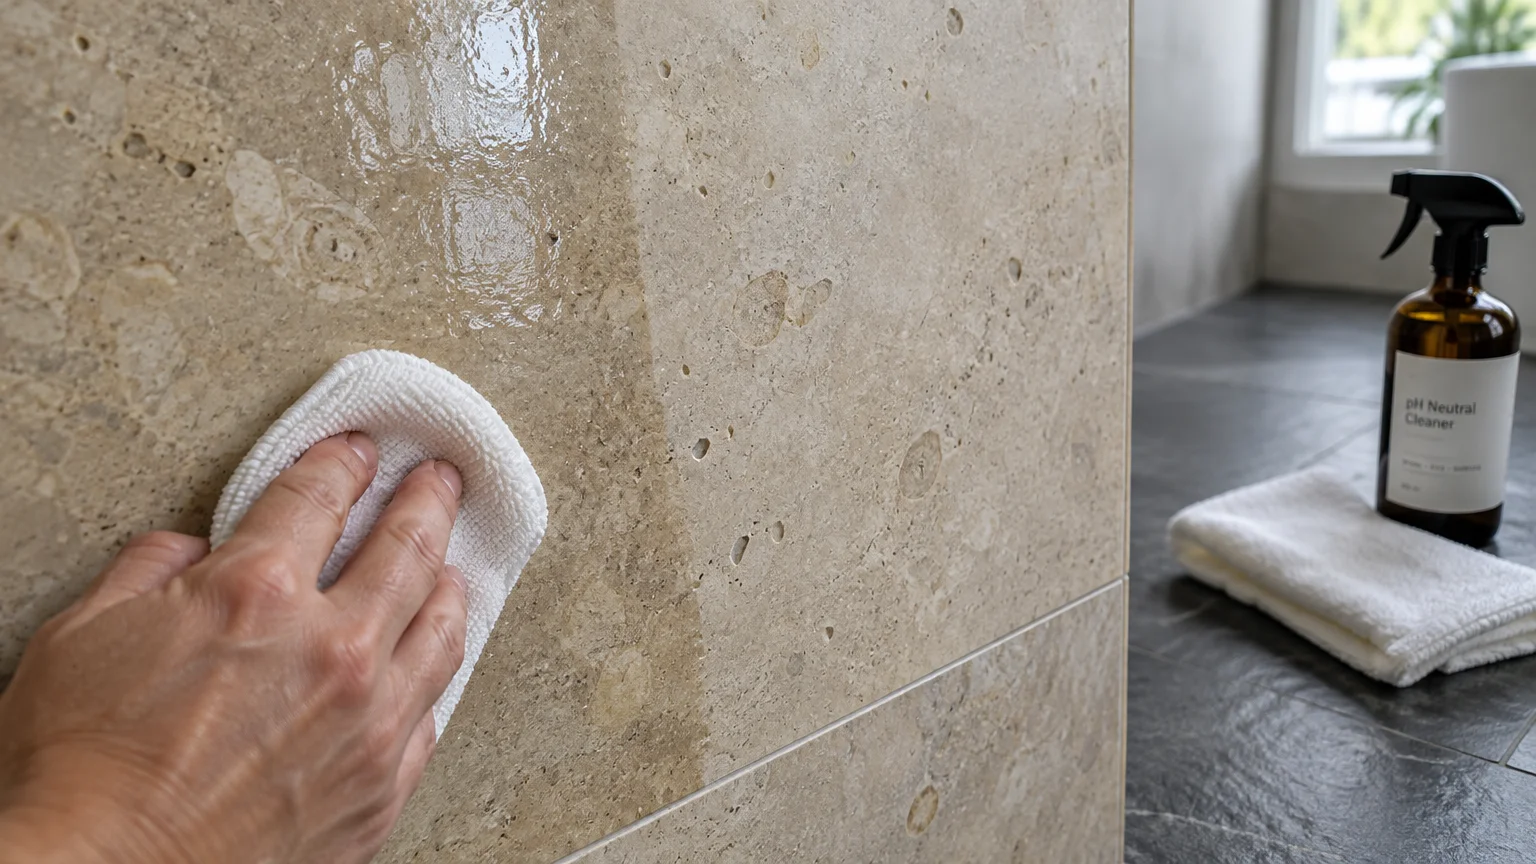
Protecting your tile installation requires sensible cleaning habits tailored to your selected surface materials. Clean glazed porcelain and ceramic surfaces weekly using warm water paired with a pH-neutral liquid floor cleaner.
Avoid acidic cleaners, vinegar, and abrasive scouring powders when maintaining natural stone surfaces or cementitious grout lines. Harsh chemical agents degrade protective surface sealers, leaving stone pores vulnerable to irreversible body wash and mineral staining.
Apply a breathable penetrating fluoropolymer sealer across all porous grout lines and natural stone tiles every twelve to eighteen months. Water should bead cleanly across sealed grout; if moisture absorbs immediately and darkens the joint, reapply sealer promptly.
Inspect flexible silicone perimeter caulking twice a year along tub edges, shower curbs, and wall corners. Strip away peeling or mold-spotted caulk immediately with a utility scraper, disinfect the joint with isopropyl alcohol, and install fresh silicone.
Ensure your bathroom ventilation fan delivers sufficient exhaust capacity, moving at least 50 cubic feet of air per minute for standard spaces. Run the exhaust fan during every shower and allow it to operate for twenty minutes afterward to eliminate airborne humidity.
FAQ
How much does a full bathroom tile installation cost?
Tiling a standard bathroom generally costs between $1,500 and $5,000 for materials and basic installation. Full floor-to-ceiling custom installations in master suites range from $3,000 to $12,000, while tiling just the floor averages $1,304 to $4,350.
Are large-format porcelain slabs too slippery for bathroom floors?
Polished porcelain slabs become slippery when wet, making them unsuitable for curbless shower floors without slip-resistant treatments. Always verify that your chosen floor tile features a dynamic coefficient of friction rating of 0.42 or higher for wet environments.
How much extra tile should I purchase for waste?
Budget for 10% to 15% extra material when ordering standard tiles for rectangular rooms with straightforward layouts. Order up to 30% extra when installing oversized slabs in compact bathrooms, but keep waste allowances under 5% when installing micro-mosaics.
Can I install XXL porcelain slabs myself?
Installing porcelain panels larger than 24×48 inches requires specialized suction carrying rigs, heavy-duty diamond scoring rails, and at least two experienced installers. Professional labor rates for complex wall installations range from $10 to $20+ per square foot or $50 to $100 per hour.
Which tile styles will remain stylish over the next decade?
Warm neutral palettes, filled travertine textures, and subtle Taj Mahal quartzite looks offer the highest long-term aesthetic resilience. These organic, nature-inspired surfaces coordinate seamlessly with evolving paint trends and cabinet finishes without feeling dated.
Takeaway & Next Steps
Embracing modern bathroom tile trends allows you to craft a durable, restorative retreat that enriches your daily living routine. Moving toward warm earthy tones, tactile fluted textures, and expansive stone-look slabs protects your home while delivering undeniable architectural luxury.
Order Physical Tile Samples: Bring home three to five sample boards to examine their true colors under your bathroom’s specific morning and evening lighting conditions.
Calculate Exact Square Footage: Measure your floor and wall areas precisely, adding the verified waste percentage based on your selected tile scale and room layout.
Assess Installation Capabilities: Review manufacturer specifications from the American National Standards Institute to decide whether your project matches your DIY skillset or warrants hiring a certified tile installer.
Have you recently refreshed your bathroom with modern tile? Share your finished renovation photos with our editorial community, or subscribe to our newsletter for weekly home improvement guides and expert remodeling advice.