You can turn your current property into a forever home without sacrificing modern style or draining your life savings. Strategic modifications allow you to maintain independence while proactively eliminating dangerous household hazards before injuries occur.
Most homeowners wait for an unexpected fall before exploring home modifications for seniors. Planning early lets you select elegant, functional fixtures that integrate smoothly into your existing interior design.
These ten high-impact upgrades safeguard your physical mobility and elevate everyday comfort. You will secure lifelong autonomy while boosting your overall home value.

Project Overview & Why It Matters
Staying in your beloved neighborhood as you grow older is an empowering, practical choice. Thoughtful senior friendly home renovations turn that long-term vision into reality.
According to AARP survey data, 75 percent of adults aged 50 and older want to remain in their homes. Yet, 51 percent admit their residences require physical modifications to support independent living.
Living spaces designed for younger occupants frequently conceal architectural hazards. Standard door frames, slick flooring, and steep transitions create subtle daily obstacles that compound over time.
The physical and financial stakes are substantial. Data from the CDC fall statistics reveals that more than 14 million older adults fall each year.
That figure represents approximately one in four seniors across the country. These incidents lead to roughly 3 million emergency department visits and generate 80 billion dollars in medical expenses annually.
Strategic aging in place home upgrades prevent severe accidents before they happen. Investing in proactive accessibility preserves your personal dignity, avoids costly assisted living fees, and keeps you safe.
Tools, Materials, and Prep Checklist
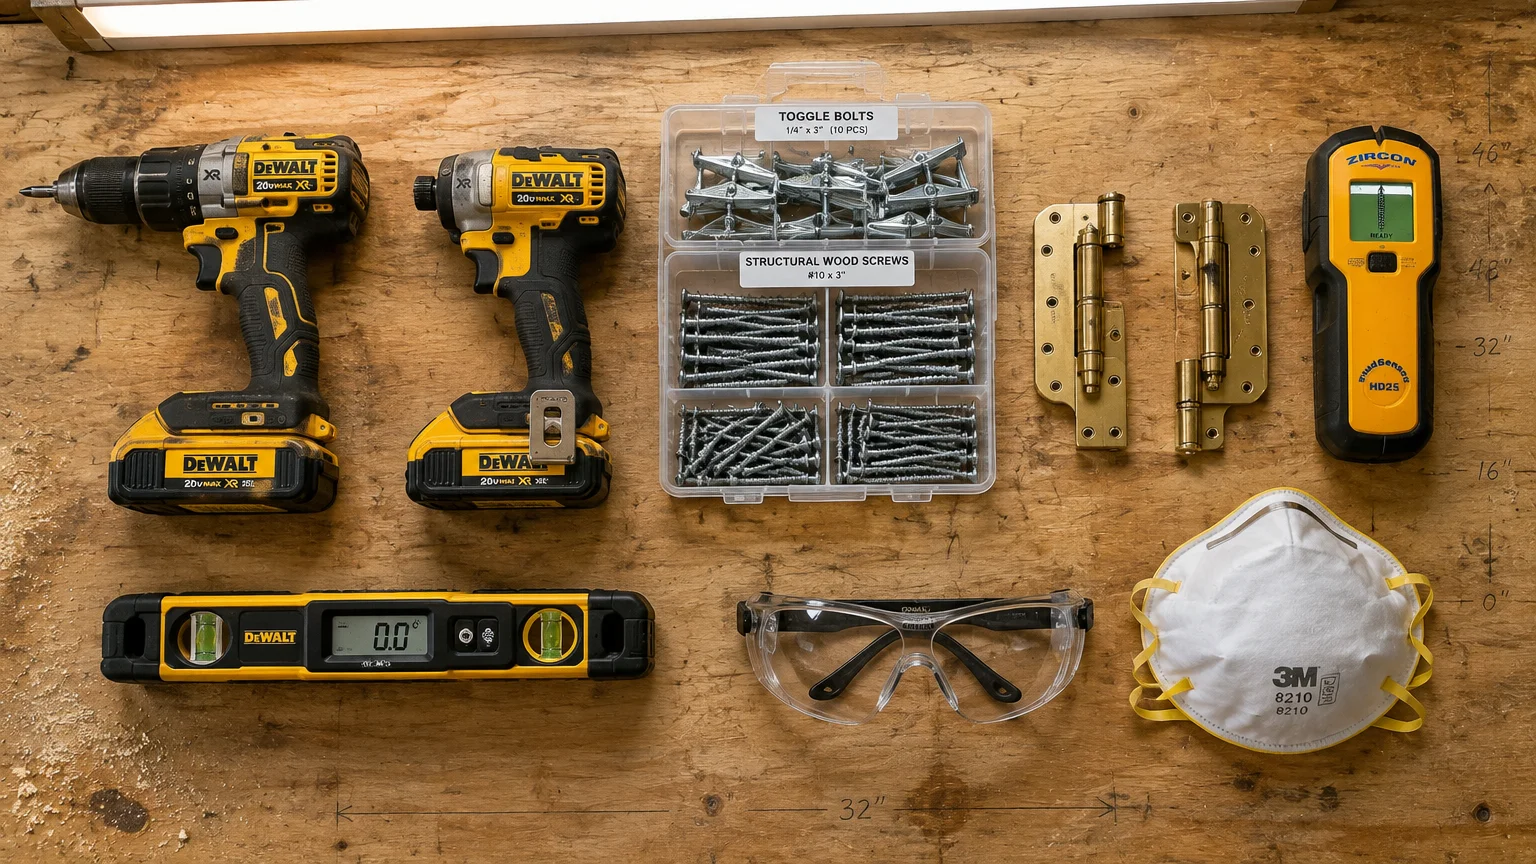
Proper planning ensures your home safety upgrades for aging in place run smoothly and stay within budget. Gather your layout tools and structural materials before starting any demolition or hardware replacement.
Essential Hand and Power Tools: You need a cordless drill, an impact driver, carbide masonry bits, a digital level, and a reliable stud finder. Expect to spend roughly 150 to 300 dollars if purchasing new tools.
Structural Fasteners and Anchors: Stock structural wood screws, heavy-duty toggle bolts, and hollow-wall anchors rated for significant loads. Dedicated fastener packages typically cost between 20 and 50 dollars.
Specialized Hardware and Fixtures: Purchase swing-clear offset hinges, low-profile threshold transitions, rocker switches, and textured grab bars. Budget between 30 and 150 dollars for each primary doorway or wet area.
Personal Safety Gear: Always wear impact-rated safety goggles, cut-resistant gloves, and an N95 dust mask during installation work. A complete personal protective kit costs less than 35 dollars.
Site Assessment and Preparation: Measure current door openings, test floor heights, and map your home electrical circuits before purchasing hardware. Verify structural studs behind finished drywall using an electronic wall scanner.
Consult municipal building codes before altering plumbing lines, breaker boxes, or load-bearing studs. Secure residential permits whenever adding dedicated circuits or reconfiguring structural openings.
Step-by-Step Instructions
Tackle these modifications methodically to create a home that supports your autonomy indefinitely. Follow these detailed steps to complete each high-value project.
1. Install Swing-Clear Offset Door Hinges
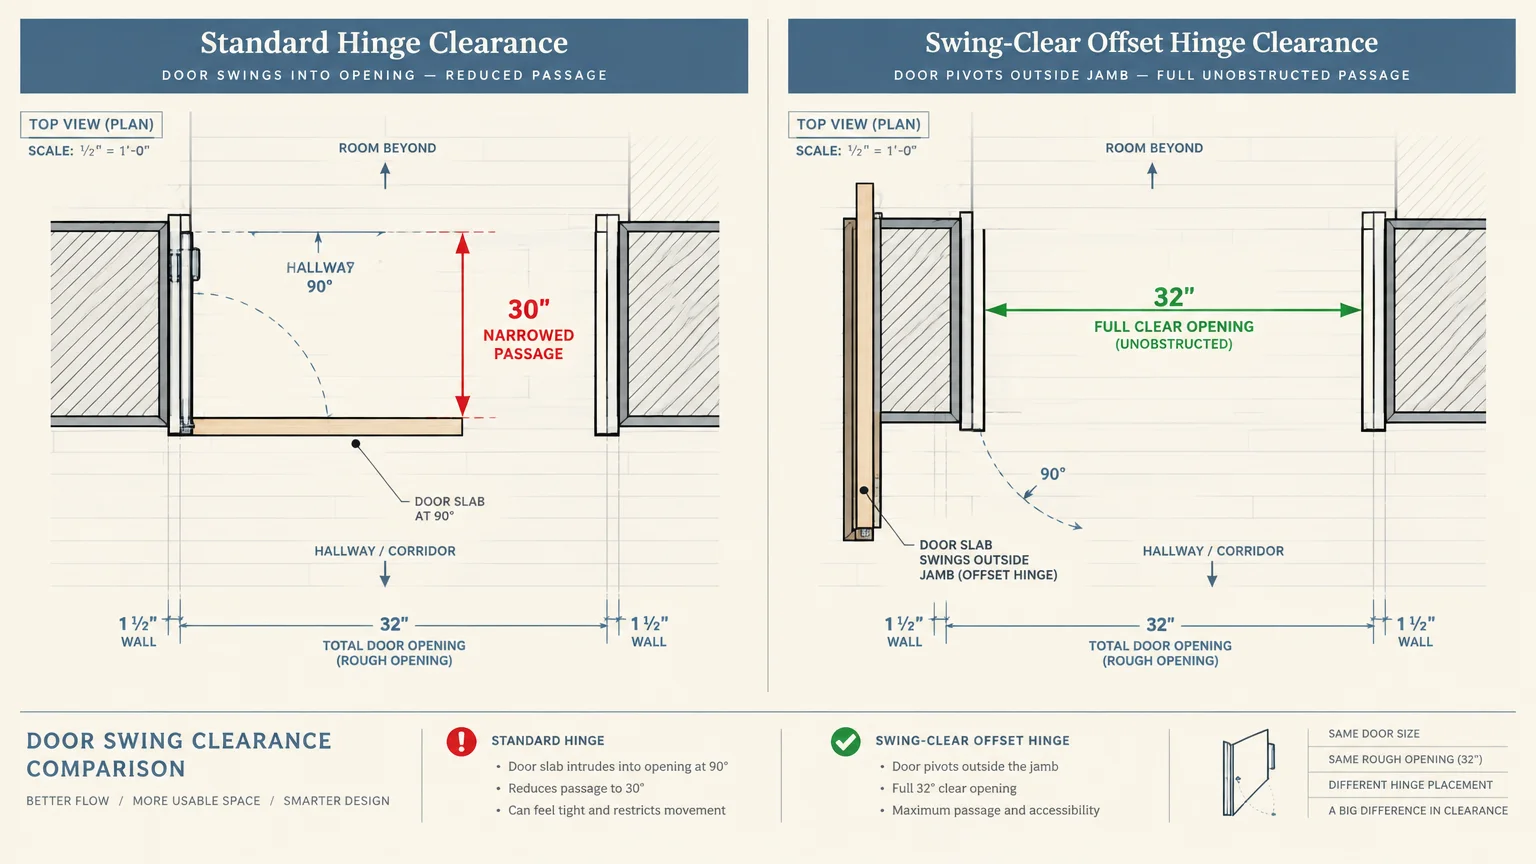
Standard door slabs take up space inside the frame when swung open 90 degrees. Replacing standard hinges with offset swing-clear hinges swings the door completely outside the casing.
According to ADA accessibility guidelines, accessible doorways require a minimum 32-inch clear opening width. Offset hinges add 1.5 to 2 inches of clearance without the disruption of reframing.
Unscrew your existing hinges one leaf at a time to keep the door slab supported. Fasten the new offset hinges using three-inch wood screws driven directly into the structural wall studs.
2. Eliminate Tripping Hazards with Low-Profile Thresholds
Abrupt transitions between hardwood, tile, and carpet cause dangerous stumbles. Replacing raised saddle thresholds with low-profile, beveled transition strips creates an unhindered walking path.
ADA standards limit interior threshold heights to a maximum of 0.25 inches. Exterior doorways allow up to 0.5 inches, provided any rise over a quarter inch features a gentle 1:2 beveled slope.
Pry up old transition strips with a flat pry bar and clean the subfloor thoroughly. Anchor low-profile aluminum or composite transition strips directly into the subfloor using countersunk screws.
3. Regulate Water Temperatures with Anti-Scald Technology
Thinning skin and slower reaction times make seniors exceptionally vulnerable to thermal burns. Calibrating your water heating equipment prevents sudden, catastrophic scalding episodes.
The Consumer Product Safety Commission urges setting residential water heaters to 120 degrees Fahrenheit. Water at 140 degrees causes third-degree burns in under five seconds, whereas 120 degrees takes over five minutes.
Adjust your water heater thermostat dial and install pressure-balancing thermostatic mixing valves behind shower trims. These valves prevent thermal shock when other household fixtures run simultaneously.
4. Mount Structural Wall Backing for 250-Pound Grab Bars
Suction-cup grab bars offer a false sense of security and fail under sudden shock loads. Permanent bathroom safety rails must withstand substantial physical force to protect you during a slip.
ADA standards mandate that grab bars and their mounting hardware support a minimum static force of 250 pounds. This rating applies to both vertical downward force and horizontal pulling pressure.
Locate structural wall studs with a reliable scanner and drive heavy-duty stainless steel fasteners directly into the wood framing. If studs are unavailable, install certified hollow-wall toggle anchors with equivalent load ratings.
5. Swap Round Doorknobs for Ergonomic Lever Hardware
Grasping and twisting traditional round knobs strains arthritic finger joints and weak wrists. Lever-style handles allow you to open interior and exterior doors using your forearm or elbow.
Remove the existing knob screws, slide out the old latch assembly, and insert the new lever mechanism. Most modern lever handles fit standard 2-1/8-inch bore preps without additional drilling.
Fasten the interior and exterior levers together and test the latch bolt operation. For exterior doors, choose lever sets paired with illuminated keypad deadbolts for easy keyless access.
6. Add Motion-Activated Toe-Kick and Path Lighting
Navigating dark hallways at night significantly increases your probability of taking a fall. Low-voltage LED strip lights tucked under baseboards and vanity toe-kicks provide safe, automated passage.
Adhere warm-white LED tape ribbons underneath bathroom vanities, kitchen base cabinets, and stair baseboards. Connect the low-profile ribbons to an ankle-height passive infrared motion sensor.
The subtle illumination activates automatically when your feet hit the floor. The gentle glow guides nighttime steps clearly without disrupting your natural sleep cycle.
7. Upgrade to Comfort-Height Toilets
Standard residential toilets sit roughly 14 to 15 inches from the floor to the bowl rim. This low posture places enormous strain on aging knee joints and quadriceps muscles during transfers.
Comfort-height or ADA-compliant toilets measure 17 to 19 inches from finished floor to the top of the seat. This elevated seat matches normal chair height, making sitting down and standing up comfortable.
Shut off the water supply, remove the old bowl, and clean the closet flange. Seat the new comfort-height bowl over a fresh wax-free seal and tighten the mounting nuts evenly.
8. Re-Center Switches and Outlets into Universal Reach Zones
Bending to reach floor-level outlets or stretching for high switches strains your lower back and balance. Repositioning electrical controls into universal reach zones ensures effortless daily access.
ADA reach guidelines recommend placing operative controls between 15 inches and 48 inches above the finished floor. This standardized vertical window accommodates both seated wheelchair users and standing homeowners.
Replace narrow toggle switches with wide, rocker-style paddle switches positioned roughly 42 inches high. Raise low wall receptacles to 18 inches above the floor during any routine electrical renovation.
9. Install Pull-Down Shelving and Full-Extension Drawers
Climbing onto unstable step stools to reach upper cabinets is a frequent source of traumatic falls. Mechanical pull-down shelf inserts bring upper cabinet contents down to comfortable chest level.
Fasten tension-assisted hydraulic shelf tracks into the interior sidewalls of your existing wall cabinets. The gas-strut mechanism counterbalances the shelf weight, allowing smooth two-finger operation.
Retrofit deep lower cabinets with heavy-duty, full-extension sliding drawers or wire baskets. Roll-out hardware allows you to access heavy pots and canned goods without painful bending or kneeling.
10. Create Zero-Threshold Curbless Showers
Stepping over a raised four-inch shower threshold on a wet bathroom floor invites severe slip-and-fall injuries. Curbless walk-in showers eliminate tripping barriers completely, providing seamless roll-in or walk-in access.
Recess your subfloor framing between joists or install a pre-sloped linear drain shower pan flush with the floor. Apply a continuous waterproofing membrane across the shower pan and adjoining bathroom surfaces.
Finish the shower floor using small mosaic tiles with dense grout spacing. The extensive grout grid delivers essential mechanical traction under wet, soapy feet, preventing dangerous hydroplaning.
Style & Finishing Touches
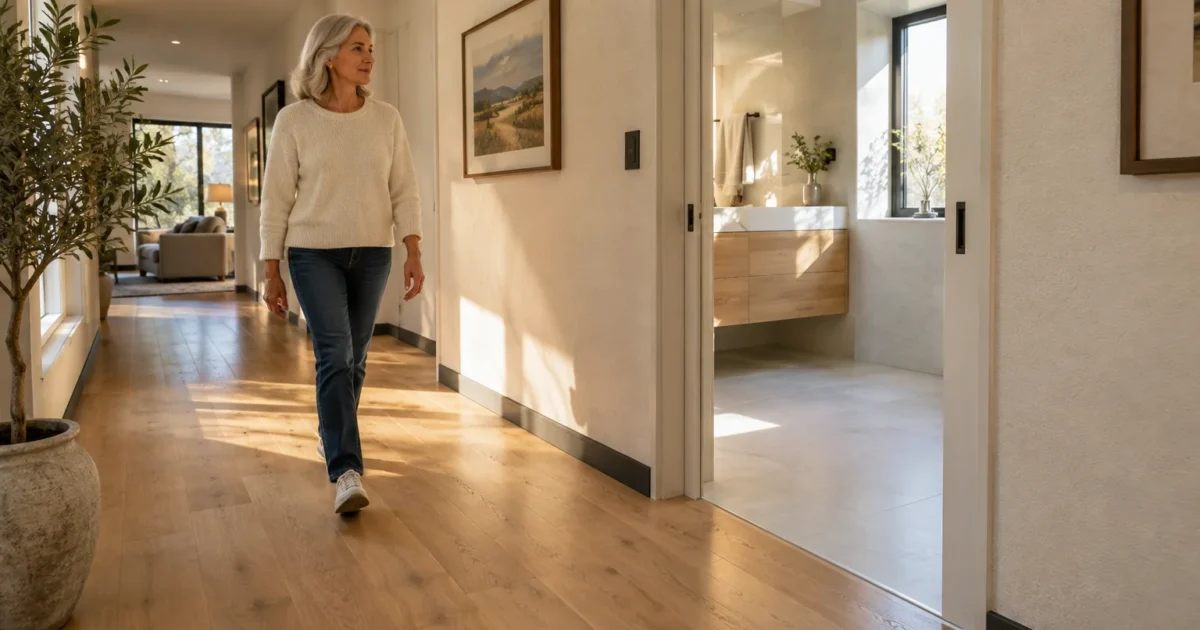
Modern accessible home improvements should enhance your home visual charm rather than diminish it. You do not need to settle for an institutional or clinical aesthetic when designing for safety.
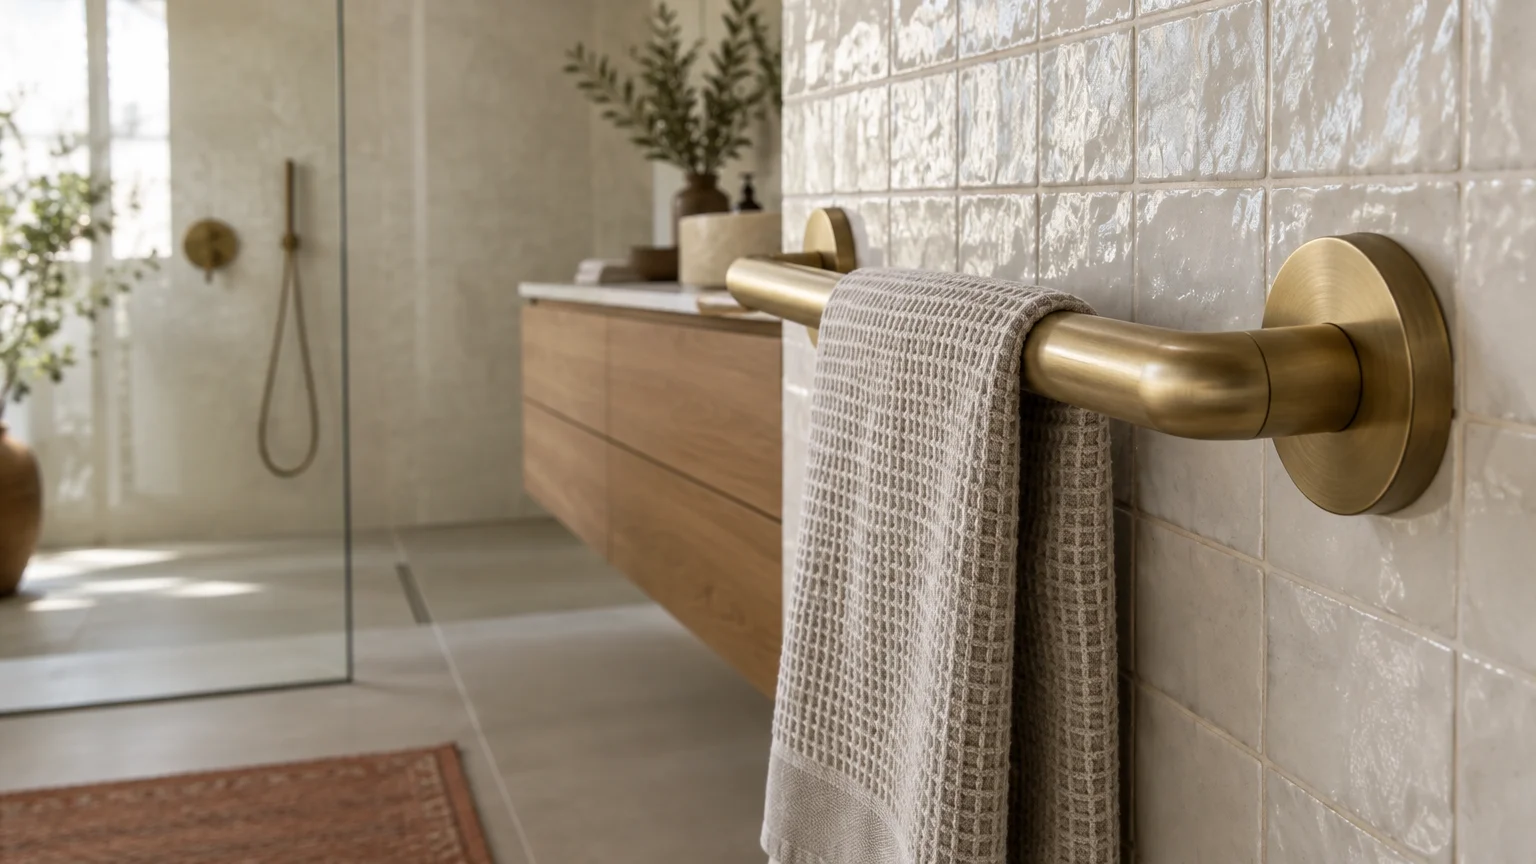
Select architectural grab bars finished in matte black, warm brushed brass, or satin nickel. Modern designers now produce two-in-one grab bars that function as elegant towel racks and corner shower shelves.
Incorporate strategic color contrast to compensate for natural age-related changes in visual acuity and depth perception. Distinct color transitions between surfaces help you instantly identify door openings, stairs, and counter edges.
Paint door frames and baseboards a contrasting shade from your interior wall paint. In the bathroom, specify dark slate flooring against light shower tile to highlight floor boundaries clearly.
If working on a modest budget, install slip-resistant transparent anti-slip sealer over existing tile surfaces. Homeowners with larger budgets can invest in frameless, anti-fog glass shower screens and curbless wet rooms.
Maintenance & Long-Term Care
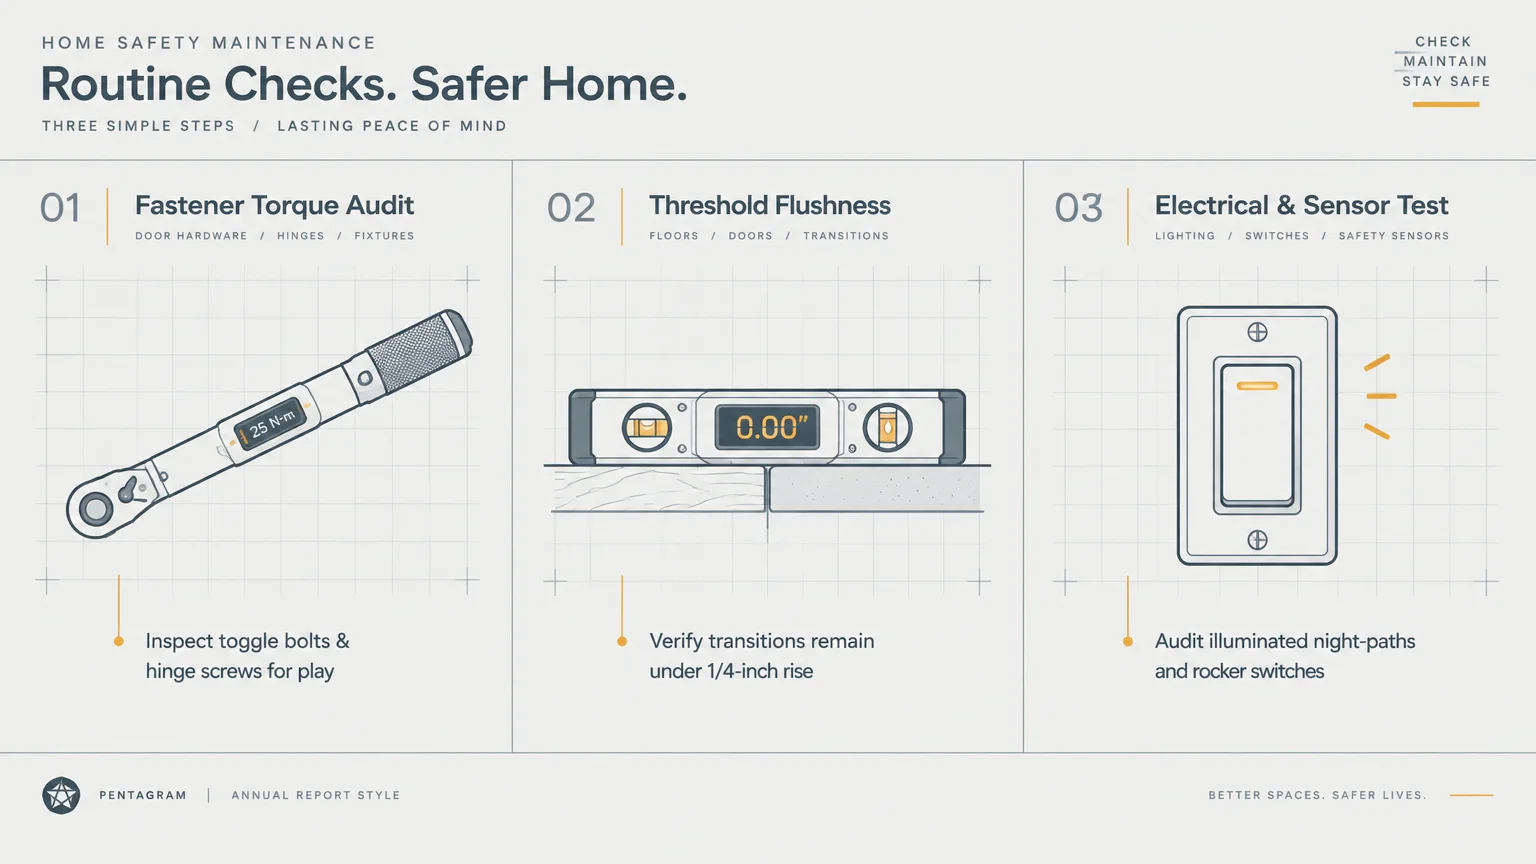
Consistent preventive maintenance keeps your safety upgrades functioning flawlessly for decades. Establish a regular seasonal checklist to inspect mechanical components and structural fasteners throughout your living areas.
Test all wall-mounted grab bars every six months by applying firm downward and outward body pressure. Tighten loose decorative trim rings and mounting screws immediately if you detect the slightest wiggle.
Flush your residential water heater tank annually to remove mineral scale from heating elements. Test your thermostatic mixing valves regularly with a digital thermometer to verify that water discharges at 120 degrees.
Clean non-slip textured shower floors using neutral pH tile cleaners that leave zero residue. Greasy soap films and heavy wax cleaners accumulate in micro-textures, rapidly reducing tile slip resistance over time.
Inspect exterior low-profile door thresholds every fall before cold winter precipitation arrives. Clear dirt from drainage weep slots and replace dried rubber sweep gaskets to prevent interior drafts and leaks.
FAQ
Homeowners regularly ask practical questions when planning accessible renovations. Here are clear answers to common inquiries about aging-in-place home projects.
How much do comprehensive aging-in-place renovations typically cost?
Minor hardware projects like offset hinges, lever handles, and lighting strips cost between 200 and 800 dollars total. Comprehensive bathroom remodels with curbless showers and reinforced framing typically range between 9,000 and 25,000 dollars.
Does Medicare cover residential home modifications for seniors?
Traditional Medicare Part A and Part B do not pay for physical architectural home remodeling. However, select Medicare Advantage plans, local Department of Aging grants, and specific state Medicaid programs provide partial reimbursement.
Can I install heavy-duty grab bars without opening my bathroom walls?
Yes, you can install grab bars without opening walls by utilizing specialized structural hollow-wall anchors. Look for expanding toggle mechanisms that carry documented ADA-compliant ratings for 250 pounds of static load.
What distinguishes ADA compliance from universal design principles?
ADA compliance represents a strict set of commercial legal standards designed for disability access. Universal design is an inclusive architectural methodology that creates comfortable, attractive living spaces for individuals of every age.
When should I hire a licensed general contractor for safety upgrades?
Hire a licensed professional when projects involve altering load-bearing framing, lowering floor joists for curbless showers, or upgrading electrical panels. Always verify current licensing, bonded status, and liability insurance before signing contracts.
Takeaway & Next Steps
Proactive home modifications safeguard your personal autonomy, prevent devastating falls, and give your family peace of mind. You can complete these functional improvements room by room according to your schedule and budget.
Take these three immediate steps this week to kickstart your home safety plan:
Calibrate Your Water Heater: Test your hot water temperature with a cooking thermometer and adjust the dial down to 120 degrees Fahrenheit today.
Inspect Your Door Openings: Measure narrow bathroom entries and order offset swing-clear hinges to gain two extra inches of unobstructed pathway clearance.
Eliminate Loose Rugs: Remove slick area rugs from hallways and transition zones, or secure their edges with heavy-duty carpet tape immediately.
Have you completed accessible home renovations in your own space? Share your before-and-after project photos with our community or subscribe to our newsletter for weekly home improvement tips!