Step-by-Step Instructions
Phase 1: Layout and Excavation
Outline your pond perimeter using a garden hose or marking spray paint. Avoid low-lying lawn depressions where toxic rainwater runoff carrying lawn fertilizers might enter the basin.
Excavate the basin in stepped tiers. Dig the outer plant shelf 8 to 10 inches deep and roughly 12 inches wide.
Dig the center basin 18 to 24 inches deep for pump placement and overwintering plants. Use excavated soil to build a raised berm behind the pond for the waterfall cascade.
Set a straight 2×4 board across the excavation with a carpenter level on top. Level the entire perimeter rim so water does not spill over the lowest dirt edge.
Phase 2: Underlayment and Liner Placement
Remove sharp roots, jagged stones, and glass fragments from the dirt basin before laying materials. Tamp the soil firmly across all shelves and basin floors.
Spread the geotextile underlayment across the excavation, pressing it firmly into every interior angle. Overlap seams by at least 12 inches to ensure comprehensive ground protection.
Drape the 45-mil EPDM rubber liner over the center of the pond. Allow the liner to settle naturally into bottom contours without stretching the membrane tight.
Pleat excess liner material neatly along corners and curves rather than cutting it away. Leave at least 12 inches of excess liner around the entire perimeter.
Phase 3: Waterfall Assembly and Rock Stacking
Level the waterfall spillway box on top of your raised soil berm. Connect the flexible PVC tubing to the inlet barb and secure it with a clamp.
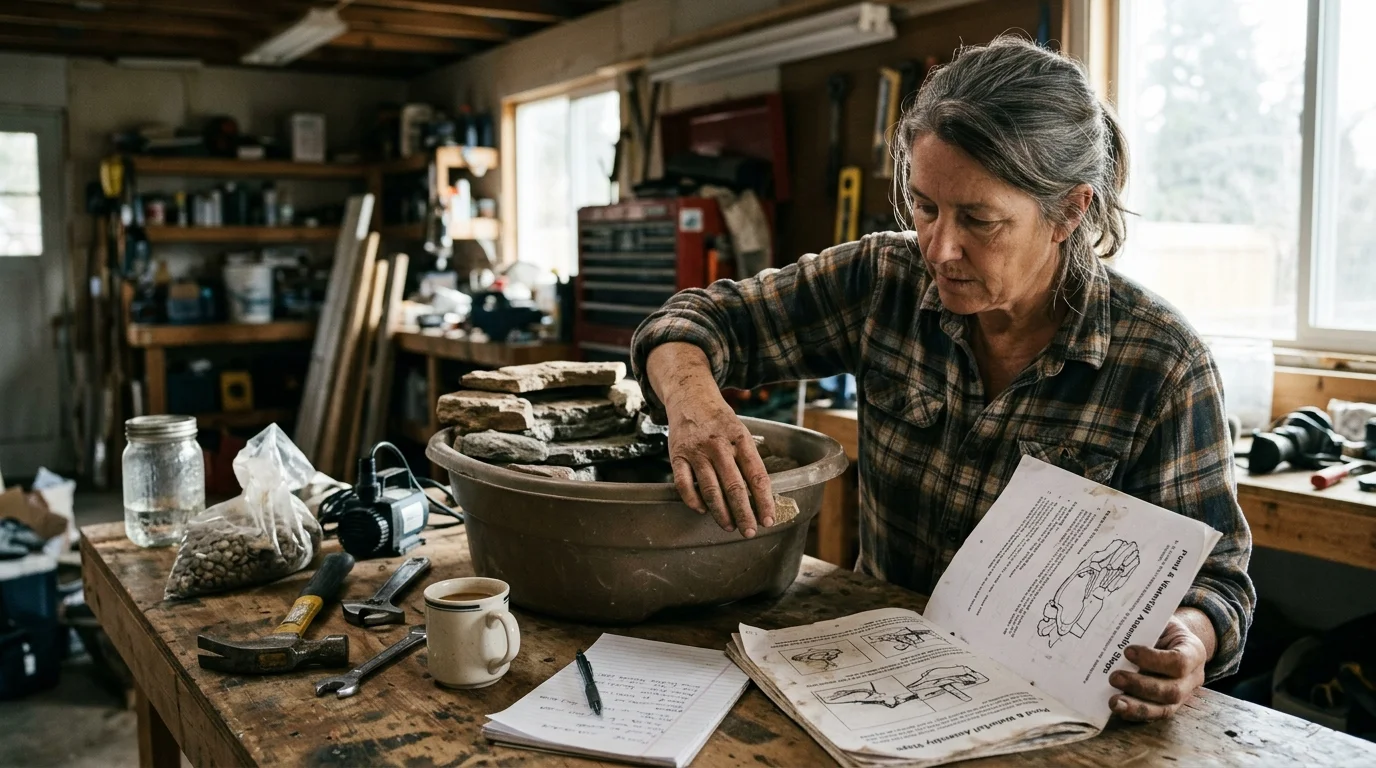
Stack larger anchor boulders along the base of the waterfall to support the weight of the structure. Place wide, flat flagstones across the spillway lips to create clean water drop-offs.
Inject black expanding waterfall foam between and behind all spillway stones. This expanding sealant forces rushing water over the rocks rather than leaking beneath them.
Line the pond shelves with medium fieldstones and fill voids with washed river gravel. Gravel hides the black EPDM rubber and creates surface area for beneficial bacteria.
Phase 4: Pump Setup and Water Testing
Place your submersible pump inside a protective filter basket or skimmer at the bottom of the pond. Route the flexible PVC line up to the waterfall box.
Fill the pond with fresh water from your garden hose. The weight of the rising water will press the EPDM liner firmly against the excavated soil walls.
Plug your pump into the GFCI outlet to test water flow and spillway action. Adjust waterfall stones to achieve your desired splashing sound and cascade pattern.
Trim the excess outer liner, leaving an 8-inch safety skirt. Bury the flap under decorative border stone and mulch to anchor the system permanently.