A truly inviting home instantly puts guests at ease the moment they cross your threshold. You can achieve this welcoming environment without spending a fortune on high-end remodeling.
By incorporating smart styling cues and intentional layout upgrades, your living space transforms from stiff and sterile into warm and functional. Home design experts recommend balancing sensory comfort with everyday utility.
Discover the nine essential welcoming home design features that turn any floor plan into a cozy sanctuary. These practical structural and decorative shifts produce immediate visual impact.
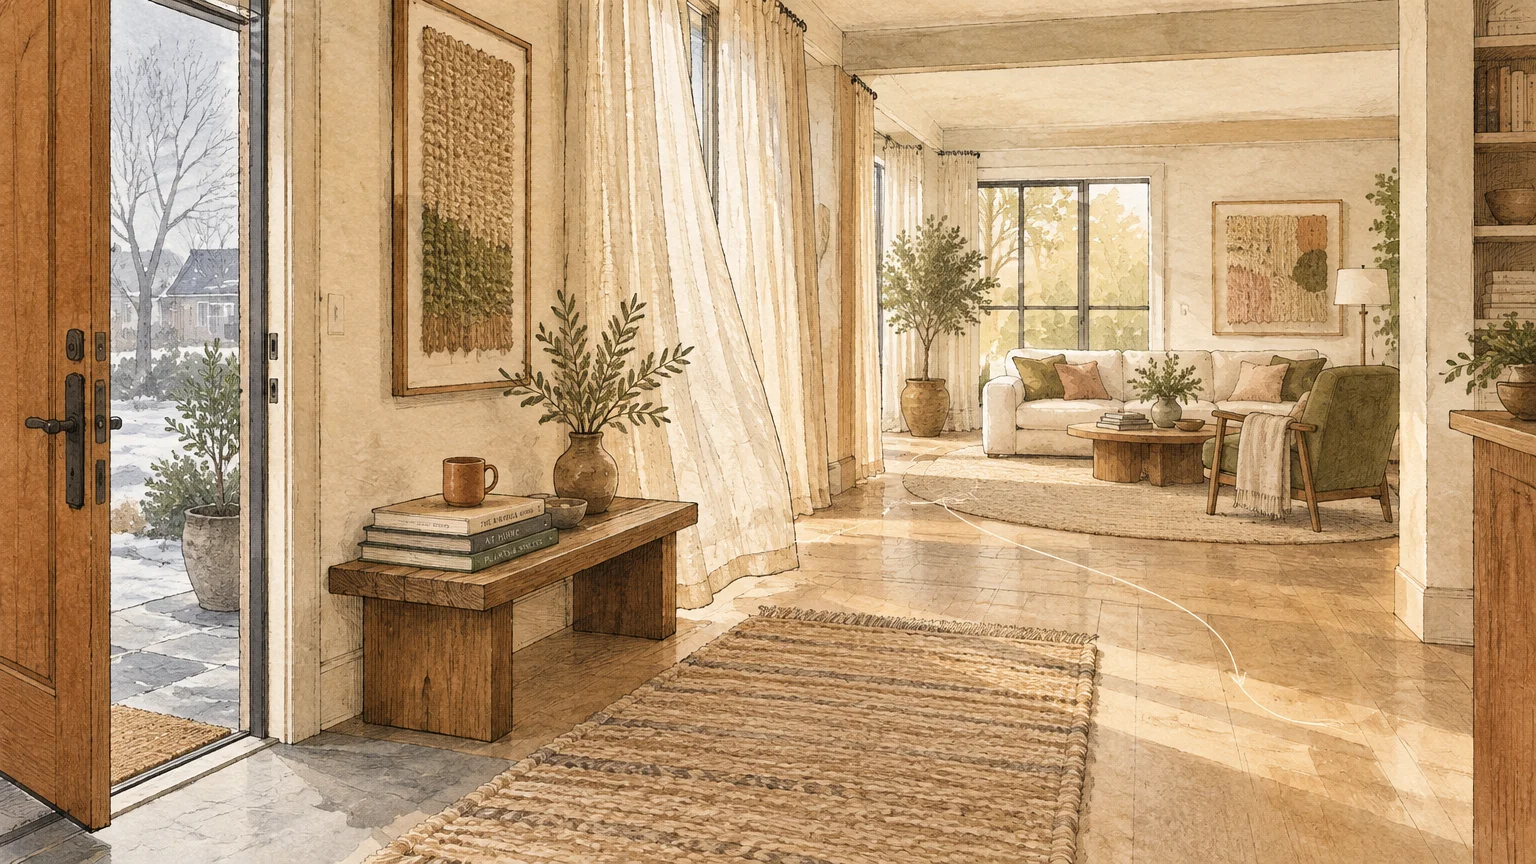
Project Overview & Why It Matters
Creating an inviting house requires more than just filling rooms with matching showroom furniture. Thoughtful interior design engages the senses; it combines visual warmth, balanced acoustics, and natural textures.
Guests make subconscious assessments about comfort within thirty seconds of stepping inside your foyer. Clutter, glaring overhead bulbs, and echoey rooms trigger subtle stress rather than relaxation.
Welcoming home design features establish smooth transitions between functional drop zones and relaxing communal rooms. These updates improve daily circulation while increasing your property value and everyday enjoyment.
You can execute most of these projects as weekend DIY tasks or phased room refreshes. Prioritizing layout flow and tactile materials allows you to craft bespoke spaces on a modest budget.
Whether you live in a suburban split-level or a compact urban apartment, these nine elements establish effortless hospitality. Focus on quality execution rather than rapid completion to achieve durable results.

Tools, Materials, and Prep Checklist
Before installing new fixtures, hanging millwork, or rearranging furniture, assemble the proper equipment. Quality preparation prevents accidental wall damage and ensures structural safety across every living area.
Core Hand and Power Tools
You need a dependable 18-volt cordless drill and an assortment of driver bits for mounting hardware. Expect to spend roughly $80 to $130 on a dependable drill kit from The Home Depot.
Invest in a magnetic digital stud finder to locate framing members behind drywall before mounting heavy mirrors or shelving. Secure wall anchoring prevents costly accidents and personal injury.
Keep a 24-inch bubble level, a steel tape measure, and a non-contact voltage tester nearby. These basic diagnostic tools ensure straight lines and safe electrical installations throughout the house.
Hardware and Surface Supplies
Purchase heavy-duty hollow-wall toggle anchors rated for at least 50 pounds each. Stock up on multi-surface painter tape, 120-grit sanding sponges, and low-VOC paintable silicone caulk.
Select premium zero-VOC acrylic latex interior paint to maintain healthy indoor air quality. Review the U.S. Environmental Protection Agency guidelines regarding volatile organic compounds before painting enclosed rooms.
Budget approximately $300 to $600 for initial hardware, lighting dimmers, mounting supplies, and trim stock. Staging supplies in a central staging zone keeps your workspace tidy and efficient.
Step-by-Step Instructions
Execute these nine designer-approved updates systematically across four practical implementation phases. Work through one phase at a time to keep your home functional throughout the transformation.
Phase 1: Establishing the Entryway and Circulation
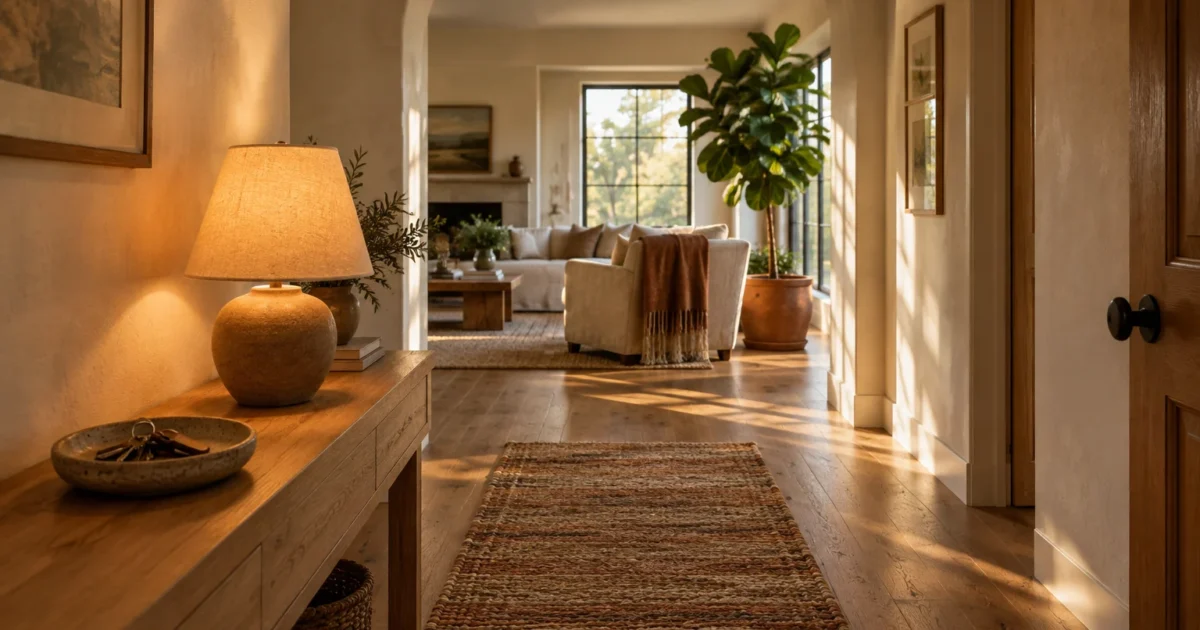
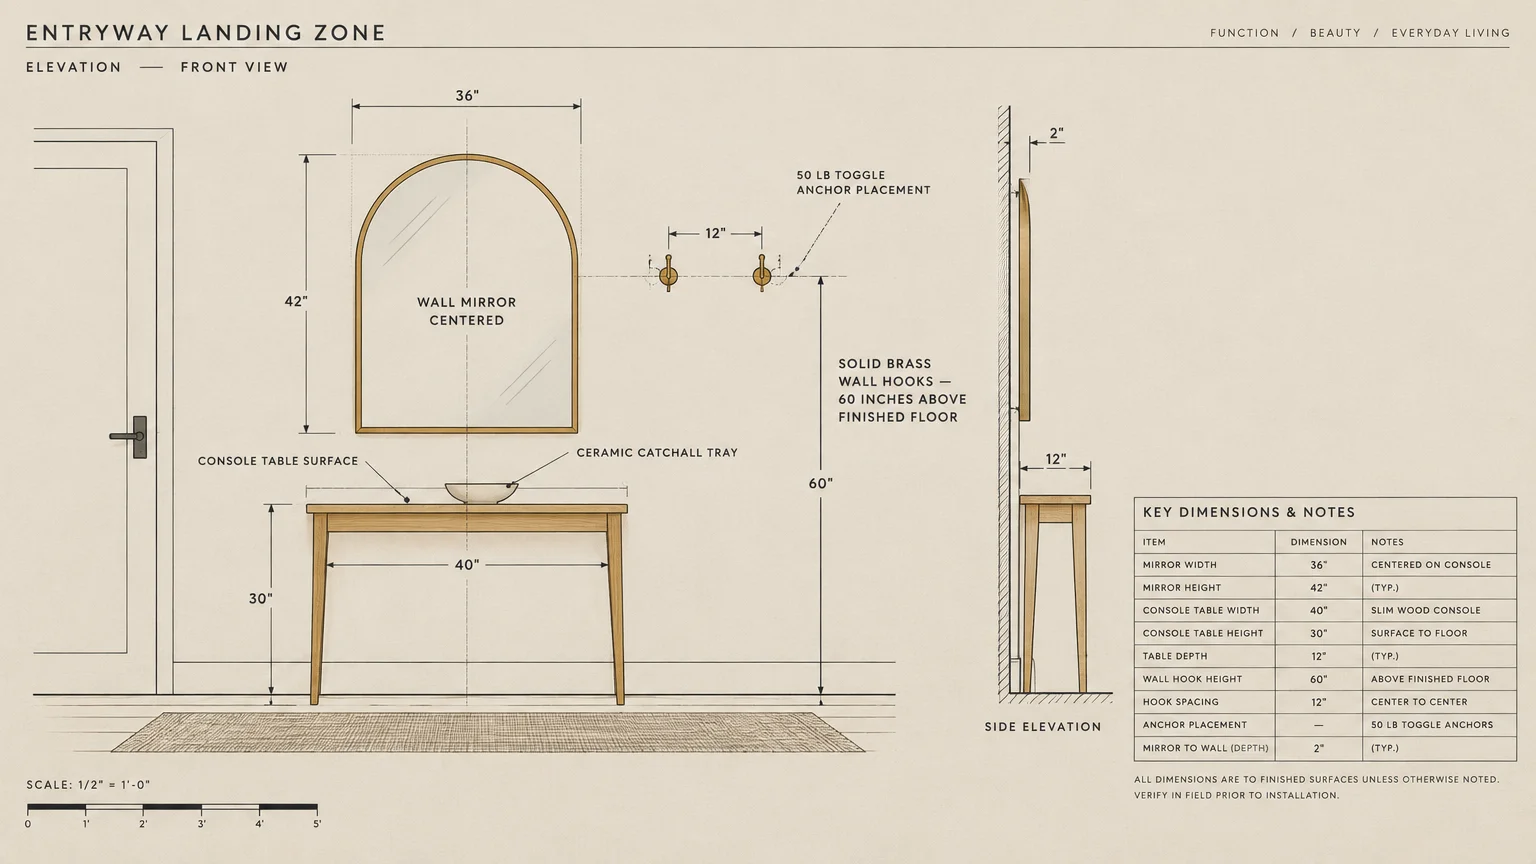
Feature 1: The Defined Landing Zone. Measure your entryway wall space to install a dedicated console table paired with a sturdy wall mirror. Add a shallow ceramic catchall tray to corral keys, mail, and sunglasses effortlessly.
Mount a row of solid brass wall hooks exactly 60 inches above the finished floor. This ergonomic height accommodates full-length coats while keeping floor space entirely clear of trip hazards.
Position a low-profile runner rug with a non-skid rubber backing along the entry hallway. The rug captures tracked-in grit while establishing a soft landing for arriving visitors.
Feature 2: Conversational Seating Configurations. Pull your living room sofas and armchairs away from perimeter walls to form an intimate central grouping. Floating furniture creates breathing room and fosters natural dialogue.
Maintain between 16 and 18 inches of clearance between the coffee table and sofa edge. This standard distance allows easy legroom while keeping drinks within natural reach.
Angle accent armchairs slightly inward toward your sofa at roughly 45 degrees. This subtle directional shift signals an open invitation to sit down and relax together.
Phase 2: Upgrading Architectural Depth and Color
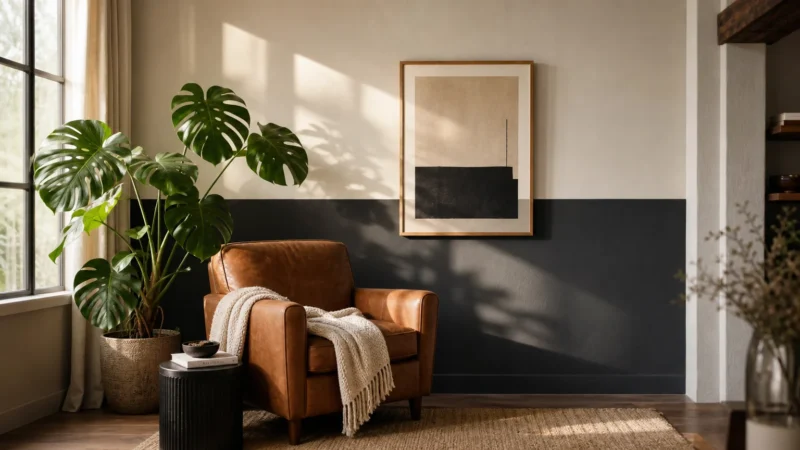
Feature 3: Character-Rich Wall Moulding. Add architectural substance to blank drywall by installing picture-frame moulding or vertical board-and-batten paneling. Precision millwork delivers historic charm to newer builder-grade homes.
Cut your primed pine or MDF moulding strips using a compound miter saw set to 45-degree angles. Fasten the trim pieces into studs using 2-inch 18-gauge brad nails and construction adhesive.
Fill nail holes with wood putty, sand flush after drying, and apply paintable acrylic caulk along all seams. Caulked seams produce a flawless, custom-built appearance after your final coat of paint dries.
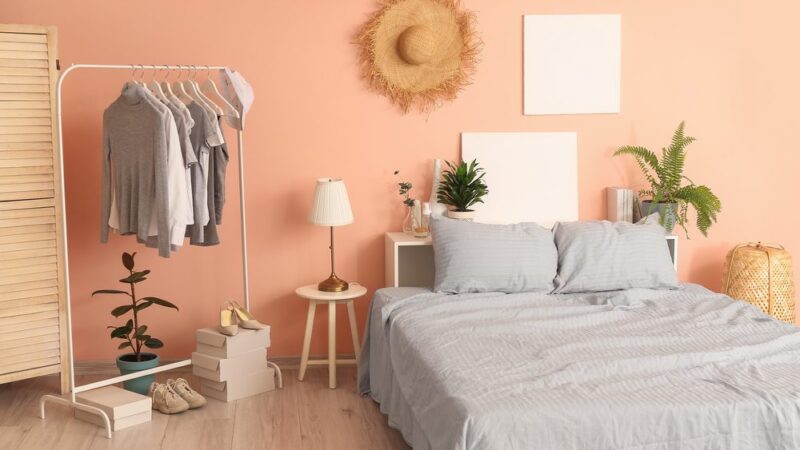
Feature 4: Cohesive Warm Neutral Palettes. Replace cool, clinical grays with warm alabaster, cream, light taupe, or soft beige. Warm undertones reflect natural daylight softly and make rooms feel expansive yet grounded.
Consult sample chips from premium paint manufacturers like Sherwin-Williams to evaluate undertones under morning, midday, and artificial evening lighting. Test large swatch samples directly on the drywall before committing.
Apply two uniform coats of eggshell or matte finish paint across living areas. Matte sheens absorb glaring reflections and soften wall imperfections beautifully.
Phase 3: Mastering Illumination and Sensory Design
Feature 5: Layered Ambient Lighting. Eliminate harsh single-source overhead lighting by introducing three distinct light layers: ambient, task, and accent. Every comfortable room needs at least three distinct points of illumination.
Switch all interior light bulbs to warm-white 2700K LED varieties with a high Color Rendering Index. Bulbs rated above 3000K cast an institutional blue tone that undermines feelings of coziness.
Replace basic single-pole wall switches with rotary or smart slider dimmer controls. Always turn off power at the main electrical panel and verify the circuit with a voltage tester before touching wiring.
Adhere strictly to National Fire Protection Association electrical safety guidelines when installing switches. If you encounter aluminum wiring or ungrounded switch boxes, hire a licensed master electrician immediately.
Feature 6: Intentional Scent Scaping. Integrate subtle background fragrances using cold-air ultrasonic diffusers or hand-poured soy wax candles. Natural essential oils like cedarwood, sandalwood, amber, and vanilla provide clean, non-overpowering welcoming aromas.
Place scent sources away from heavy HVAC return vents to prevent the fragrance from dispersing too quickly. A balanced scent should linger gently rather than overwhelm visitors at the front door.
Phase 4: Layering Comfort, Biophilia, and Narrative
Feature 7: Tactile Natural Textiles. Layer varied fabric textures throughout your living areas using linen drapes, chunky wool throws, and nubby bouclé cushions. Contrasting surfaces create sensory depth that makes spaces feel curated over time.
Select an area rug large enough so that at least the front legs of all seating rest comfortably on top. A rug that is too small visually shrinks the room and creates a disjointed appearance.
Hang unlined linen drapery panels high and wide, positioning the rod 4 to 6 inches above the window frame. This hanging technique visually raises your ceiling height while softening outside sound transmission.
Feature 8: Biophilic Elements and Living Greenery. Introduce live indoor plants of varying scales to purify the air and inject vibrant natural color. Lush botanical elements soften hard cabinetry lines and modern appliance surfaces.
Place resilient varieties such as ZZ plants, snake plants, or cast-iron plants in low-light entryways. Position fiddle-leaf figs or monstera plants near bright, indirect southern or western window exposures.
Display your plants in textured terracotta, fluted concrete, or woven seagrass pots. Consistent earthen planter materials tie disparate greenery into a single design statement.
Feature 9: Curated Personal Display Galleries. Group treasured books, original art, and travel artifacts along floating shelves or a dedicated bookcase. Spaces stripped of personal personality read like generic corporate staging.
Arrange objects using the designer rule of threes, combining items of alternating heights, shapes, and textures. Pair an antique ceramic vessel with two horizontal hardcover books to build dynamic visual interest.
Leave negative breathing room on shelves so individual keepsakes stand out clearly. Overcrowded shelves create visual noise, whereas edited collections foster genuine connection.
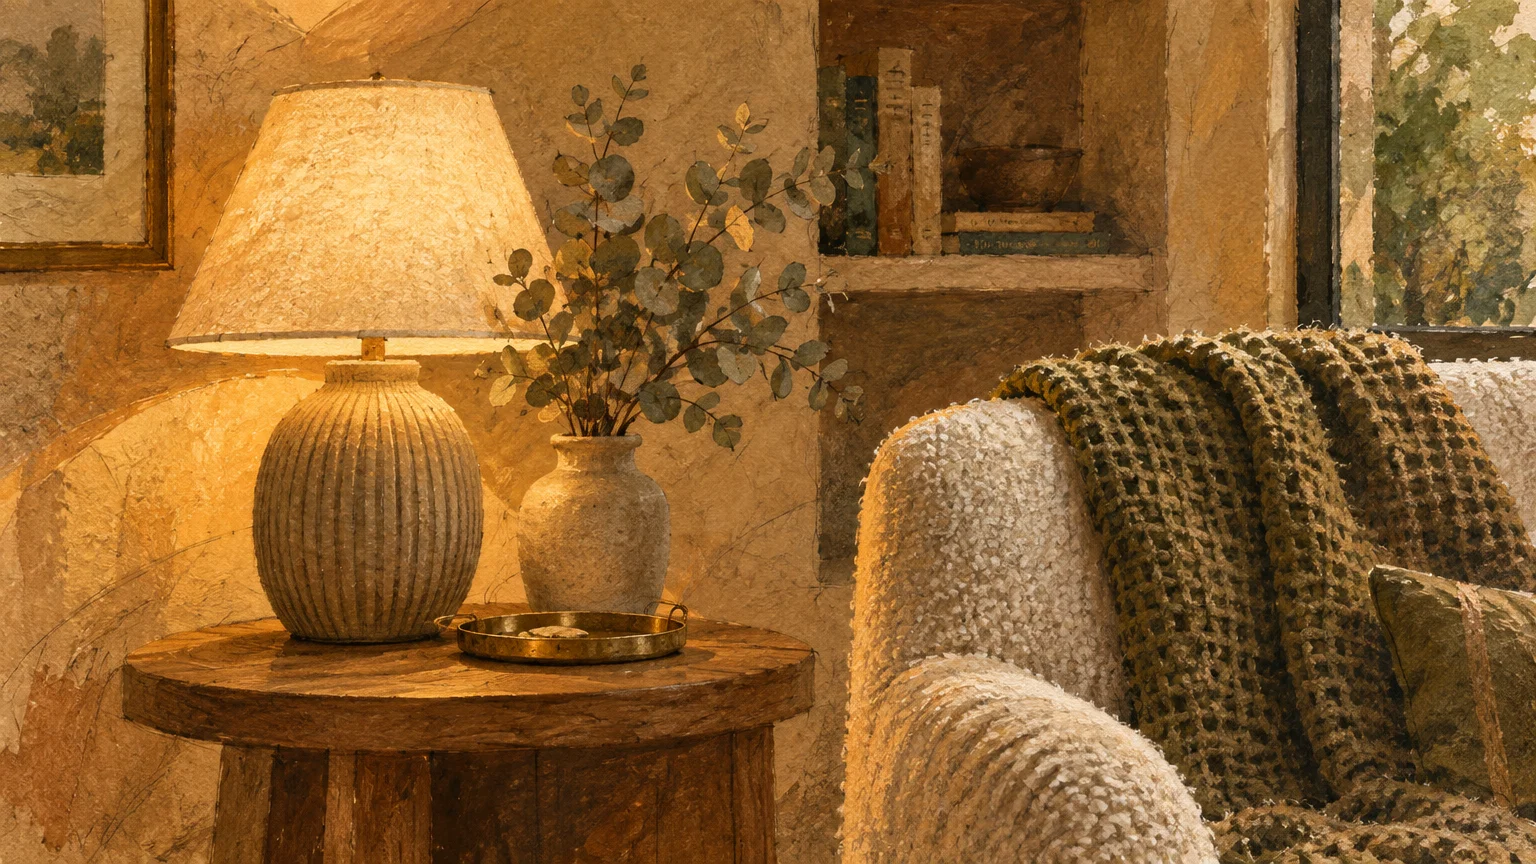
Style & Finishing Touches
Blending finishes thoughtfully prevents your newly updated home from looking like a single-brand catalog. Aim for a curated balance of vintage and contemporary elements throughout your living spaces.
Mix warm metals like aged brass and oil-rubbed bronze with matte black accents for classic contrast. Avoid matching all cabinet knobs, lamps, and door hardware identically; varied finishes feel collected and organic.
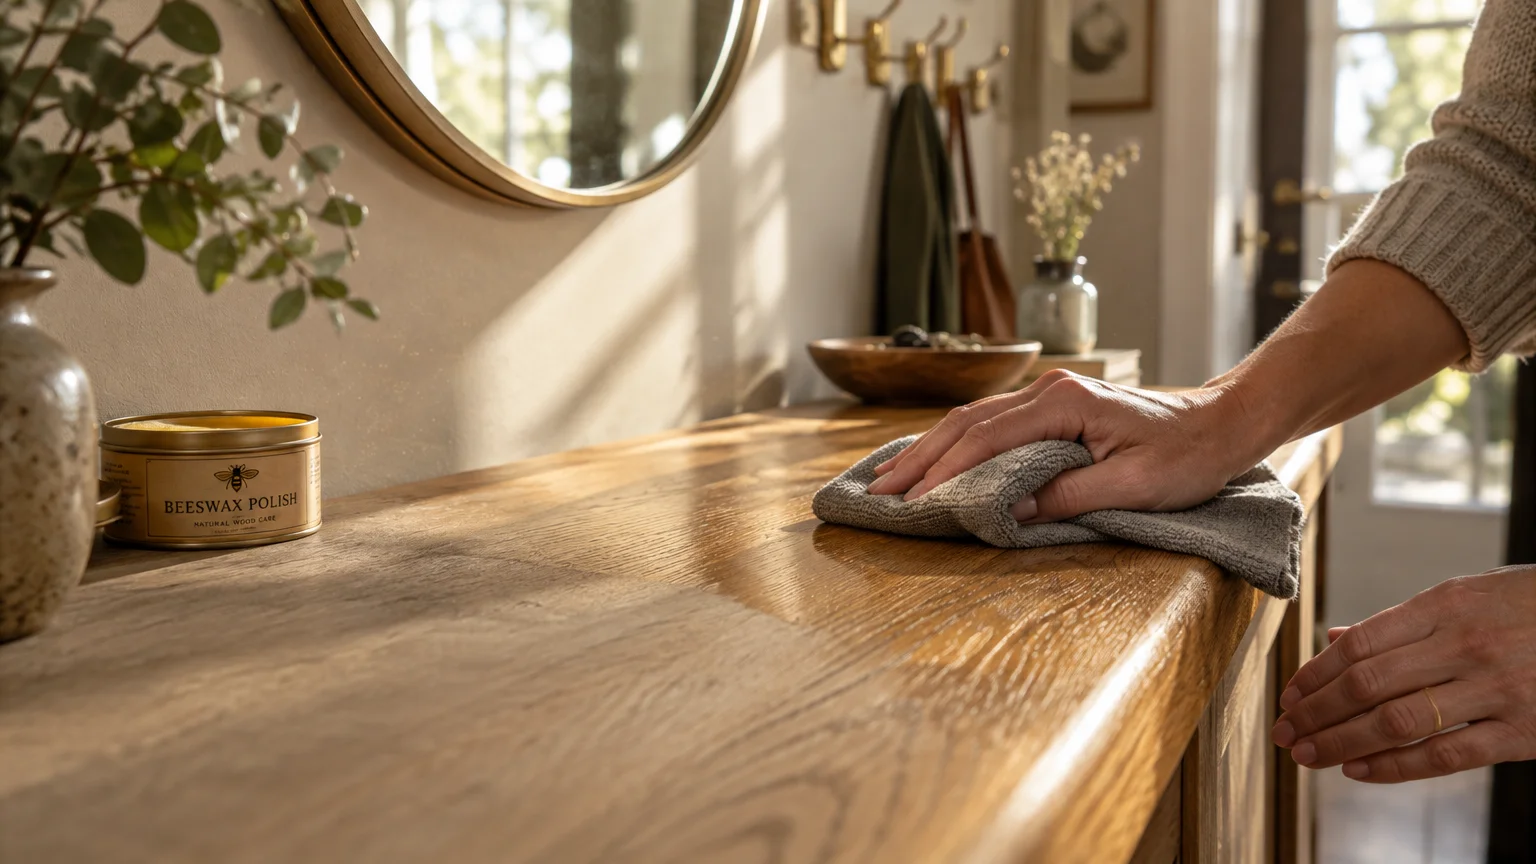
If you operate on a strict budget, thrift store frames and vintage wooden dough bowls provide instant warmth. Sand down tired thrifted wood pieces and seal them with natural beeswax for a rustic, handmade touch.
Homeowners with higher budgets can upgrade hollow interior doors to solid-core shaker doors. Solid doors dramatically dampen household noise and provide an unmistakable sense of quality when opened.
Incorporate architectural lighting like plug-in wall sconces over reading chairs or artwork. Cord covers painted to match the adjacent drywall create an upscale, hardwired aesthetic for a fraction of the cost.
Maintenance & Long-Term Care
Maintaining a clean, comfortable home requires consistent, low-effort routines rather than sporadic deep-cleaning marathons. Schedule light upkeep tasks throughout the month to keep your designer elements looking pristine.
Vacuum and rotate your natural fiber area rugs every six months to balance foot-traffic wear. Spot-clean organic spills promptly using mild castile soap diluted in warm distilled water.
Dust architectural wall moulding, window trim, and baseboards monthly using an electrostatic microfiber wand. Wipe down painted woodwork seasonally with a damp cloth to remove fingerprint grease and environmental grime.
Inspect indoor plant leaves bi-weekly and wipe them down with a damp cloth to optimize photosynthesis. Check soil moisture before watering to prevent root rot and fungus gnat infestations.
Trim candle wicks to one-quarter inch before each burn to prevent black soot from staining your ceilings. Rotate your home fragrances seasonally—shifting toward citrus in summer and smoked wood tones during winter.
FAQ
How can I make an open-concept layout feel cozy without building walls?
Define functional zones using large area rugs and intentional furniture placement. Anchor distinct sitting and dining areas with independent overhead lighting fixtures connected to dedicated dimmer switches.
What is the best light bulb temperature for a warm, cozy home?
Home design experts recommend 2700K warm-white LED bulbs for living areas, dining spaces, and bedrooms. This color temperature mimics traditional incandescent light, creating a flattering, relaxing atmosphere without looking yellow.
How do I stop my entryway from accumulating shoe and mail clutter?
Provide dedicated, hidden containment systems like lidded baskets for shoes and a wall-mounted sorter for incoming paperwork. When storage solutions are intuitive and accessible, household members actually use them consistently.
Can I install decorative wall moulding on textured drywall?
You can install moulding over lightly textured walls, but heavy knockdown textures require skimming first. Apply a skim coat of joint compound across the wall to create a smooth, seamless background.
When should I hire a professional instead of tackling these upgrades myself?
Hire a licensed electrician if your project requires pulling new wiring circuits or upgrading your service panel. Hire a finish carpenter if you lack the miter saw equipment needed for complex crown moulding joints.
Takeaway & Next Steps
Creating an exceptionally welcoming home does not require knocking down walls or spending tens of thousands of dollars. Intentional updates to your lighting, entryway functionality, and sensory textures build a genuinely inviting space.
Start with one approachable weekend project to jumpstart your home improvement journey. Here are three immediate actions you can take today:
First, swap out harsh daylight bulbs in your living room lamps for soft 2700K warm-white alternatives. This single ten-minute modification immediately softens your room’s mood.
Second, clear your entryway floor and install a sturdy row of coat hooks paired with a small catchall tray. Streamlining the entry corridor establishes a calm, organized arrival zone for family and guests.
Third, rearrange your living room seating into a conversational arrangement pulled away from perimeter walls. Float your chairs closer to the coffee table to foster comfortable conversations.
Have you completed an entryway makeover or layered your living room lighting recently? Share your project photos with our community in the comments below, or subscribe to our newsletter for weekly home improvement guides!