Step-by-Step Instructions
Follow these four diagnostic phases to locate thermal leaks, determine whether you can repair existing units, and establish when to replace windows for efficiency.
Phase 1: Visual Inspection and Moisture Analysis
Begin by inspecting the physical condition of the glass, sash, and exterior frame. Examine the spacer bars between the glass lites on every double- or triple-pane unit. Modern Insulated Glass Units have an average lifespan of 15 to 25 years before seal degradation occurs. If you observe cloudy streaks, water droplets, or crystalline deposits on the interior surfaces between the panes, the hermetic seal has ruptured. You cannot wipe away inter-pane moisture; seal failure requires replacing the insulated glass unit or installing a new window assembly.
Next, press the prongs of your moisture meter into the exterior sill, bottom sash rail, and interior wooden trim. Moisture readings exceeding 18% indicate active water intrusion, which degrades insulation and promotes structural fungal rot. Inspect the exterior perimeter where the window frame meets the exterior siding. Dried, cracked, or missing caulking creates an open path for wind-driven rain and air infiltration.
Phase 2: Air Infiltration and Draft Detection
Perform the dollar bill compression test along the entire perimeter of your operable sashes. Open the window, place a dollar bill flat across the frame seal, close and latch the window securely, and pull the bill outward. If the bill slides out effortlessly with no physical resistance, your weatherstripping has flattened or the sash has warped, creating a direct air leak. Repeat this test at four-inch intervals along the top, bottom, and side rails.
Follow up with a smoke test on a breezy day. Light your incense stick or smoke pen and hold it two inches away from the sash meeting rails, corner joints, and perimeter casing. Watch the smoke stream closely; if the smoke wavers, flutters, or blows horizontally into the room, you have located an active air infiltration leak. Mark these leak locations with small pieces of blue painter’s tape for subsequent sealing.
Phase 3: Thermal Imaging and Surface Temperature Scanning
Use your infrared laser thermometer to quantify thermal bridge losses. Stand inside the room and aim the laser directly at the center of the window glass, recording the surface temperature. Immediately aim the laser at an adjacent interior drywall surface on the same exterior wall. If the temperature differential between the center of the glass and the drywall exceeds 15 degrees Fahrenheit during cold winter weather, your glass assembly lacks modern insulating gas fills and Low-E thermal coatings.
Scan the edges of the window frame, paying close attention to the bottom corners of the sill. A sudden drop in surface temperature along the frame indicates poor insulation cavities around the rough opening or missing low-expansion foam behind the interior trim casing.
Phase 4: Operational Integrity and Structural Assessment
Test the mechanical operation of each sash by unlocking and opening the unit fully. The sash should glide smoothly along its tracks without binding, grinding, or requiring excessive physical force. Release an operable single- or double-hung sash midway up; if it falls downward under its own weight, the internal balance springs or sash cords have failed. Failing hardware prevents the sash from locking tightly against the weatherstripping, compromising the window’s air barrier.
Safety Warning: If your home was constructed before 1978, the existing paint on your window sashes, sills, and jambs may contain hazardous lead. Always test painted surfaces with an EPA-recognized lead test kit before scraping, sanding, or disturbing old finishes, and wear an N95 or P100 respirator during inspections.
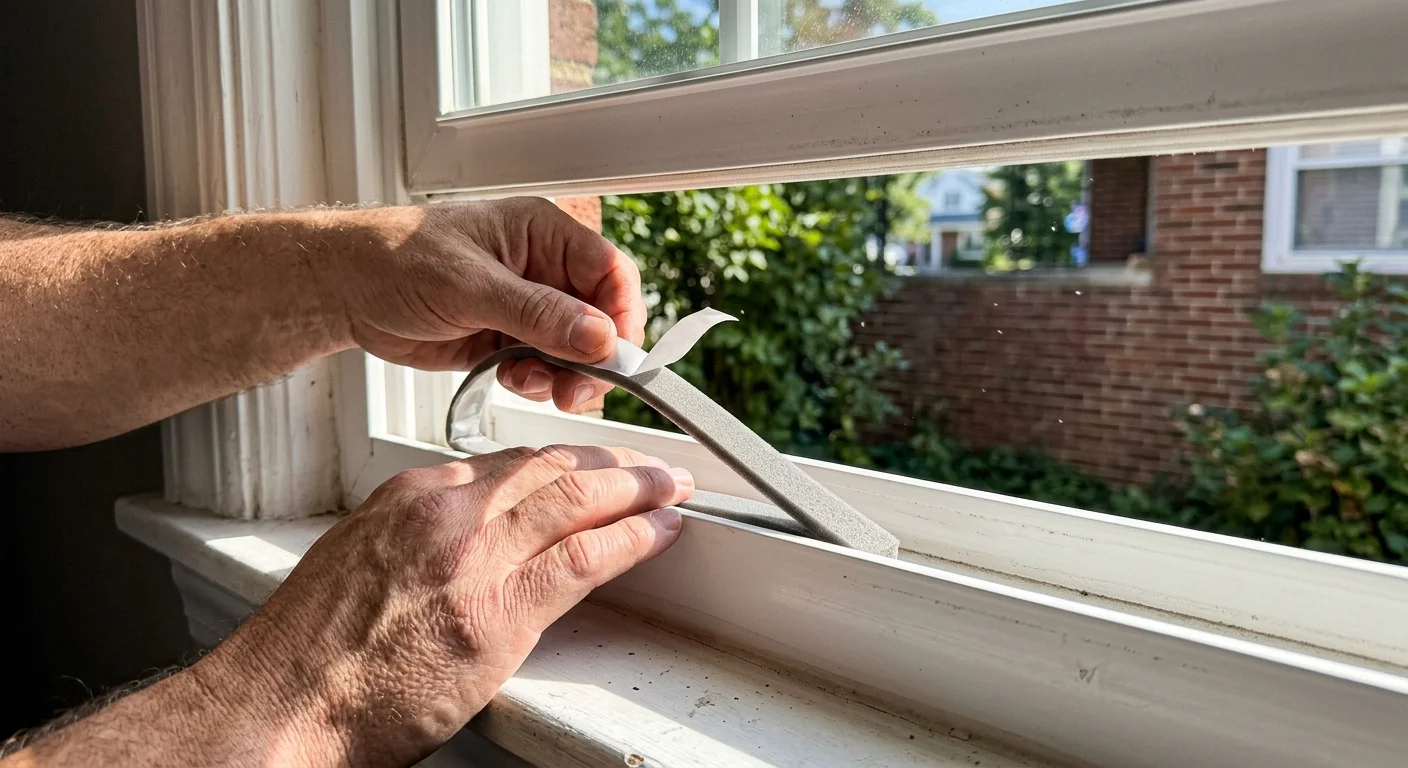
Troubleshooting Guidance: If drafts persist along the meeting rail despite latching, clean debris from the sash tracks using a stiff nylon brush and replace flattened pile weatherstripping with high-durability silicone bulb seals. If the wood frame is soft and spongy to the touch, structural decay has compromised the unit, making full-frame window replacement necessary.