The American House
  • Home
  • DIY
  • Garden
  • Tips & Tricks
  • Expert Tips
Home / Home

7 Paint Color Trends We Hope Don’t Come Back This Year

June 11, 2026 · 13 min read
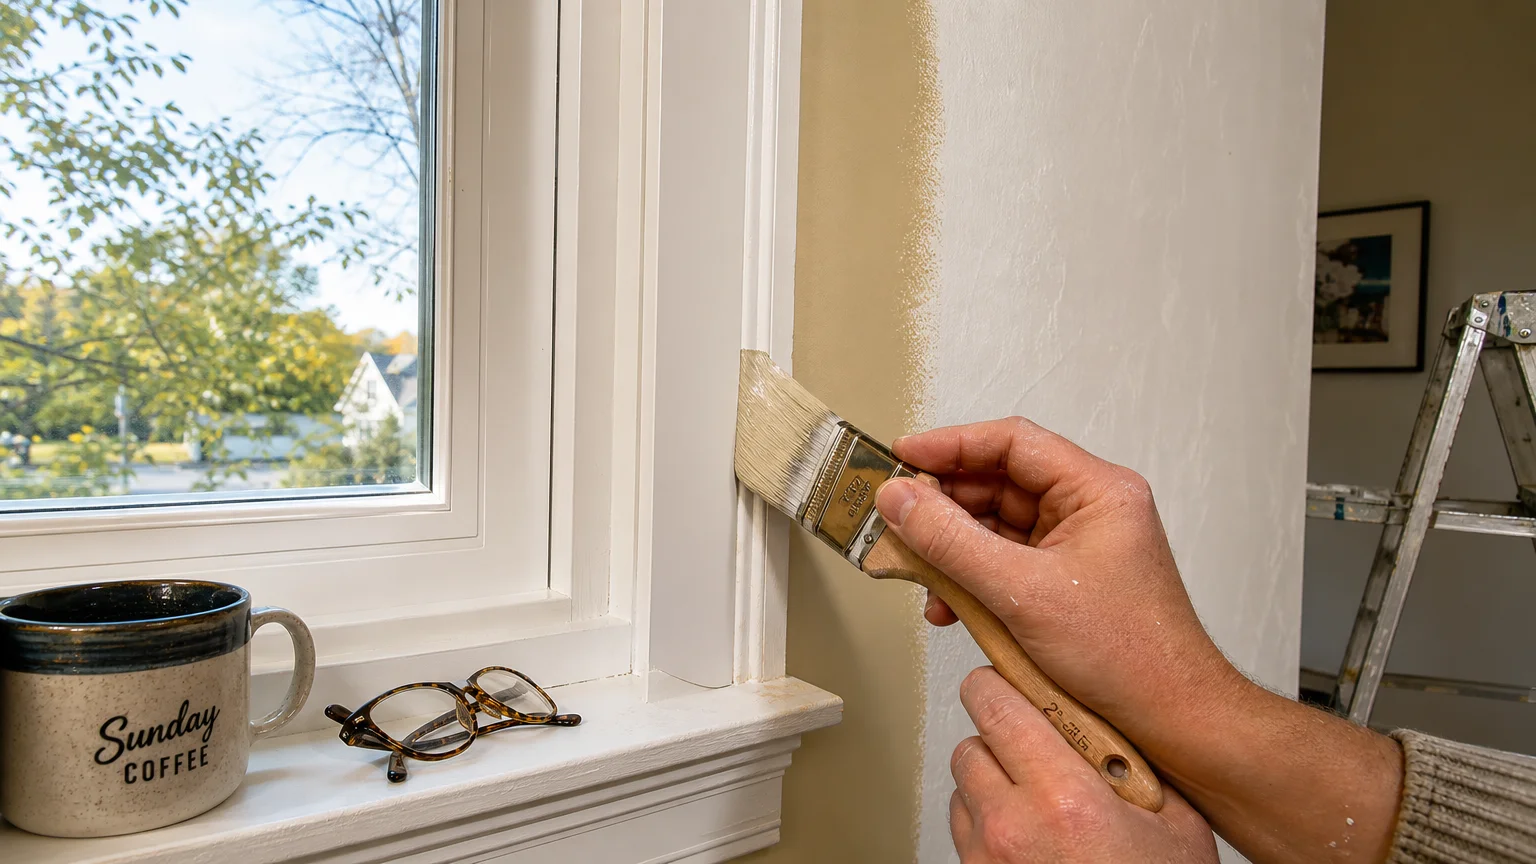
A close-up photo of a hand carefully painting the edge of a wall near a white window frame.
A hand carefully applies white paint to window trim, helping a room move past outdated color trends.

Step-by-Step Instructions

Eliminating decorating mistakes from your walls requires a systematic approach. Rushing the process guarantees peeling paint, visible roller marks, and the ghost of that Tuscan mustard yellow shining through your new finish.

Phase 1: Deep Cleaning and Surface Repair

Paint does not stick to dirt, grease, or dust. Mix your TSP cleaner with warm water according to the manufacturer’s instructions. Use a large sponge to wash the walls from the bottom up—this prevents dirty water streaks from permanently staining the drywall below. Once clean, rinse the walls with fresh water and let them dry completely.

Inspect the walls for nail holes, dents, or gouges. Fill these imperfections with lightweight spackle using a putty knife. Overfill the holes slightly, as the spackle shrinks as it dries. Once cured, use your pole sander with a 120-grit screen to lightly sand the patched areas and the entire wall. Sanding deglosses the old paint, providing a rough microscopic texture that helps the new primer grip the surface.

Safety Check: If your home was built before 1978, the existing layers of paint may contain lead. Never sand or scrape potential lead paint. You must test the surface first. For detailed safety protocols and testing kits, consult the EPA guidelines on lead paint.

Phase 2: Priming the Problem Areas

Tape off your baseboards, window trim, and ceiling line. Press the edge of the tape down firmly with a putty knife to create a flawless seal. Now, apply your high-hide primer. If you are covering dark charcoal or deep reds, ask your paint retailer to tint the primer gray. A gray-tinted primer neutralizes dark colors much faster than stark white primer, saving you an entire coat of finish paint.

Use your angled brush to cut in the perimeter of the wall with primer, creating a three-inch border. Roll the rest of the wall, maintaining a wet edge to avoid lap marks. Allow the primer to dry for at least four hours.

Phase 3: The W-Technique for Flawless Rolling

Once the primer is dry, open your premium interior paint and stir it thoroughly. Cut in the edges of the room just as you did with the primer. Load your microfiber roller evenly in the paint tray.

Apply the paint using the “W” technique. Roll a three-foot by three-foot “W” shape onto the wall, then immediately fill in the gaps without lifting the roller. Work your way down the wall in small, manageable sections. This method ensures even distribution and prevents thick ridges of paint from drying on the surface. Always roll from the ceiling down to the floor.

Phase 4: Curing and Second Coats

Wait the exact amount of time recommended on the paint can before applying a second coat—usually two to four hours. Applying a second coat too early pulls the first coat right off the wall. Even if you purchased paint labeled “paint and primer in one,” covering dark, outdated paint colors always requires two coats of finish for a uniform look. Remove the painter’s tape while the second coat is still slightly damp. Pulling the tape at a 45-degree angle slices through the paint film cleanly, preventing jagged edges.


Pages: 1 2 3 4 5 6 7

Share this article

Facebook Twitter Pinterest LinkedIn Email

Leave a Comment Cancel reply

You must be logged in to post a comment.

Search

Latest Posts

  • Bright living room featuring a beige sofa, wooden coffee table with eucalyptus, fireplace, and hardwood floors. Don't Get Rid of These 10 Things If You Want to Sell Your Home Faster, Realtors Say
  • A plastic bin holding chemicals, batteries, motor oil, and a fluorescent bulb sits on a garage workbench. Before You Throw That Away: 12 Items That Need a Different Kind of Disposal
  • A woman sits at a wooden counter working on a laptop surrounded by paperwork and blueprints in a home under renovation. SALT Deduction Gets an Update for 2026 Taxes - Find More Here!
  • Close-up of hands placing a digital radon detector on a wooden shelf in a sun-drenched, cozy living room. 9 Signs Your Home Needs a Radon Test
  • A close-up photo of a hand touching a fogged-up window with condensation, inside a cozy warmly-lit room. 7 Signs Your Windows Are Losing Energy Efficiency
  • A warm gouache illustration of a backyard wooden deck in late spring with a small bucket of tools, evoking home prep before summer. 8 Signs Your Deck Needs Repairs Before Summer
  • A homeowner using a digital moisture meter to inspect a faint water stain on a living room baseboard. 9 Signs Your Plumbing Has a Hidden Leak
  • A close-up photograph of a deep diagonal crack in a concrete basement wall, illuminated by a harsh low-angle flashlight. 7 Signs Your Foundation Needs a Professional Look
  • A woman wrapped in a blanket on a sofa looks towards a drafty winter window, holding a warm mug in a cozy home. 8 Signs Your Home's Insulation Needs an Upgrade
  • A homeowner shines a flashlight on the rusted base of an old basement water heater, searching for leaks. 9 Signs Your Water Heater Is Nearing the End of Its Life

Newsletter

Get the latest posts delivered to your inbox.

Related Articles

bathroom

Top 15 Bathroom Design Mistakes You Can’t Afford to Make

Save time and money by avoiding these bathroom mistakes! Good designs go beyond picking the…

Read More →
clean house

8 Things in Your House You Don’t Clean As Often As You Should

Cell phone As we all know, cell phones are just breeding grounds for bacteria and…

Read More →
mice

How To Stop Mice From Getting Indoors Naturally – 7 Simple Secrets To Success!

Who wants to share their house with mice? No one, I’m telling you. Besides making…

Read More →
things that destroy your home

11 Things That Destroy Your Home, and You Have No Idea

These are the things that destroy your home and you have no idea! Whether you’re…

Read More →
attic

15 Efficient Ways to Repurpose Your Attic

Converting your attic into a usable living space is a wonderful way to maximize your…

Read More →
A couple taking a break from painting inside a sunlit, historic house, looking out a large window at a tree-lined street.

10 Towns Where Housing Costs Stay Low

This four-step infographic outlines how to target, diagnose, source, and customize essential home moisture repairs.…

Read More →
bathroom

7 Best Bathroom Design Trends For 2023

With the turn of the calendar page, my thoughts have turned to the newest and…

Read More →
worst Feng Shui plants

8 Worst Feng Shui Plants For Your Home

If you want good luck this year, you must avoid these worst Feng Shui plants…

Read More →
A sophisticated geometric walnut wood accent wall in a modern living room with dramatic sunlight and shadows.

9 Wall Features That Add Instant Character

This technical diagram provides clear instructions for aligning, gluing, and fastening decorative wall panels with…

Read More →
The American House

Inedit Agency S.R.L.
Bucharest, Romania

contact@theamericanhouse.com

Explore

  • Contact
  • Editorial Policy
  • Advertiser Disclosure
  • FAQ
  • Subscribe
  • Unsubscribe
  • Privacy Policy
  • Terms and Conditions
  • Disclaimer
  • Do not sell my personal information
  • Request to Know
  • Request to Delete
  • CA Private Policy

Categories

  • DIY
  • Expert Tips
  • Garden
  • Home
  • Tips & Tricks

© 2026 The American House. All rights reserved.