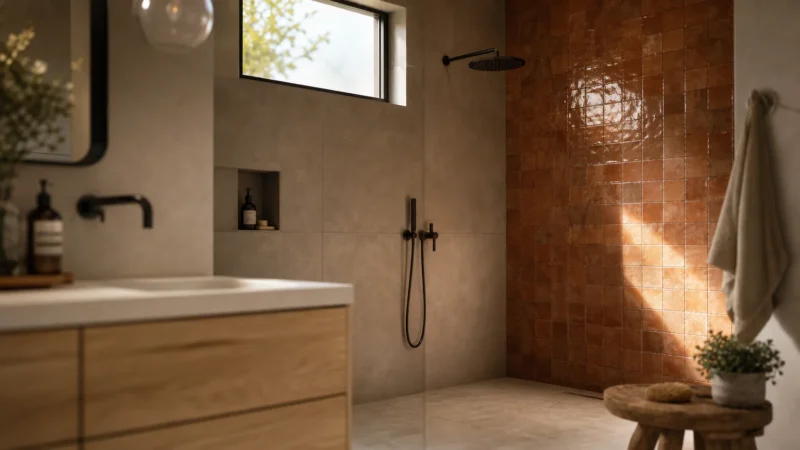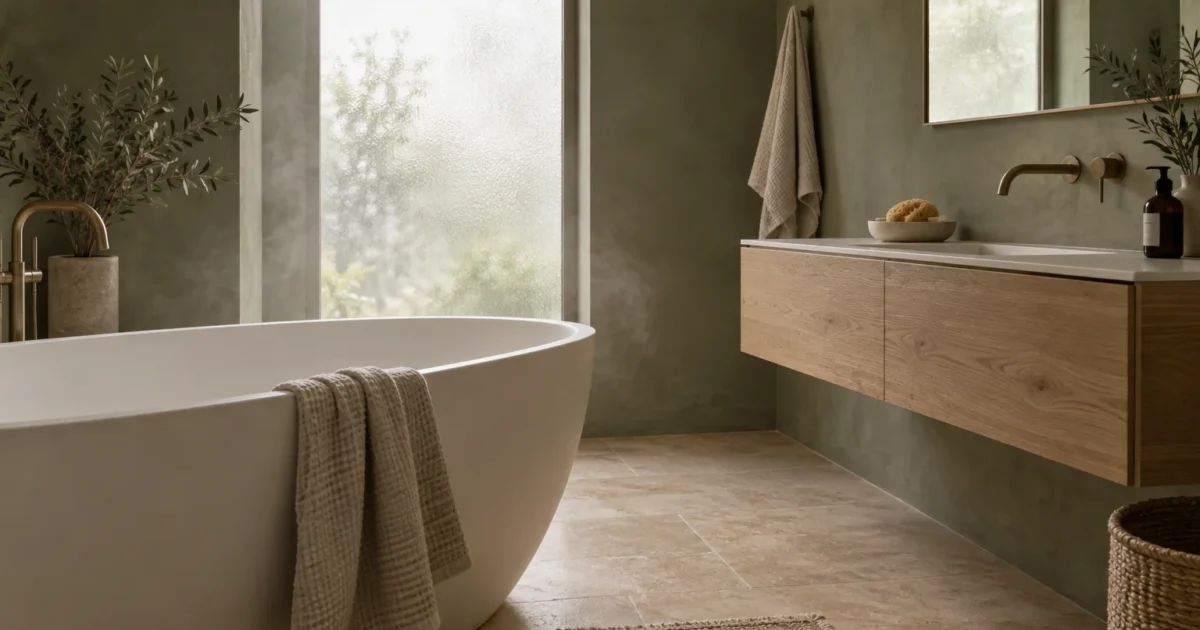
You can transform your morning routine into a serene retreat simply by rolling a fresh coat of paint onto your walls. The right hue lowers your heart rate, softens harsh reflections, and creates an immediate sensory sanctuary.
High-humidity zones demand specific pigment blends and resilient finishes to keep that luxury resort vibe intact year after year. Thoughtful color selection bridges the gap between chaotic daily utility and effortless personal restoration.
Discover the best paint colors for a spa bathroom, alongside expert prep steps that guarantee flawless, moisture-resistant results.
Project Overview & Why It Matters
Your bathroom sets the sensory tone for your entire day. Generic builder white and outdated beige often feel clinical, uninviting, and visually fatiguing.
Choosing calming bathroom color schemes grounded in natural elements signals to your nervous system that it is time to decompress. Soft greens, watery blues, and grounded neutrals reduce visual clutter while flattering your reflection.
Bathrooms endure severe atmospheric shifts every time someone turns on the shower. High humidity levels test the chemical bonds of standard residential wall paints.
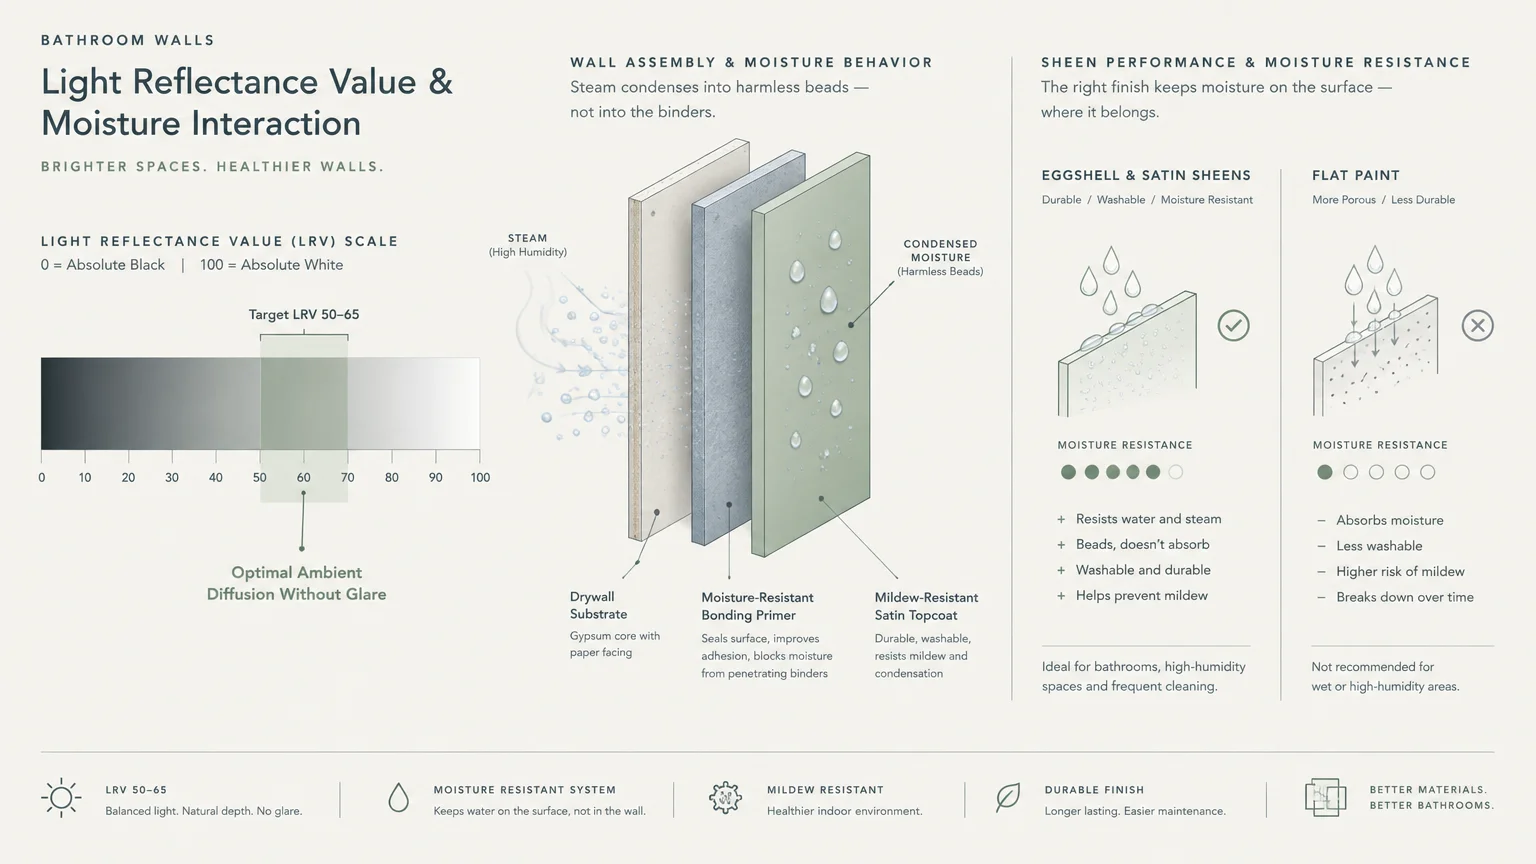
Steam condenses against cold drywall, introducing liquid water that breaks down inferior binders and fosters stubborn mold colonies. Using dedicated moisture-resistant formulas prevents bubbling and costly drywall decay.
Designers measure Light Reflectance Value, or LRV, to balance natural daylight with vanity illumination. An LRV between 50 and 65 bounces ambient light effectively without generating blinding hot spots.
Satin and eggshell sheens strike the perfect balance between cleanability and understated elegance. Their low-luster finish diffuses moisture while softening the overall room aesthetic.
Tools, Materials, and Prep Checklist
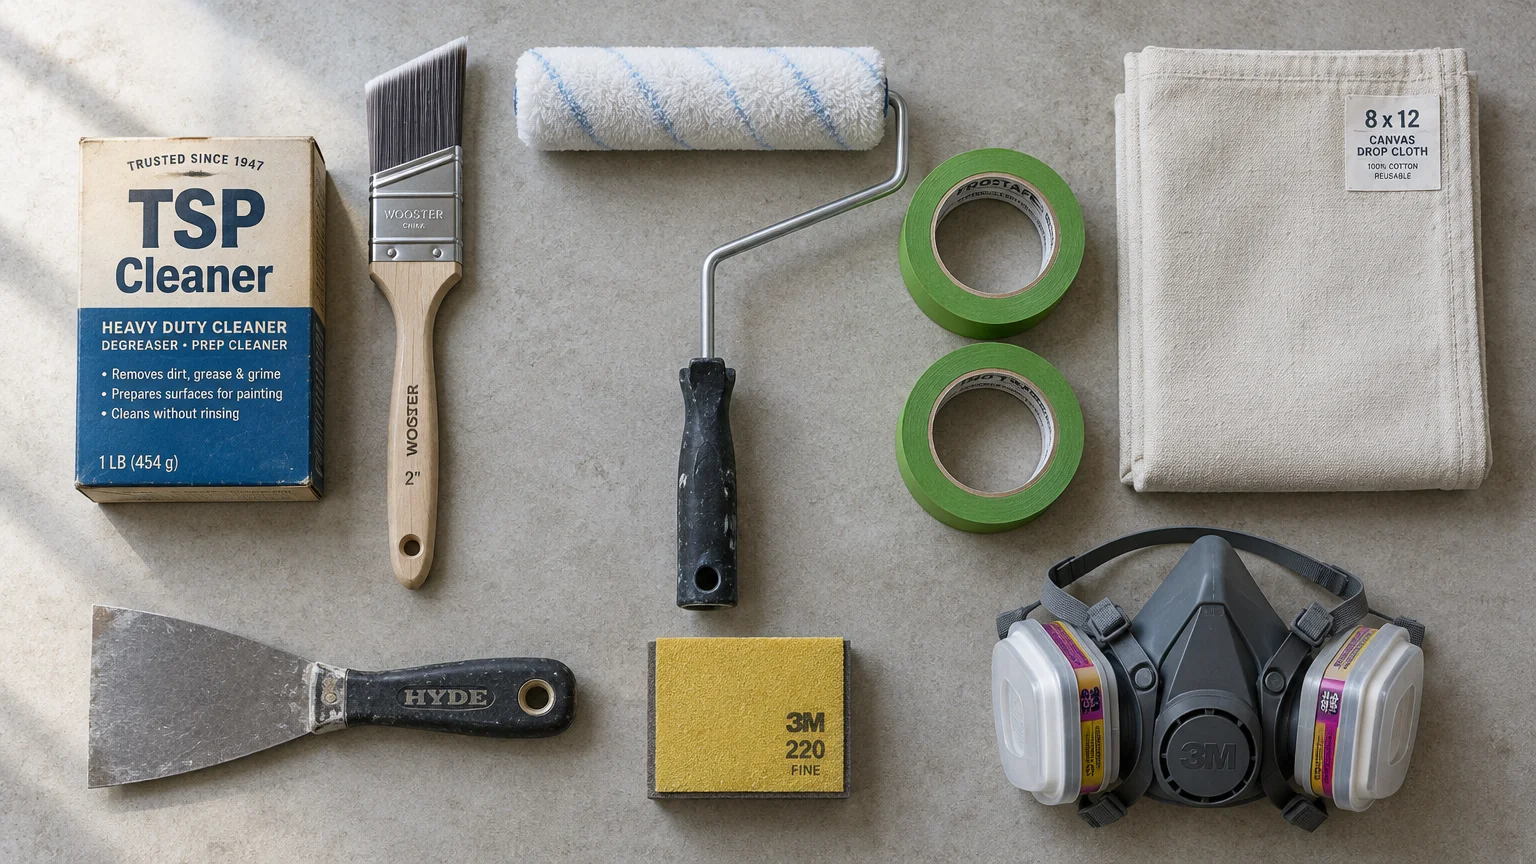
Flawless painting begins with the right equipment and careful preparation. Expect to spend between $140 and $220 for materials if you are outfitting your kit from scratch.
Moisture-Resistant Paint: Buy two gallons of dedicated mildew-resistant satin paint for roughly $65 to $85 per gallon. This supplies enough paint for two complete coats in an average bathroom.
Bonding Primer: Pick up one gallon of stain-blocking, mold-inhibiting primer for approximately $28. This step guarantees strong adhesion over existing enamel or repaired drywall.
Surface Cleaner: Grab a box of trisodium phosphate, or TSP cleaner, for $8. It cuts through hairspray, dried soap residue, and natural body oils effortlessly.
Brushes and Rollers: Invest in a 2-inch synthetic angled sash brush for $14; choose a 9-inch roller frame with two 3/8-inch microfiber covers for $16. Microfiber leaves a smooth, orange-peel-free finish.
Painter Tape: Buy two rolls of 1.41-inch-wide tape with edge-sealing technology for $20. Crisp border tape protects wood baseboards, tiled borders, and ceiling lines from errant roller marks.
Drop Cloth and Patch Kit: Secure an 8-by-12-foot canvas drop cloth for $22. Keep lightweight spackle, a 3-inch putty knife, and 220-grit sanding sponges ready for about $14 total.
Personal Protective Equipment: Wear safety glasses and an organic vapor respirator mask during prep and painting. In small, humid rooms, clean respiratory airflow is essential for safety.
If your home was constructed before 1978, test your walls for old lead paint before sanding. Follow the EPA guidelines for lead safety to handle older coatings responsibly.
Step-by-Step Instructions
Phase 1 begins with stripping down the room and cleaning the walls. Remove switch plates, towel bars, mirrors, and plumbing escutcheons before doing anything else.
Dissolve two tablespoons of TSP in a bucket of warm water. Wash every wall surface with a dense sponge to eliminate invisible aerosol residues and bath oils.
Rinse all surfaces with clean water and let the walls dry for four hours. Applying paint over oily residue causes peeling sheets within months.
Inspect surfaces under a bright task light to spot nail pops or minor cracks. Press lightweight spackle into voids using your putty knife, feathering the edges flush.
Once dry, sand patches smooth using 220-grit sandpaper; wipe away dust with a damp microfiber cloth. Smooth surfaces prevent light from casting unsightly shadows across your walls.
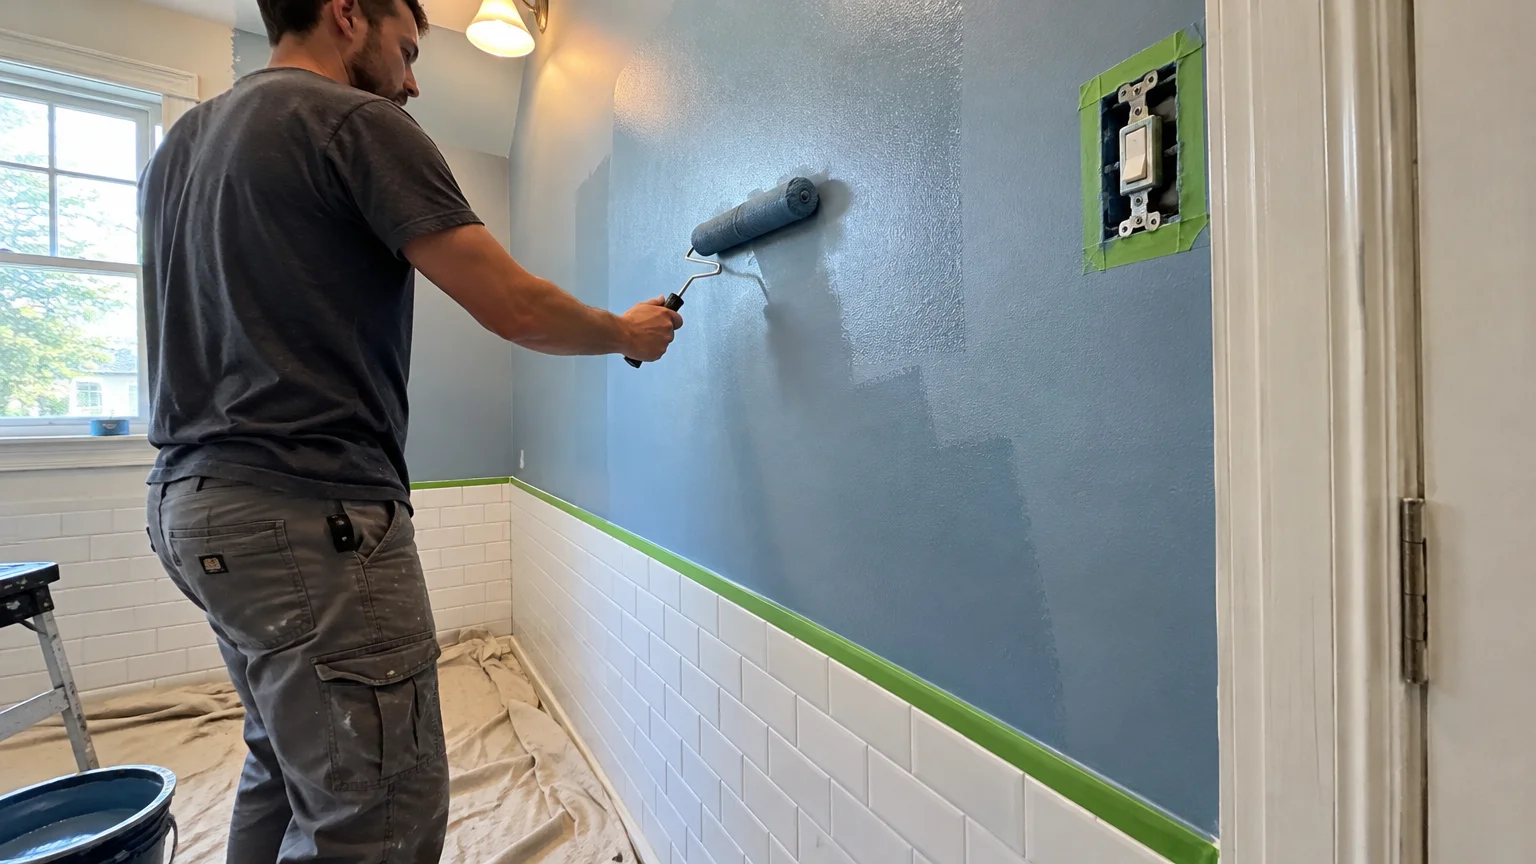
Apply painter tape along baseboards, door frames, and shower tile margins. Press the tape edges firmly using a plastic putty knife to lock out liquid paint bleed.
Phase 2 covers primer application. Roll a complete coat of mold-resistant bonding primer over all patched drywall, high-steam ceiling areas, and contrasting previous colors.
Allow the primer to cure for at least three hours before applying your topcoat. Proper drying creates a sealed foundation that repels steam penetration.
Phase 3 is cutting in and rolling your color. Dip your 2-inch angled brush into paint and cut in ceiling lines and corners in manageable four-foot stretches.
Work quickly to keep a wet edge, which prevents dark lap marks where brushed sections meet rolled fields. Never let an edge dry before blending it.
Load your microfiber roller evenly and paint the wall using sweeping vertical passes in a slight “W” pattern. Smooth over the pattern with light downward strokes to eliminate ridges.
Phase 4 focuses on second-coat coverage and curing. Wait four hours before applying your second uniform coat to build adequate film thickness.
Pull your painter tape away slowly at a 45-degree angle while the second coat is still slightly tacky. This prevents cured paint from tearing along the seam.
Let the room cure for a minimum of 48 to 72 hours before taking a hot shower. Steam introduced too early draws out surfactants, producing sticky, discolored streaks.
Style & Finishing Touches
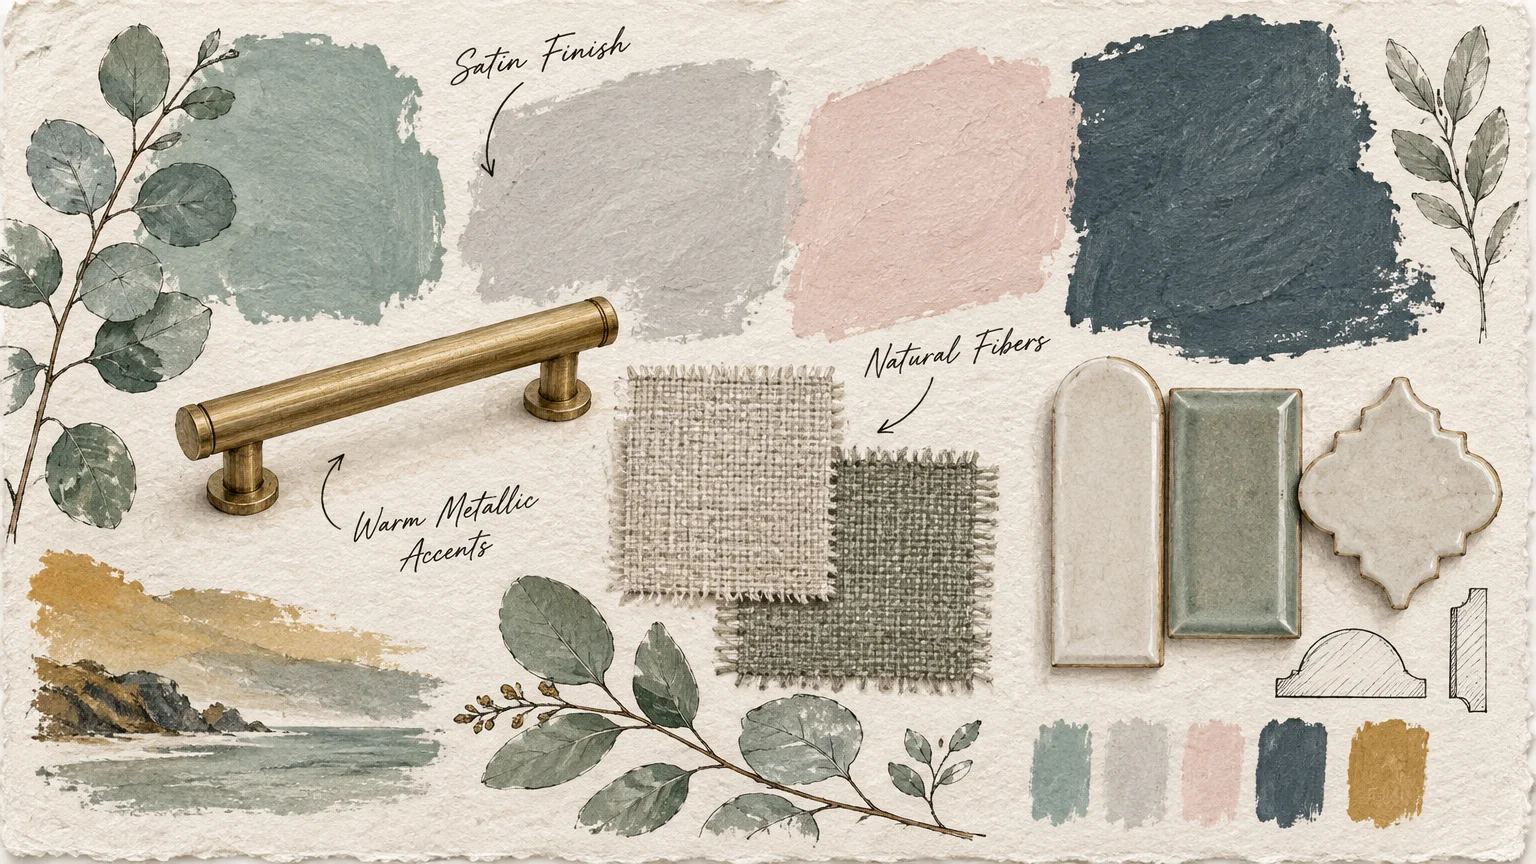
Curating the right palette bridges the gap between utilitarian functionality and restorative luxury. Explore these 11 spa-like bathroom paint colors to find your perfect sanctuary shade.
1. Soft Seafoam Green
Soft seafoam unites watery cyan with organic green and gentle gray undertones. It evokes shallow tidal pools and creates an immediate cooling sensation in naturally warm spaces.
Pair this hue with crisp white quartz countertops, polished chrome fixtures, and bright subway tile. Consider Benjamin Moore Palladian Blue for an iconic, airy seaside finish.
2. Muted Eucalyptus
Eucalyptus offers a grounded, herbal character enriched by subtle silvery undertones. It softens harsh vanity lighting while introducing botanical warmth into your daily grooming space.
Complement eucalyptus walls with natural white oak vanities, waffle-weave towels, and brushed brass sconces. Sherwin-Williams Silver Strand delivers this refined botanical neutral across changing light cycles.
3. Warm Cashmere Greige
Cashmere greige combines the crisp clarity of soft gray with the inviting warmth of classic beige. It tempers bright white porcelain fixtures without making windowless bathrooms feel small or shadowy.
Pair greige with honed marble floor tiles and soft champagne bronze plumbing elements. Benjamin Moore Revere Pewter remains an industry benchmark for this balanced, upscale hotel ambiance.
4. Luminous Chalk White
Stark builder whites feel clinical; chalk white uses warm yellow-gray undertones to radiate soft serenity. It reflects light evenly across the room without casting cold fluorescent glares.
Style chalk white with warm walnut floating shelves, woven seagrass storage baskets, and matte black fixtures. Sherwin-Williams Alabaster creates an ethereal, sun-drenched Scandinavian bathhouse atmosphere.
5. Sky Mist Blue
Sky mist blue brings expansive horizon vibes into compact, windowless powder rooms. The gentle pigment expands perceived wall boundaries, making low ceilings feel noticeably higher.
Accent this tranquil tone with Carrara marble vanity tops and brushed nickel hardware. Benjamin Moore Windmill Wings provides a delicate, weightless blue that never looks icy or childish.
6. Mineral Fog Gray
Mineral fog captures the organic calmness of riverbed stones and early morning mist. This neutral tone grounds modern spaces without leaning too sterile or stark.
Pair mineral gray with dark slate floor tiles, frameless glass shower enclosures, and matte black faucets. Behr Silver Drop delivers a dependable stony backdrop that flatters both warm and cool finishes.
7. Restorative Herb Sage
Herb sage provides an earthy, muted green tone that feels deeply meditative and restorative. It wraps the room in botanical comfort, encouraging full physical relaxation after long days.
Accent sage surfaces with living potted ferns, natural teak bath boards, and brushed brass accents. Sherwin-Williams Clary Sage infuses master bathrooms with quiet sophistication and organic richness.
8. Desert Whisper Blush
Whisper blush channels the gentle warmth of dawn, warming up bathrooms that lack southern sun exposure. This flattering tone casts a healthy, radiant glow across skin tones in vanity mirrors.
Balance blush walls with terracotta floor tiles, fluted timber cabinetry, and antique bronze mirrors. Farrow & Ball Setting Plaster delivers a powdery, sun-baked clay ambiance that feels deeply luxurious.
9. Deep Nordic Slate
Dark slate blue proves that relaxing bathroom design colors are not restricted solely to light pastels. This moody hue creates an intimate, cocoon-like atmosphere when paired with warm ambient lighting.
Contrast dark slate with crisp white wainscoting, polished brass faucets, and bright vanity sconces. Benjamin Moore Hale Navy provides an elegant, grounding backdrop for distinctive guest baths.
10. Weathered Sandstone
Weathered sandstone draws inspiration from desert canyons and natural hot spring resorts. It adds grounded earthiness to spaces dominated by cold tile, glass, and mirrors.
Pair sandstone with raw travertine stone, linen shower curtains, and woven rattan accents. Sherwin-Williams Accessible Beige offers balanced warmth without leaning yellow, ensuring timeless, calming appeal.
11. Tranquil Ocean Mist
Ocean mist balances cloudy teal and soft gray, mimicking the peaceful mood of coastal bays. This shade shifts gracefully throughout the day, looking watery green at sunrise and smoky blue by dusk.
Pair this versatile hue with dark walnut vanities, frosted glass shades, and natural sea sponges. Benjamin Moore Raindance provides rich depth that makes daily soaking feel like a private resort escape.
Accents and Texture Pairings
Maximize your spa atmosphere by introducing natural wood elements alongside your chosen wall paint. Teak bath caddies, cedar floor runners, and floating bamboo shelves add tactile warmth to painted drywall.
Replace harsh overhead vanity spotlights with dimmable fixtures emitting warm 2700K to 3000K illumination. Soft lighting enhances calming undertones and creates an inviting, shadow-free glow.
Maintenance & Long-Term Care
Protecting your painted walls from lingering moisture ensures your spa aesthetic lasts for years. Acrylic paint requires nearly thirty days to achieve its full chemical cure and surface hardness.
Treat your walls with gentle care during this initial curing month. Avoid scrubbing the surface, hanging heavy accessories, or using suction-cup shower organizers.
Always run your bathroom exhaust fan while showering and leave it running for twenty minutes afterward. Proper ventilation whisks away humidity before it can settle against wall paint.
Consult the Home Ventilating Institute guidelines to verify that your fan moves enough air volume for your room dimensions. Undersized fans cause premature paint failures.
Clean your exhaust fan intake grille twice a year using a vacuum brush to clear dust buildup. Unclogged motors move humid air significantly more efficiently.
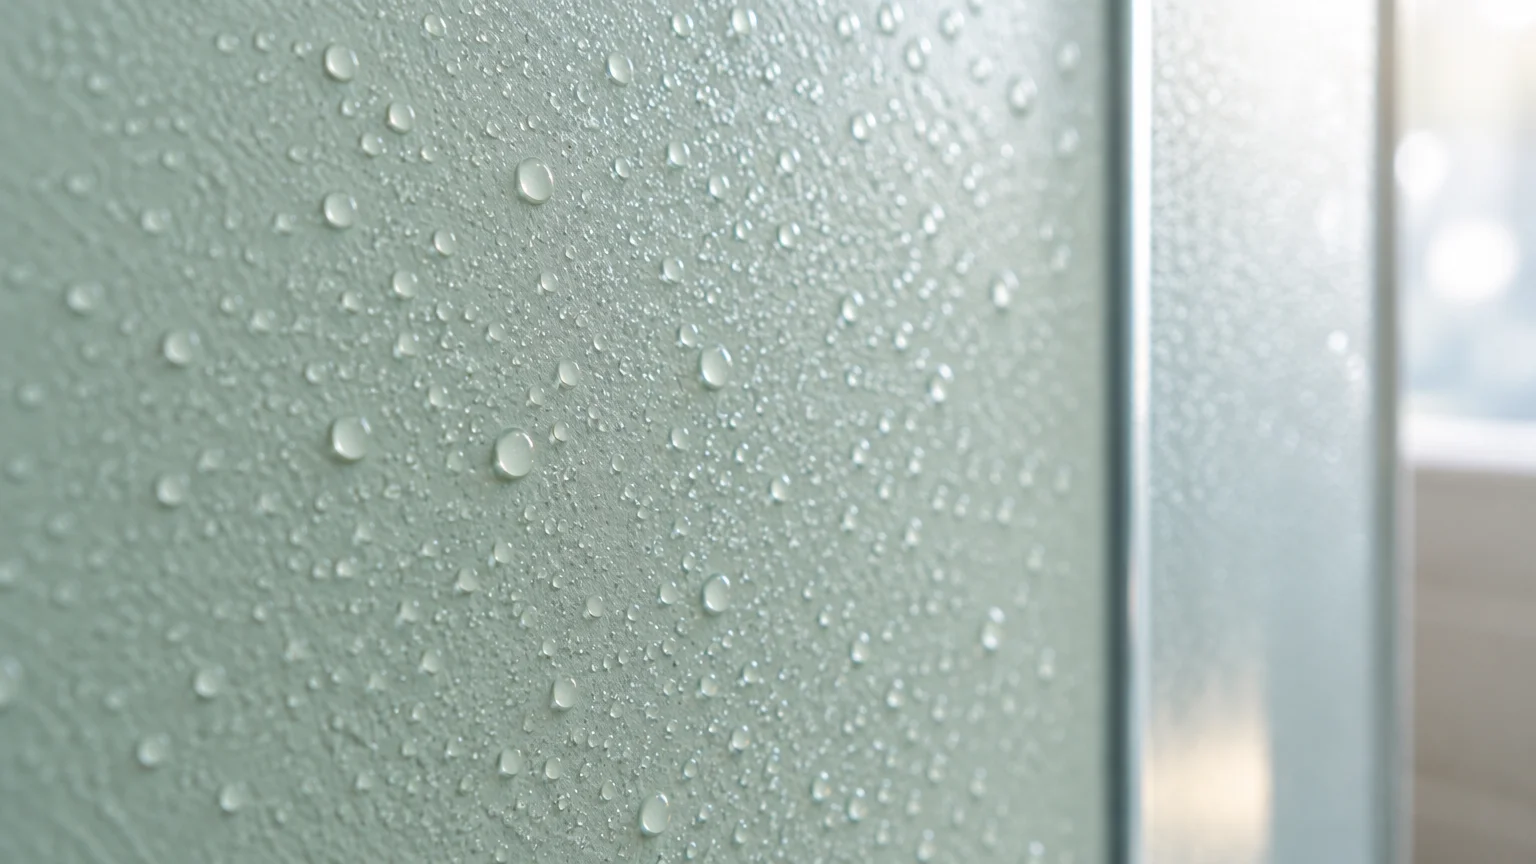
Wipe condensation droplets away promptly using a dry microfiber cloth to prevent surfactant leaching. Amber water streaks occur when condensation extracts water-soluble additives from uncured paint.
Clean everyday scuffs using a sponge dampened with warm water and mild liquid dish soap. Never use abrasive scouring pads, bleach, or ammonia cleansers on satin and eggshell sheens.
Inspect perimeter silicone caulk along backsplashes and shower enclosures annually. Replace cracked caulk promptly to keep moisture from penetrating behind your drywall.
Store leftover paint in an airtight glass jar inside a climate-controlled closet. Keeping touch-up paint protected from freezing temperatures ensures seamless spot repairs later.
FAQ
What paint sheen works best for a spa-like bathroom?
Satin and premium mildew-resistant eggshell sheens work best for spa bathrooms. They resist condensation and wipe clean easily without casting the harsh glare common to semi-gloss finishes.
Can dark colors still feel relaxing and spa-like?
Yes, dark tones like slate blue, charcoal, and forest green create an intimate, cocooning atmosphere. They evoke luxurious boutique hotels when balanced with warm lighting and light-colored tilework.
Do I really need a mold-resistant primer?
Yes, mold-resistant bonding primers seal porous drywall paper against steam penetration. Skipping primer allows humidity to loosen paint adhesion, eventually causing unsightly bubbles and peeling.
How long should paint cure before someone takes a hot shower?
Wait at least 48 to 72 hours before running hot, steamy showers in your newly painted room. Exposing uncured resin to heavy steam pulls surfactants to the surface, leaving sticky, permanent drip marks.
What light bulb color temperature best complements spa paint colors?
Use LED bulbs rated between 2700K and 3000K to generate soft, warm white illumination. This color spectrum highlights natural green, blue, and greige undertones without casting cold, clinical blue shadows.
Takeaway & Next Steps
Refreshing your walls with bathroom paint color ideas transforms your daily hygiene routine into a restorative wellness ritual. With proper ventilation and thorough prep, your tranquil retreat will look stunning for years to come.
First, pick up sample pots of your three favorite hues and test them on opposite walls to observe lighting changes.
Second, inspect your exhaust fan airflow and purchase your TSP cleaner, bonding primer, and microfiber painting supplies.
Third, scrub your wall surfaces this weekend and apply your tape lines so you can roll color with total confidence.
Which calming shade are you choosing for your bathroom renovation? We would love to see your finished space!
Share your before-and-after project photos with our team, or subscribe to our newsletter for weekly home improvement guides and design inspiration.