The American House
  • Home
  • DIY
  • Garden
  • Tips & Tricks
  • Expert Tips
Home / Home

9 Statement Stone Feature Walls With Dramatic Veining Worth Copying

July 2, 2026 · 13 min read
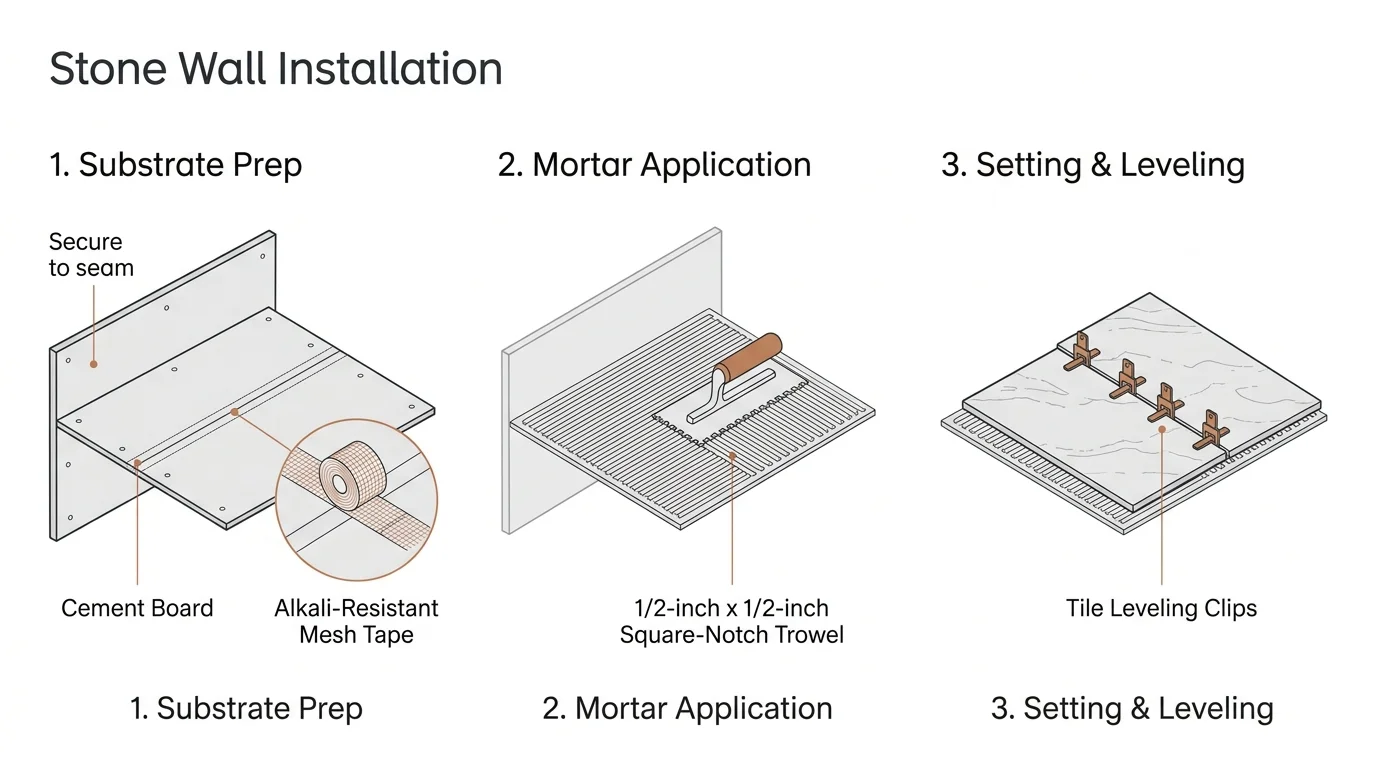
A three-part horizontal diagram showing step-by-step instructions for substrate preparation, troweling mortar, and setting leveling clips.
Follow these three illustrated steps to properly prepare, mortar, and level your statement stone feature wall.

Step-by-Step Instructions

Execute this project methodically. Rushing the preparation phase guarantees a sloppy final appearance and potential safety hazards.

Phase 1: Substrate Preparation

Turn off the power to the room at your breaker box. Remove the baseboards and cut away the existing drywall on your feature wall, exposing the bare studs. Verify that your studs sit exactly 16 inches on center; if they span wider, you must install additional framing.

Attach the 1/2-inch cement board directly to the studs using specific cement board screws driven every 8 inches. Stagger the joints between the boards so they do not align perfectly. Once hung, apply a thin layer of LFT mortar over the seams, press the alkali-resistant mesh tape into the wet mortar, and smooth it flat. Let the seams cure overnight.

Phase 2: Layout and Dry Fitting

Dramatic veining requires meticulous planning. Unbox all your stone tiles or slabs and lay them out on your floor in the exact pattern you intend to install them on the wall. This process—often called “dry fitting”—allows you to align the veining across multiple tiles, creating a continuous, flowing design. Number the back of each stone with a pencil to remember the sequence.

Set up your laser level to cast a perfectly horizontal line across the bottom of your wall. Do not rely on your floor being level. Attach a temporary ledger board (a straight 2×4 piece of lumber) screwed directly into the studs just below your laser line. Your first row of stone will rest heavily on this board.

Phase 3: Mixing Mortar and Setting the Stone

Pour cool, clean water into your bucket first, then slowly add the LFT mortar powder. Mix with your drill paddle on a low speed until it reaches the consistency of thick peanut butter. Let the mixture sit undisturbed for 10 minutes—a process called slaking—then mix it one final time.

Apply the mortar to the wall using the flat side of your trowel to ensure a tight bond, then comb the mortar horizontally with the notched side. Next, “back-butter” the stone by spreading a thin layer of mortar directly onto the back of the tile. This guarantees 100 percent coverage and eliminates hollow spots.

Press the stone firmly into the combed mortar, sliding it slightly perpendicular to the trowel ridges to collapse them. Insert your leveling clips under the edges before setting the adjacent stone. Slide the wedges into the clips and tighten them with the specialized pliers; this eliminates lippage and ensures a perfectly flush surface across the entire wall.

Phase 4: Grouting and Sealing

Allow the mortar to cure for at least 24 hours. Kick the leveling clips horizontally to snap them off below the surface of the joints. If you are using natural stone, apply a coat of penetrating sealer before grouting; this prevents the grout pigment from permanently staining the stone’s pores.

Push the grout deeply into the joints using a rubber float held at a 45-degree angle. Wipe away the excess immediately with a damp, well-wrung sponge. Change your sponge water frequently to avoid leaving a hazy residue on the stone. Once the grout cures completely, apply a final coat of sealer over the entire wall.


Pages: 1 2 3 4 5 6 7

Share this article

Facebook Twitter Pinterest LinkedIn Email

Leave a Comment Cancel reply

You must be logged in to post a comment.

Search

Latest Posts

  • Minimalist screenprint illustration of a two-story home showing warm and cool air currents circulating through the rooms. 6 Signs Your Home Has Poor Airflow (And How to Fix It)
  • An awkwardly shaped living room styled with a floated cream sofa, an off-center fireplace, and a warm, inviting layout. 10 Room Arrangement Ideas for Awkward Layouts
  • An amber glass spray bottle on a sunlit kitchen counter next to a sliced lemon and rosemary sprig, in a bright home kitchen setting. The Best Homemade All-Purpose Cleaner Recipe
  • A beautifully organized modern closet with dual-tier hanging rods, wooden hangers, and neat canvas bins on white oak shelves. 10 Closet Organization Ideas That Actually Save Space
  • A close-up photograph of a gardener's gloved hands working in a lush summer garden with fresh mulch under soft morning light. 8 Summer Gardening Tasks Experts Never Skip
  • 6 Most Common Lawn-Watering Mistakes That Could Be Ruining Your Grass 6 Most Common Lawn-Watering Mistakes That Could Be Ruining Your Grass
  • A conceptual gouache and ink illustration of an open microwave on a kitchen counter, with stylized gold sparks radiating from its dark inter Never Use Your Microwave for These 6 Things
  • An ink and watercolor illustration of a house protected from crumbling stone legal documents by a giant county recorder seal. HOAs That Don’t File Properly Lose Their Right To Collect Attorney’s Fees or Interest on Delinquent Accounts
  • A modern living room with neutral walls and a dramatic forest green painted ceiling, captured in warm afternoon light. How to Use Color on Just the Ceiling to Completely Transform a Room Without Painting Walls
  • A warm gouache illustration of a serene, sunlit living room with a linen armchair, potted plant, and neat oak bookshelf. 9 Designer Secrets That Make a Home Feel Calm and Relaxing

Newsletter

Get the latest posts delivered to your inbox.

Related Articles

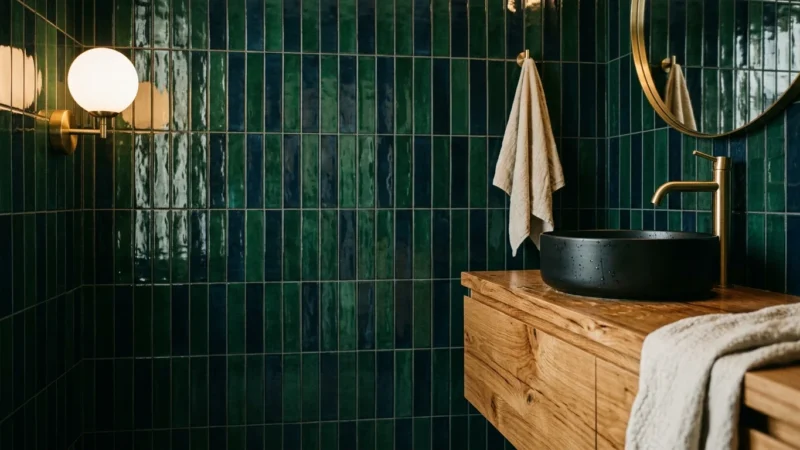
A luxurious bathroom with glossy emerald green and midnight blue vertical tiles behind a warm oak wood vanity with brass fixtures.

Bathroom Tiles in Deep Emerald and Midnight Blue: The Bathroom Trend of 2027

Gloved hands carefully place spacers between glossy midnight blue tiles for a flawless, professional bathroom…

Read More →
bathroom

12 Bathroom Paint Colors that Are Designer-Approved

Forget the usual spa outing! There’s really no better way to treat yourself than by…

Read More →
attic

How to Make Your Attic a Livable Place: 10 Amazing Tips

2. Add flooring to your attic Adding an extra layer will keep the space warmer…

Read More →
home design trends

7 Home Design Trends You’ll See Everywhere Next Year

Check out the hottest home design trends! Trends come and go. This is the natural…

Read More →
bathroom

7 Best Bathroom Design Trends For 2023

With the turn of the calendar page, my thoughts have turned to the newest and…

Read More →
kitchen windows

10 Solutions to Fix Your Drafty Windows

It’s winter, it’s cold, and we can’t stop making hot cocoa and covering ourselves in…

Read More →
A person paints over a dull beige wall with a warm, modern off-white color in a sunlit living room.

7 Paint Color Trends We Hope Don’t Come Back This Year

A hand carefully applies white paint to window trim, helping a room move past outdated…

Read More →
stainless steel

8 Cleaning Products You Shouldn’t Use on Stainless Steel

We’ve got sinks, stoves, refrigerators, and dishwashers. All of these have two things in common:…

Read More →
rodent problem

9 Plants that Keep Rodents Away from Your Home

These Plants Will Scare Away the Rodents: It’s always extremely worrisome when you have mice…

Read More →
The American House

Inedit Agency S.R.L.
Bucharest, Romania

contact@theamericanhouse.com

Explore

  • Privacy Policy
  • Terms and Conditions
  • Do not sell my personal information
  • Subscribe
  • Unsubscribe
  • Contact
  • Request to Know
  • Request to Delete
  • CA Private Policy

Categories

  • DIY
  • Expert Tips
  • Garden
  • Home
  • Tips & Tricks

© 2026 The American House. All rights reserved.