The American House
  • Home
  • DIY
  • Garden
  • Tips & Tricks
  • Expert Tips
Home / Home

9 Homes Features That Feel Outdated To Younger Buyers

May 13, 2026 · 14 min read
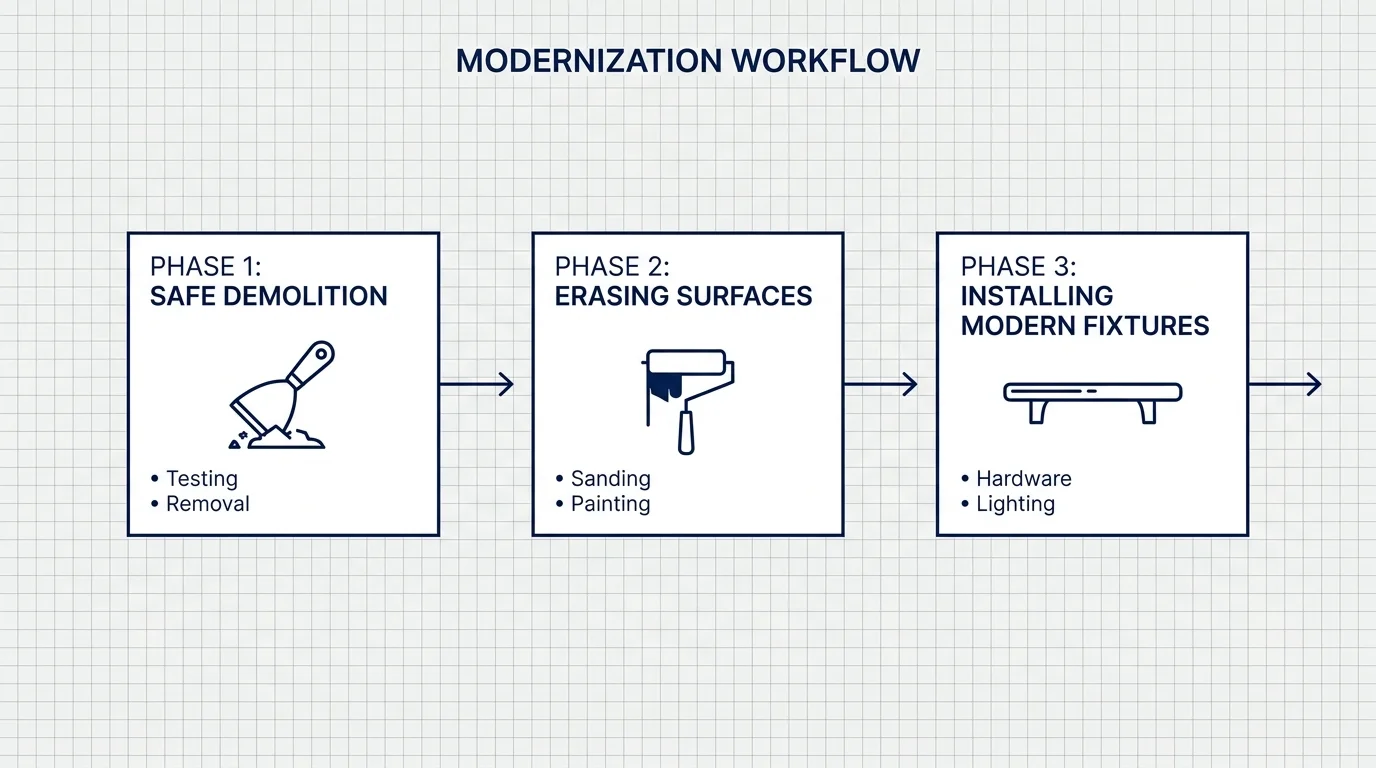
A horizontal flowchart showing the three phases of home renovation: Demolition, Surface Erasing, and Fixture Installation.
Follow this modernization workflow to transform outdated features through demolition, surface preparation, and new fixtures.

Step-by-Step Instructions

Updating your home requires a strategic approach. Start with the messiest projects first, so you do not accidentally ruin your fresh paint jobs or new flooring later. Work room by room if you currently live in the house, or tackle tasks by category if the property sits empty.
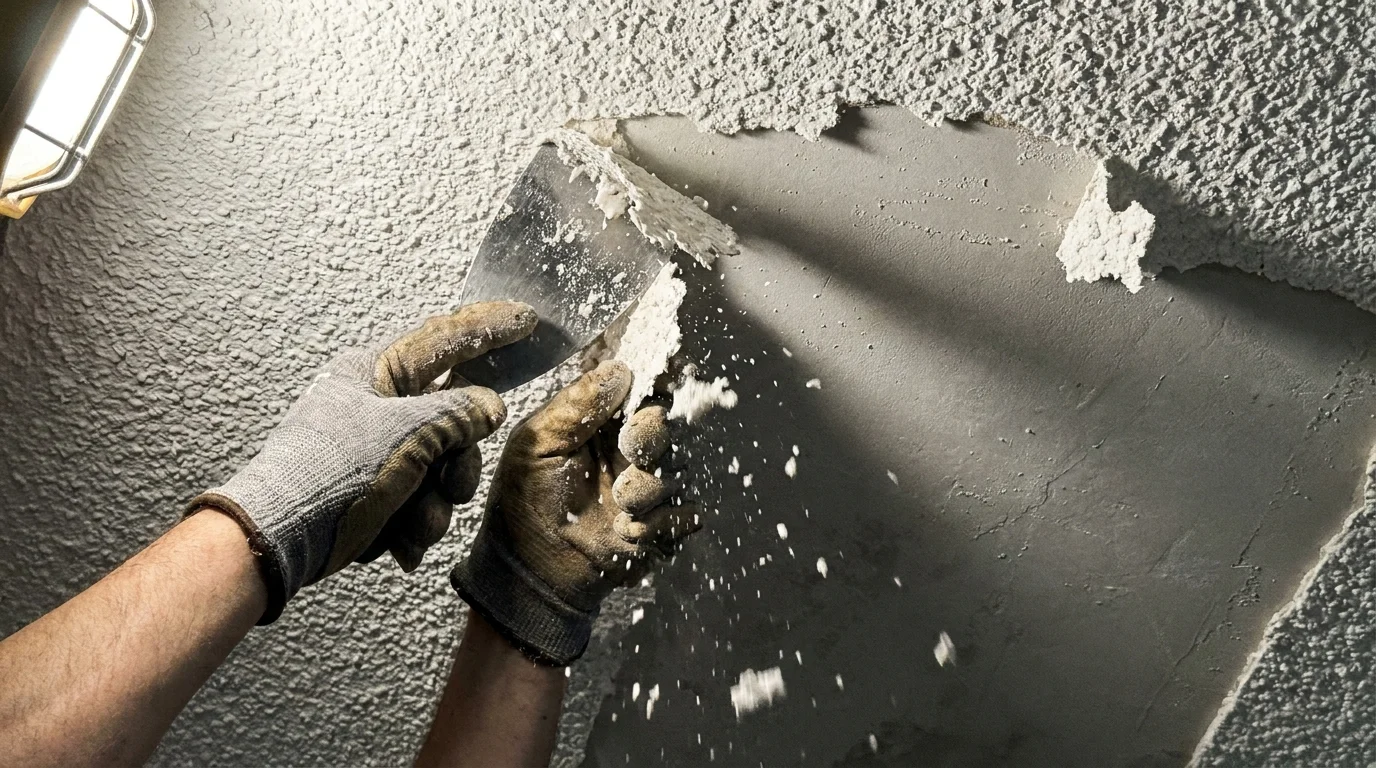
A close-up of a gloved hand using a metal scraper to remove a popcorn ceiling texture.
Scraping away outdated popcorn ceiling texture is the first step toward clearing the canvas for modern design.

Phase 1: Safe Demolition and Clearing the Canvas

Begin by removing the visual clutter that blocks natural light. Take down all heavy window valances, ornate drapery, and rusted curtain rods. Patch the drywall holes immediately with a lightweight spackle, sanding them smooth once dry. Next, tackle the flooring. If you are removing wall-to-wall carpeting, use a utility knife with a fresh blade to slice the carpet into manageable three-foot strips. Roll the strips up and secure them with duct tape for easy disposal. Use a heavy pry bar and pliers to carefully pull up the wooden tack strips around the perimeter of the room, taking care not to damage the baseboards. Sweep and vacuum the exposed subfloor thoroughly.

If your asbestos test returns negative, you can safely remove your popcorn ceilings. Protect your floors with thick plastic drop cloths taped securely to the baseboards. Fill your pump sprayer with warm water and a few drops of dish soap. Work in small, four-foot sections. Spray the ceiling lightly and wait fifteen minutes for the water to dissolve the underlying joint compound. Slide your wide drywall knife at a shallow angle along the ceiling; the popcorn texture should fall away like wet oatmeal. If you encounter heavy resistance, the ceiling may have been painted over in the past. Painted popcorn ceilings resist water and often require professional drywall skimming to cover the texture safely.
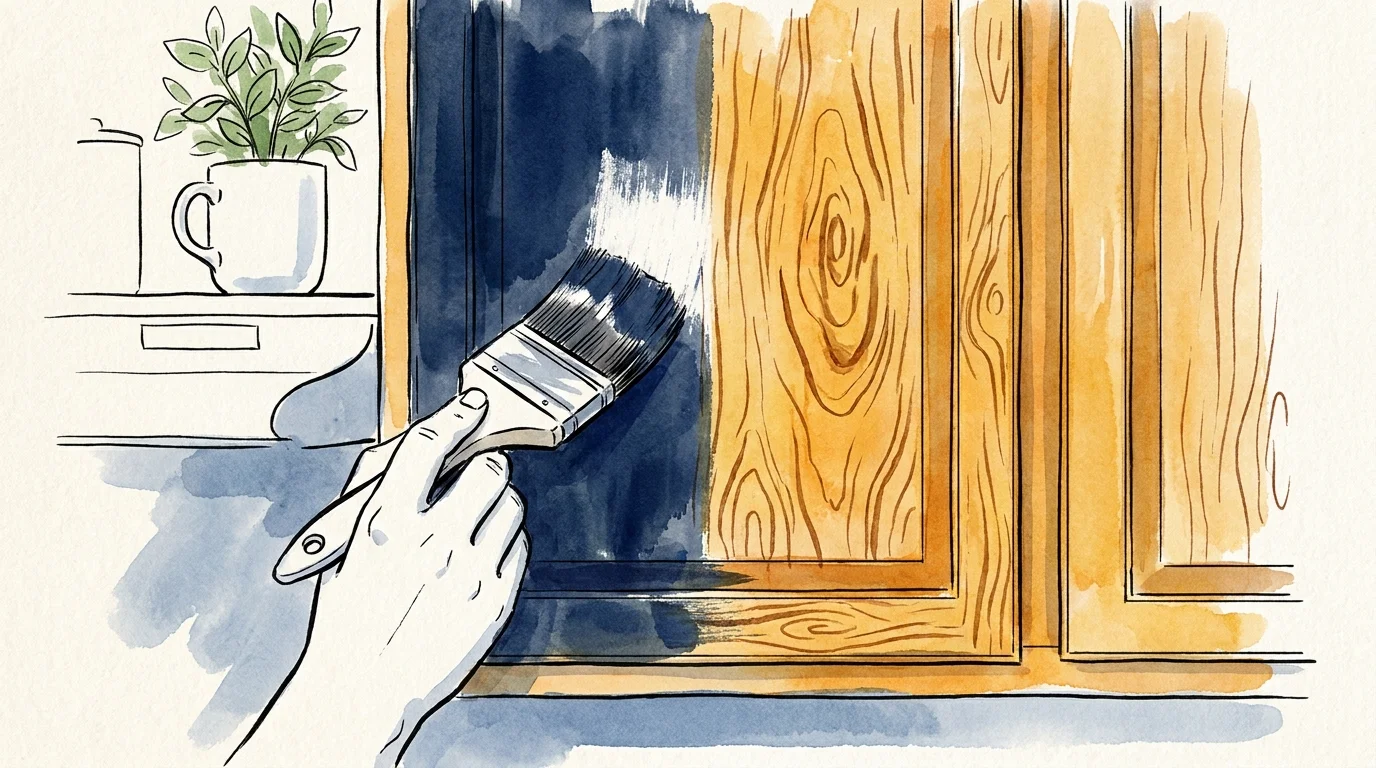
An illustration showing a kitchen cabinet being painted navy blue to cover outdated honey oak wood grain.
A hand applies a fresh coat of dark blue paint to modernize these outdated wood cabinets.

Phase 2: Erasing Outdated Surfaces

With the demolition complete, shift your focus to neutralizing outdated paint jobs and heavy wood tones. To eliminate faux Tuscan sponging or deep, aggressive wall colors, you cannot simply roll standard latex paint over the wall. The texture and dark pigment will flash through. First, sand the walls lightly with a pole sander to knock down any raised paint edges left by the sponge or rag rolling. Wipe the walls completely free of dust. Apply one solid coat of a high-hiding stain-blocking primer. Once dry, roll on two coats of a modern, neutral flat or matte wall paint to absorb light and hide any lingering drywall imperfections.

Updating honey oak cabinets demands patience. Remove all cabinet doors and drawer fronts, labeling the back of each piece with a piece of painter tape so you know exactly where it goes later. Clean every surface aggressively with your degreaser to remove decades of cooking oils and hand oils. Lightly sand the doors with 120-grit paper to scuff the glossy clear coat. Apply your shellac-based primer, brushing in the direction of the wood grain. Wait two hours, sand lightly with 220-grit paper, and wipe away the dust. Finally, apply two thin, even coats of your urethane enamel paint. Keep the doors laying flat while drying to prevent unsightly paint drips from running down the recessed panels.
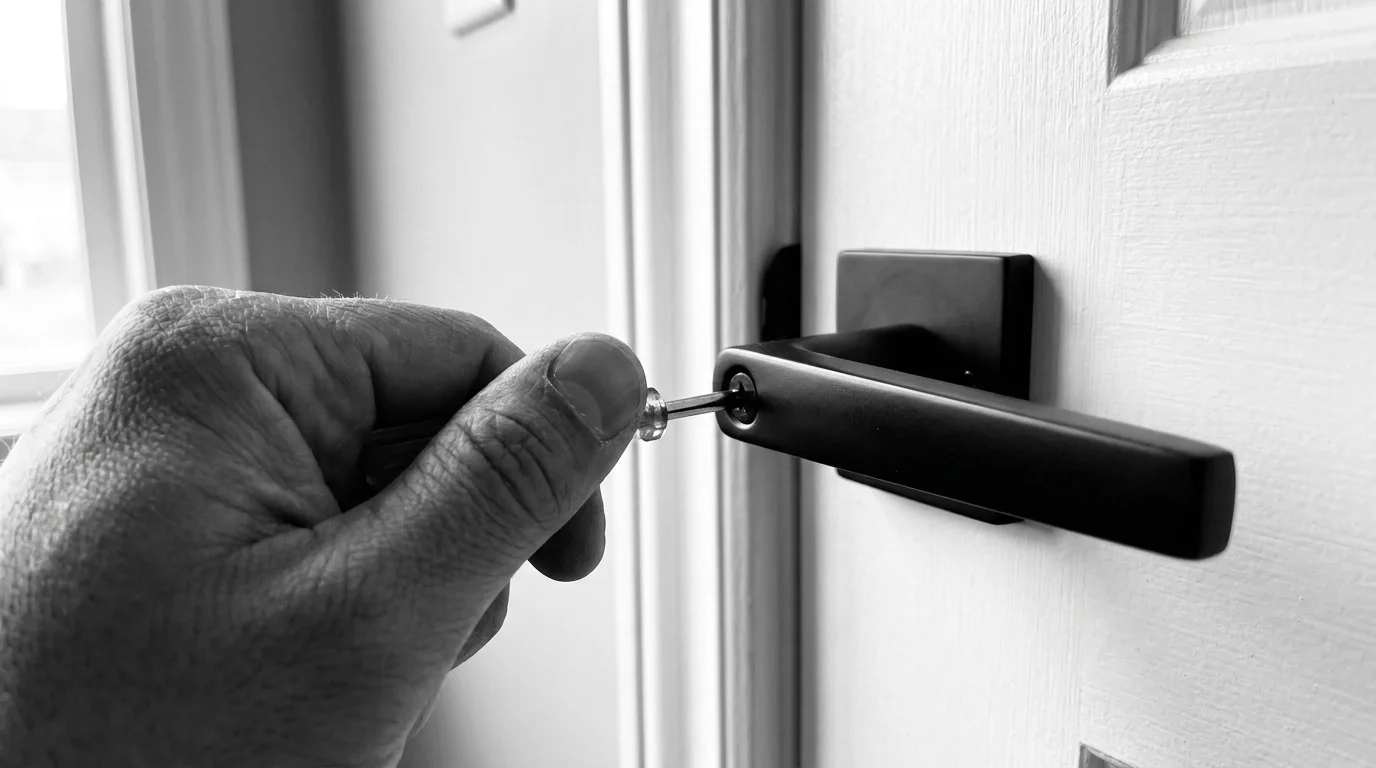
A close-up of a hand installing a modern matte black door handle on a white door.
A hand uses a screwdriver to install a sleek matte black handle for a modern home upgrade.

Phase 3: Installing Modern Fixtures and Hardware

Swapping out outdated brass hardware provides an immediate visual reset. If your new cabinet pulls feature the exact same hole spacing as the old ones, installation takes mere minutes. If you are switching from single-hole knobs to wider pulls, use your plastic hardware template to mark the exact location for the second hole. Drill straight through the wood, holding a scrap piece of wood tightly against the back of the door to prevent the drill bit from splintering the interior face of the cabinet. Attach the new matte black or brushed nickel handles securely.

Replacing builder-grade dome lights dramatically improves both the look and functionality of your space. Always prioritize safety: locate your main electrical panel and completely shut off the breaker controlling the room you are working in. Do not rely merely on the wall switch. Climb your ladder and use your non-contact voltage tester near the light fixture to verify the power is genuinely dead. Remove the old fixture by unscrewing the mounting canopy and untwisting the wire nuts. Have a helper hold the new, modern flush-mount or pendant fixture while you connect the wires. Match the colors—connect the black house wire to the black fixture wire, the white wire to the white wire, and wrap the bare copper ground wire tightly around the green grounding screw on the metal mounting bracket. Twist new wire nuts onto the connections, tuck the wires neatly into the junction box, and secure the new fixture to the ceiling.

Pages: 1 2 3 4 5 6 7 8

Share this article

Facebook Twitter Pinterest LinkedIn Email

Leave a Comment Cancel reply

You must be logged in to post a comment.

Search

Latest Posts

  • Bright living room featuring a beige sofa, wooden coffee table with eucalyptus, fireplace, and hardwood floors. Don't Get Rid of These 10 Things If You Want to Sell Your Home Faster, Realtors Say
  • A plastic bin holding chemicals, batteries, motor oil, and a fluorescent bulb sits on a garage workbench. Before You Throw That Away: 12 Items That Need a Different Kind of Disposal
  • A woman sits at a wooden counter working on a laptop surrounded by paperwork and blueprints in a home under renovation. SALT Deduction Gets an Update for 2026 Taxes - Find More Here!
  • Close-up of hands placing a digital radon detector on a wooden shelf in a sun-drenched, cozy living room. 9 Signs Your Home Needs a Radon Test
  • A close-up photo of a hand touching a fogged-up window with condensation, inside a cozy warmly-lit room. 7 Signs Your Windows Are Losing Energy Efficiency
  • A warm gouache illustration of a backyard wooden deck in late spring with a small bucket of tools, evoking home prep before summer. 8 Signs Your Deck Needs Repairs Before Summer
  • A homeowner using a digital moisture meter to inspect a faint water stain on a living room baseboard. 9 Signs Your Plumbing Has a Hidden Leak
  • A close-up photograph of a deep diagonal crack in a concrete basement wall, illuminated by a harsh low-angle flashlight. 7 Signs Your Foundation Needs a Professional Look
  • A woman wrapped in a blanket on a sofa looks towards a drafty winter window, holding a warm mug in a cozy home. 8 Signs Your Home's Insulation Needs an Upgrade
  • A homeowner shines a flashlight on the rusted base of an old basement water heater, searching for leaks. 9 Signs Your Water Heater Is Nearing the End of Its Life

Newsletter

Get the latest posts delivered to your inbox.

Related Articles

house guests, never do as a houseguest

7 Rude Things You Should Never Do as a Houseguest

If you want to have a pleasant stay with your friends and family, there are…

Read More →

70s Interior Aesthetic: 12 Things No One Sees Today Anymore

The 70s interior aesthetic is the most influential style when it comes to furniture design.…

Read More →
sustainable home renovation projects

6 Sustainable Home Renovation Projects

When you want to renovate, there are a ton of things you need to consider.…

Read More →
A luxurious bathroom with glossy emerald green and midnight blue vertical tiles behind a warm oak wood vanity with brass fixtures.

Bathroom Tiles in Deep Emerald and Midnight Blue: The Bathroom Trend of 2027

Brushed brass fixtures provide a stunning, luxurious contrast against glossy emerald green herringbone tiles. Style…

Read More →
things designers would never buy

Interior Designers Would Never Buy These 7 Things!

When you start renovating your home, there are many things you should consider. Planning a…

Read More →
expensive home

5 Landscaping Ideas to Make Your Home Look More Expensive

Want to make everyone think you have an expensive house? Try these tricks! Most of…

Read More →
Edible Landscaping

Edible Landscaping: 12 Best Plants to Include in Your Garden

Creeping Thyme Thyme is a versatile, fragrant, and delicious herb that tastes amazing in many…

Read More →
house guests, never do as a houseguest

10 Effective Ways to Prepare for House Guests

Have you ever been a house guest and felt really unwelcome? No matter how well…

Read More →
home

Is It Worth Buying a Home in 2025?

As the year just started, it’s a wonderful time to start looking at where the…

Read More →
The American House

Inedit Agency S.R.L.
Bucharest, Romania

contact@theamericanhouse.com

Explore

  • Contact
  • Editorial Policy
  • Advertiser Disclosure
  • FAQ
  • Subscribe
  • Unsubscribe
  • Privacy Policy
  • Terms and Conditions
  • Disclaimer
  • Do not sell my personal information
  • Request to Know
  • Request to Delete
  • CA Private Policy

Categories

  • DIY
  • Expert Tips
  • Garden
  • Home
  • Tips & Tricks

© 2026 The American House. All rights reserved.