Cold tile, stark white porcelain, and sterile lighting often make bathrooms feel more like clinical exam rooms than relaxing retreats. Selecting paint with warm undertones instantly neutralizes those chilly surfaces and wraps your space in welcoming comfort.
You do not need an expensive renovation to achieve a cozy, spa-like atmosphere. A single weekend and the right can of paint will transform your daily routine.
Here are eleven proven designer shades, along with practical prep and application advice, to soften your cold bathroom today.
Project Overview & Why It Matters
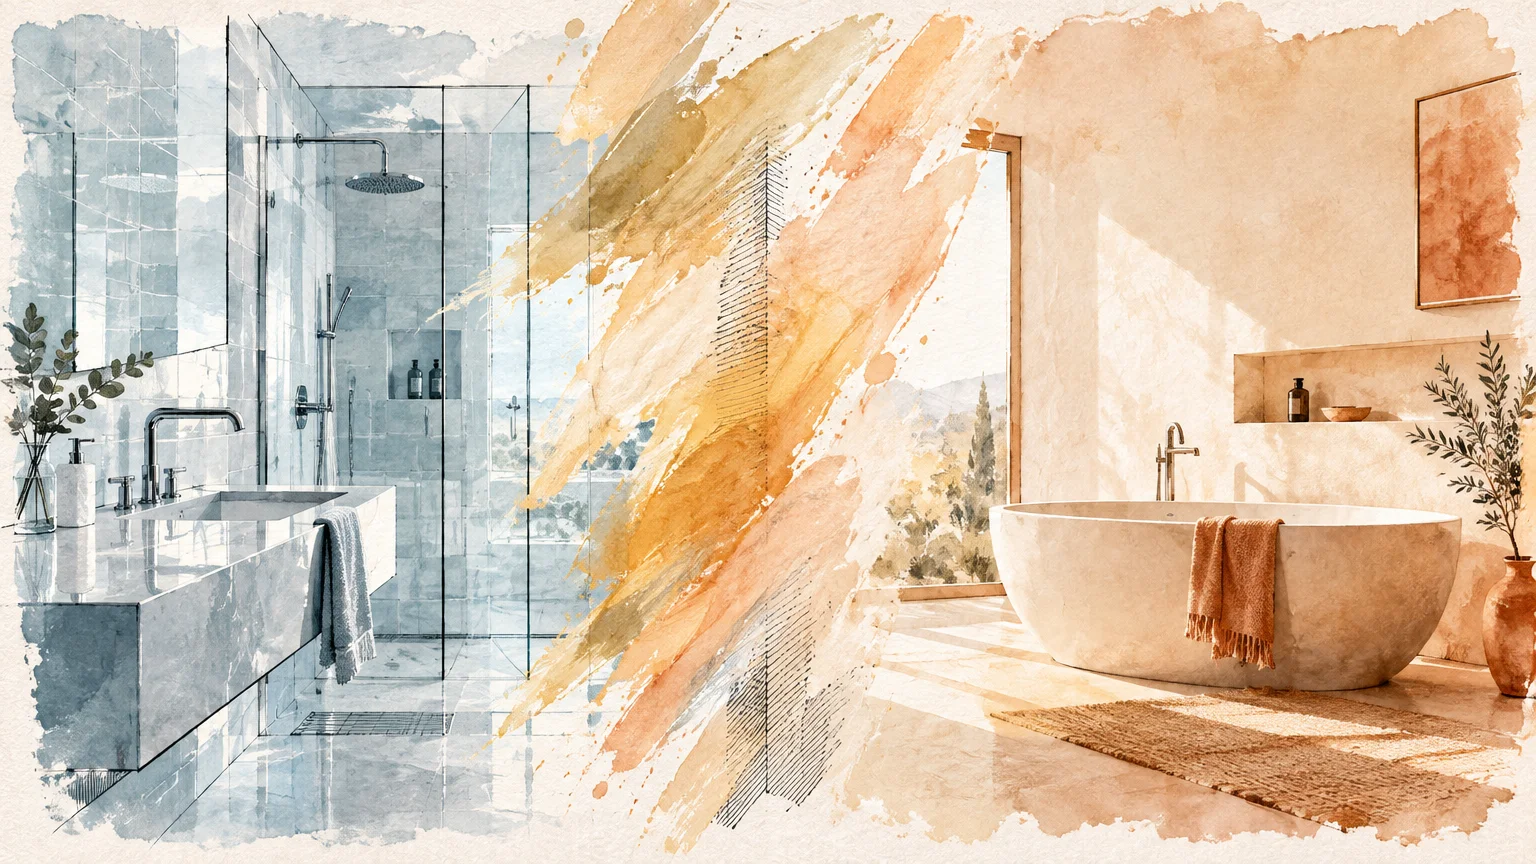
Most modern bathrooms feel chilly because hard, glossy surfaces dominate the room. Glazed ceramic tile, chrome fixtures, glass shower enclosures, and porcelain fixtures naturally bounce cool light across the walls.
Standard builder-grade white paint exacerbates the issue by reflecting blue and gray daylight without returning any warmth. Applying cozy bathroom colors rebalances the visual temperature and makes cold materials look intentional and grounded.
Color temperature operates on subtle undertones rather than overt brightness. A paint shade with peach, gold, red, or beige undertones absorbs harsh glares while reflecting gentle, flattering light onto your skin.
You also improve daily comfort and personal well-being. Stepping into a warm, inviting bathroom helps you ease into busy mornings and unwind peacefully at the end of the day.
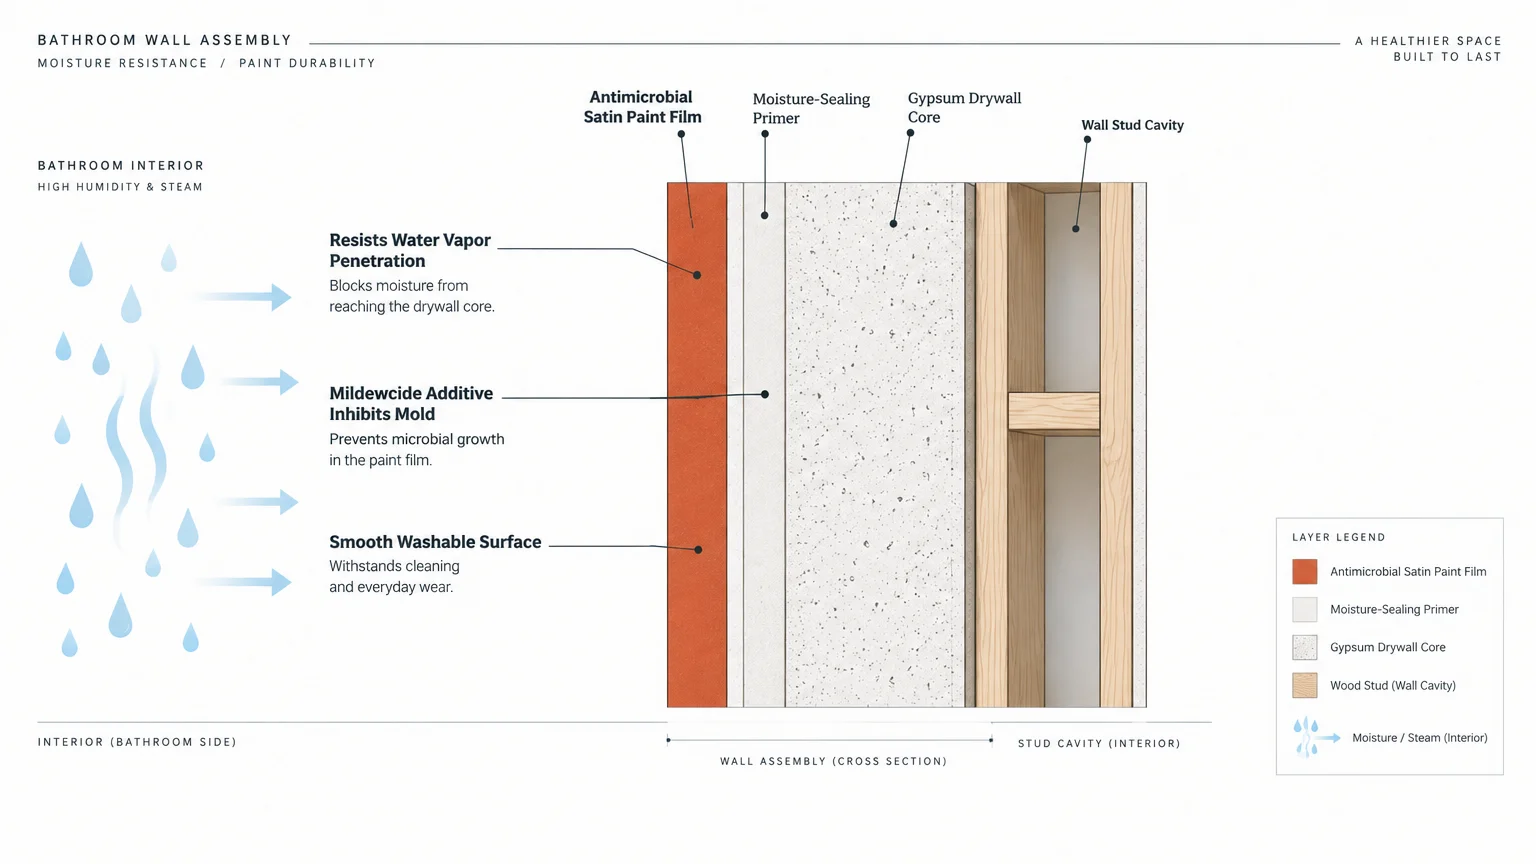
This low-cost upgrade yields an immediate return on your investment. In addition to aesthetic pleasure, high-quality modern bathroom paint seals drywall against moisture damage and prevents unsightly mold growth.
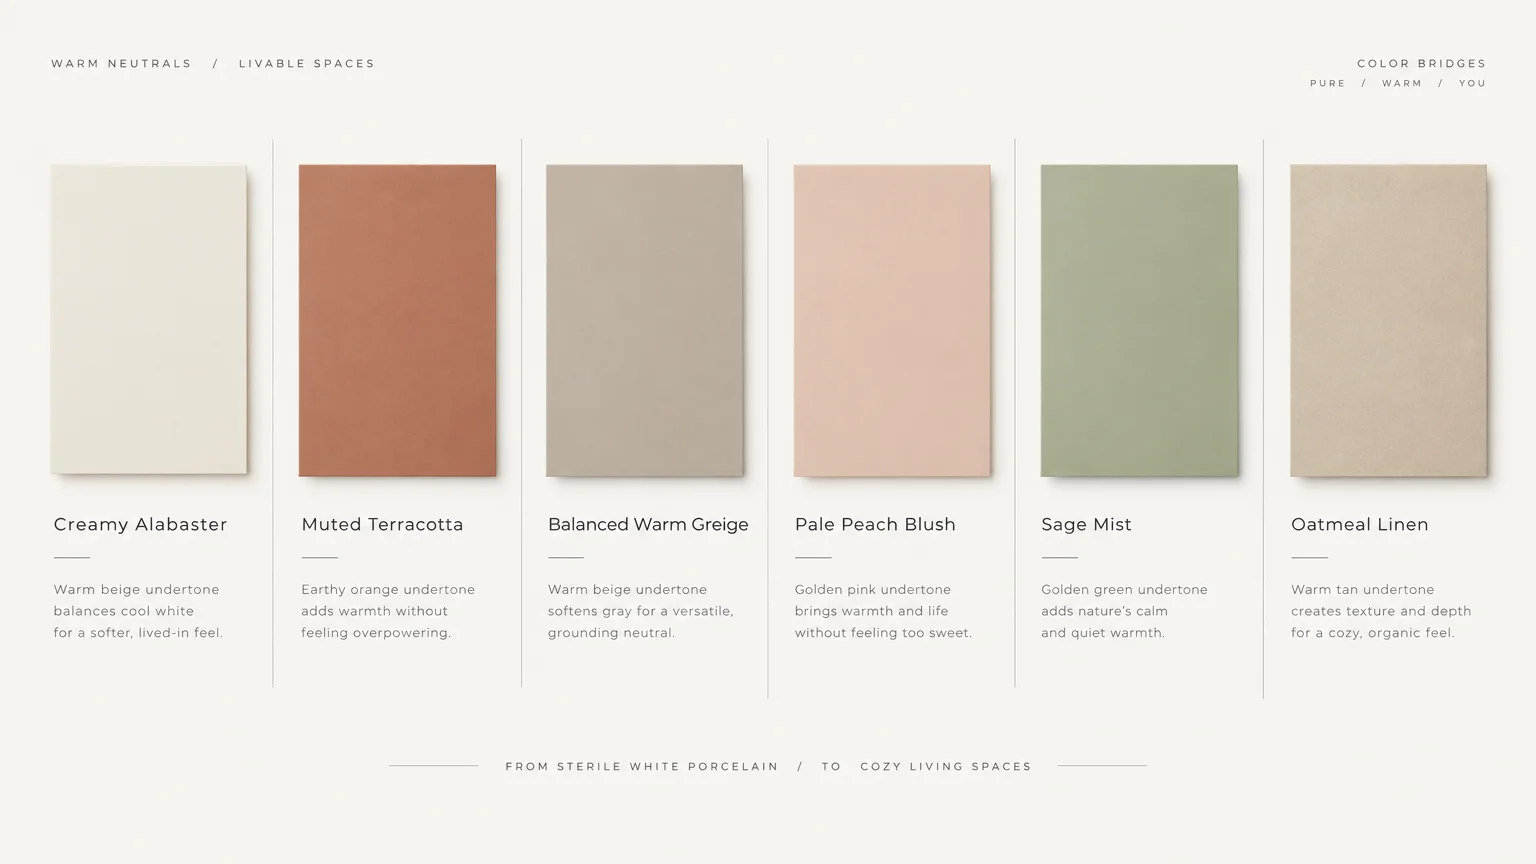
11 Paint Colors That Soften a Cold Bathroom
1. Creamy Alabaster
Creamy alabaster offers the clean simplicity of off-white without the sterile bite of standard gallery white. Its faint beige undertone gently deflects harsh morning daylight while harmonizing with bright white subway tile.
Use this warm neutral paint in north-facing powder rooms or windowless master bathrooms. It reflects plenty of light while remaining exceptionally soft and tactile.
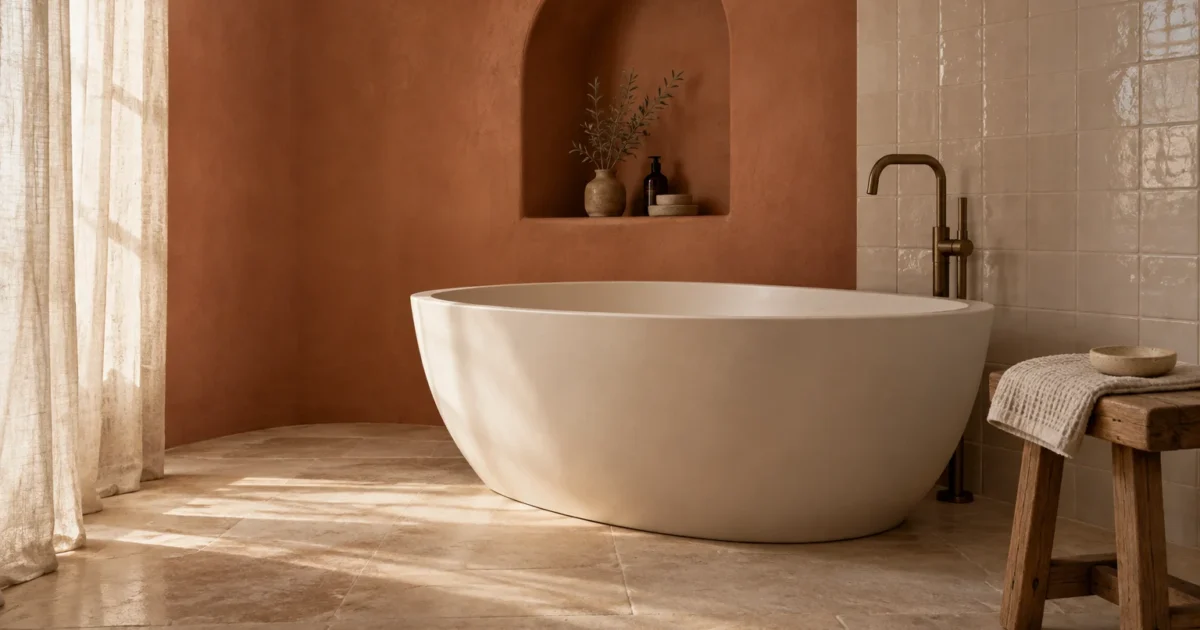
2. Muted Terracotta
Muted terracotta infuses earthy, sun-baked clay warmth directly into clinical spaces. The subtle brown and orange base counteracts cold gray slate flooring and bright polished chrome faucets.
Pair this rich hue with crisp white trim to keep the overall look modern rather than dated. It turns expansive, sterile walls into an intimate, desert-inspired sanctuary.
3. Balanced Warm Greige
Greige bridges the gap between contemporary cool gray and traditional warm beige. By combining gray depth with beige warmth, this shade creates a tranquil, stone-like aesthetic that softens cold marble surfaces.
This shade excels in spaces with changing natural light throughout the day. Check out neutral options from Sherwin-Williams to find balanced formulas that stay cozy under artificial bulbs.
4. Pale Peach Blush
Pale peach blush brings a subtle, flattering glow that makes morning mirror routines much more forgiving. Its golden-pink undertones gently cancel out cold shadows cast by overhead vanity bars.
Unlike bubblegum pink, a muted blush reads as a sophisticated neutral on large surfaces. It pairs seamlessly with brushed brass hardware and warm light wood shelving.
5. Sage Mist with Warm Undertones
Green naturally brings the calming beauty of nature indoors. While mint green feels sharp and cool, sage mist featuring golden undertones envelopes sterile porcelain in earthy tranquility.
This organic shade provides an ideal backdrop for leafy houseplants and light oak vanities. It immediately softens high-contrast black-and-white tile floors.
6. Oatmeal Linen
Oatmeal linen mimics the tactile comfort of raw woven fabrics. Its gentle mix of soft tan and cream prevents white sinks and bathtubs from looking stark or disconnected.
This versatile shade creates an effortless foundation for layered textures like waffle-weave towels and jute rugs. It works reliably in both tiny powder rooms and sprawling en suites.
7. Soft Candlelight Buttercream
Buttercream channels the welcoming glow of an incandescent lamp. This pale, creamy yellow avoids neon territory by leaning heavily on warm beige and ivory pigments.
Choose this uplifting hue if your bathroom lacks exterior windows. It generates the illusion of gentle morning sunlight even in completely enclosed interior spaces.
8. Dusty Mauve
Dusty mauve combines smoky purple with warm brown and rose pigments. This sophisticated hue brings vintage depth to bathrooms dominated by cool white ceramics or pale gray grout.
It creates a luxurious, boutique-hotel mood that feels restorative and grounded. Complement dusty mauve with warm antique brass sconces and deep charcoal accents.
9. Honey Bisque
Honey bisque delivers a richer golden presence than standard beige without overwhelming the senses. Its amber undertone acts like a visual space heater against cool stone countertops and glossy wall panels.
Browse warm interior collections at Benjamin Moore to find richly pigmented variations. It pairs gorgeously with unlacquered brass and natural cedar bath mats.
10. Grounding Khaki Olive
Khaki olive combines muted green with warm yellow-brown undertones. The hue softens hard architectural lines and tempers the stark, clinical glare of cold white porcelain tubs.
Use this deep tone as a dramatic accent wall behind your mirror or wrap the entire room for a moody aesthetic. It provides a grounding contrast against bright white quartz countertops.
11. Caramel Cashmere
Caramel cashmere wraps cold drywall in a lavish, velvety embrace. This medium-depth tan features warm spice notes that eliminate chilly drafts to the eye.
Because of its deeper saturation, this color works best when balanced with bright white ceilings and good lighting. It makes expansive, cavernous bathrooms feel intimate, secure, and serene.
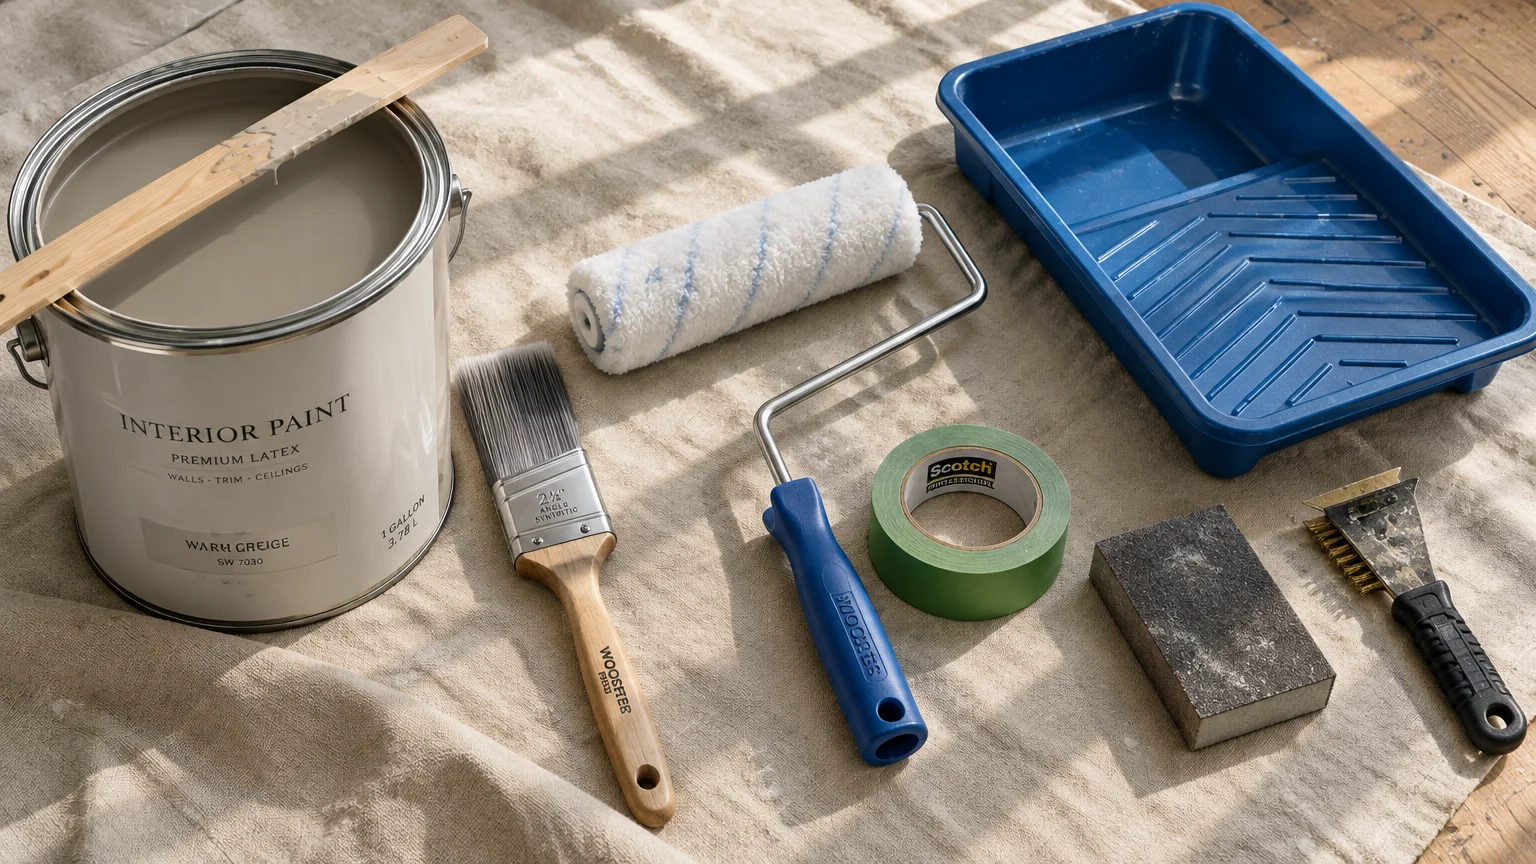
Tools, Materials, and Prep Checklist
Proper tools and thorough prep work make the difference between a rough DIY finish and a pristine, long-lasting transformation. Gather your equipment before dipping your roller into the paint can.
Mildew-resistant bathroom paint: Purchase one gallon of premium paint formulated with anti-microbial additives for every four hundred square feet of wall area.
Bonding primer: Use one gallon of moisture-blocking, stain-inhibiting primer to seal bare drywall repairs and lock out water vapor.
Painter’s tape: Keep two rolls of multi-surface masking tape ready to protect tile edges, trim, light fixtures, and ceilings.
Angled sash brush: Choose a two-inch or two-and-a-half-inch synthetic brush with tapered bristles to cut clean lines along baseboards and inside corners.
Roller assembly: Select a nine-inch roller frame paired with a three-eighths-inch nap microfiber roller cover designed for smooth surfaces.
Drop cloths and trays: Spread heavy canvas drop cloths across floors and fixtures to catch splatters, and use a sturdy plastic-lined paint tray.
Cleaning supplies: Keep sponge pads and a container of trisodium phosphate cleaner on hand to strip soap scum and body oils.
Sanding gear: Stock two sheets of two-hundred-twenty-grit sandpaper and a sanding block to smooth patched wall imperfections before rolling.
Safety equipment: Wear safety glasses and disposable nitrile gloves while washing walls and rolling paint overhead.
According to safety guidance from the CDC, maintaining fresh airflow during indoor painting protects your lungs. Open a window and run an exhaust fan while working.
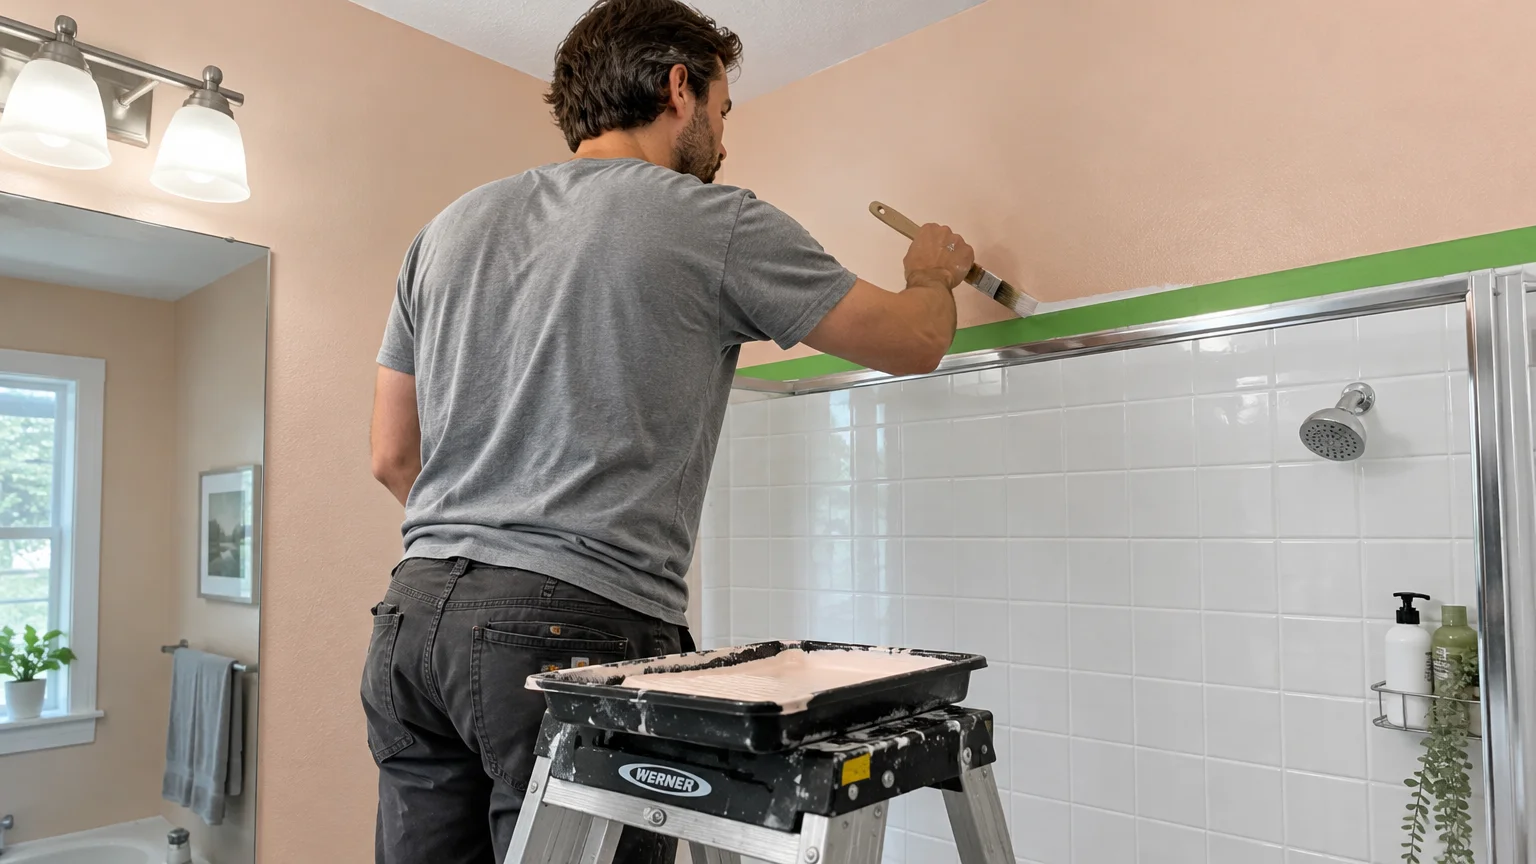
Step-by-Step Instructions
Follow these structured phases to achieve a durable finish that resists high humidity and daily steam.
Phase 1: Deep cleaning and degreasing. Wash every square inch of wall surface with your cleaning solution. Bathrooms accumulate invisible hairspray residue and soap oils that prevent paint from properly sticking.
Allow the cleaned drywall to dry completely for several hours. Attempting to apply primer onto damp surfaces traps moisture deep inside the wallboard.
Phase 2: Patching and masking. Fill tiny nail holes, scrapes, and gouges with moisture-resistant spackling compound using a putty knife.
Once the patch cures, sand it flush with two-hundred-twenty-grit paper and wipe away the residual dust with a damp microfiber cloth.
Apply painter’s tape along the ceiling junction, tile borders, and medicine cabinet edges. Press the tape edges firmly using a clean putty knife to stop paint from bleeding underneath.
Phase 3: Priming the walls. Cut in edges with your angled brush and roll one uniform coat of stain-blocking primer over all bare patches and existing color.
The EPA recommends sealing moisture-prone drywall thoroughly to stop mold spores from establishing roots beneath paint film.
Phase 4: Cutting and rolling paint. Cut in the top border and corners with your chosen warm bathroom paint colors using confident, steady strokes.
Load your roller evenly and paint in continuous vertical sections, working in gentle overlapping patterns to maintain a wet edge. Avoid pressing down too hard on the roller frame, which creates heavy side ridges.
Phase 5: Second coat and tape removal. Wait between two and four hours for the first coat to dry before rolling the second layer. Pull the painter’s tape away at a forty-five-degree angle while the final coat remains slightly wet.
Troubleshooting: If you spot roller marks after drying, lightly sand the ridges smooth and roll a thin, continuous finish coat from ceiling to baseboard.
If paint bubbles develop immediately, moisture was trapped beneath the surface. Scrape the blistered section flat, allow the spot to dry thoroughly, re-prime, and repaint.
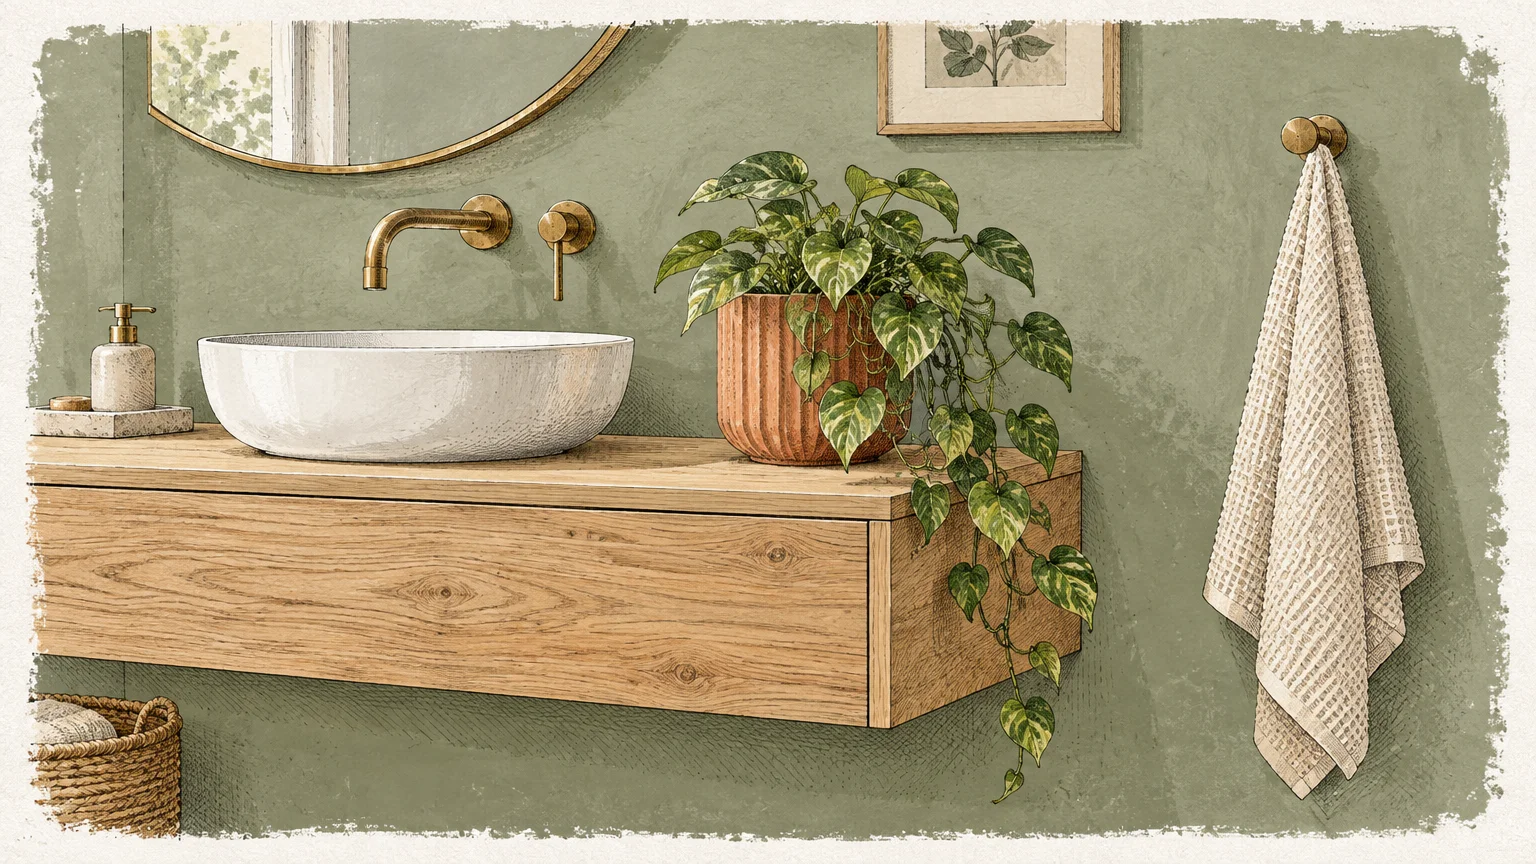
Style & Finishing Touches
A fresh coat of warm neutral paint serves as your canvas, but finishing touches tie the whole room together. Layering compatible textures and warm accents multiplies the welcoming effect of your paint.
Swap out cool, clinical LED bulbs with warm-white bulbs rated between twenty-seven hundred and three thousand Kelvin. Harsh blue daylight bulbs will cancel out the warmth in your newly painted walls.
Replace cold chrome cabinet pulls and switch plates with warm brushed brass, champagne bronze, or matte black hardware. These richer metal tones echo the cozy undertones on your walls.
Introduce organic elements to temper hard porcelain and glass surfaces. Solid wood floating shelves, woven rattan storage baskets, and cedar bath mats bring tactile comfort to slippery floors.
Budget upgrade under fifty dollars: Replace your shower curtain with a waffle-weave cotton curtain in warm cream. Add a pair of plush, earth-toned hand towels to your vanity rail.
Budget upgrade under one hundred fifty dollars: Install a warm-toned framed mirror over your sink and swap out existing plastic switch covers for solid metal plates from The Home Depot.
Budget upgrade under three hundred dollars: Install a modern dimmable vanity light fixture and mount two natural wood floating shelves above the toilet for decorative pottery and rolled towels.
Maintenance & Long-Term Care
Bathroom paint endures more punishment from moisture, temperature swings, and cleaning products than paint in any other room. Proper maintenance preserves your warm finish for years to come.
Always operate your bathroom exhaust fan during showers and leave it running for twenty minutes after you finish. This clears lingering airborne moisture before water droplets penetrate your paint film.
Clean your walls gently using a soft sponge dampened with warm water and a small drop of mild dish soap. Never use scouring pads, abrasive powders, or bleach-based sprays on painted drywall.
Wipe down pooling condensation promptly if water collects on wall surfaces during humid summer months or long winter baths. Persistent moisture droplets can cause mineral spotting and dull your paint finish.
Inspect your caulking seams along baseboards, countertops, and shower enclosures twice each year. Promptly re-caulk separating joints with silicone sealant to stop hidden water intrusion behind your painted surfaces.
Store leftover paint in a sealed container kept in a climate-controlled room rather than a cold garage. You can easily touch up minor scuffs using a foam dabber brush.
FAQ
What paint sheen softens a cold bathroom while resisting moisture?
Satin and semi-gloss finishes resist humidity best, but high gloss highlights surface flaws and reflects cold light harshly. Modern satin or bathroom-specific eggshell finishes deliver the perfect blend of moisture protection and soft, gentle reflection.
Will warm paint colors make a small bathroom feel cramped?
Warm colors with high Light Reflectance Values soften boundaries without shrinking your visual space. Soft shades like creamy alabaster, pale peach blush, and oatmeal linen bounce natural light freely while feeling cozy rather than claustrophobic.
Do I need a specialty bathroom paint or can I use standard wall paint?
You should always choose a paint specifically labeled for bathrooms or high-moisture spaces. These formulas incorporate specialized antimicrobial agents that prevent mildew growth on the paint film.
How long must I wait after painting before taking a hot shower?
Wait at least twenty-four to forty-eight hours before exposing freshly painted bathroom walls to heavy steam. While paint dries to the touch in hours, full cure takes several days to resist moisture damage.
How do I know if my bathroom needs a professional painter?
Tackle simple cosmetic repainting yourself if the drywall remains sound. If you notice extensive drywall water damage, peeling plaster, or spreading black mold, consult a licensed contractor for remediation before applying paint.
Takeaway & Next Steps
Transforming a sterile, chilly bathroom does not require tearing out tile or replacing expensive plumbing fixtures. Painting your walls with warm, light-diffusing shades turns cold surfaces into an inviting sanctuary.
First action: Examine your bathroom lighting and switch out cool blue bulbs for warm-white options that complement warm undertones.
Second action: Pick up sample pots of your three favorite shades and paint large test swatches directly on different walls to observe them throughout the day.
Third action: Clean your walls with a degreasing agent and tape off your trim so you can roll paint smoothly over the weekend.
Have you completed your own bathroom transformation? Share your before-and-after project photos with our community or subscribe to our newsletter for weekly home renovation guides and design inspiration.