The American House
  • Home
  • DIY
  • Garden
  • Tips & Tricks
  • Expert Tips
Home / Expert Tips

10 Accent Colors That Will Still Look Right in a Decade

July 3, 2026 · 12 min read
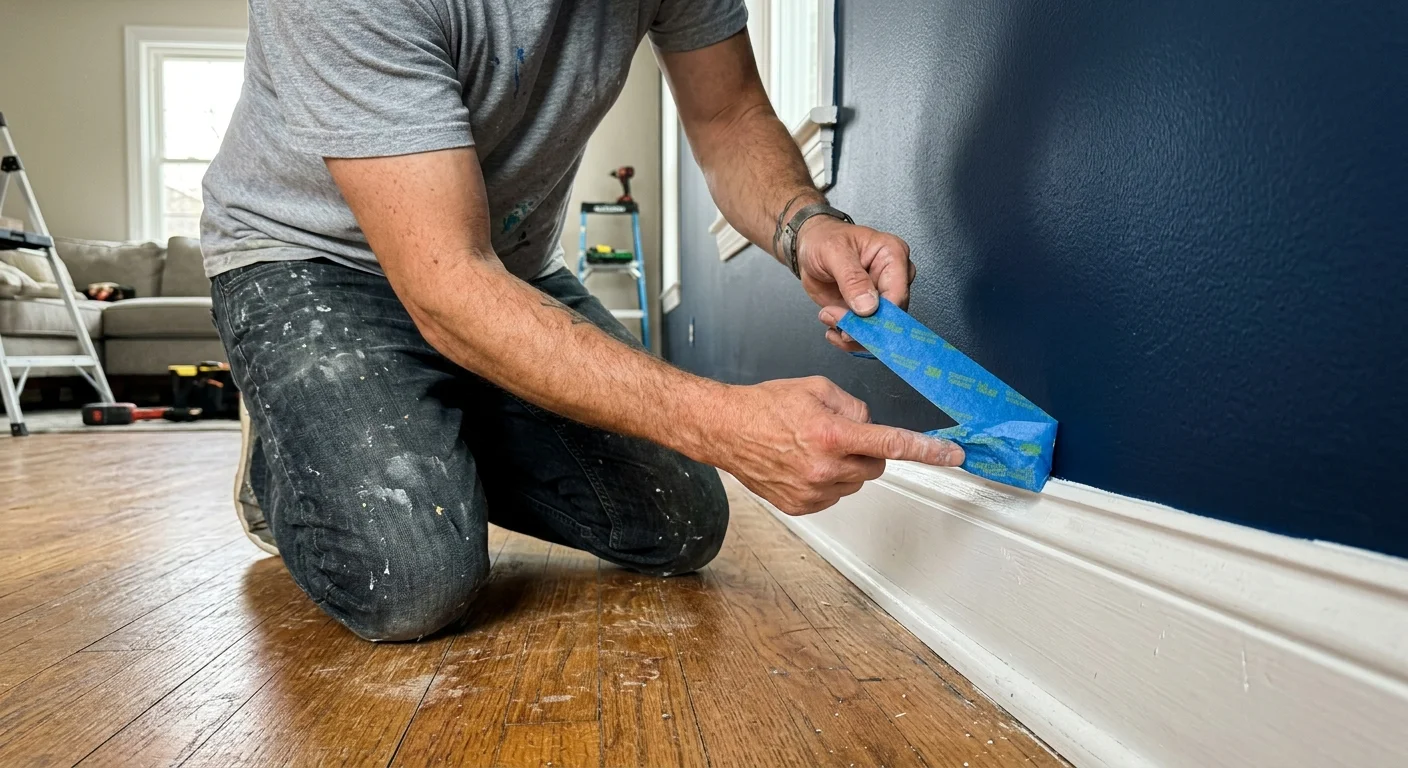
A close-up photograph of hands peeling blue painter's tape off a white baseboard to reveal a clean line of navy blue paint.
Carefully applying painter’s tape along the baseboard ensures crisp lines for a timeless navy accent wall.

Step-by-Step Instructions

Executing a flawless accent wall requires patience and a systematic approach. Rushing the application process often leads to visible lap marks, uneven coverage, and peeling edges.

Step One: Apply the Primer

Do not skip the primer, especially if you are transitioning from a dark wall to a lighter shade, or vice versa. Pour your primer into a lined tray and use your angled brush to cut in along the ceiling, baseboards, and corners. Work in manageable three-foot sections. Switch to your roller, attach the extension pole, and apply the primer to the main body of the wall using overlapping W-shaped motions. Allow the primer to dry for at least four hours.

Step Two: Cut in the Accent Color

Open your selected paint and stir it thoroughly with a wooden stick to blend the pigments from the bottom of the can. Dip your angled brush into the paint, loading only the bottom third of the bristles. Carefully cut in a continuous two-inch border around the perimeter of your accent wall. Keep a damp rag in your pocket to immediately wipe away any accidental smudges on adjacent walls or trim before the paint dries.

Step Three: Roll the Field

Load your roller evenly by rolling it back and forth in the shallow end of the paint tray until it is fully saturated but not dripping. Start at one top corner of the wall and roll downward in a smooth, continuous column. Overlap each subsequent pass by roughly fifty percent to maintain a wet edge; this specific technique prevents visible lap marks once the paint cures. Apply gentle, consistent pressure rather than forcing the roller heavily into the drywall.

Step Four: Add the Second Coat and Remove Tape

Wait for the manufacturer’s recommended recoat time—typically two to four hours—before applying a second coat using the exact same cutting and rolling techniques. A second coat ensures rich, true-to-swatch color payoff. While the second coat remains slightly damp to the touch, carefully score the edge of your painter’s tape with a sharp utility knife and peel it back slowly at a 45-degree angle. Waiting for the paint to cure entirely before removing the tape often causes your fresh color to rip off in jagged strips.

Pages: 1 2 3 4 5 6 7

Share this article

Facebook Twitter Pinterest LinkedIn Email

Leave a Comment Cancel reply

You must be logged in to post a comment.

Search

Latest Posts

  • Bright living room featuring a beige sofa, wooden coffee table with eucalyptus, fireplace, and hardwood floors. Don't Get Rid of These 10 Things If You Want to Sell Your Home Faster, Realtors Say
  • A plastic bin holding chemicals, batteries, motor oil, and a fluorescent bulb sits on a garage workbench. Before You Throw That Away: 12 Items That Need a Different Kind of Disposal
  • A woman sits at a wooden counter working on a laptop surrounded by paperwork and blueprints in a home under renovation. SALT Deduction Gets an Update for 2026 Taxes - Find More Here!
  • Close-up of hands placing a digital radon detector on a wooden shelf in a sun-drenched, cozy living room. 9 Signs Your Home Needs a Radon Test
  • A close-up photo of a hand touching a fogged-up window with condensation, inside a cozy warmly-lit room. 7 Signs Your Windows Are Losing Energy Efficiency
  • A warm gouache illustration of a backyard wooden deck in late spring with a small bucket of tools, evoking home prep before summer. 8 Signs Your Deck Needs Repairs Before Summer
  • A homeowner using a digital moisture meter to inspect a faint water stain on a living room baseboard. 9 Signs Your Plumbing Has a Hidden Leak
  • A close-up photograph of a deep diagonal crack in a concrete basement wall, illuminated by a harsh low-angle flashlight. 7 Signs Your Foundation Needs a Professional Look
  • A woman wrapped in a blanket on a sofa looks towards a drafty winter window, holding a warm mug in a cozy home. 8 Signs Your Home's Insulation Needs an Upgrade
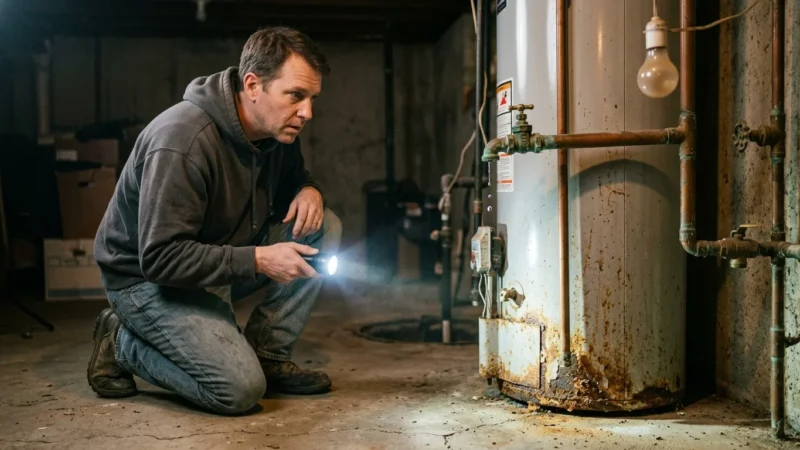
  • A homeowner shines a flashlight on the rusted base of an old basement water heater, searching for leaks. 9 Signs Your Water Heater Is Nearing the End of Its Life

Newsletter

Get the latest posts delivered to your inbox.

Related Articles

tools, tool kit, declutter your garage

8 Useful Tools You Need For Most DIY Projects

What is a DIY project exactly? Frankly, there are a lot of answers to that…

Read More →

7 Bedroom Design Trends That Will Be Big in 2024

The American House presents: bedroom design trends that will be big in 2024! The new…

Read More →
Carpet Stains

How to Remove Stains From Your Carpet in Just 5 Minutes

What Is the Fastest Way to Get Stains Out Of Your Carpet? If you know…

Read More →
landscape

10 Low-Maintenance Plants for Busy Homeowners

If your life is completely driven by a hectic schedule, and you barely find the…

Read More →
Furniture makeover ideas

8 Stunning DIY Furniture Makeover Ideas

Are you looking for some furniture makeover ideas? Most of us have used up, old…

Read More →
Close-up of a modern roof split between textured dark slate tiles and sleek charcoal standing-seam metal during golden hour.

9 Roofing Materials Compared for Longevity and Cost

Master the basics of roof installation with these three steps: decking, underlayment, and shingles. Step-by-Step…

Read More →
Homeowner's vacation checklist

Homeowner’s Vacation Checklist: Don’t Forget to Do These 10 Basic Things

Before heading to your next getaway, read this homeowner’s vacation checklist to ensure you leave…

Read More →

Craving for Sahara? Here Are 14 Desert Landscaping Ideas

I’m sorry to break this to you. Desert landscapes are the THING right now; if…

Read More →
low-maintenance houseplants

10 Best Low-Maintenance Houseplants

Perhaps you’ve previously had an indoor plant that suddenly turned into a yellowing, wilting embarrassment.…

Read More →
The American House

Inedit Agency S.R.L.
Bucharest, Romania

contact@theamericanhouse.com

Explore

  • Contact
  • Editorial Policy
  • Advertiser Disclosure
  • FAQ
  • Subscribe
  • Unsubscribe
  • Privacy Policy
  • Terms and Conditions
  • Disclaimer
  • Do not sell my personal information
  • Request to Know
  • Request to Delete
  • CA Private Policy

Categories

  • DIY
  • Expert Tips
  • Garden
  • Home
  • Tips & Tricks

© 2026 The American House. All rights reserved.