Step-by-Step Instructions
Preparation dictates the quality of your finish. Start by removing all lightweight furniture from the room and pushing heavy pieces to the center, covering them entirely with plastic sheeting. Lay your canvas drop cloths securely over the flooring. If your ceiling features a light fixture or a ceiling fan, turn off the breaker for that room, remove the fixture canopy, and wrap the exposed housing in plastic. You must never paint around a fixture canopy, as it creates an uneven ridge that will be visible if you ever replace the light.
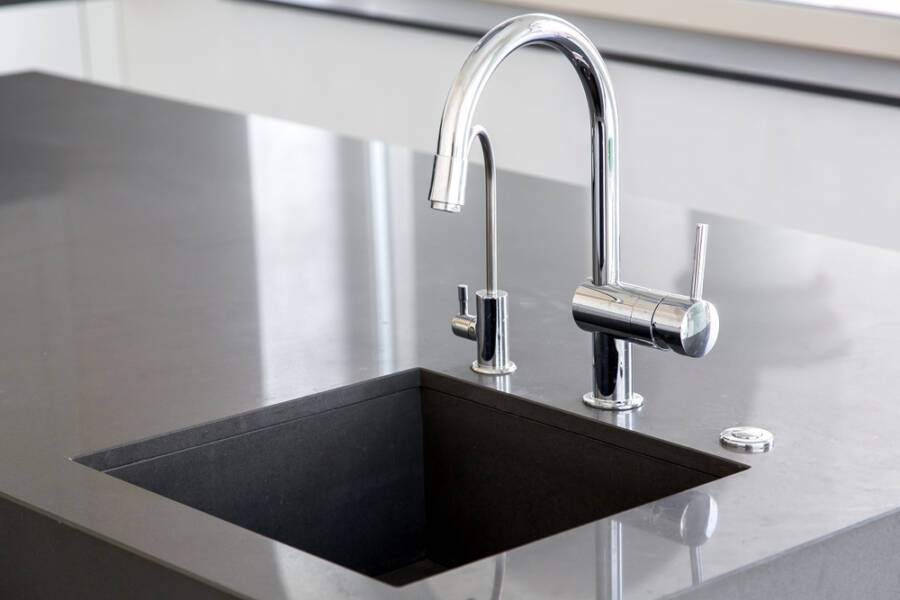
Next, clean the surface. Mix your TSP cleaner with warm water according to the package directions, wring out your sponge until it is barely damp, and gently wipe down the ceiling. This step is particularly vital in kitchens and bathrooms where airborne grease and hairspray accumulate. Once the ceiling dries, inspect the drywall for nail pops or settling cracks. Fill any imperfections with lightweight spackle, let it dry, and sand it completely flush. Wipe away the sanding dust with a microfiber cloth.
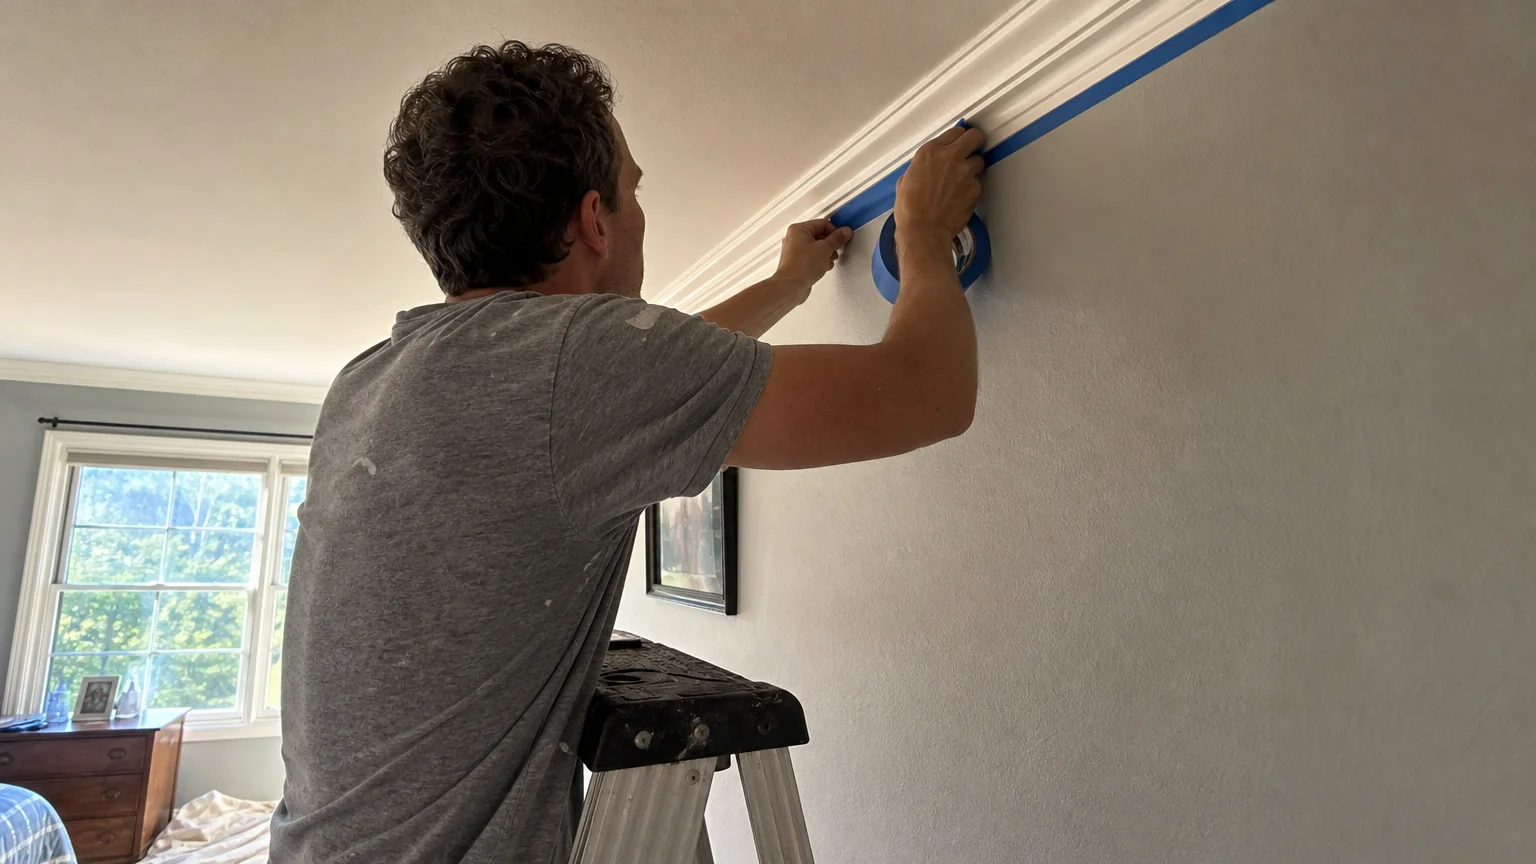
Now you are ready to cut in. Pour a few inches of paint into a handy pail, climb your ladder safely, and use your angled brush to paint a three-inch border along the perimeter of the ceiling. Work in small sections—roughly four-foot lengths—so the cut-in line remains wet when you begin rolling. Maintaining a wet edge prevents the paint from flashing, which is the industry term for visible overlap marks.
With the perimeter established, attach your roller frame to your extension pole and load it with paint from your tray. Roll the ceiling in three-foot by three-foot sections. The most critical technique here is to roll parallel to your main source of natural light, such as the largest window in the room. Rolling toward the light source hides any subtle roller marks by aligning them with the incoming sunbeams. Apply gentle, even pressure, and always finish your sections by lightly rolling back over the wet paint in a single direction to lay the texture down uniformly. Allow the first coat to dry completely—usually about two to four hours—before applying a mandatory second coat for full coverage.


Leave a Reply
You must be logged in to post a comment.