
Style & Finishing Touches
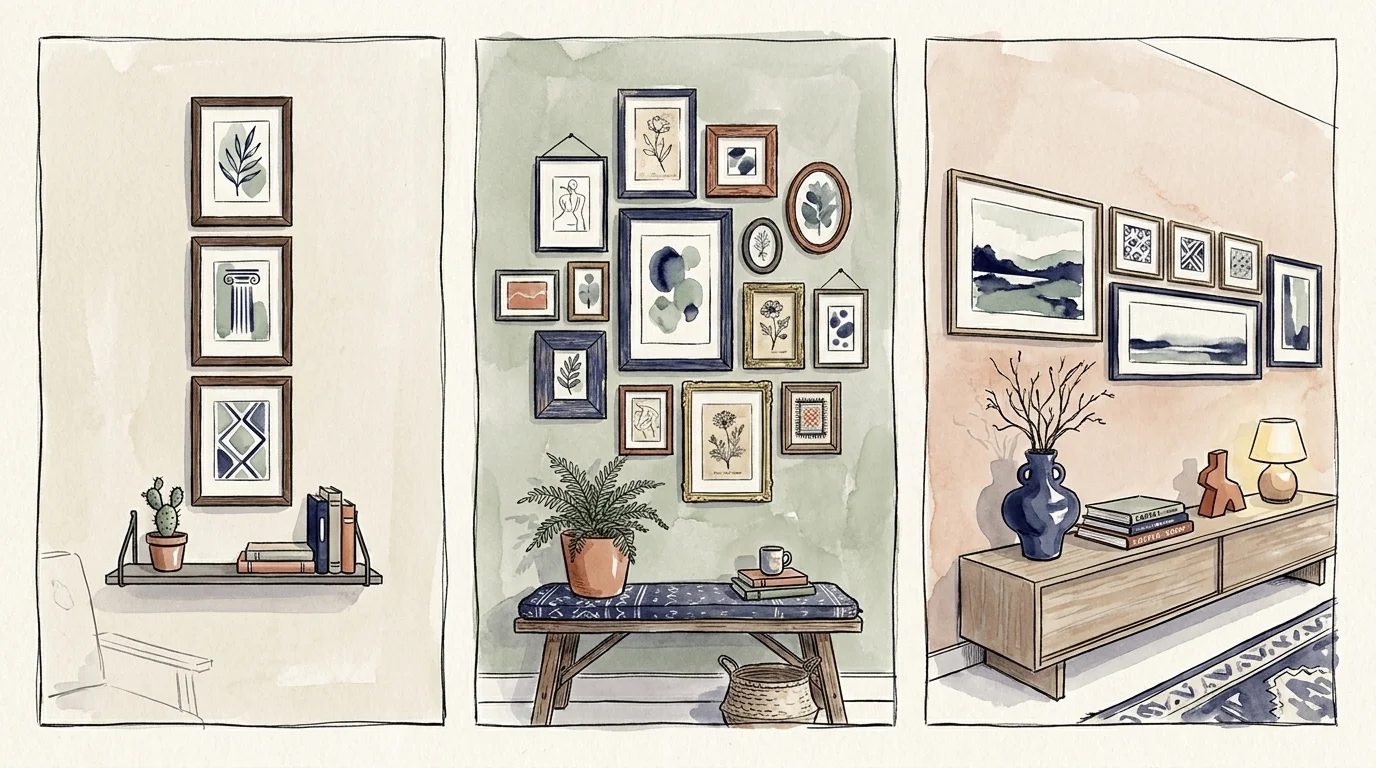
Now that you understand the mechanics of installation, you can explore ten specific layout variations. These proven picture frame layouts turn standard retail frames into a cohesive, designer-level installation.
1. The Symmetrical Grid
Achieve immediate architectural elegance by hanging nine identical frames in a strict three-by-three square. You must use identical black or metallic frames with oversized white mats. Maintain a rigid two-inch gap between every piece. This layout requires patience and a laser level, but the museum-quality result instantly upgrades the perceived value of your home.
2. The Stairway Sweep
Follow the natural incline of your stairs by staggering frames upward. Draw an invisible line parallel to the angle of your stair handrail. Hang the center of each frame along this ascending diagonal line. You maintain visual safety on the stairs by keeping the lowest frames at least ten inches above the actual stair treads.
3. The Eclectic Salon
Mix vintage ornate brass frames with sleek modern wood profiles for a collected-over-time aesthetic. You anchor the center with your largest, most vibrant piece of art, then radiate smaller, mismatched frames outward. Keep the spacing tight—about one and a half inches apart—to make the chaotic mix feel intentional. You can source these unique frames from local thrift stores or architectural salvage yards to keep costs incredibly low.
4. The Bold Triptych
Divide a single high-resolution photograph or massive art print into three separate vertical panels. Frame each panel identically and hang them one inch apart. This combination creates a striking window effect, opening up cramped living rooms and giving the illusion of expansive depth. Many online print shops offer this exact service, allowing you to split a smartphone panorama into high-quality physical panels.
5. The Ledge Layer
Install three shallow floating picture ledges vertically up a wall. Lean a variety of framed pieces against the wall on these shelves, overlapping smaller frames in front of larger ones. This combination removes the need for precision nailing and allows you to swap seasonal artwork in seconds without creating new holes. You can purchase heavy-duty picture ledges from most big-box hardware stores for under forty dollars a piece.
6. The Floor-to-Ceiling Column
Utilize narrow slivers of wall space—like the gap between two tall windows—by stacking identical square frames in a single vertical line from the baseboard to the crown molding. This unexpected placement draws the eye upward, highlighting tall ceilings and making the room feel significantly more spacious. Ensure your baseboard and crown molding remain untouched, leaving a clean three-inch border at both the top and bottom.
7. The Corner Wrap
Bridge two adjoining walls by wrapping a gallery arrangement right through an inside corner. You place complementary frames on both sides of the intersecting walls, maintaining the same grid lines across the gap. You must carefully measure the corner angle to ensure the inner edges of the intersecting frames do not physically collide. This immersive technique creates a cozy, library-like atmosphere in reading nooks or home offices.
8. The Anchor Piece Plus Satellites
Hang one massive focal piece off-center, then balance its visual weight by stacking three or four smaller frames on the opposite side. The smaller frames act as satellites, grounding the massive central image and providing an asymmetrical but highly balanced modern look. This arrangement works brilliantly above a modern credenza, pulling the eye toward the primary art piece while maintaining overall symmetry.
9. The Geometric Diamond
Arrange your frames so the overall outer boundary forms a diamond shape. You place a standard rectangular frame in the center, flank it with slightly smaller frames stepped down, and finish the outer edges with small square frames. You draw focus directly to the central image, making this the perfect layout for a prized wedding photo or a rare vintage print.
10. The Endless Horizon Line
Mount a single, continuous horizontal row of identically sized frames down a long hallway. Align them perfectly at the 57-inch center mark. You create a calming, orderly aesthetic that forces the eye down the corridor, effectively stretching the architectural footprint of your home and completely transforming dark, overlooked spaces.





Leave a Reply
You must be logged in to post a comment.