
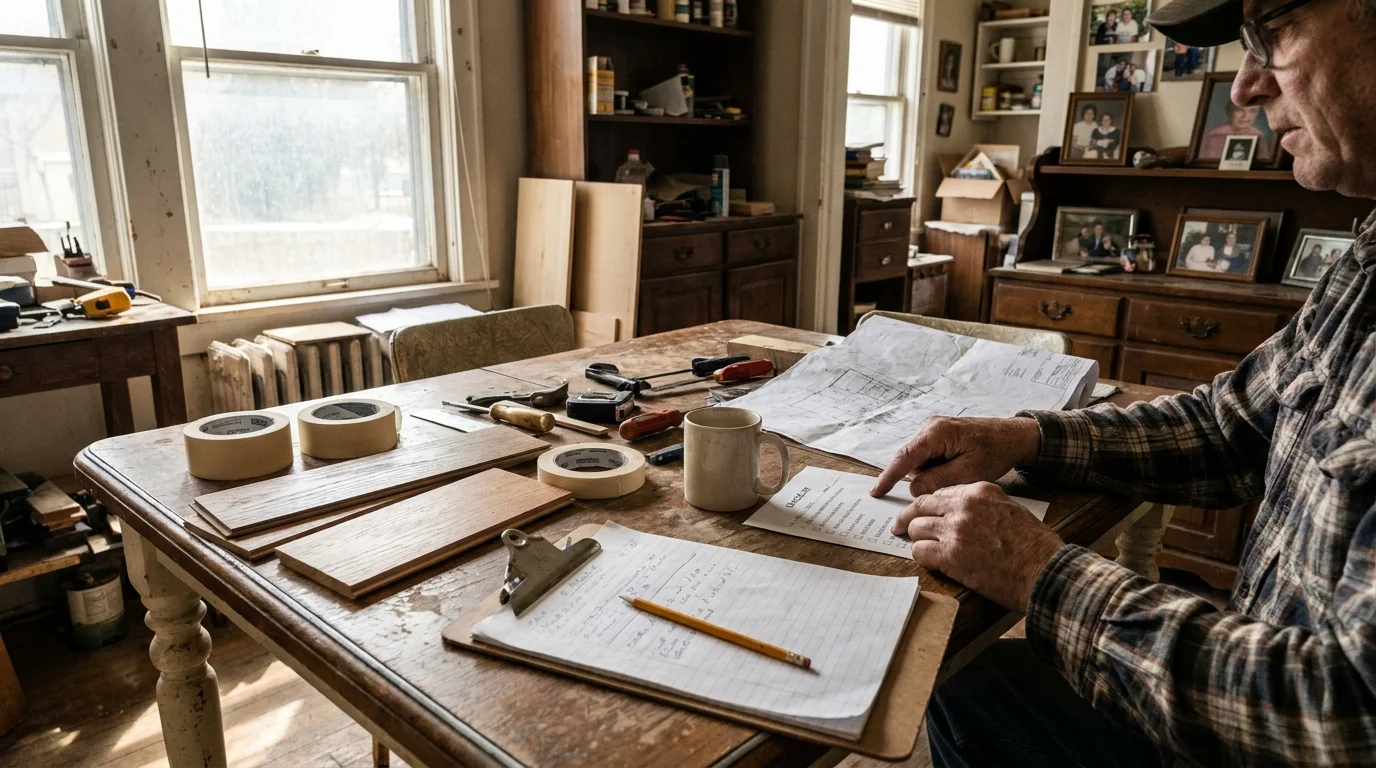
Tools, Materials, and Prep Checklist
Before you drive a single nail into your pristine drywall, you must gather the right supplies to ensure precision and safety. Proper preparation prevents unnecessary holes, cracked plaster, and costly hardware failures.
Essential Tools and Materials:
You need a reliable stud finder with electrical wire warning capabilities, which typically costs around $25. Grab a laser level for about $40 to maintain perfectly straight lines across wide expanses of wall. Purchase a roll of 36-inch kraft paper for $10 and a roll of low-tack painter tape for $8 to create your physical mockups. For fastening, buy a $15 assorted picture hanging kit that includes D-rings, picture wire, sawtooth hangers, and traditional hooks. If you plan to hang heavy frames weighing over 20 pounds between wall studs, invest in high-quality toggle bolts or heavy-duty drywall anchors.
Preparation Checklist:
Start by clearing the floor space beneath your target wall. You need at least three feet of clearance to maneuver safely. Patch any existing dents or holes with a lightweight spackling compound, sanding it flush once completely dry. Map out your hidden utilities; use your stud finder to locate and mark both wooden studs and potential electrical lines with a light pencil mark. If you live in an older home with plaster and lath walls, secure masonry drill bits and plastic anchors to prevent the delicate plaster from crumbling outward. Proper prep guarantees your hardware bites securely into the wall, keeping your heavy glass frames safely anchored over time.




Leave a Reply
You must be logged in to post a comment.