
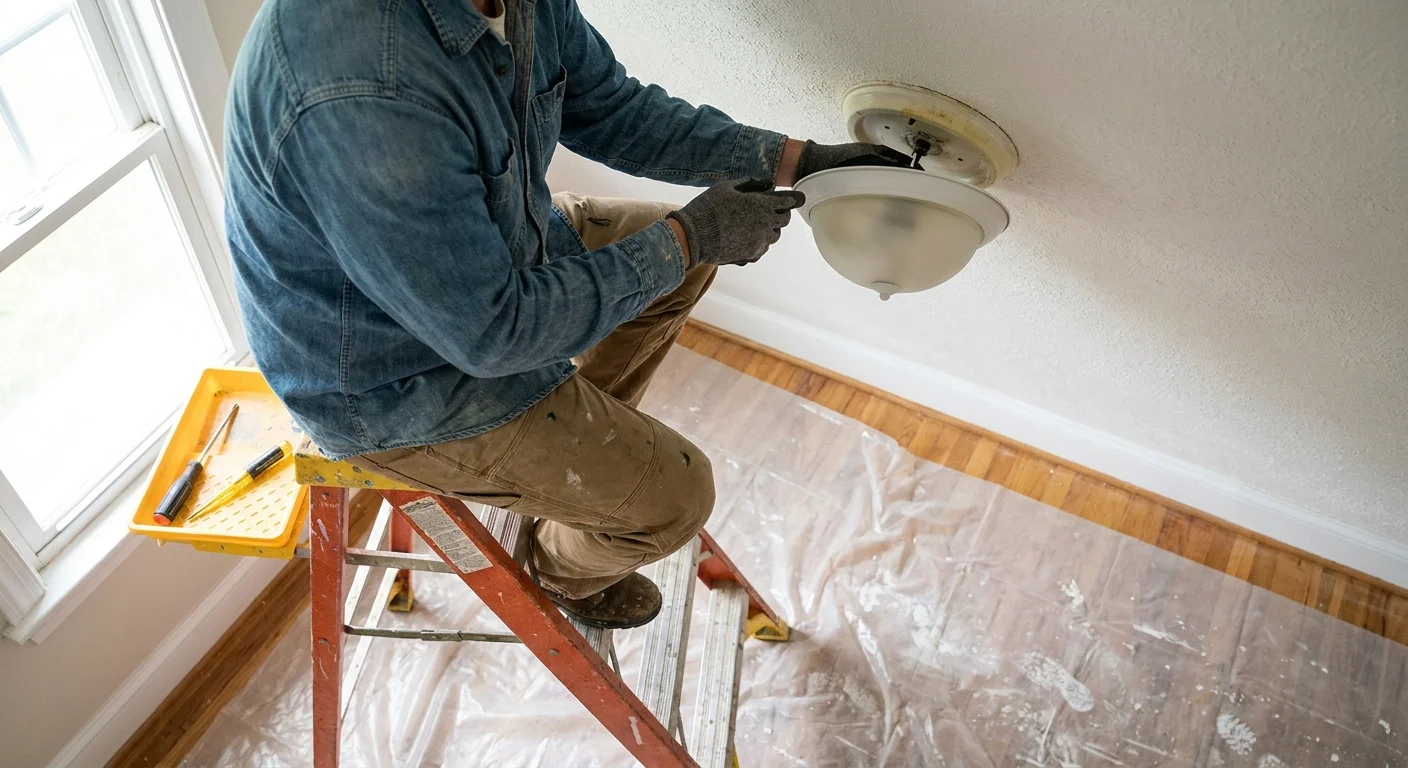
Step-by-Step Instructions
Swapping a light fixture involves clear, predictable steps. If you encounter frayed wires, scorched insulation, or aluminum wiring during these phases, stop immediately and hire a licensed electrician. For standard copper wiring, follow this process carefully.
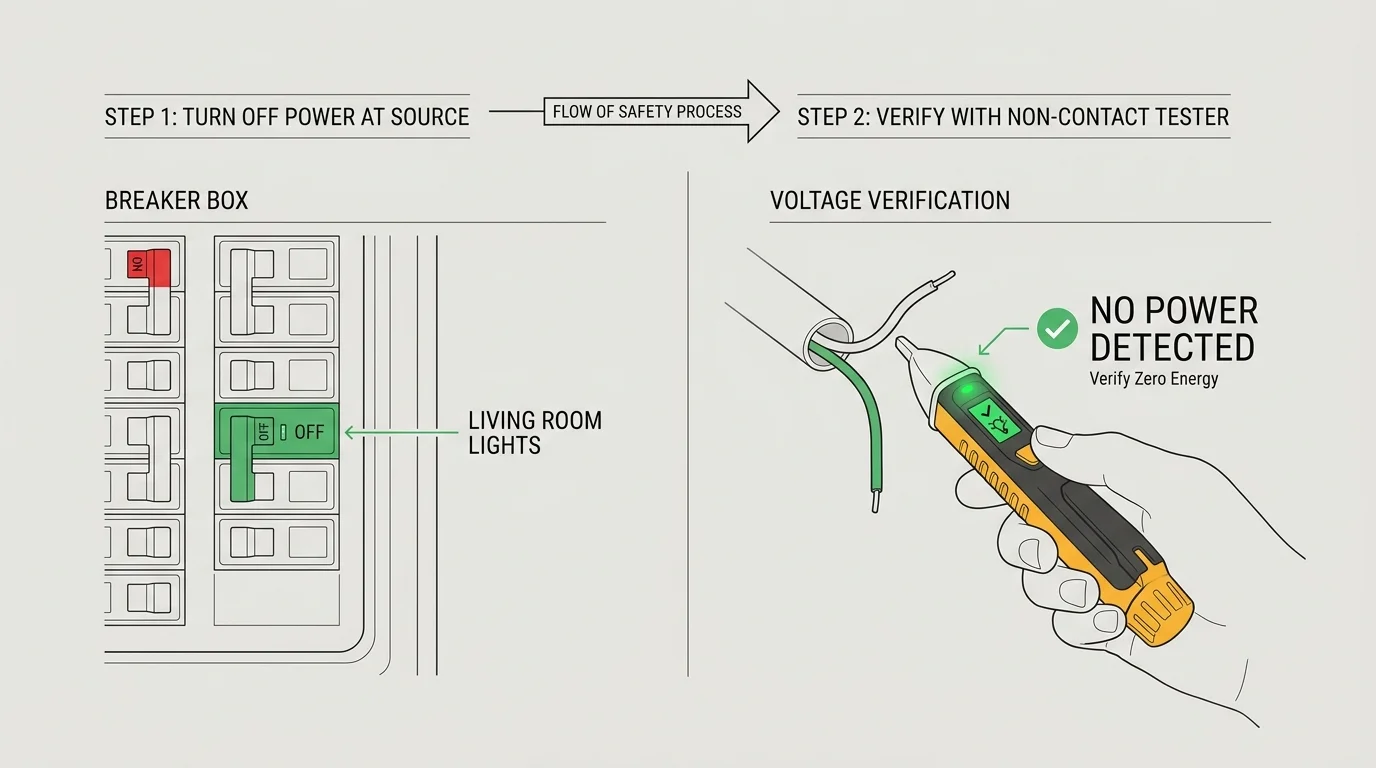
Phase 1: Disable Power and Verify
Locate your main electrical panel and turn off the breaker that supplies power to the room where you plan to work. Return to the room and flip the wall switch to confirm the light goes out. Next, climb your ladder, remove the canopy or cover of the old fixture, and hold your non-contact voltage tester directly against the exposed wires. The tester will beep or flash red if voltage remains. Never proceed until the tester confirms the power is completely off.
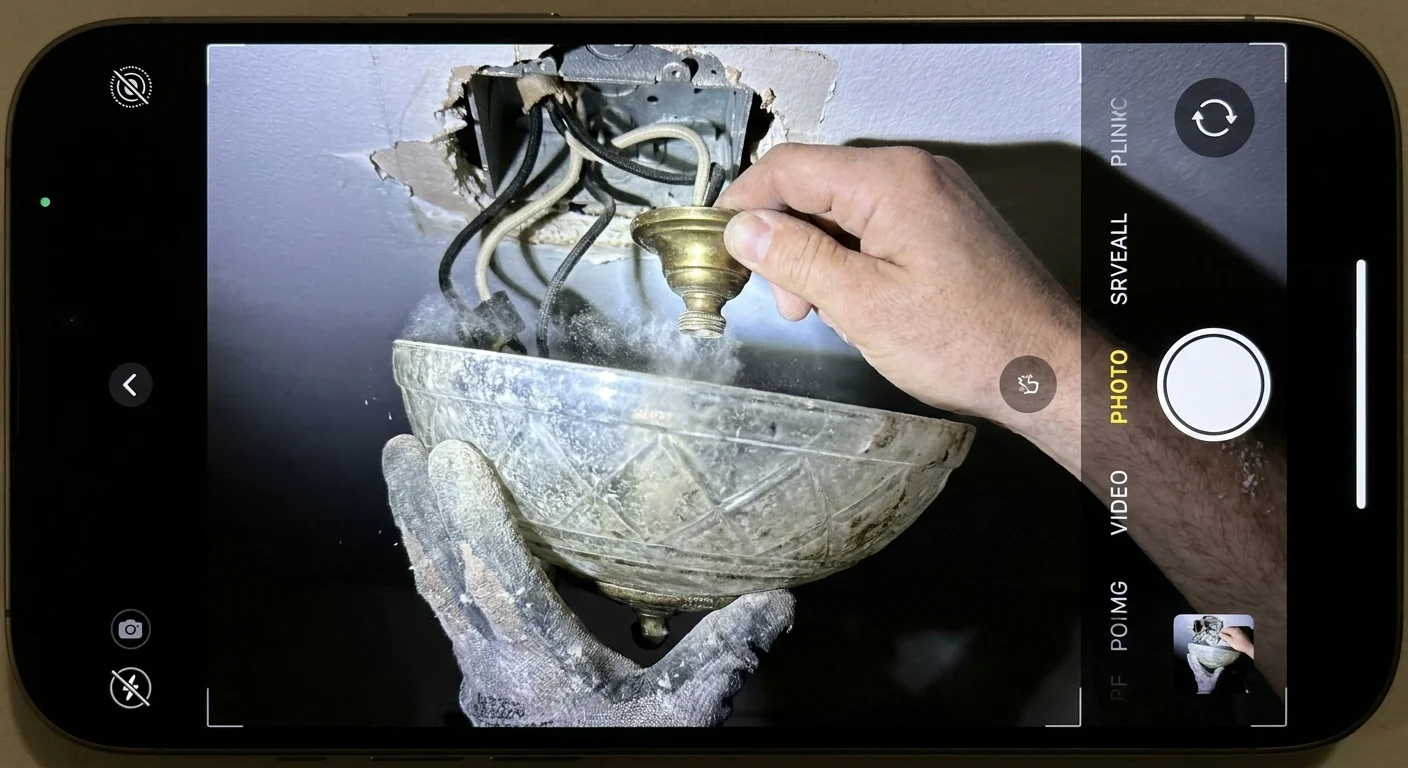
Phase 2: Dismantle the Existing Fixture
Unscrew the wire nuts connecting the old fixture to your house wiring. Untwist the wires gently. Keep a firm grip on the base of the old fixture so it does not fall and damage your floor. Once you disconnect the wires, unscrew the fixture from the metal mounting bracket attached to the ceiling box and lower it safely to the ground.
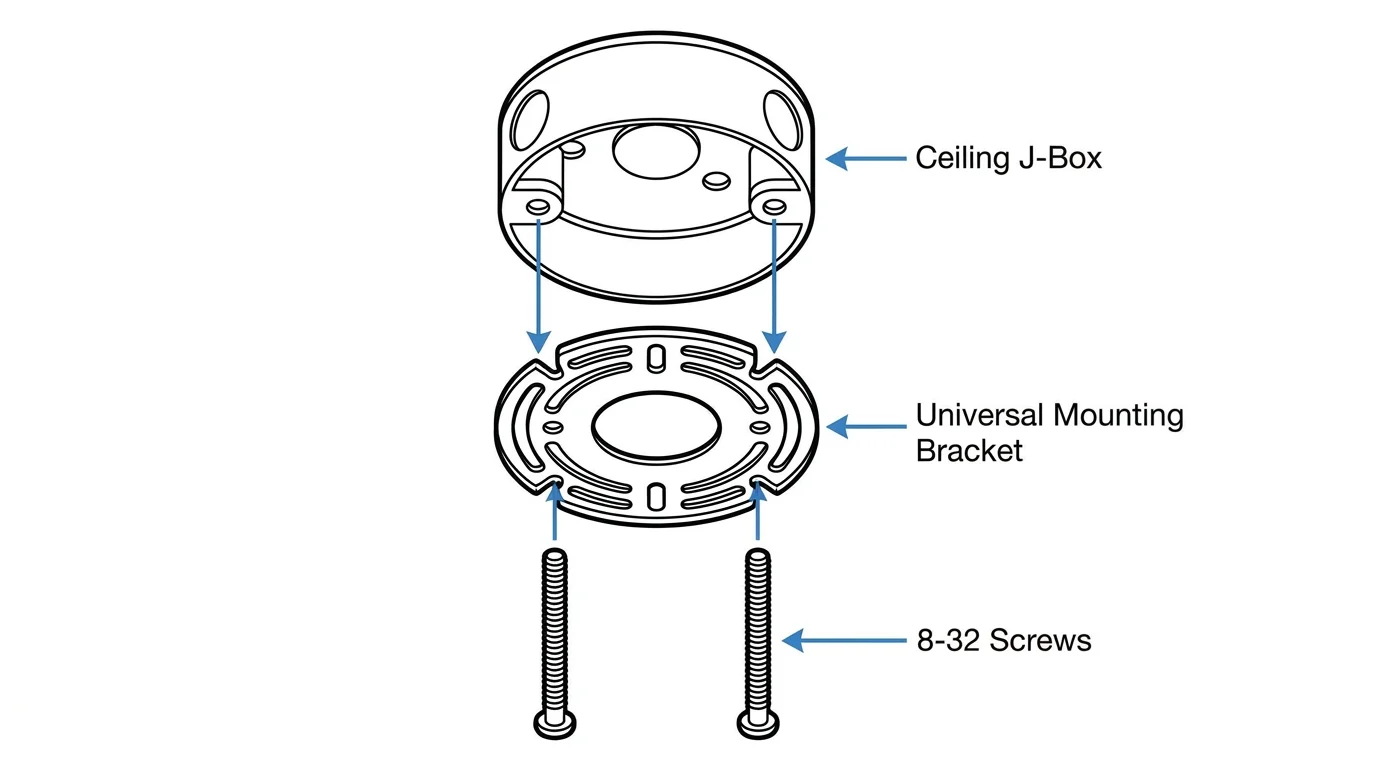
Phase 3: Install the New Mounting Bracket
Most modern light fixtures come with a new metal mounting bracket—often called a crossbar or universal mounting plate. Unscrew the old bracket from the ceiling box and discard it. Take the new bracket and screw it securely into the electrical box. Tug on the bracket to ensure it holds firmly; it must support the full weight of your new fixture.
Phase 4: Wire the New Fixture
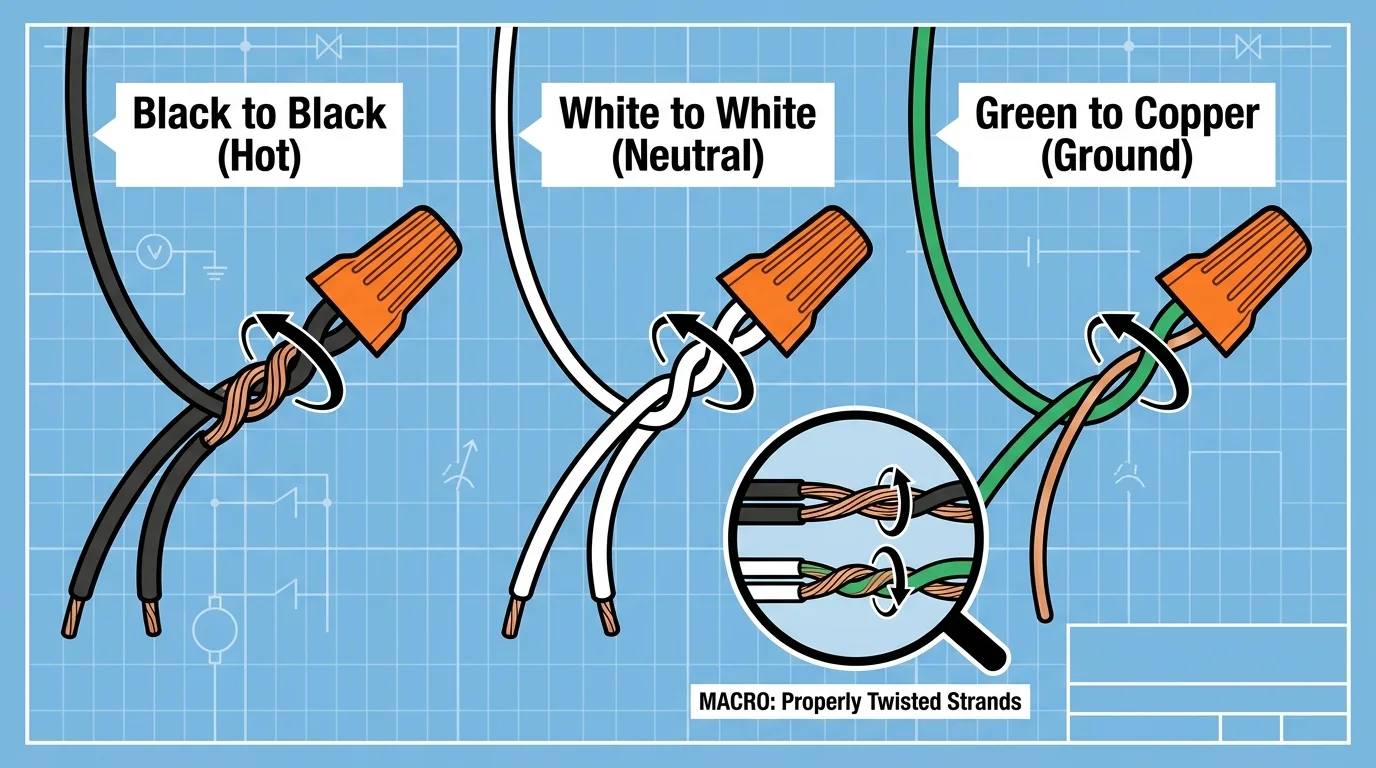
Lift your new fixture toward the ceiling. If the fixture is heavy, ask a helper to hold it while you connect the wires. First, wrap the bare copper or green ground wire from the fixture around the green grounding screw on your new bracket, then connect it to the ground wire in your ceiling box using a wire nut. Next, connect the white (neutral) wire from the ceiling to the white wire on the fixture. Finally, connect the black (hot) wire from the ceiling to the black wire on the fixture. Twist a wire nut tightly onto each connection and wrap the base of the nut with a layer of electrical tape.
Phase 5: Secure the Canopy and Test
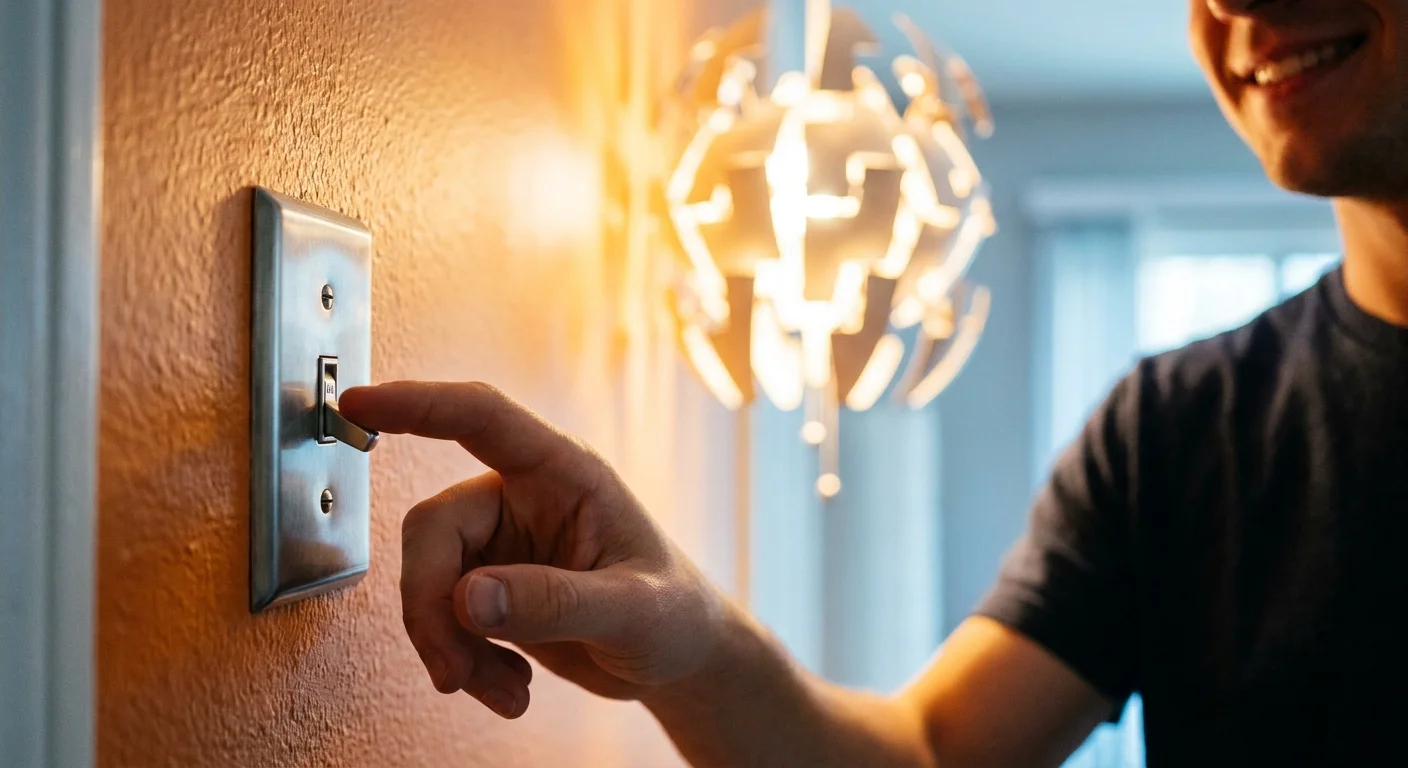
Carefully tuck the bundled wires up into the ceiling box, ensuring no wires are pinched against the metal bracket. Slide the fixture canopy flush against the ceiling and secure it using the decorative nuts or screws provided by the manufacturer. Install your light bulbs, step off the ladder, and restore power at the breaker panel. Flip the wall switch to enjoy your newly installed lighting.








Leave a Reply
You must be logged in to post a comment.