The American House
  • Home
  • DIY
  • Garden
  • Tips & Tricks
  • Expert Tips
Home / Tips & Tricks

7 Surprising Colors That Works in South-Facing Rooms When Nothing Else Does

July 3, 2026 · 13 min read
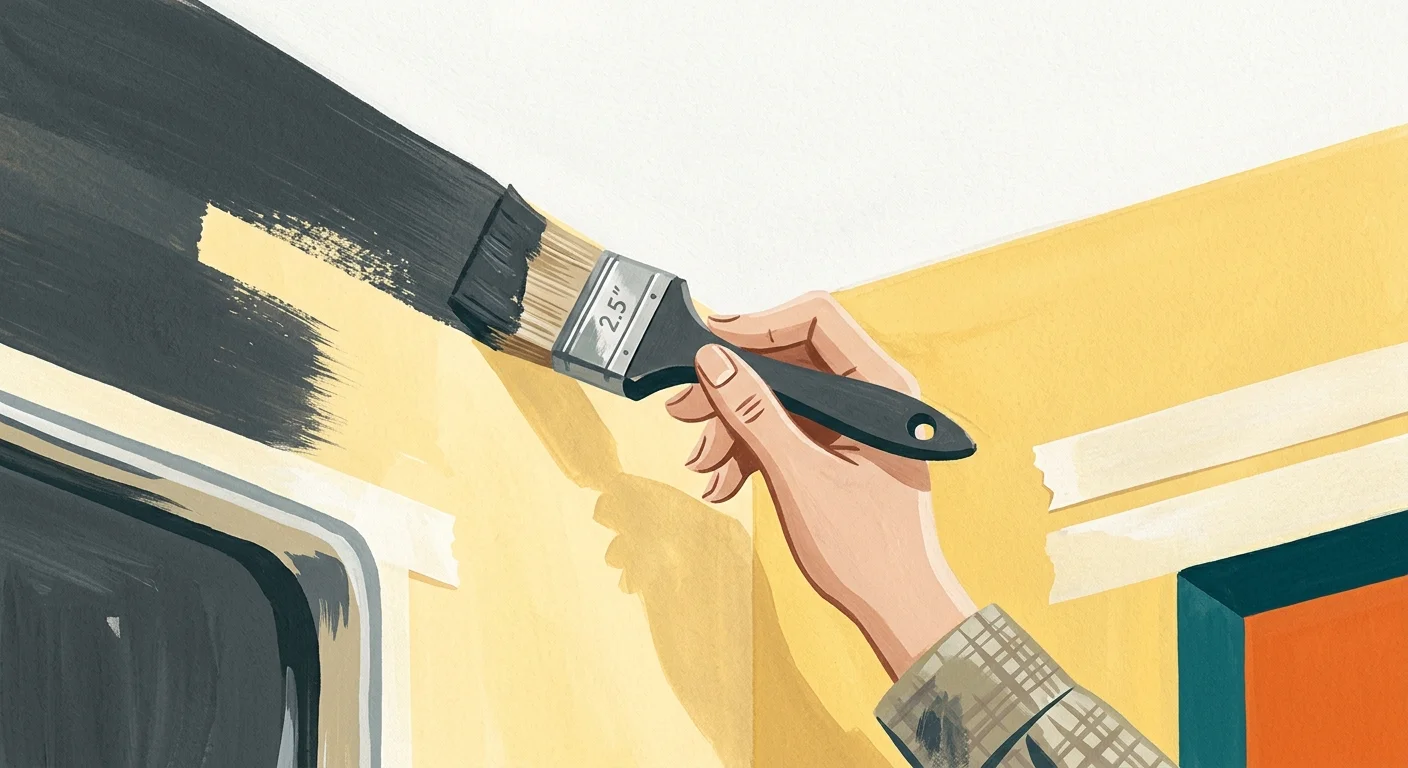
A mid-century gouache illustration showing a hand cutting in matte charcoal paint along a crisp white ceiling line.
A hand brushes bold dark paint onto a yellow wall, perfect for transforming sunny south-facing rooms.

Step-by-Step Instructions

Painting a south-facing room requires a methodical approach so the intense natural light does not highlight overlapping brush strokes or uneven coverage. Follow these steps carefully to achieve a flawless, smooth result.

Step 1: Apply the Tinted Primer

Begin by applying your tinted primer. Primer provides a uniform, stable surface that allows your final paint colors to bind correctly and display their true hue without interference from the old wall color. Cut in along the edges using your angled brush, painting a 3-inch border around the ceiling, baseboards, and window frames. Roll the primer onto the large wall sections using a W-pattern, overlapping your wet edges constantly to avoid visible lines. Allow the primer to dry completely according to manufacturer specifications, which usually takes two to four hours. Maintain proper ventilation throughout this process by keeping a window slightly open and running a box fan.

Step 2: Execute the Cut-In Process

Open your primary paint can and stir it thoroughly with a wooden stick for at least two full minutes to lift the heavy pigments off the bottom of the can. Pour a small amount of paint into a handheld work pot. Using your angled synthetic brush, carefully cut in the edges of the room just as you did with the primer. Work in small sections, cutting in one wall at a time so the edges remain wet when you begin rolling. A wet edge prevents the formation of dark, visible bands around the perimeter known as picture framing.

Step 3: Roll the Walls

Load your microfiber roller evenly with paint using a sturdy tray. Start at one top corner of the room and roll down in a continuous, smooth motion. Do not press too hard against the drywall; let the roller nap distribute the paint naturally. Complete one entire wall before moving to the next. South-facing rooms reveal every inconsistency, so maintain a steady pace and always roll back over your wet sections lightly to smooth out the stipple texture left by the roller cover.

Step 4: Apply the Second Coat and Remove Tape

Wait at least four hours for the first coat to dry before applying a second coat. A second coat is absolutely mandatory for deep or complex colors to achieve full saturation and long-term durability. Once you finish rolling the final coat, do not wait for the paint to dry before removing your tape. Pull the painter tape off the trim immediately at a 45-degree angle while the paint is still slightly damp. This prevents the dried acrylic film from tearing and peeling away from your freshly painted walls.


Pages: 1 2 3 4 5 6 7

Share this article

Facebook Twitter Pinterest LinkedIn Email

Leave a Comment Cancel reply

You must be logged in to post a comment.

Search

Latest Posts

  • Close-up of hands placing a digital radon detector on a wooden shelf in a sun-drenched, cozy living room. 9 Signs Your Home Needs a Radon Test
  • A close-up photo of a hand touching a fogged-up window with condensation, inside a cozy warmly-lit room. 7 Signs Your Windows Are Losing Energy Efficiency
  • A warm gouache illustration of a backyard wooden deck in late spring with a small bucket of tools, evoking home prep before summer. 8 Signs Your Deck Needs Repairs Before Summer
  • A homeowner using a digital moisture meter to inspect a faint water stain on a living room baseboard. 9 Signs Your Plumbing Has a Hidden Leak
  • A close-up photograph of a deep diagonal crack in a concrete basement wall, illuminated by a harsh low-angle flashlight. 7 Signs Your Foundation Needs a Professional Look
  • A woman wrapped in a blanket on a sofa looks towards a drafty winter window, holding a warm mug in a cozy home. 8 Signs Your Home's Insulation Needs an Upgrade
  • A homeowner shines a flashlight on the rusted base of an old basement water heater, searching for leaks. 9 Signs Your Water Heater Is Nearing the End of Its Life
  • A professional arborist in full safety gear trims branches high up in a large oak tree near a residential roof. 7 Home Maintenance Tasks Worth Hiring Out
  • A homeowner in a flannel shirt looks up at a suburban house roof through binoculars on an overcast day. 8 Signs Your Roof Needs a Professional Inspection
  • 9 Signs Your HVAC System Needs Servicing Before Winter 9 Signs Your HVAC System Needs Servicing Before Winter

Newsletter

Get the latest posts delivered to your inbox.

Related Articles

bedroom-1

Take These Things Out of Your Bedroom NOW!

With so much going on outside the house, it’s quite pleasant to have a space…

Read More →
HomeGoods

9 Amazing Things Designers Always Buy At HomeGoods

2. Throw pillows Throw pillows are my favorite décor item, and the larger and fluffier…

Read More →
washing machine

9 Things That Damage Your Washing Machine

Use too much detergent at your peril You should expect to see some disappointing wash…

Read More →
10 Linen Closet Organization Ideas That Actually Stick

10 Linen Closet Organization Ideas That Actually Stick

A couple follows step-by-step instructions to assemble a wooden lamp in their workshop. Step-by-Step Instructions…

Read More →
Household Lung Hazard

10 Innocent Household Lung Hazards Harming Your Health

Paints If you’re renovating a room or some of your furniture, be sure to let…

Read More →

Small Kitchen? 16 Creative Ideas to Organize Your Space

No Kitchen Space? Don’t Have to Worry!  If you’re like me, you’ve got tons of…

Read More →
natural elements

7 Ways Designers Use Branches, Stones, and Other Nature Items for a Luxury Look

2. Acorns, pine cones, and dried leaves When it comes to natural elements, designers also…

Read More →
Windows

13 Ways to Make Small Windows Look Bigger

Are You Sad Because Your Home Wasn’t Blessed With Big, Welcoming Windows? We Have The…

Read More →
Mr. Clean Magic Eraser

Mr. Clean Magic Erasers Are Fantastic! Unless You Use Them on These 12 Things

We all know about Mr. Clean Magic Erasers. But do you know what to avoid…

Read More →
The American House

Inedit Agency S.R.L.
Bucharest, Romania

contact@theamericanhouse.com

Explore

  • Contact
  • Editorial Policy
  • Advertiser Disclosure
  • FAQ
  • Subscribe
  • Unsubscribe
  • Privacy Policy
  • Terms and Conditions
  • Disclaimer
  • Do not sell my personal information
  • Request to Know
  • Request to Delete
  • CA Private Policy

Categories

  • DIY
  • Expert Tips
  • Garden
  • Home
  • Tips & Tricks

© 2026 The American House. All rights reserved.