Step-by-Step Instructions
Eliminating decorating mistakes from your walls requires a systematic approach. Rushing the process guarantees peeling paint, visible roller marks, and the ghost of that Tuscan mustard yellow shining through your new finish.
Phase 1: Deep Cleaning and Surface Repair
Paint does not stick to dirt, grease, or dust. Mix your TSP cleaner with warm water according to the manufacturer’s instructions. Use a large sponge to wash the walls from the bottom up—this prevents dirty water streaks from permanently staining the drywall below. Once clean, rinse the walls with fresh water and let them dry completely.
Inspect the walls for nail holes, dents, or gouges. Fill these imperfections with lightweight spackle using a putty knife. Overfill the holes slightly, as the spackle shrinks as it dries. Once cured, use your pole sander with a 120-grit screen to lightly sand the patched areas and the entire wall. Sanding deglosses the old paint, providing a rough microscopic texture that helps the new primer grip the surface.
Safety Check: If your home was built before 1978, the existing layers of paint may contain lead. Never sand or scrape potential lead paint. You must test the surface first. For detailed safety protocols and testing kits, consult the EPA guidelines on lead paint.
Phase 2: Priming the Problem Areas
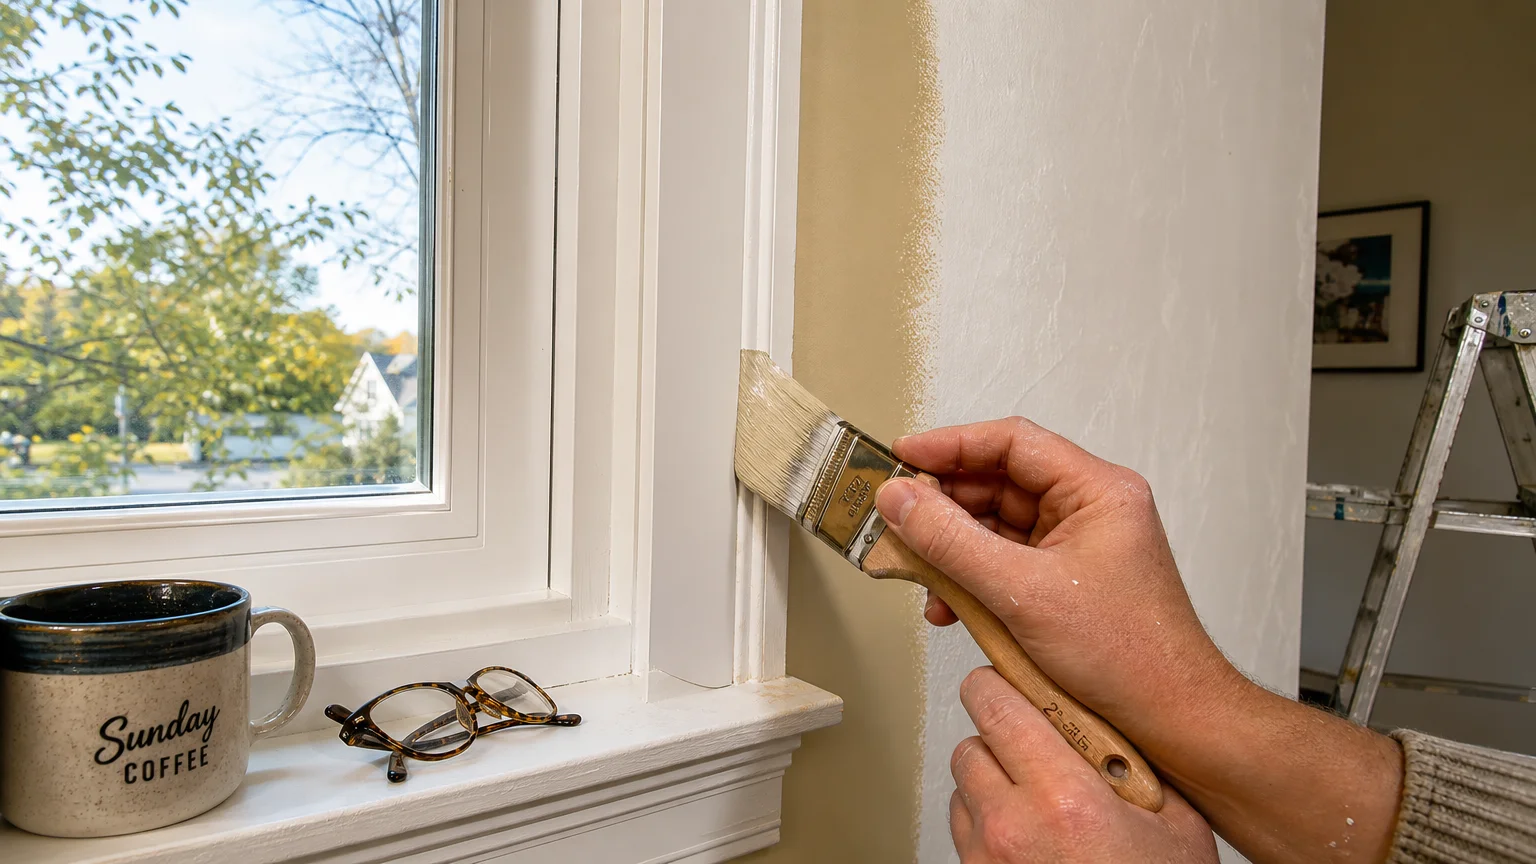
Tape off your baseboards, window trim, and ceiling line. Press the edge of the tape down firmly with a putty knife to create a flawless seal. Now, apply your high-hide primer. If you are covering dark charcoal or deep reds, ask your paint retailer to tint the primer gray. A gray-tinted primer neutralizes dark colors much faster than stark white primer, saving you an entire coat of finish paint.
Use your angled brush to cut in the perimeter of the wall with primer, creating a three-inch border. Roll the rest of the wall, maintaining a wet edge to avoid lap marks. Allow the primer to dry for at least four hours.
Phase 3: The W-Technique for Flawless Rolling
Once the primer is dry, open your premium interior paint and stir it thoroughly. Cut in the edges of the room just as you did with the primer. Load your microfiber roller evenly in the paint tray.
Apply the paint using the “W” technique. Roll a three-foot by three-foot “W” shape onto the wall, then immediately fill in the gaps without lifting the roller. Work your way down the wall in small, manageable sections. This method ensures even distribution and prevents thick ridges of paint from drying on the surface. Always roll from the ceiling down to the floor.
Phase 4: Curing and Second Coats
Wait the exact amount of time recommended on the paint can before applying a second coat—usually two to four hours. Applying a second coat too early pulls the first coat right off the wall. Even if you purchased paint labeled “paint and primer in one,” covering dark, outdated paint colors always requires two coats of finish for a uniform look. Remove the painter’s tape while the second coat is still slightly damp. Pulling the tape at a 45-degree angle slices through the paint film cleanly, preventing jagged edges.


Leave a Reply
You must be logged in to post a comment.