Step-by-Step Instructions
To execute a flawless transformation, approach the project in distinct phases. We have embedded ten specific small bathroom ideas directly into this operational sequence to guide your renovation from demolition to final installation.
Phase 1: Structural Optimizations
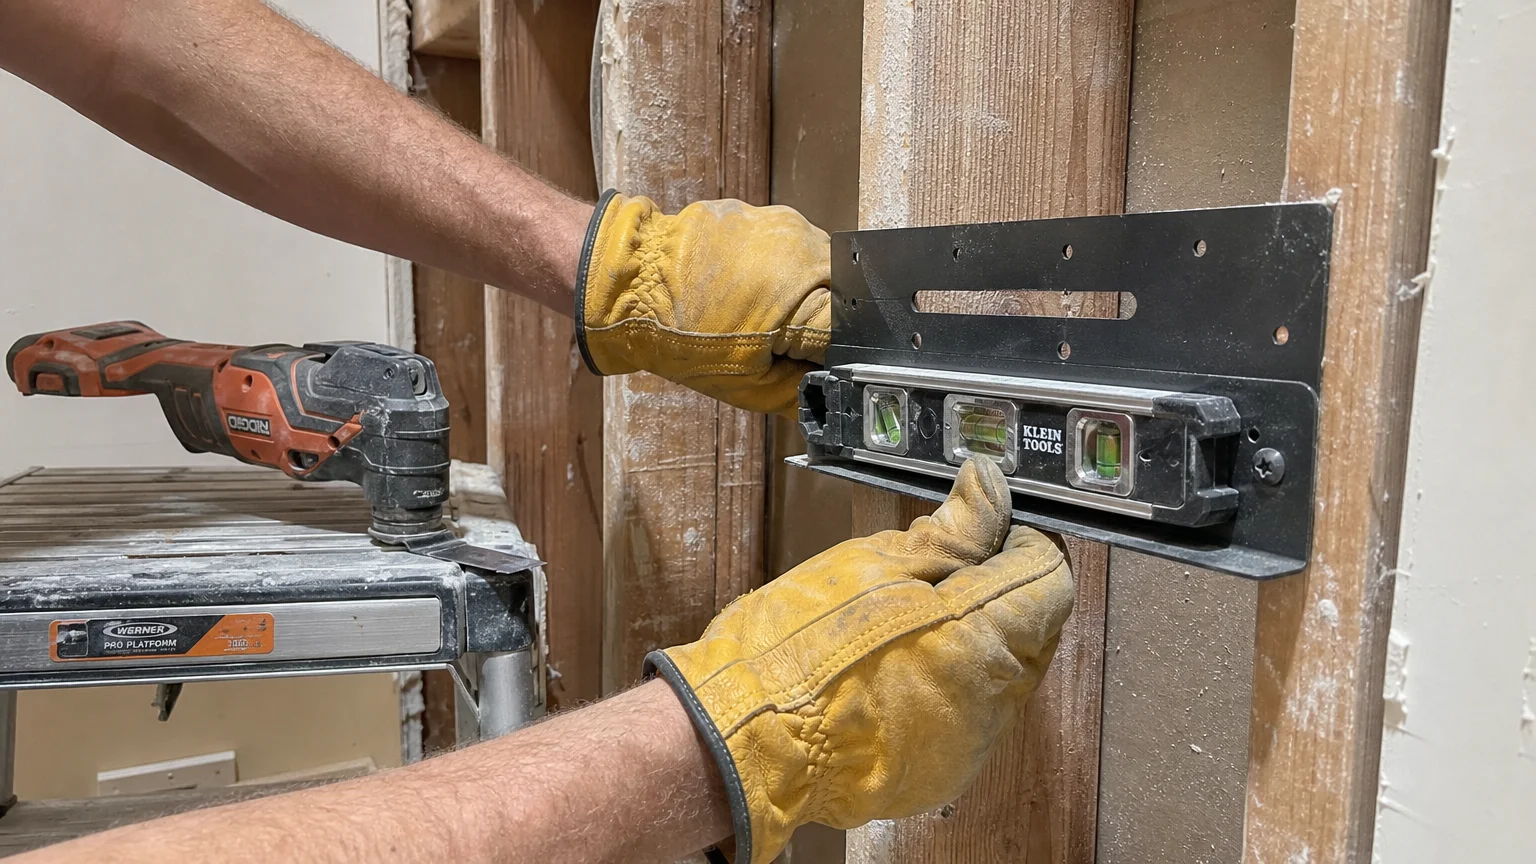
The most dramatic space savings happen behind the drywall. During the initial tear-down phase, look for opportunities to steal inches from the wall cavities.
Idea 1: Install a Pocket Door. Traditional swinging doors consume roughly nine square feet of usable floor space. By removing the existing door jamb and installing a pocket door frame kit inside the wall, you immediately free up room for larger vanities or additional shelving. If the wall carries a structural load, install a properly sized temporary support wall and insert a new structural header before cutting the existing studs.
Idea 2: Recess Medicine Cabinets and Shelving. Standard interior walls hide three and a half inches of empty depth between the studs. Cut away the drywall between two studs—typically spaced sixteen inches on center—and slide in a recessed medicine cabinet or build custom shower niches. This keeps your daily grooming products off the limited counter space while maintaining a flush, unobtrusive profile.
Phase 2: Plumbing and Fixture Upgrades
Swapping out dated, floor-bound fixtures creates vast visual space. The more floor area you expose, the larger the room appears.
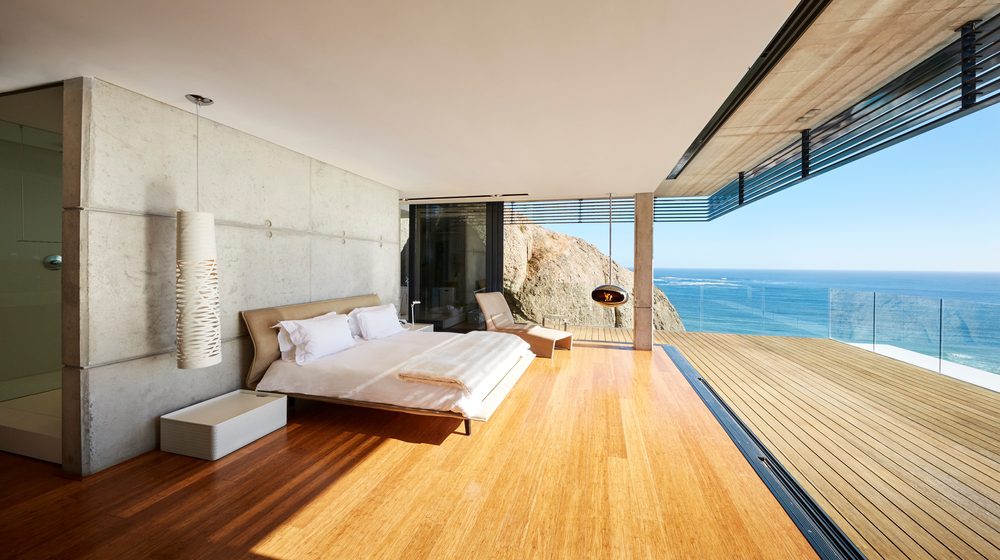
Idea 3: Mount a Floating Vanity. Floor-standing vanities visually anchor the room and make it feel heavy. A wall-mounted floating vanity opens up the space underneath, tricking the eye into perceiving a longer floor plane. Secure the vanity to at least two wall studs using heavy-duty lag bolts. If your studs do not align with the mounting points, install horizontal blocking between the studs before hanging the cabinet.
Idea 4: Choose a Compact Toilet. Standard elongated toilets protrude up to thirty inches into the room. Swap your old unit for a round-front or compact elongated toilet to gain two to three crucial inches of clearance. Always replace the wax ring and check the subfloor for moisture damage before bolting down the new bowl.
Idea 5: Install Wall-Mounted Faucets. Deck-mounted sink faucets demand wider countertops and deeper vanities. By relocating the plumbing supply lines into the wall and installing a wall-mounted faucet, you can utilize a narrow-depth sink basin. This phase requires precise plumbing rough-ins; if you are not comfortable sweating copper pipes or crimping PEX, hire a licensed plumber to set the rough valve.
Phase 3: Surface and Visual Enhancements
The materials you choose for your floors and shower surrounds dictate how light moves through the room.
Idea 6: Upgrade to a Fixed Glass Shower Panel. Opaque shower curtains chop a small bathroom cleanly in half. Tear down the curtain rod and install a frameless, stationary glass panel. This opens sightlines completely to the back wall of the shower. Apply a continuous bead of high-quality, mold-resistant silicone caulk inside the metal mounting channel to ensure a watertight seal against the tile.
Idea 7: Lay Large-Format Tiles. Small floor tiles mean extensive grout lines; a busy grid pattern visually shrinks a room. Install large-format tiles—such as 12×24 inch or 24×24 inch porcelain—to minimize visual interruptions. Apply modified thinset mortar using a half-inch square-notch trowel, ensuring complete coverage on the back of the tile to prevent cracking under weight.
Idea 8: Optimize Your Lighting Strategy. A single overhead ceiling fixture casts harsh shadows that make tight corners feel cramped. Layer your lighting by adding dimmable wall sconces on either side of the mirror at eye level. Use LED bulbs with a color temperature between 3000K and 4000K to mimic bright natural daylight without veering into a sterile, blue tint.
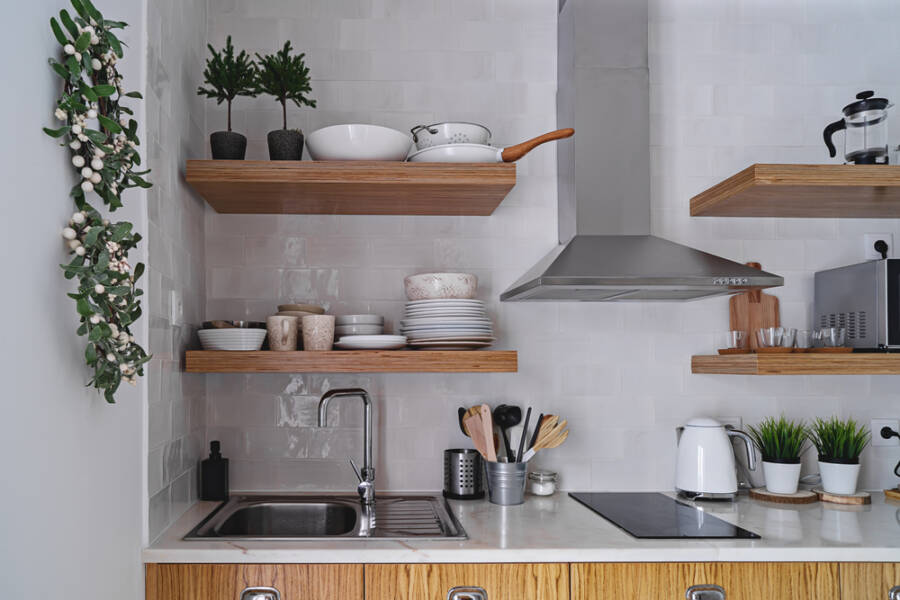
Phase 4: Maximizing Vertical Real Estate
Once the heavy construction concludes, focus on deploying advanced small bathroom storage techniques to keep everyday items organized but out of the way.
Idea 9: Utilize Over-the-Toilet Cabinetry. The wall space directly above the toilet tank usually goes to waste. Mount a sleek, shallow cabinet or install floating wood shelves here. Keep the lowest shelf at least twenty-four inches above the tank lid to ensure easy access to the toilet’s internal hardware for future maintenance.
Idea 10: Add High-Perimeter Shelving and Door Mounts. Look upward. Install a continuous shelf twelve inches below the ceiling—above the door frame and mirror—to store spare towels and bulk toiletries in attractive baskets. Additionally, mount multi-tier towel bars directly to the back of your new pocket door or on the wall behind it, keeping damp linens off the floor and away from the vanity.


Leave a Reply
You must be logged in to post a comment.