
Step-by-Step Instructions
Transforming your house requires a systematic approach. By implementing these nine cleaner home design choices, you tackle the most persistent sources of dirt, off-gassing, and visual chaos. Address these steps one room at a time to maintain a functional household during the renovation process.
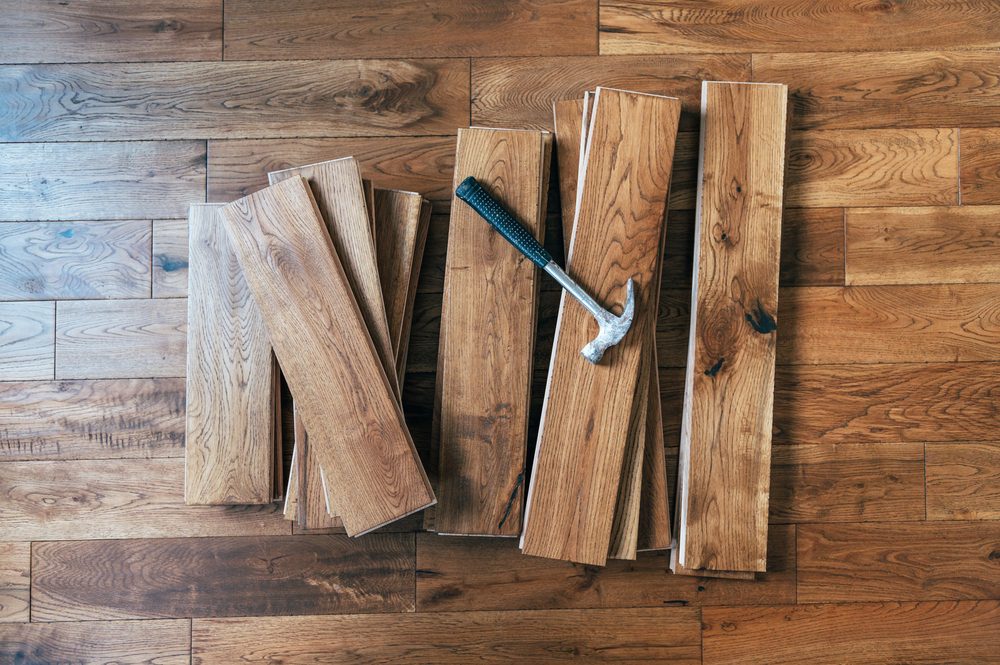
Step 1: Rip Out Wall-to-Wall Carpeting
Carpets act as massive sponges for dirt, pollen, spills, and odors. Remove wall-to-wall carpeting and replace it with hard surface flooring like solid hardwood, engineered wood, or luxury vinyl plank. Hard floors allow you to easily see and sweep away debris. When installing new floors, leave a proper expansion gap around the perimeter to prevent buckling. If you desire softness underfoot, incorporate washable area rugs that you can throw directly into your washing machine. This guarantees a sanitary surface while preserving the warmth of the room.
Step 2: Transition to Solid, Non-Porous Countertops
Natural stones like granite and marble require rigorous sealing routines; otherwise, they absorb wine spills, bacteria, and oils. Upgrade your kitchen and bathrooms with engineered quartz or solid surface materials like Corian. These non-porous surfaces never require sealing and wipe down flawlessly with mild soap and water. When measuring for new countertops, coordinate with a professional fabricator to ensure perfectly scribed edges that sit flush against your walls, eliminating crumb-catching crevices.
Step 3: Install Slab Backsplashes
Grout lines behind your stove and sink absorb grease and tomato sauce, quickly becoming discolored and unhygienic. Ditch the subway tile in favor of a continuous slab backsplash that matches your countertop material. Extending quartz or solid surface material directly up the wall creates a stunning, monolithic look that you can clean with a single swipe of a microfiber cloth. If a full stone slab exceeds your budget, consider large-format porcelain panels or back-painted glass to achieve the same seamless effect.
Step 4: Mount Floating Vanities and Toilets
Bathrooms harbor incredible amounts of hair and dust in the tiny, unreachable gaps beside floor-mounted vanities and behind toilets. Install wall-hung vanities and concealed-tank toilets. Lifting these fixtures off the ground allows a mop or a robotic vacuum to glide effortlessly underneath. Ensure you install robust wood blocking between your wall studs before hanging heavy fixtures; standard drywall anchors will absolutely fail under the weight of a loaded vanity.
Step 5: Apply Zero-VOC and Low-VOC Paints
Traditional paints release Volatile Organic Compounds (VOCs) into your indoor air for months after application, contributing to headaches and respiratory irritation. A cornerstone of healthier interior design involves repainting your walls, trim, and ceilings with zero-VOC products. Modern eco-friendly paints provide incredible durability and scrubbability. Choose a satin or eggshell finish for hallways and living spaces, and a semi-gloss for baseboards, allowing you to wipe away scuffs without damaging the pigment.
Step 6: Upgrade to Frameless Glass Shower Enclosures
Framed shower doors utilize aluminum tracks that inevitably collect standing water, soap scum, and pink mold. Remove old, clunky enclosures and install heavy-duty frameless glass doors. Without the metal channels, water drains naturally into the shower pan. Treat the interior of the glass with a hydrophobic coating—similar to windshield rain repellent—to make water bead up and roll off. This completely eliminates the need for harsh daily chemical scrubbing.
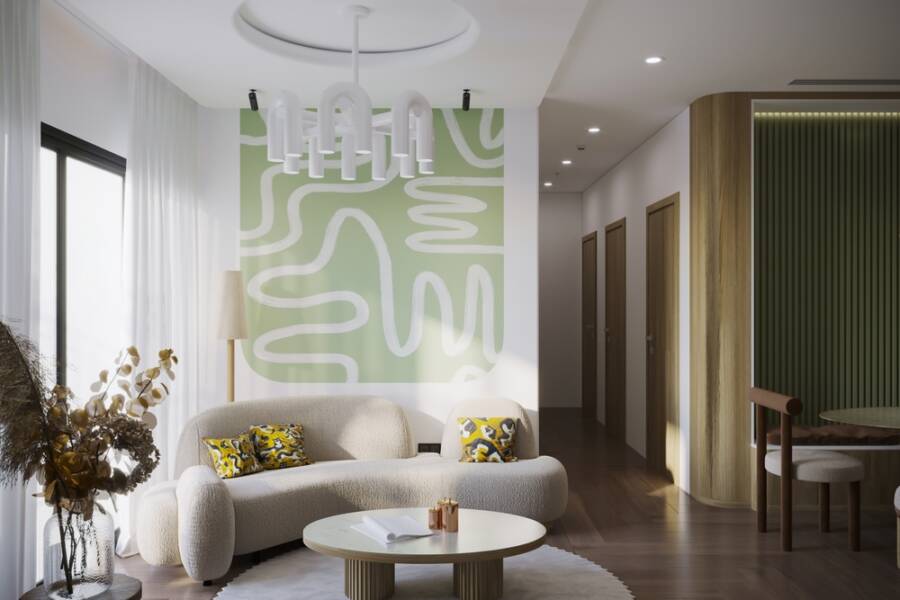
Step 7: Integrate Floor-to-Ceiling Closed Storage
Open shelving looks great on social media but demands constant dusting and perfect organization in reality. Transition your home toward clutter free spaces by installing floor-to-ceiling cabinetry. Taking cabinets all the way to the ceiling prevents a layer of greasy dust from settling on top of them. Equip your cabinets with appliance garages, pull-out trash bins, and internal organizers to keep your countertops completely clear of toasters, mail, and daily detritus.
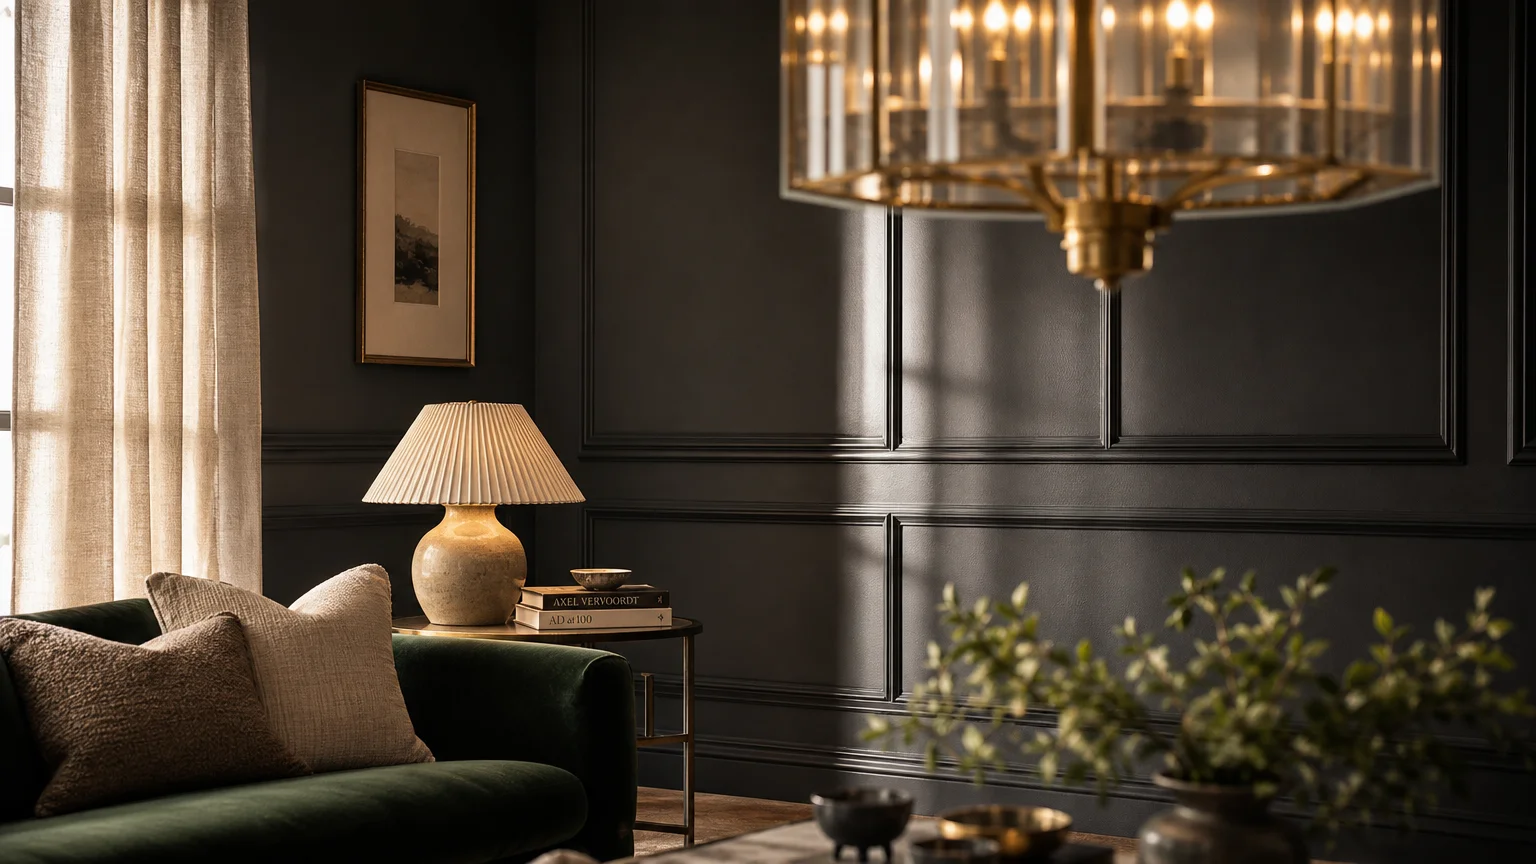
Step 8: Switch to Recessed and Flush-Mount Lighting
Ornate chandeliers, ceiling fans with intricate blade irons, and fabric pendant shades are magnets for airborne dust. Replace these fixtures with sleek flush-mount lights, recessed LED cans, or glass globe pendants that feature smooth, easily wipeable surfaces. Always turn off the power at the main breaker box and use a non-contact voltage tester before touching any wiring. If your home features older knob-and-tube wiring, hire a licensed electrician to bring the connections up to modern safety codes.
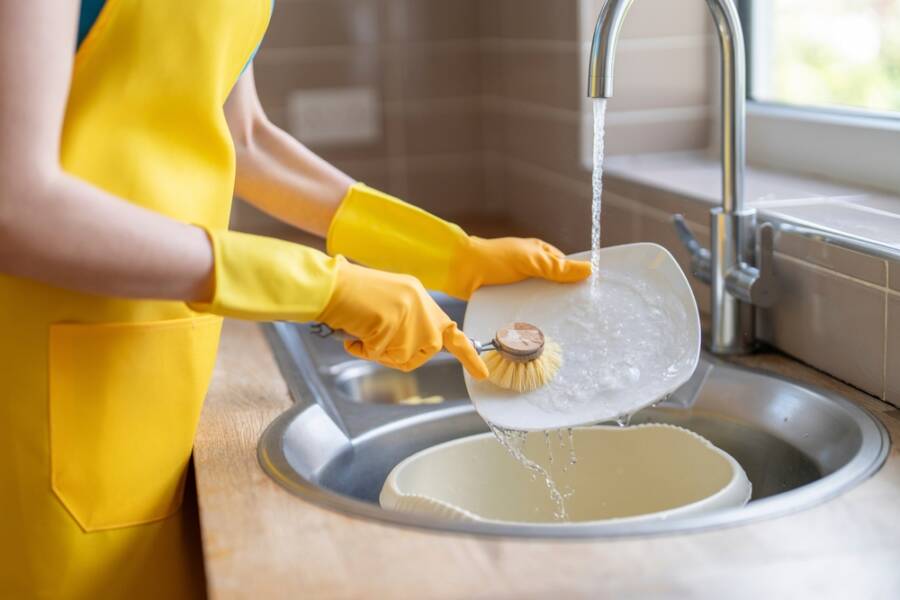
Step 9: Opt for High-Performance Fabrics
Upholstery dictates the cleanliness of your living room. Swap out delicate velvets and untreated linens for high-performance, stain-resistant fabrics like Crypton, Sunbrella, or tightly woven microfibers. These textiles are engineered to repel liquids, preventing spills from soaking into the cushion foam. Incorporating easy clean home decor ensures that wine spills, muddy dog paws, and sticky toddler fingers wipe away with a damp cloth, preserving the lifespan of your furniture.


Leave a Reply
You must be logged in to post a comment.