Step-by-Step Instructions
Tackling 8 beginner woodworking projects seniors can build over a weekend might sound ambitious, but you can easily accomplish these builds by breaking the process down into manageable, structured phases. By focusing on one or two projects per weekend, you will master the fundamentals of woodworking seniors need to safely execute beautiful designs.
Phase 1: Planning and Milling
Before turning on a single tool, inspect your lumber. Look out for cupping, bowing, or deep knots that might compromise the structural integrity of your build. For an ideal weekend build elderly woodworkers will enjoy, purchase lumber that is already surfaced on four sides from your local home center. This pre-milled wood saves you from needing heavy planers.
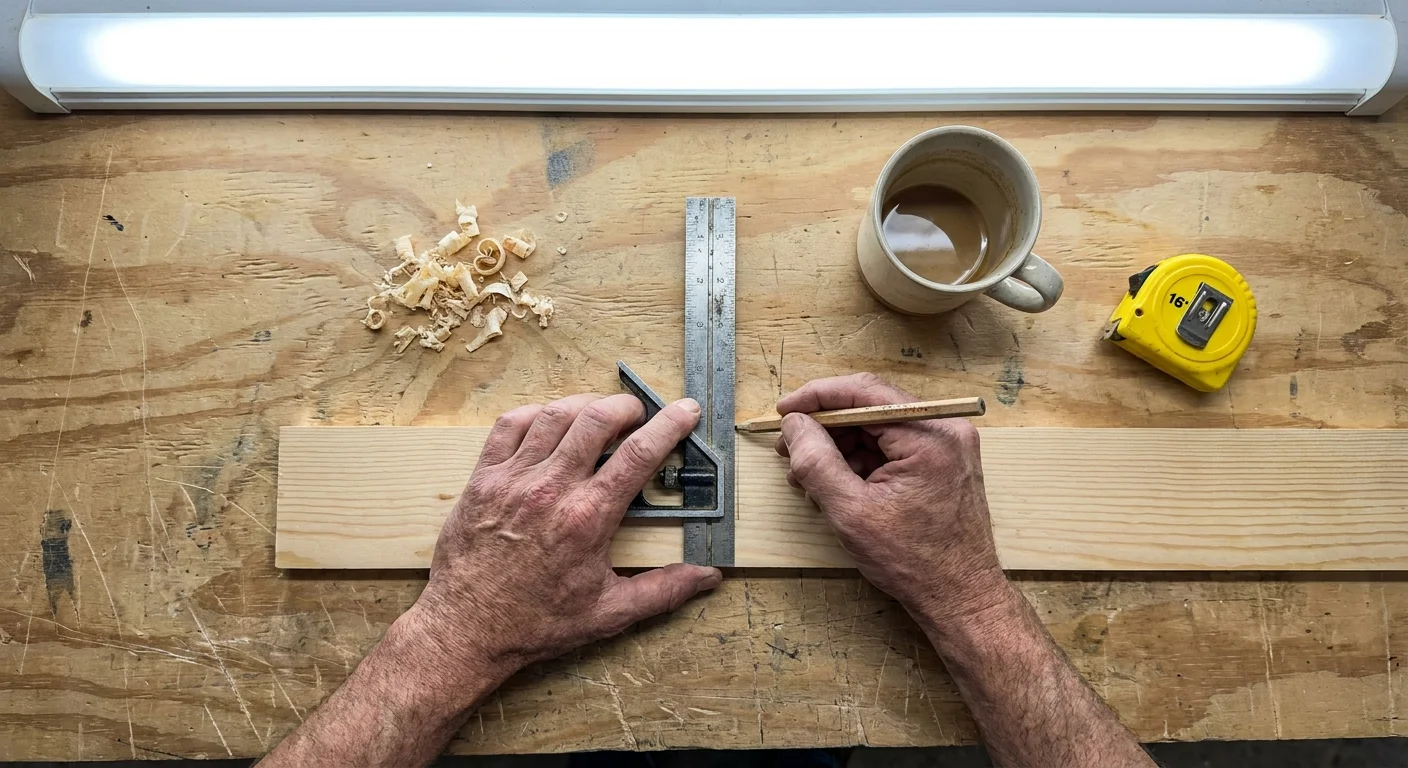
Project 1: The Classic Cedar Birdhouse. You need just one 6-foot piece of 1×6 cedar. Map out your cuts with a combination square. The front and back should measure 9 inches tall, featuring an angled peak for the roof. Use a Forstner bit in your cordless drill to create a clean, splinter-free 1.5-inch entry hole. This exact diameter attracts beautiful small songbirds while keeping predators out.
Project 2: Raised Garden Planter Box. To save your knees and back from bending, design the planter to stand 30 inches tall. Cut your 4×4 cedar corner posts first, then measure the 1×6 cedar side panels. Assemble the sides to form a rectangular trough. Add heavy-duty casters to the bottom of the posts so you can roll the planter across your patio to chase the afternoon sun.
Project 3: Rustic Step Stool. Cut two 12-inch lengths of 1×10 pine for the sturdy side supports. Use a coping saw or jigsaw to cut a slight half-moon arch at the bottom of each support. This arch creates four distinct feet rather than two flat edges, which stops the stool from rocking on uneven kitchen floors.
Phase 2: Joinery and Assembly
Once your pieces are cut, dry-fit them together before applying any glue. A dry-fit allows you to spot measurement errors while you can still easily fix them.
Project 4: Sofa Armrest Tray. Measure the exact width of your sofa’s armrest and add a quarter-inch of clearance. Cut a top plate and two side panels from half-inch birch plywood. Apply wood glue to the edges, use corner clamps to hold the wood perfectly square, and drive 1-inch brad nails to lock the joints into place.
Project 5: Decorative Serving Tray. Cut a 12-inch by 18-inch rectangle from quarter-inch plywood for the base. Frame the edges with 1×2 pine boards. For an elevated look, cut 45-degree miters at the corners. Drive countersunk screws through the frame into the base, ensuring a tight hold that securely supports the weight of coffee cups and plates.
Project 6: Simple Book Stand. Take two 8-inch by 10-inch rectangles of solid oak or pine. Cut a half-inch wide slot exactly halfway up the center of each board. Slide the two slots together. This simple friction-fit joint requires zero metal hardware and breaks down perfectly flat for easy storage in a drawer.
Phase 3: Hardware and Final Assembly
Adding hardware provides the final structural strength and aesthetic appeal.
Project 7: Wall-Mounted Coat Rack. Cut a 36-inch piece of premium hardwood like mahogany or maple. Sand the edges for a softer, welcoming look. Mark pilot holes exactly 16 inches apart to perfectly align with the standard wall studs in your home. Pre-drill the holes and attach heavy cast-iron hooks evenly across the face.
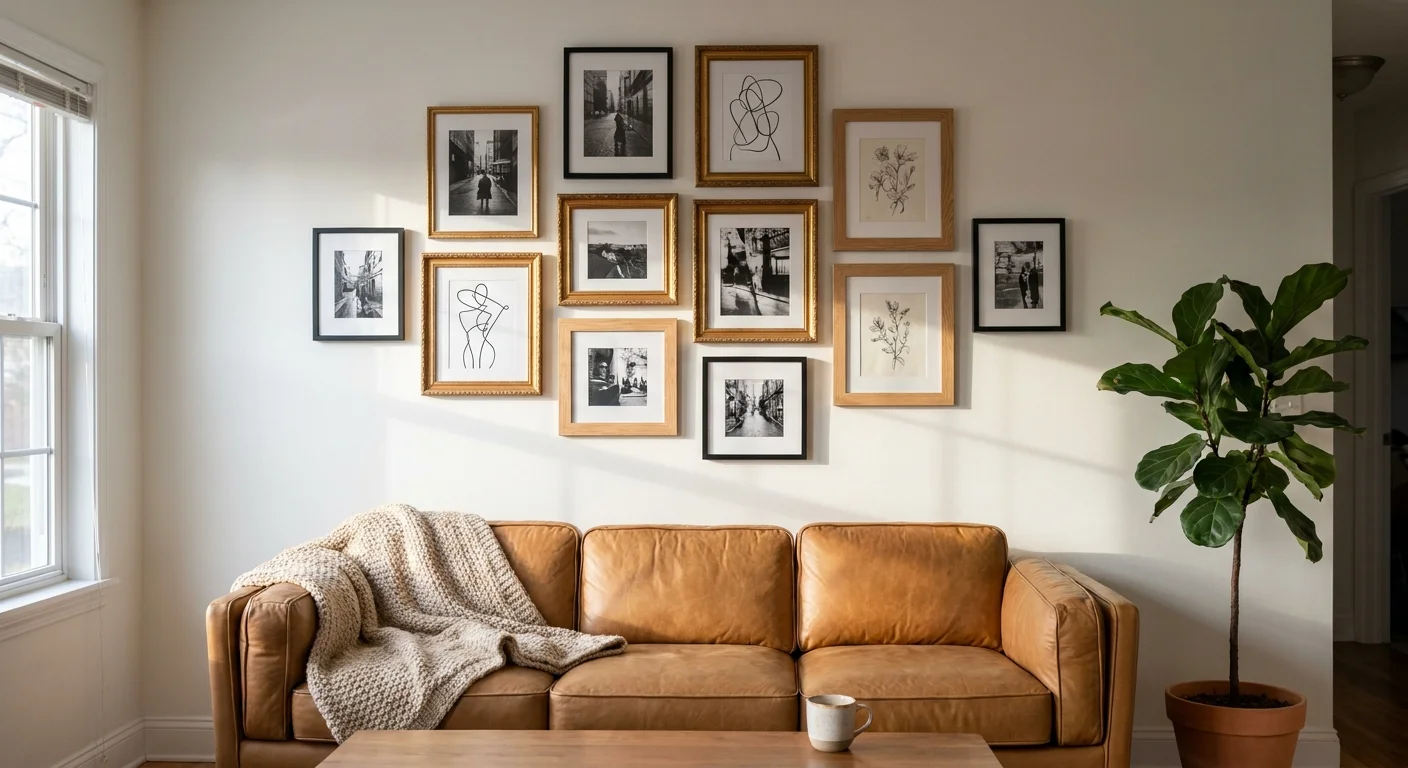
Project 8: Custom Picture Frames. After gluing the mitered corners of your frame molding, reinforce the joints by firing a v-nail into the back of each corner. Secure your glass, artwork, and cardboard backing using small metal push points. Attach a sawtooth hanger to the top back edge for perfectly level wall mounting.
Safety Callouts and Troubleshooting Advice
Never force a saw blade through wood. If your hand saw binds, back it out, apply a small amount of paste wax to the blade, and resume cutting with smooth, even strokes. When driving screws near the edge of a board, always drill a pilot hole first to prevent the wood from splitting. Keep your workspace well-lit and sweep up sawdust regularly to prevent slipping hazards. Ensure you clamp your workpieces firmly to the table before cutting; holding a piece with one hand while operating a saw with the other invites severe injury.


Leave a Reply
You must be logged in to post a comment.