Step-by-Step Instructions
Painting a door while it hangs on the hinges is possible, but removing it guarantees professional results by preventing runs and drips. Start your project early in the morning so you have ample daylight to observe your progress and allow the paint to dry before reinstalling the door for overnight security.
Phase 1: Removal and Hardware Stripping
Open the door and place a wedge underneath the bottom edge to support the weight. Tap the hinge pins out using a hammer and a nail punch, starting from the bottom hinge and working your way up. Carefully lift the door and lay it flat across two sturdy sawhorses covered in drop cloths. Remove the doorknob, deadbolt, knocker, peephole, and weatherstripping. Taping around hardware always leaves a tiny ridge of exposed old paint or uneven edges; completely removing the hardware takes ten extra minutes but ensures a flawless, edge-to-edge finish.
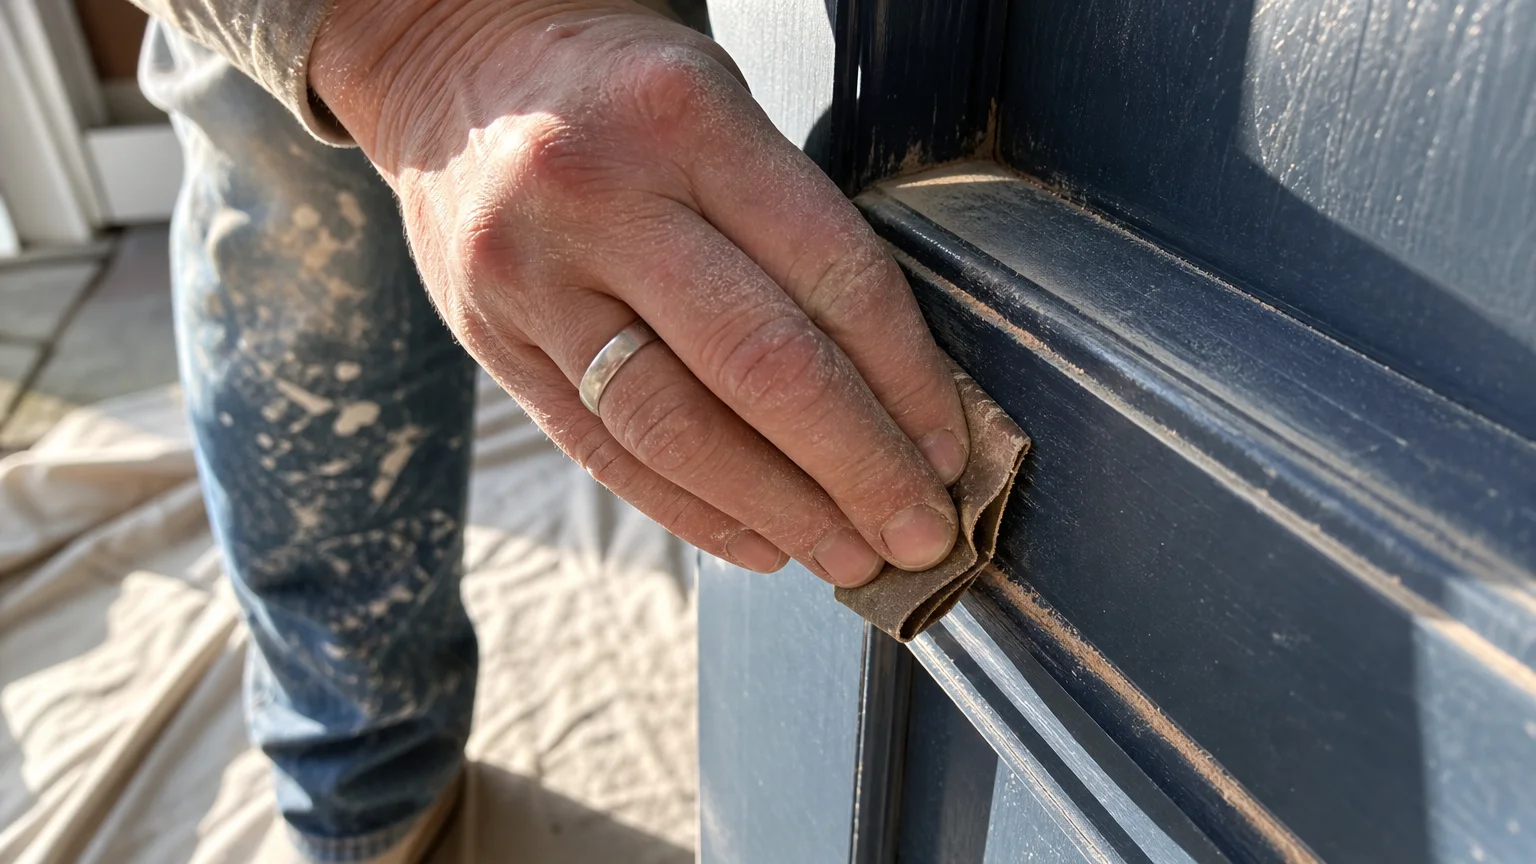
Phase 2: Cleaning and Sanding
Mix your TSP with warm water according to the package directions and scrub the entire door using a coarse sponge. Wipe it down twice with clean water to remove any chemical residue. Once dry, take your 120-grit sandpaper and lightly scuff the entire surface. You do not need to sand down to bare wood or fiberglass; you only need to remove the glossy sheen so the primer has a rough microscopic texture to grab onto. Wipe away all sanding dust with a slightly damp microfiber cloth or a specialized tack cloth.
Phase 3: Priming the Canvas
Apply an even coat of exterior primer. The order in which you paint matters immensely, particularly for paneled doors. Always start with the recessed panels using your angled brush. Move on to the horizontal rails, then finish with the vertical stiles that run the length of the door. This sequence ensures that any wet brush marks from the horizontal sections are smoothed out by your final vertical strokes. Allow the primer to dry completely—usually one to two hours depending on humidity—then lightly run 220-grit sandpaper over the surface to knock down any raised fibers or dust nibs. Wipe clean again.
Phase 4: Applying the Color
Follow the same order of operations for your chosen exterior paint: panels first, horizontal rails second, and vertical stiles last. Use the foam roller on the flat sections immediately after brushing the recesses to blend the wet edges together. Apply thin, even coats. A common mistake is piling on thick layers of paint to achieve immediate coverage, which invariably leads to sagging and a soft, easily chipped finish. Let the first coat dry for at least four hours. Sand extremely lightly with 220-grit paper, wipe the dust away, and apply the second coat. Once the final coat is dry to the touch but still slightly soft, carefully reinstall your hardware and re-hang the door.


Leave a Reply
You must be logged in to post a comment.