Step-by-Step Instructions
Phase 1: Evaluate the Target Town and Property
When you tour homes in affordable towns, you must look past cosmetic flaws. Peeling paint, ugly carpet, and outdated wallpaper offer incredibly easy, high-return weekend projects. However, profound structural issues quickly drain your renovation budget. Inspect the foundation walls meticulously; vertical cracks generally indicate normal settling, but horizontal cracks signal dangerous hydrostatic pressure and structural failure. Test the water pressure in the bathrooms, flip every light switch, and ask for the age of the HVAC system and roof. You want a home with “good bones”—meaning the roof is watertight, the foundation is solid, and the framing is intact.
Phase 2: Execute a Safe Relocation
Pack your belongings systematically, labeling boxes by room and priority. When loading your moving truck, distribute weight evenly, keeping heavy furniture tied securely to the front wall near the cab. Practice strict safety protocols when lifting: bend at your knees, keep your back straight, and hold heavy objects close to your chest. If you move heavy appliances, always use your commercial dolly and secure the load with ratchet straps. Never attempt to carry a refrigerator or heavy solid-wood dresser up a flight of stairs without a capable partner and the proper lifting harnesses.
Phase 3: Address Life-Safety Upgrades Immediately
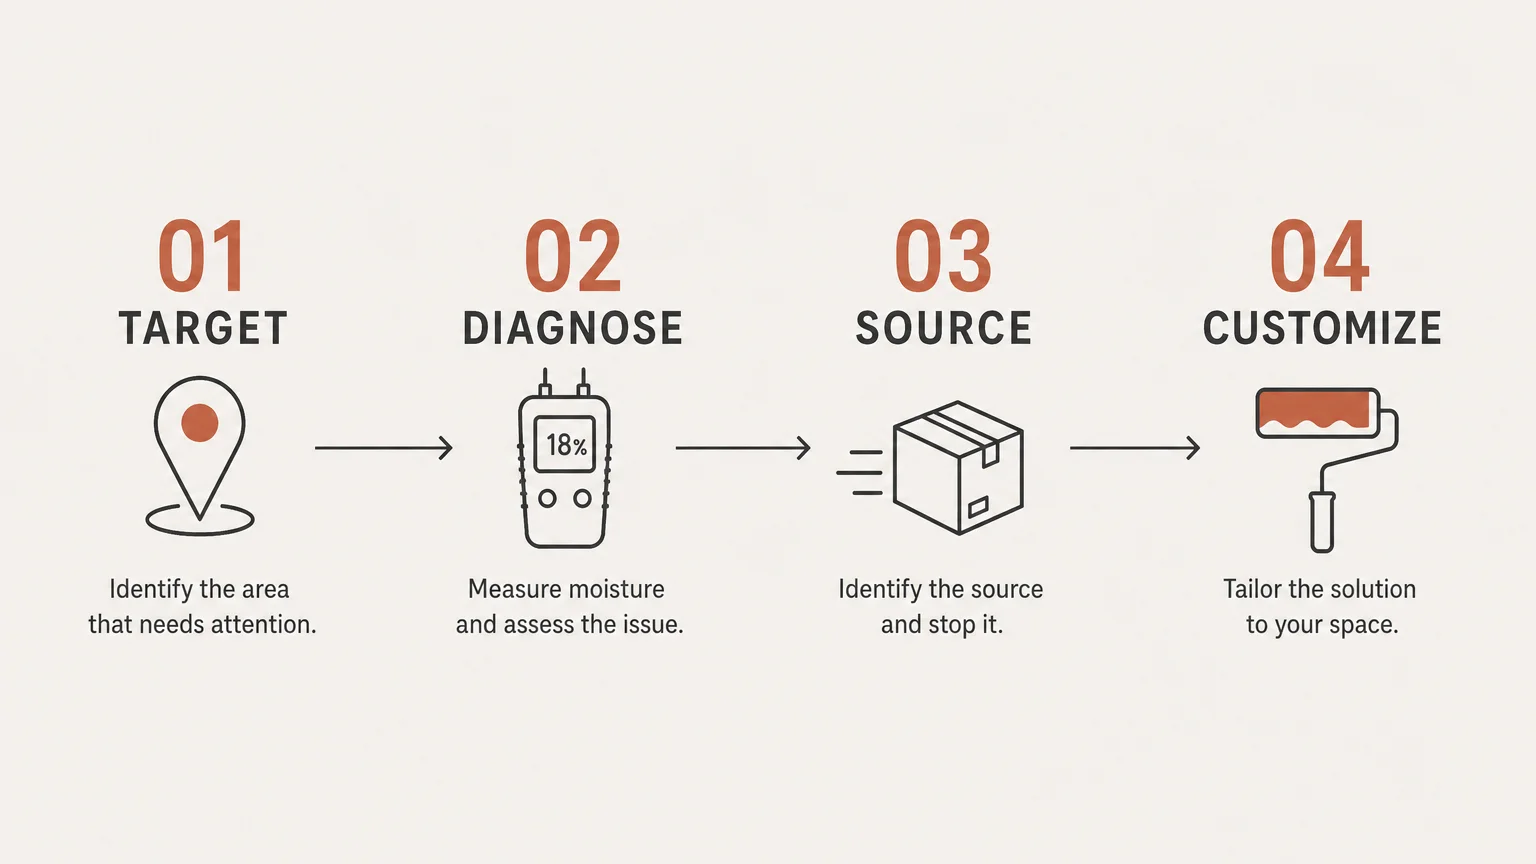
Once you possess the keys, prioritize safety over style. Older homes in places like Peoria or Kalamazoo often feature outdated electrical panels. Hire a licensed electrician to upgrade any fuse boxes or early breaker panels to a modern 200-amp service. If your home was built before 1978, assume lead paint exists; purchase a lead testing kit and wear an N95 respirator during any sanding or demolition. Replace all exterior door locks and deadbolts on day one. Walk the perimeter of the house and test every ground-fault circuit interrupter (GFCI) outlet in the kitchen, bathrooms, and exterior walls, replacing any that fail to trip.
Phase 4: Seal the Envelope and Upgrade Efficiency
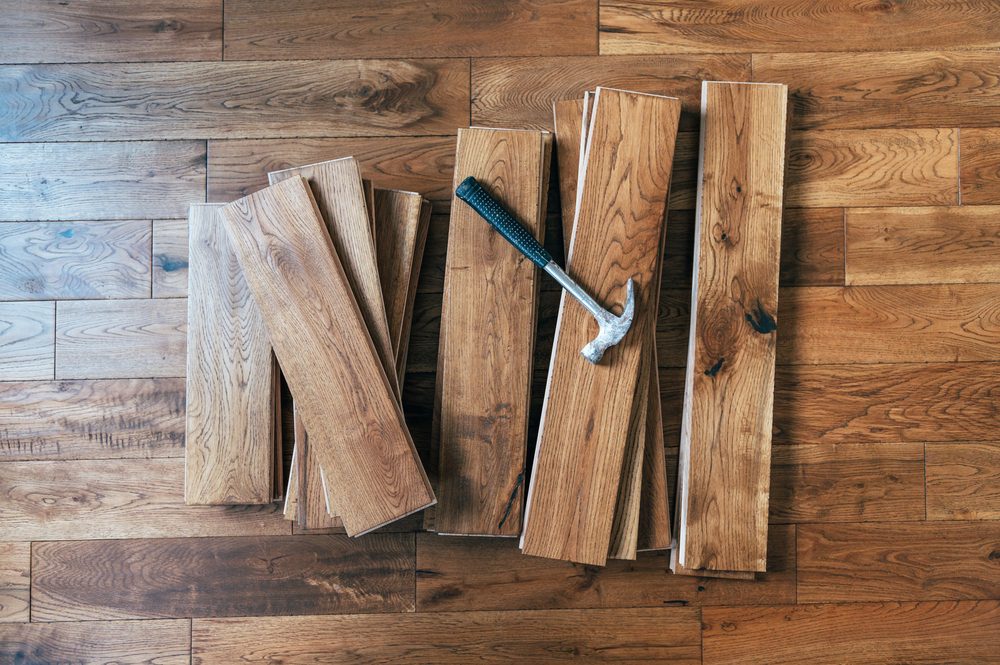
Before installing new flooring or painting cabinets, ensure your home retains its climate control. Caulk around all window trims, replace worn weatherstripping on exterior doors, and check the attic insulation depth. In harsh winter climates like Green Bay or South Bend, upgrading your attic insulation to an R-60 rating drastically lowers your heating bills. Seal any visible gaps in your HVAC ductwork with mastic sealant or foil tape—never standard cloth duct tape. Establishing a tight thermal envelope protects your future cosmetic upgrades from moisture and temperature fluctuations.


Leave a Reply
You must be logged in to post a comment.