Step-by-Step Instructions
Setting up your indoor fruit garden involves selecting the right plants, preparing their containers, and establishing an environment where they can thrive. Follow these steps to build a functional and beautiful indoor growing space.
Phase 1: Selecting Your 8 Indoor Fruit Plants
Not all fruits tolerate container living. To guarantee a successful home fruit harvest, stick to these eight proven performers that naturally adapt to typical household conditions.
1. Meyer Lemon: This hybrid between a standard lemon and a mandarin orange is the undisputed king of indoor fruit plants. It produces highly fragrant white blossoms and sweet, thin-skinned fruit. Meyer lemons require exceptional drainage and at least six hours of direct light daily.
2. Calamondin Orange: Often grown specifically for its ornamental value, the Calamondin produces tiny, tart oranges that make fantastic marmalades and cocktail garnishes. It is highly forgiving of lower humidity and dry indoor air, making it an ideal starter plant.
3. Kumquat: Kumquat trees produce bite-sized, oval fruits that you eat whole—sweet skin and all. They grow densely, offering lush green foliage that looks fantastic in modern living spaces. They thrive in temperatures between 60 and 80 degrees Fahrenheit.
4. Dwarf Cavendish Banana: While technically an herb, the banana plant produces beloved fruit and features massive, tropical leaves that instantly warm up a room. It requires high humidity, making it an excellent candidate for a bright, spacious bathroom or a well-lit atrium.
5. Alpine Strawberries: Unlike sprawling traditional strawberry patches, Alpine varieties grow in neat, compact mounds. They thrive in hanging baskets or long window boxes. They tolerate partial shade better than citrus and produce intensely flavored, tiny berries continuously throughout the year.
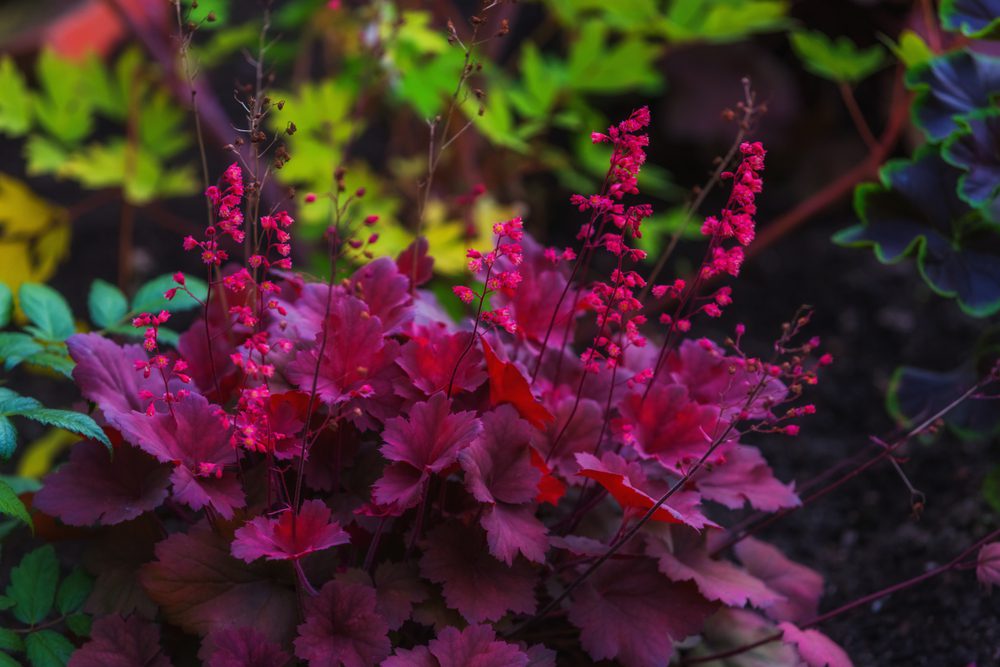
6. Dwarf Pomegranate: Growing only two to three feet tall, the dwarf pomegranate offers stunning, trumpet-shaped orange-red flowers. While the resulting fruits are smaller than standard grocery store varieties, they are packed with the same tart, crunchy seeds. They require a distinct winter resting period in a cooler room to produce blooms in the spring.
7. Brown Turkey Fig (Dwarf): Figs adapt surprisingly well to large indoor containers. The Brown Turkey variety self-pollinates and produces sweet, rust-colored fruit. Pruning keeps the plant manageable, and its distinct, lobed leaves provide excellent visual texture.
8. Dwarf Everbearing Mulberry: This vigorously growing bush produces fruit continuously if kept warm and well-lit. The berries resemble small blackberries and taste incredibly sweet. You must aggressively prune this plant to maintain its shape, as it wants to grow rapidly even in a pot.
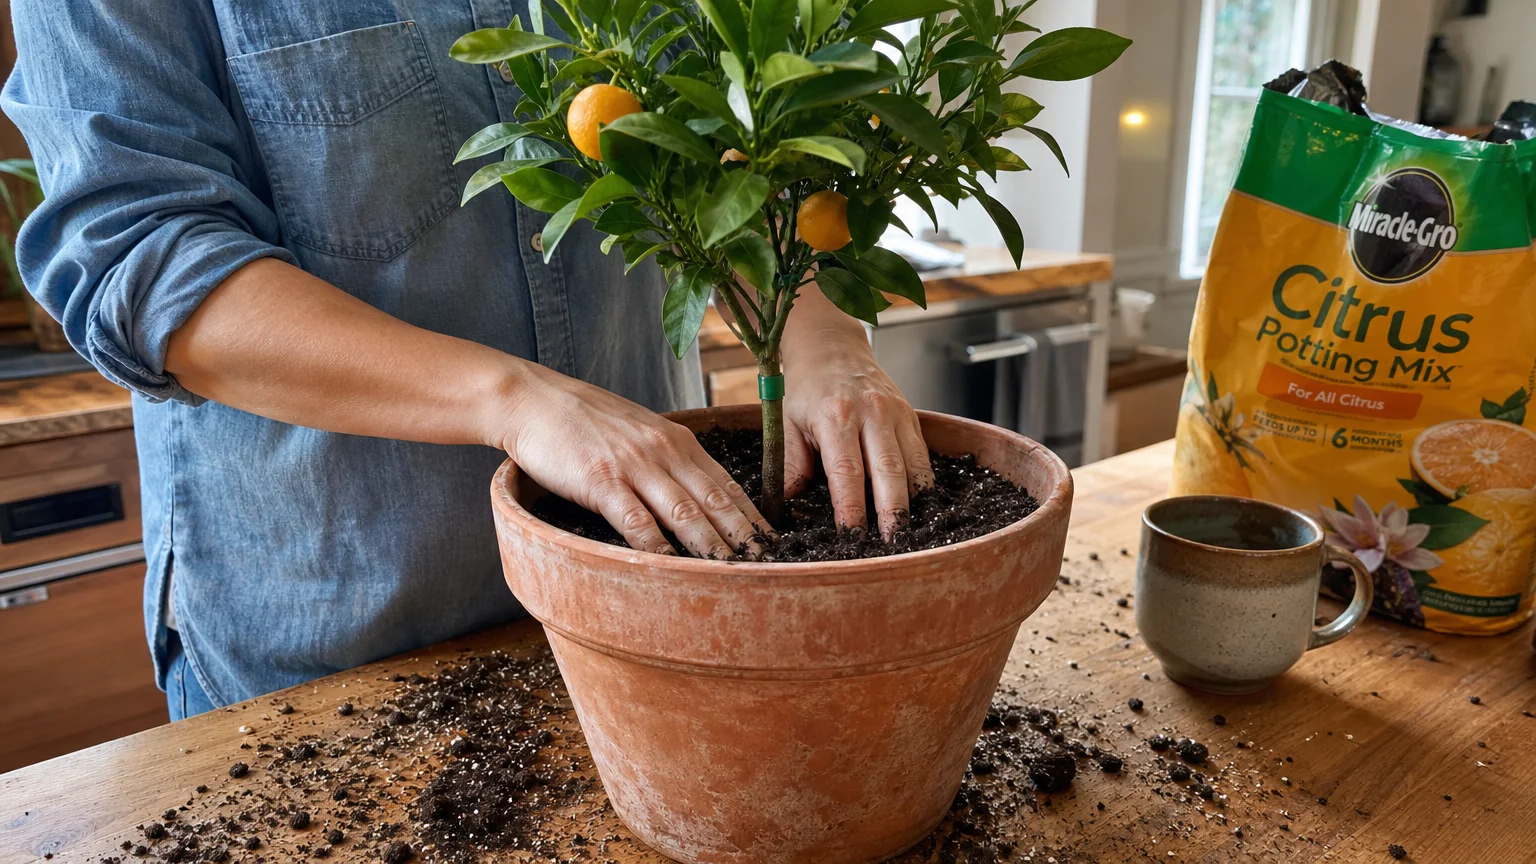
Phase 2: Proper Potting and Drainage Setup
Prepare your workspace by laying down a plastic tarp. Inspect your chosen pot to ensure it has at least one large drainage hole. If the pot rests directly on the floor, place a heavy-duty plastic saucer underneath to protect your flooring from water damage. Fill the bottom third of the container with your specialty potting mix. Gently remove your fruit plant from its nursery pot, massage the root ball to loosen any circling roots, and center it in the new container. Fill the remaining space with soil, tamping it down lightly. Ensure the soil line rests about an inch below the rim of the pot to prevent overflow during watering.
Phase 3: Installing Lighting and Climate Control
Position your plants in the sunniest location available—typically a south-facing or west-facing window. Even in bright rooms, winter sunlight often falls short of the 6 to 8 hours these plants demand. Install a supplementary full-spectrum LED grow light directly above the canopy. Maintain a distance of 12 to 18 inches between the light source and the top leaves to avoid heat stress. Plug the lights into a smart timer, setting them to run for 12 hours a day. Maintain standard room temperatures; keep plants far away from drafty exterior doors and direct blasts from HVAC heating vents, which rapidly strip moisture from the leaves.
Phase 4: Watering and Hand-Pollination Routine
Watering schedules vary based on the season and your home’s humidity. Insert your moisture meter into the soil every few days. Only water when the top two inches of soil read as completely dry. When you do water, soak the pot thoroughly until excess moisture drips into the drainage tray—then empty that tray immediately so the roots do not sit in standing water. Once your plants begin to bloom, you must step in to ensure fruit development. Lightly swirl your small paintbrush inside the center of an open blossom, collecting the yellow pollen, and then gently brush it inside the adjacent flowers. Repeat this process every couple of days while the plant is blooming.


Leave a Reply
You must be logged in to post a comment.