The American House

  • Home
  • DIY
  • Garden
  • Tips & Tricks

9 Homes Features That Feel Outdated To Younger Buyers

May 13, 2026 · Home
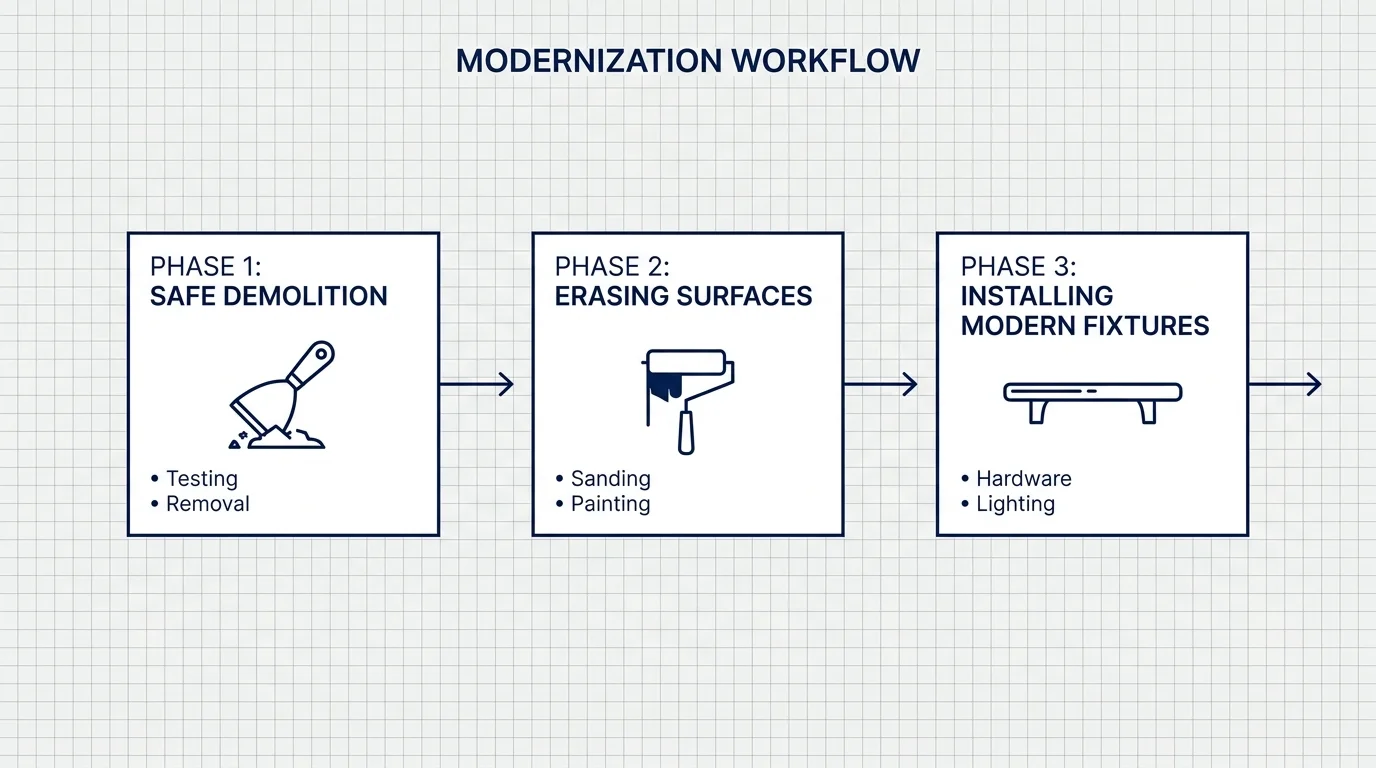
A horizontal flowchart showing the three phases of home renovation: Demolition, Surface Erasing, and Fixture Installation.
Follow this modernization workflow to transform outdated features through demolition, surface preparation, and new fixtures.

Step-by-Step Instructions

Updating your home requires a strategic approach. Start with the messiest projects first, so you do not accidentally ruin your fresh paint jobs or new flooring later. Work room by room if you currently live in the house, or tackle tasks by category if the property sits empty.
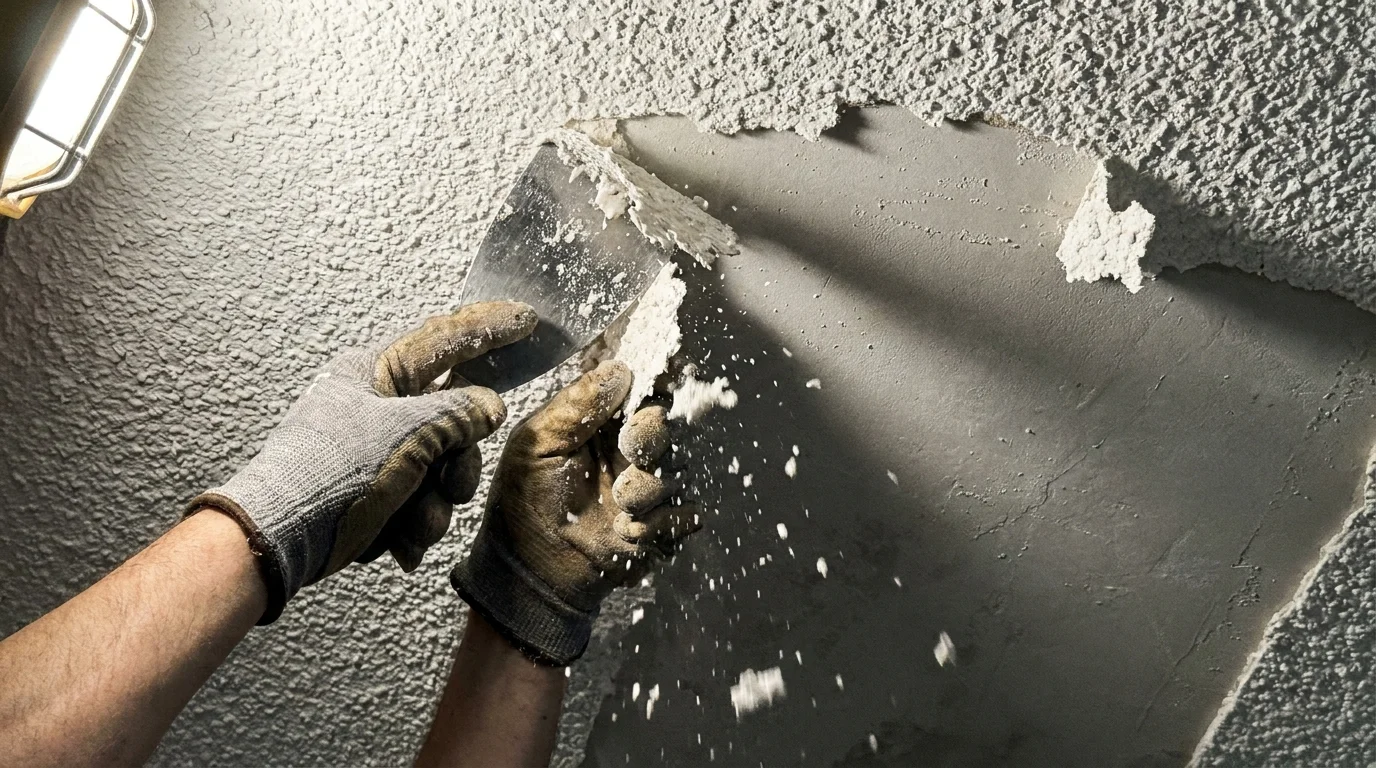
A close-up of a gloved hand using a metal scraper to remove a popcorn ceiling texture.
Scraping away outdated popcorn ceiling texture is the first step toward clearing the canvas for modern design.

Phase 1: Safe Demolition and Clearing the Canvas

Begin by removing the visual clutter that blocks natural light. Take down all heavy window valances, ornate drapery, and rusted curtain rods. Patch the drywall holes immediately with a lightweight spackle, sanding them smooth once dry. Next, tackle the flooring. If you are removing wall-to-wall carpeting, use a utility knife with a fresh blade to slice the carpet into manageable three-foot strips. Roll the strips up and secure them with duct tape for easy disposal. Use a heavy pry bar and pliers to carefully pull up the wooden tack strips around the perimeter of the room, taking care not to damage the baseboards. Sweep and vacuum the exposed subfloor thoroughly.

If your asbestos test returns negative, you can safely remove your popcorn ceilings. Protect your floors with thick plastic drop cloths taped securely to the baseboards. Fill your pump sprayer with warm water and a few drops of dish soap. Work in small, four-foot sections. Spray the ceiling lightly and wait fifteen minutes for the water to dissolve the underlying joint compound. Slide your wide drywall knife at a shallow angle along the ceiling; the popcorn texture should fall away like wet oatmeal. If you encounter heavy resistance, the ceiling may have been painted over in the past. Painted popcorn ceilings resist water and often require professional drywall skimming to cover the texture safely.
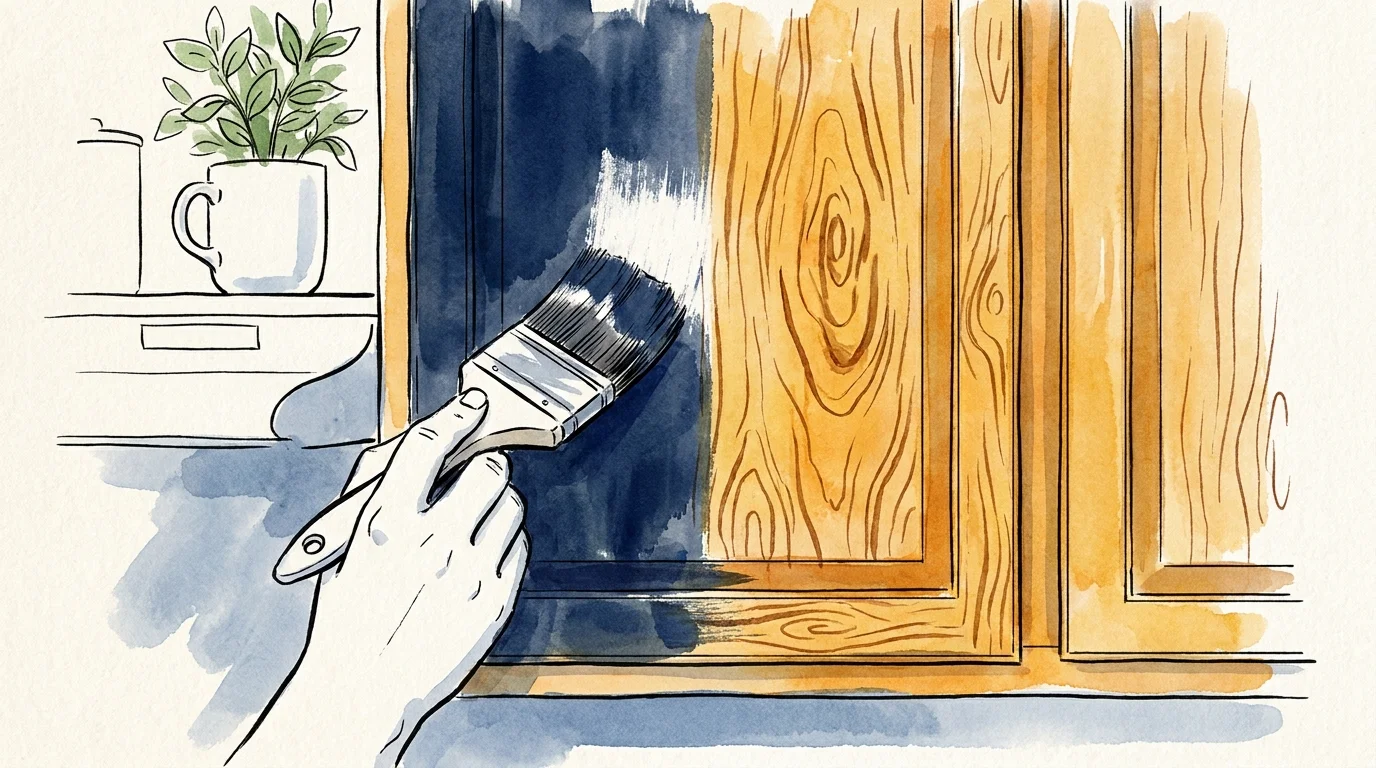
An illustration showing a kitchen cabinet being painted navy blue to cover outdated honey oak wood grain.
A hand applies a fresh coat of dark blue paint to modernize these outdated wood cabinets.

Phase 2: Erasing Outdated Surfaces

With the demolition complete, shift your focus to neutralizing outdated paint jobs and heavy wood tones. To eliminate faux Tuscan sponging or deep, aggressive wall colors, you cannot simply roll standard latex paint over the wall. The texture and dark pigment will flash through. First, sand the walls lightly with a pole sander to knock down any raised paint edges left by the sponge or rag rolling. Wipe the walls completely free of dust. Apply one solid coat of a high-hiding stain-blocking primer. Once dry, roll on two coats of a modern, neutral flat or matte wall paint to absorb light and hide any lingering drywall imperfections.

Updating honey oak cabinets demands patience. Remove all cabinet doors and drawer fronts, labeling the back of each piece with a piece of painter tape so you know exactly where it goes later. Clean every surface aggressively with your degreaser to remove decades of cooking oils and hand oils. Lightly sand the doors with 120-grit paper to scuff the glossy clear coat. Apply your shellac-based primer, brushing in the direction of the wood grain. Wait two hours, sand lightly with 220-grit paper, and wipe away the dust. Finally, apply two thin, even coats of your urethane enamel paint. Keep the doors laying flat while drying to prevent unsightly paint drips from running down the recessed panels.
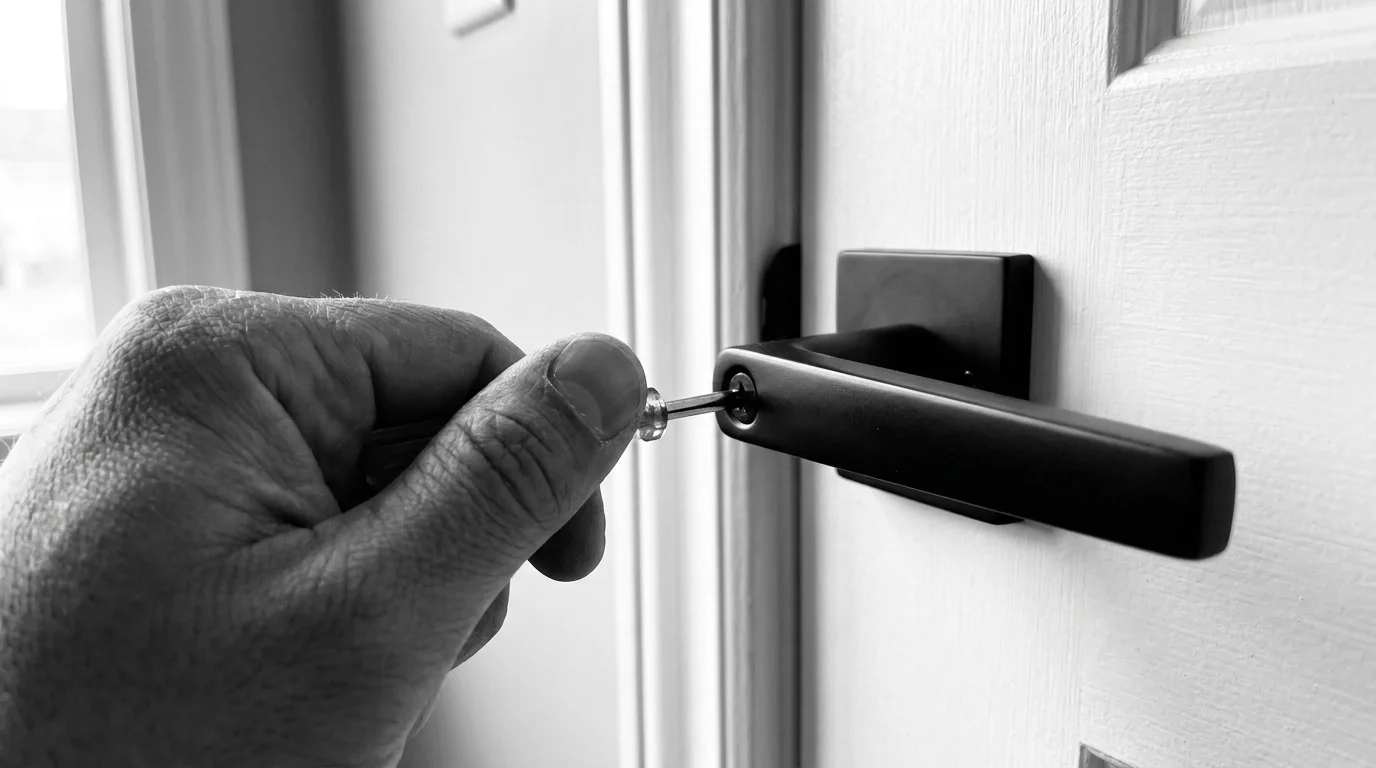
A close-up of a hand installing a modern matte black door handle on a white door.
A hand uses a screwdriver to install a sleek matte black handle for a modern home upgrade.

Phase 3: Installing Modern Fixtures and Hardware

Swapping out outdated brass hardware provides an immediate visual reset. If your new cabinet pulls feature the exact same hole spacing as the old ones, installation takes mere minutes. If you are switching from single-hole knobs to wider pulls, use your plastic hardware template to mark the exact location for the second hole. Drill straight through the wood, holding a scrap piece of wood tightly against the back of the door to prevent the drill bit from splintering the interior face of the cabinet. Attach the new matte black or brushed nickel handles securely.

Replacing builder-grade dome lights dramatically improves both the look and functionality of your space. Always prioritize safety: locate your main electrical panel and completely shut off the breaker controlling the room you are working in. Do not rely merely on the wall switch. Climb your ladder and use your non-contact voltage tester near the light fixture to verify the power is genuinely dead. Remove the old fixture by unscrewing the mounting canopy and untwisting the wire nuts. Have a helper hold the new, modern flush-mount or pendant fixture while you connect the wires. Match the colors—connect the black house wire to the black fixture wire, the white wire to the white wire, and wrap the bare copper ground wire tightly around the green grounding screw on the metal mounting bracket. Twist new wire nuts onto the connections, tuck the wires neatly into the junction box, and secure the new fixture to the ceiling.

Pages: 1 2 3 4 5 6 7 8

Share this article

Facebook Twitter Pinterest LinkedIn Email

Leave a Reply Cancel reply

You must be logged in to post a comment.

Latest Posts

  • A stylized screenprint illustration of a cozy craftsman bungalow house nestled safely inside a giant pair of protective hands. The State-by-State Guide to Senior Property Tax Relief Programs Updated for 2026
  • A cozy living room corner featuring a rich sage green accent wall behind a cognac leather armchair and wooden side table. 10 Accent Colors That Will Still Look Right in a Decade
  • A sunlit living room corner featuring a dual-tone accent wall painted in sage green and terracotta peach behind a mid-century modern chair. 20 Color Combination That Works in North-Facing, East-Facing, and South-Facing Rooms
  • A close-up of bedroom bedding layers featuring terracotta linen, a green velvet throw, and a cream boucle pillow. 8 Bedroom Textile Combinations That's Been All Over Design Instagram This Year
  • The 7 Pantone 2027 ‘Sense-Abilities’ Palettes: Which One Belongs in Your Home? The 7 Pantone 2027 'Sense-Abilities' Palettes: Which One Belongs in Your Home?
  • A warm, sunlit living room featuring a matte dusty lilac wall that absorbs glare, styled with a cream boucle lounge chair. 7 Surprising Colors That Works in South-Facing Rooms When Nothing Else Does
  • A luxurious bathroom with glossy emerald green and midnight blue vertical tiles behind a warm oak wood vanity with brass fixtures. Bathroom Tiles in Deep Emerald and Midnight Blue: The Bathroom Trend of 2027
  • A luxurious modern living room featuring a dramatic floor-to-ceiling Calacatta marble fireplace accent wall with bold charcoal veining. 9 Statement Stone Feature Walls With Dramatic Veining Worth Copying
  • Ink and watercolor illustration of a cozy craftsman house protected by a warm glass dome, shielding it from cold autumn winds. The Little-Known Property Tax Freeze Programs available to Retirees
  • Low-angle shot of a living room with a pale blue-gray ceiling and low-profile furniture under bright natural light. 9 Ceiling Paint Colors That Make Rooms Feel Bigger

Related Articles

Durable flooring

5 Durable Flooring Options That Will Last You a Lifetime

Durable flooring means economical flooring. Ready to save some money? Installing new floors is an…

Read More →
plant-destroying habit

6 Plant-Destroying Habits You Should Stop Repeating

3. There’s too much light Do you have too much light at home? That might…

Read More →
gallery wall

9 Gallery Wall Ideas for Any Blank Wall in Your Home

3. Use Ceramics to Shake up a Gallery Wall Hanging plates is a creative way…

Read More →
Indoor plants, low-light

10 Best Indoor Plants That Reduce Respiratory Problems

3. Peace Lily The peace lily does an excellent job of preventing many respiratory and…

Read More →
eliminate slugs

7 Natural Ways to Eliminate Slugs from Your Garden

Get ready to discover some effective DIY methods to eliminate slugs! Most of us might…

Read More →
attic

15 Efficient Ways to Repurpose Your Attic

Converting your attic into a usable living space is a wonderful way to maximize your…

Read More →
rodent

Why Rodent Infestations Are Worse During Winter

This time of the year, you’d rather stay indoors. Well, so do rodents such as…

Read More →
kitchen

9 Awful Kitchen Decorating Trends Designers Can’t Wait to Leave Behind in 2022

3. Marble countertops Despite the fact that marble is a natural stone and looks pretty…

Read More →
plants attract mice

WARNING: These 5 Plants Attract Mice to Your Home!

Did you know that these popular plants attract mice to your home? Yes, plants attract…

Read More →

The American House

Inedit Agency S.R.L.
Bucharest, Romania

contact@theamericanhouse.com

Trust & Legal

  • Privacy Policy
  • Terms and Conditions
  • Do not sell my personal information
  • Subscribe
  • Unsubscribe
  • Contact
  • Request to Know
  • Request to Delete
  • CA Private Policy

Categories

  • DIY
  • Expert Tips
  • Garden
  • Tips & Tricks

© 2026 The American House. All rights reserved.