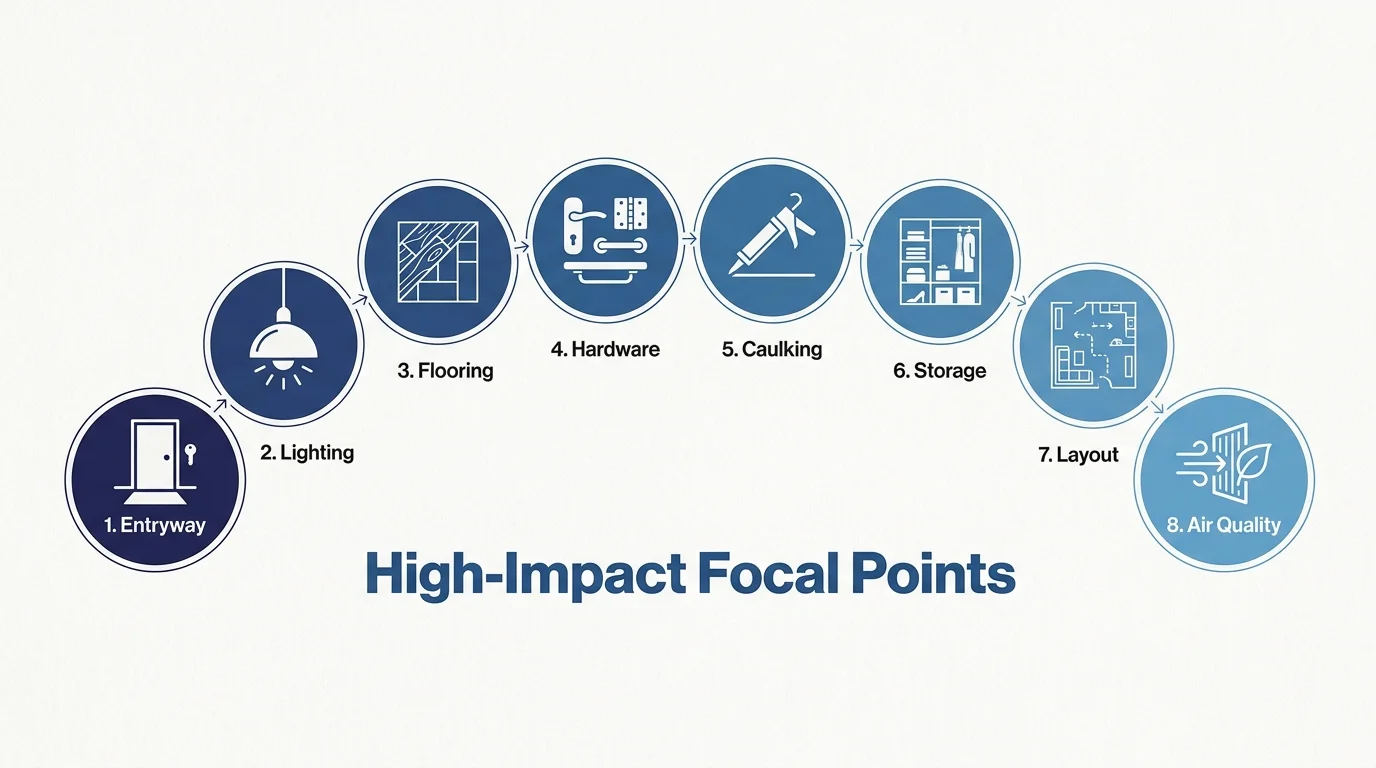
Step-by-Step Instructions
Preparing a house for the market is a methodical process. By moving systematically through these eight features, you ensure every square foot of your property actively works to justify your asking price. Follow these steps to optimize the areas buyers scrutinize most.
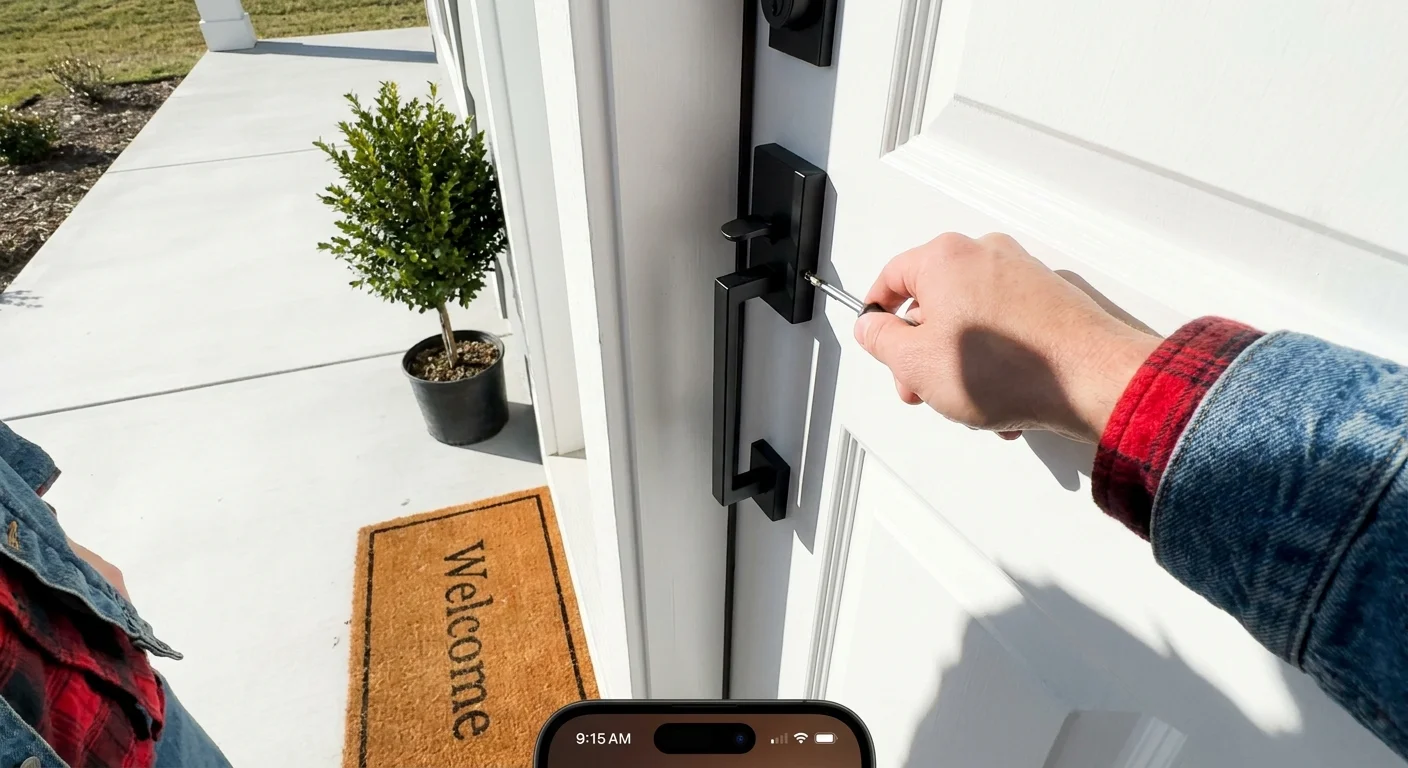
Step 1: Revitalize the Front Entryway (Feature 1)
Curb appeal establishes the baseline expectation for the rest of the tour. A buyer’s first tactile experience with your home is opening the front door, so this area must be flawless. Thoroughly pressure wash the front walkway, porch, and exterior siding to strip away years of embedded dirt. Apply two coats of a bold, contrasting exterior paint—such as deep navy or classic black—to the front door. Polish the entry hardware, install fresh house numbers, and place a pristine welcome mat at the threshold. Always verify that your doorbell functions correctly; buyers inevitably test it while waiting for the lockbox to open.

Step 2: Maximize Illumination and Lighting (Feature 2)
Dimly lit rooms feel cramped and unwelcoming. Your goal is to flood the space with both natural and artificial light. Begin by removing heavy, dark drapery and replacing it with sheer panels or cordless blinds that expose the full architectural height of your windows. Wash all interior and exterior glass to ensure maximum sunlight penetration. Next, replace every single light bulb in the house with matching energy-efficient LEDs. According to Energy Star guidelines, consistent color temperatures eliminate harsh shadows and make rooms feel expansive. Replace rusted or era-specific chandeliers with inexpensive, transitional fixtures featuring clean geometric lines.
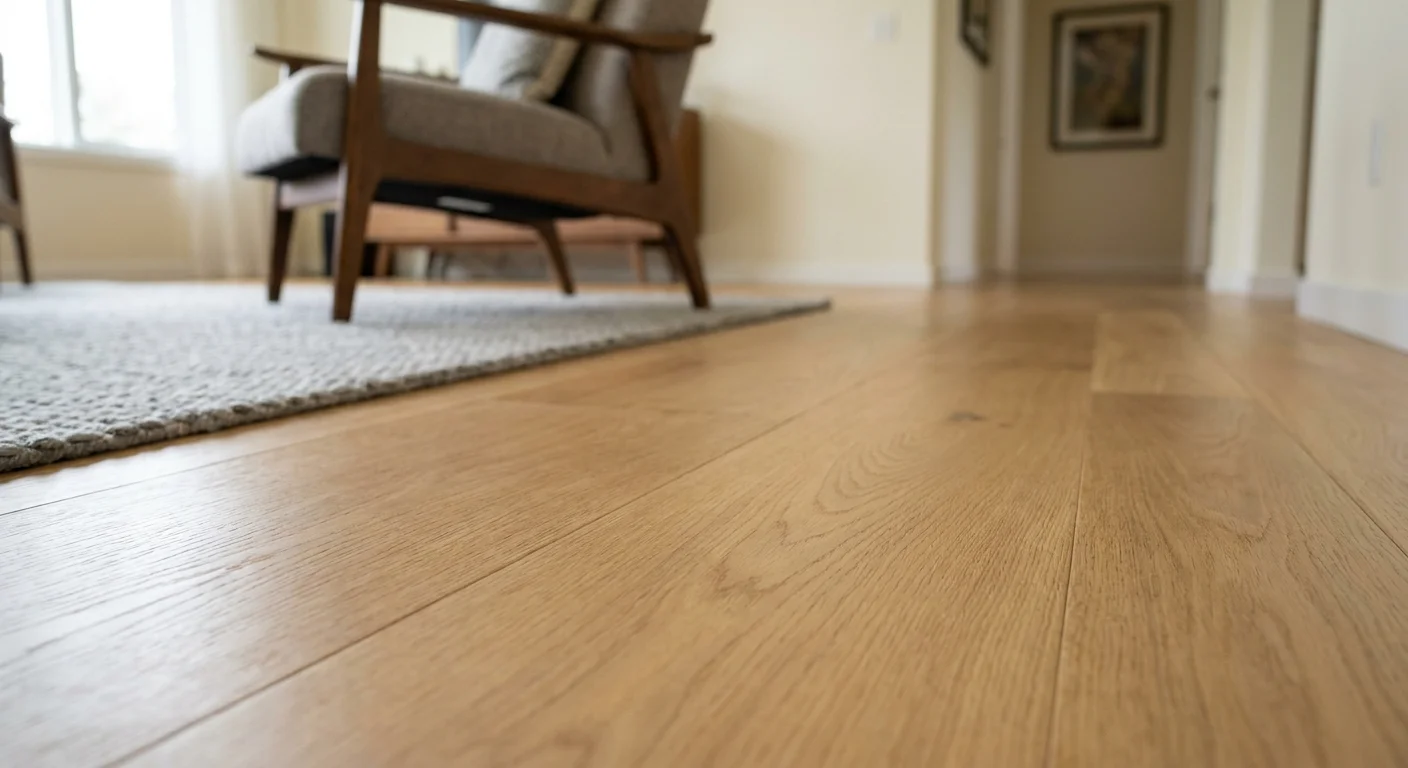
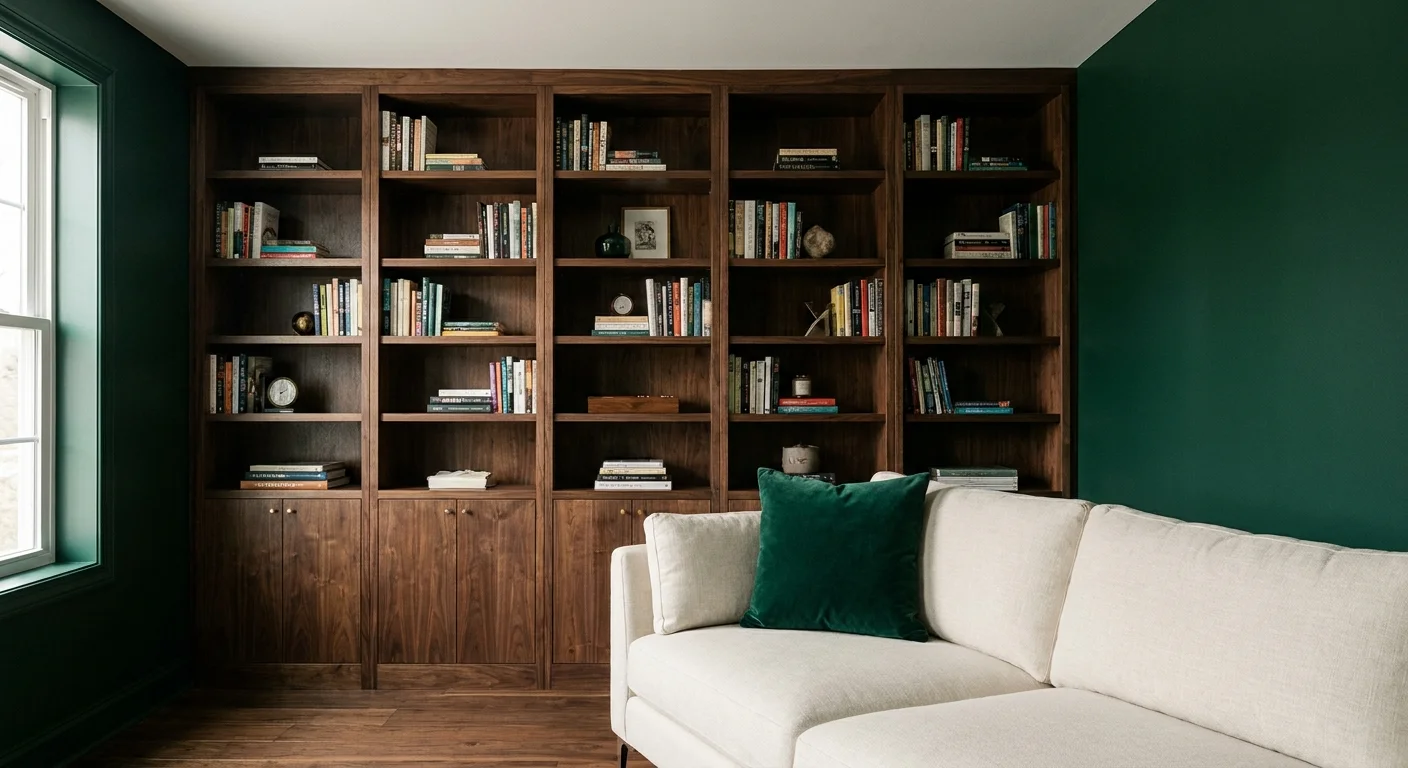
Step 3: Establish Flooring Consistency (Feature 3)
Buyers immediately look down when they walk into a new room. Choppy flooring transitions—where hardwood meets linoleum, which then meets carpet—disrupt the visual flow and make the house feel smaller. If completely replacing the flooring is outside your budget, focus on intensive restoration. Hire professionals to steam clean all carpets and stretch out any wrinkles. Use restorative wood polishes to mask superficial scratches in hardwood. If a bathroom features severely dated vinyl, consider installing luxury vinyl plank (LVP) directly over it; LVP is a cost-effective, waterproof solution that significantly modernizes the space.
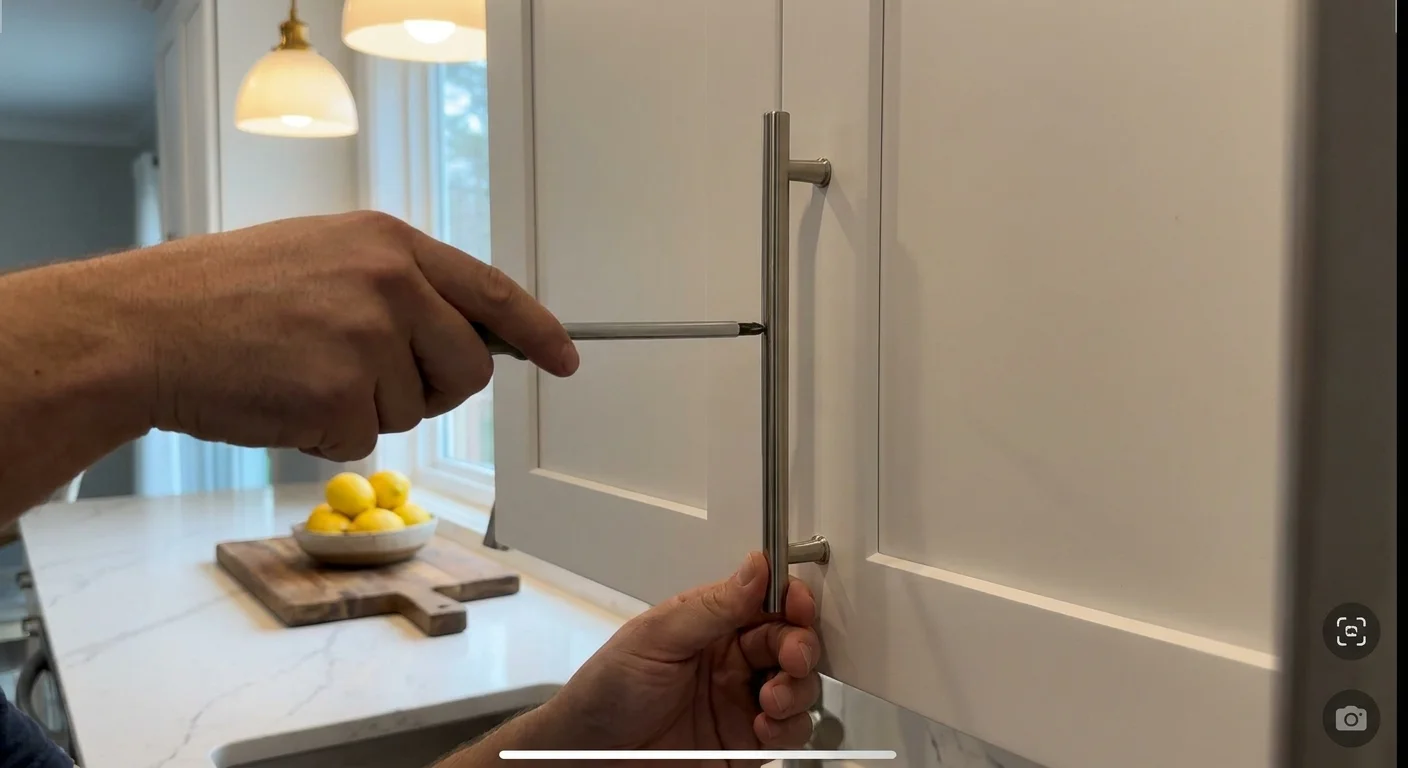
Step 4: Modernize Kitchen Countertops and Hardware (Feature 4)
The kitchen serves as the emotional center of the home, and buyers heavily weigh its condition when drafting an offer. You do not need a complete demolition to make an impact. Start by clearing absolutely everything off the countertops except for one or two decorative items, which artificially expands the perceived prep space. Swap out tarnished, builder-grade cabinet knobs for sleek brushed nickel or matte black pulls. If your countertops are heavily scratched laminate, consider a specialized epoxy resurfacing kit to mimic the look of natural stone at a fraction of the cost. Ensure every cabinet hinge is tightened so doors close silently and evenly.
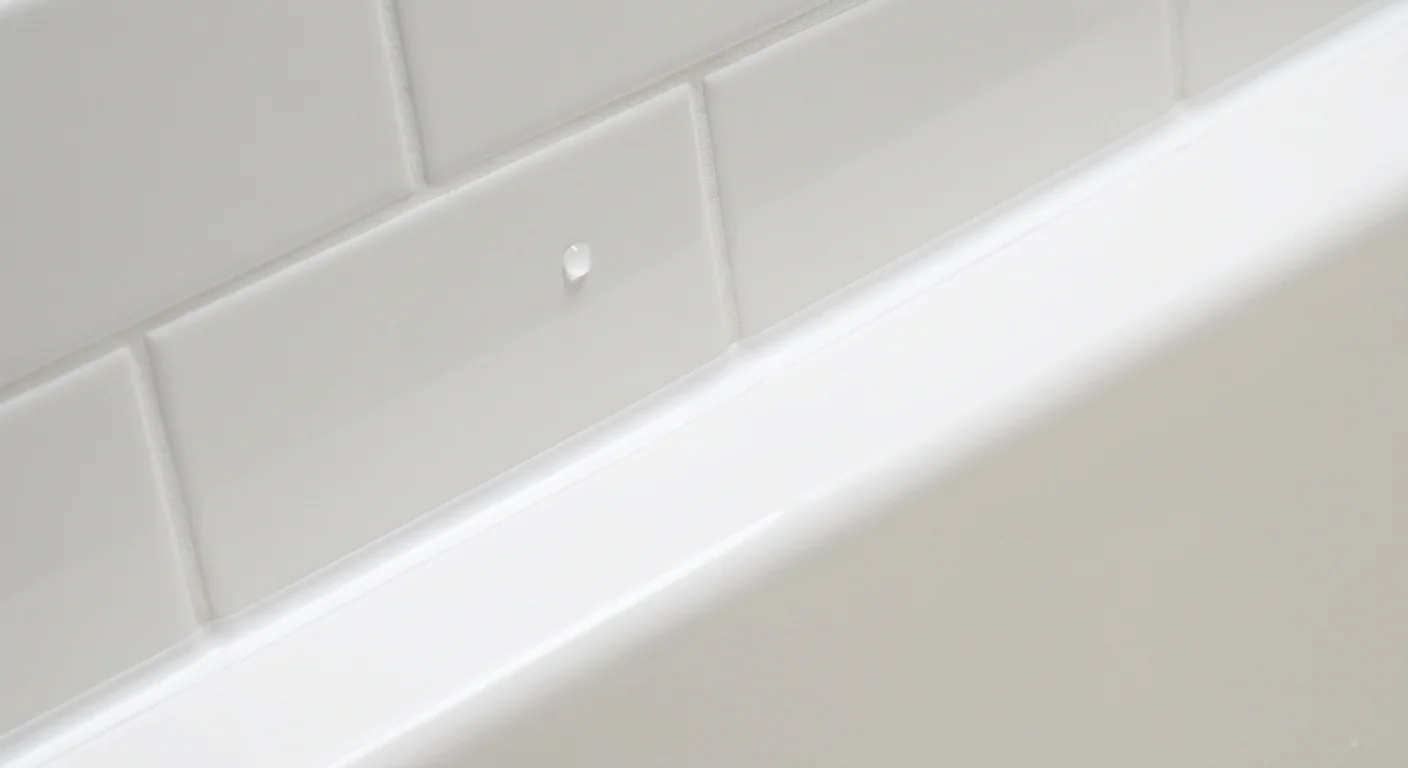
Step 5: Perfect Bathroom Caulking and Grout (Feature 5)
Bathrooms trigger intense hygiene evaluations from prospective buyers. Even a microscopic speck of mildew on shower caulking can kill a sale. Strip out all old, discolored caulk around the bathtub, shower pan, and sink using a sharp utility knife and a caulk removal tool. Clean the joint thoroughly with a bleach solution and allow it to dry completely. Apply a fresh bead of bright white, mold-resistant sanitary silicone. Scrub the floor tile grout with a stiff brush and an oxygenated bleach cleaner until the original color returns. This highly affordable maintenance step instantly shaves years off the visual age of your bathrooms.
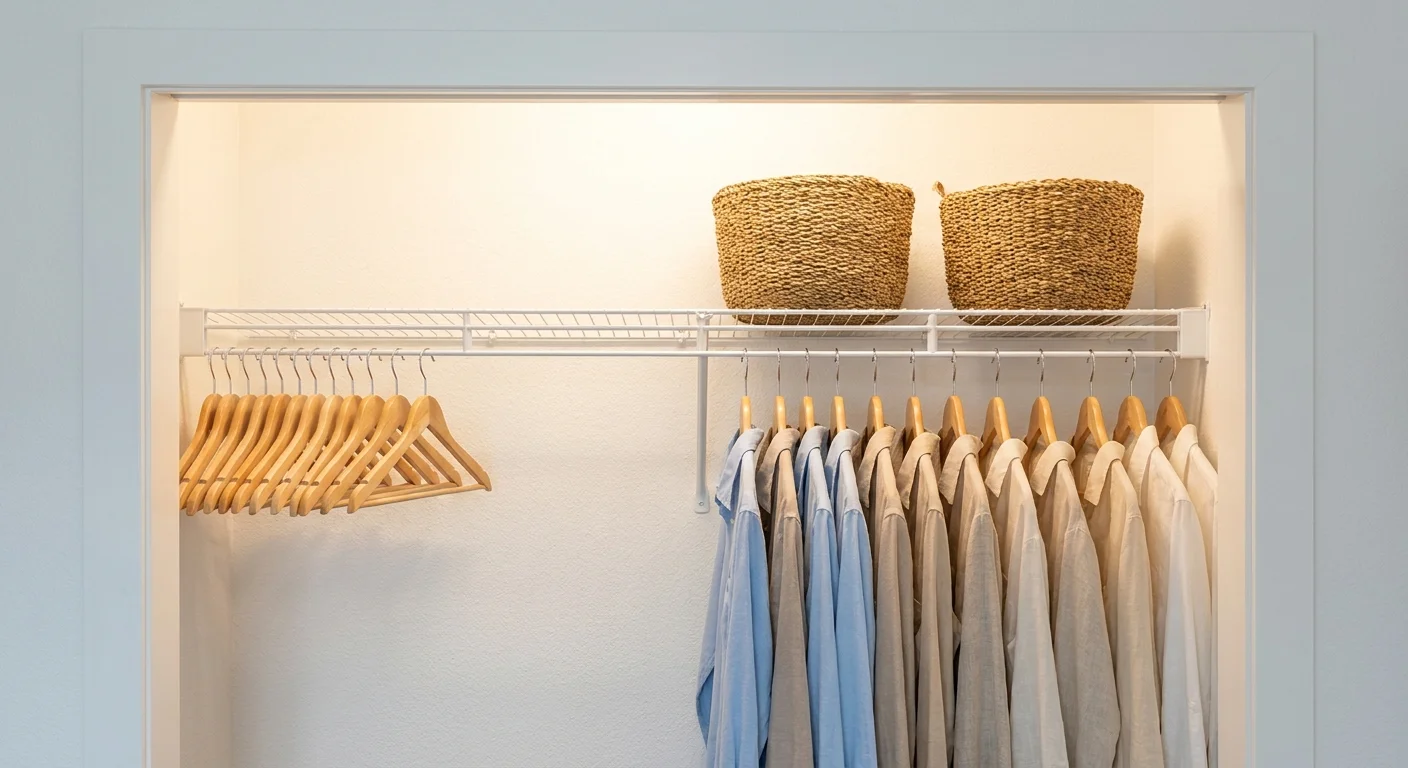
Step 6: Optimize Storage and Closet Capacity (Feature 6)
Ample storage is a premium commodity. Buyers will open every closet, pantry, and cabinet in the house to assess capacity. If your closets are stuffed to the brim, buyers will assume the house lacks adequate storage. Remove exactly fifty percent of your clothing, linens, and personal items, packing them away in an off-site storage unit. Organize the remaining items using uniform hangers and matching storage bins. Ensure the floor of every closet is completely clear; seeing the baseboards creates an optical illusion of greater depth and square footage.

Step 7: Enhance the Structural Layout and Flow (Feature 7)
Navigability dramatically impacts how spacious a home feels. Bulky furniture creates frustrating bottlenecks that make rooms feel claustrophobic. Execute strategic layout adjustments by removing oversized sectionals, extraneous side tables, and unnecessary area rugs. Pull your remaining furniture a few inches away from the walls; this staging technique—known as “floating” the furniture—creates breathing room and highlights the actual dimensions of the space. Ensure there is a clear, unobstructed three-foot walking path through every major room and hallway.
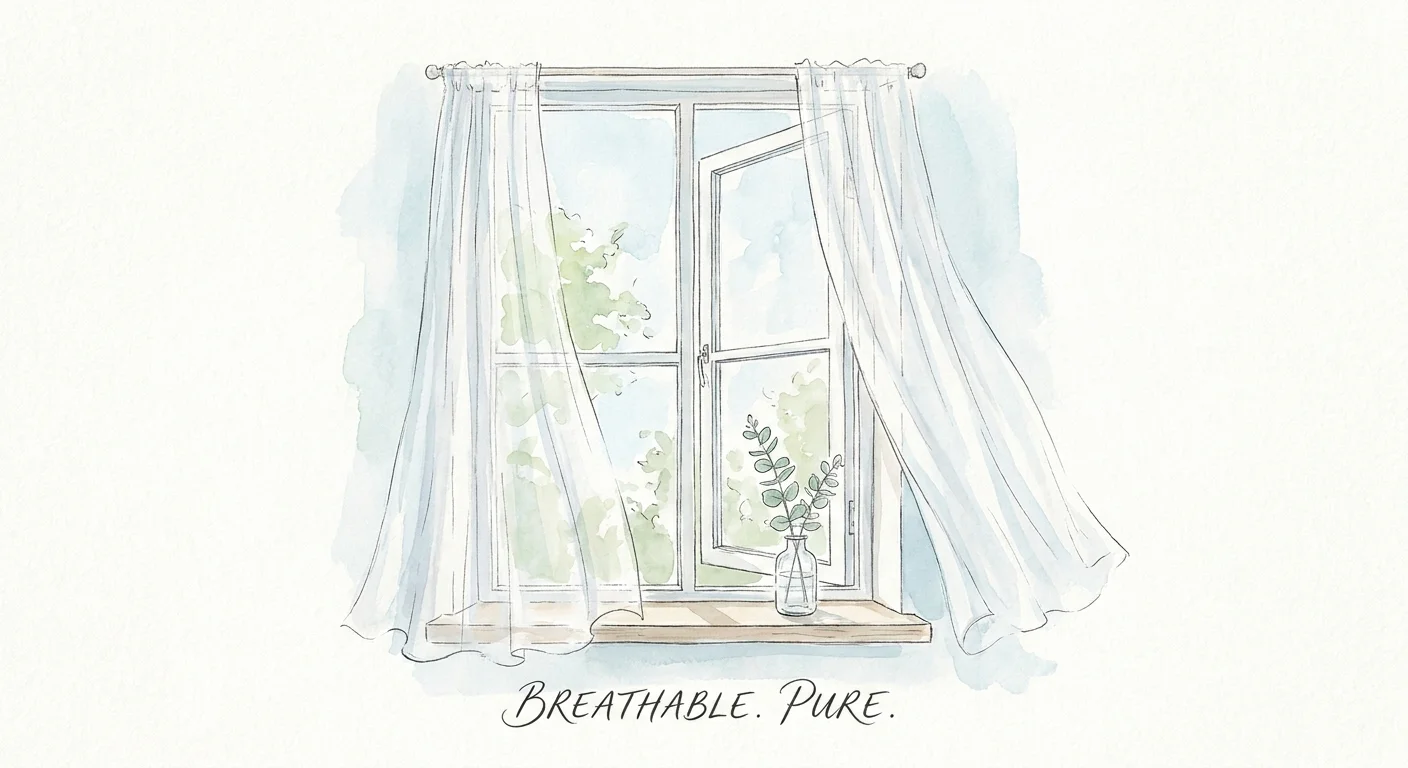
Step 8: Neutralize Odors and Improve Air Quality (Feature 8)
The scent of a home is an invisible but incredibly powerful feature. Heavy air fresheners, pet smells, or lingering cooking odors signal to buyers that they will need to invest in extensive deep cleaning. Instead of masking odors with overpowering candles, focus on elimination. Change out all HVAC filters to improve system efficiency and trap airborne dust. Wash all soft surfaces, including throw pillows, curtains, and pet beds. During the showing season, avoid cooking pungent meals and consider running a HEPA air purifier to keep the indoor atmosphere crisp and neutral.


Leave a Reply
You must be logged in to post a comment.