How Do YOU Clean Your Fireplace?
We all love that feeling of relaxing on the couch by a fireplace, hearing that crackling sound as we enjoy a glass of wine. But your enjoyment may be cut short if you haven’t cleaned out that fireplace since you moved in!
Cleaning a wood or coal-burning fireplace is crucial to maintain a clean and fresh look of this home feature and ensure fire safety in your home. When your fireplace is clean inside and out, it’s much more pleasant to sit beside it during those cold winter evenings.
Besides that, it’s much easier to maintain a cheerful fire in a fireplace when it’s clean and free from ash and unusable logs.
Another thing to consider is that clogged chimneys with soot and creosote buildup can lead to terrible fire accidents, which may be easily avoided if your fireplace cleanups are carried out by professional chimney servicemen regularly.
As difficult as it might sound, cleaning your fireplace won’t take too much time and effort. But, because the process can get rather messy, it’s still necessary to develop a particular method to make it more effective.
So, if you want to clean your fireplace the hassle-free way, follow these 10 steps to achieving better results in less time. It shouldn’t take you more than 20 minutes to get it in top shape, excluding the chimney sweeping, obviously.
…Keep reading to see our amazing tips!

Step One
Most professionals recommend that you wait 72 hours after the last fireplace burning session before starting any fireplace cleanups.
But if you’re not going to perform a complete cleaning, including the chimney, you can wait a day or so after you’ve burned your last fire so that the ashes cool down thoroughly. Safety First! You need to protect yourself, your arms, and your clothes.
We suggest you get an apron on and protect the floor and maybe even surrounding walls with some plastic tarp, as to not ruin your carpet or wooden floors. Now come the cleaning supplies.
A spray mix of water and a special fireplace cleanser will make the cleaning process way faster and the final result will be much more impressive. You also won’t get too far without a brick scrubbing tool.
You can purchase a fireplace cleaning brush or a harsh scrub pad as your main tool.
…Continue reading for some specific chemicals to use in this process.
Step Two
Did you know that you can use lots of household cleaners on your fireplace? Keep in mind that even though Ammonia works well as a cleaner, it may be harsher on brick fireplaces. Oven cleaners can also be a perfect solution.
They can work very well if you have a lot of built-up material in your fireplace. But if you want a cleaner specifically for fireplaces, you can browse your local hardware store. These may be less rough on your fireplace.
For example, fireplace cleaners like Quick n’ Brite are perfect. You just need to dilute it before use. Collect all your tools and bring them over to the fireplace. Place a comfortable kneeling mat in front of it. Put on rubber gloves not to get your hands grimy.
Extract all logs, old wood flinders, and the grate and put them away on the plastic cloth or in a bin bag. Keep the wood you can still burn. Send others to the trash.
…Next up, some great tips on removing ash without everything getting dirty in the process.
Step Three
A great tip is to scatter a bit of used coffee grounds over the ashes to prevent them from getting everywhere during the cleanup. But, you don’t have to get rid of wood ashes unless they start smelling odd or interfering with the fire.
Use a fireplace shovel to take out the ashes. Throw them into a small garbage bag and toss them in the trash. If you have a wood-burning fireplace with an ash dump, you’ll have to use a shovel or a poker to push the ashes through the metal grid on the bottom.
Once you’ve gotten rid of most of the ashes, vacuum the leftovers in the firebox and on the hearth. Take a brush and clean down the fireplace’s inner wall. Do the same with the screens once you’re done.
…Let’s pause for a brief moment and talk about the dangers of soot!
Step Four
The simple matter is that creosote buildup is the leading cause of unpredictable chimney fires. And unfortunately, they can burn down your entire house.
So, because both of these substances are highly flammable and extremely hazardous, they should be brushed off regularly.
If you choose to clean the fireplace’s chimney by yourself, you’ll need to wear a respirator, so you don’t get exposed to the harmful substances for an extended period.
You’ll be using a hard-core commercial cleaner explicitly created to clean the soot and smoke stains from fireplace surfaces. Be aware that the areas they sit on are pretty tricky to reach. And residue like this isn’t easy to get rid of.
Our take is that if you use your fireplace once a week during the cold season, you should get an annual chimney exam. And in these circumstances, professional chimney cleanings should be done every other year.
But if you put your fireplace to use more frequently, it’s better to conduct a professional fireplace cleaning once or twice a year. The perfect time to do this is pre-winter.
…And now? Let’s get back to cleaning!
Step Five
After most of your dirty work is done, it’s time to move on to your fireplace’s exterior. If it’s a brick one, spray some water all over the grimy areas. Afterwhich, apply a hearth cleanser of your choice.
If your fireplace is an older version, avoid using any heavy cleaning solutions and stick to water so that you don’t damage the bricks. Clean the exterior with a clean scrubbing brush, and splash with some water. When finished, use a soft cloth to dry the area.
To clean any iron surfaces, spray them with some hearth cleaner, take it off with some plain water, and pat till the area is dry with a microfiber cloth or some paper towels.
Marble and stone finishes can be easily cleaned with water and dish soap mix and dried with any ordinary cloth.
…To make this task easier, just do one section at a time.
Bonus Tips
If you start with one wall and then move on to the next one once you’ve finished, you’ll make much less of a mess and run into fewer problems. To begin cleaning the walls’ outside, take your heavy-duty cleaning solution and spray it all over the area you’re about to clean.
Be sure to respect the manufacturer’s instructions on the bottle in order to use that particular cleanser the proper way. To enhance its effect, spray it onto the wall and let it sit there for about 15 minutes before beginning the scrubbing part.
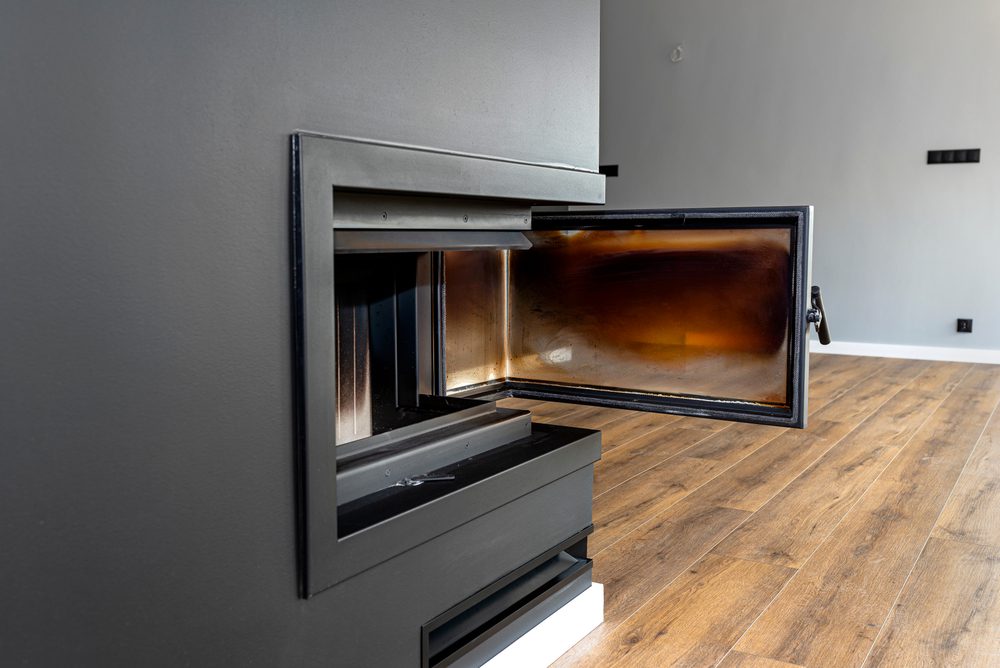
If your particular fireplace has glass doors, treat both their sides with a hearth cleaner or effective glass cleaning spray. Working with one panel at a time may also be easier. Just don’t forget to wipe the cleaning liquid off the glass before it dries up.
This way, you ensure that you won’t leave any streaks. To polish your fireplace tools and grates, lay them onto the plastic cloth, apply hearth cleaner and wipe them with disposable paper towels.
…To finish cleaning your fireplace, add some new logs and your grate, and enjoy the warmth!

Takeaway
Now, all that’s left for you to do is to clean up all the mess you’ve made! Fold up the plastic cloth, collect the garbage bags you’ve used and toss them in the trash. Close the doors, set the screen, and take a look at your handy work!
Enjoy your sparkling-clean fireplace for at least a couple of days before turning it into the ashy mess all over again. You probably already know this, but be sure to use water to drown a fire for emergencies ONLY. Fires in a fireplace should be left to burn out naturally.
If you were to douse the fire with water, the ashes would turn into a wet paste, becoming very difficult to clean. Only use water in the event of an emergency. Call emergency services instantly if a fire starts in your home.
And even when you think you have a fire under control, professional firefighters should examine your home to ensure the fire is completely out.
…If you liked this post and would like some more great tips from us, we also recommend: 6 Durable Kitchen Materials That Will Last Forever


Leave a Reply
You must be logged in to post a comment.