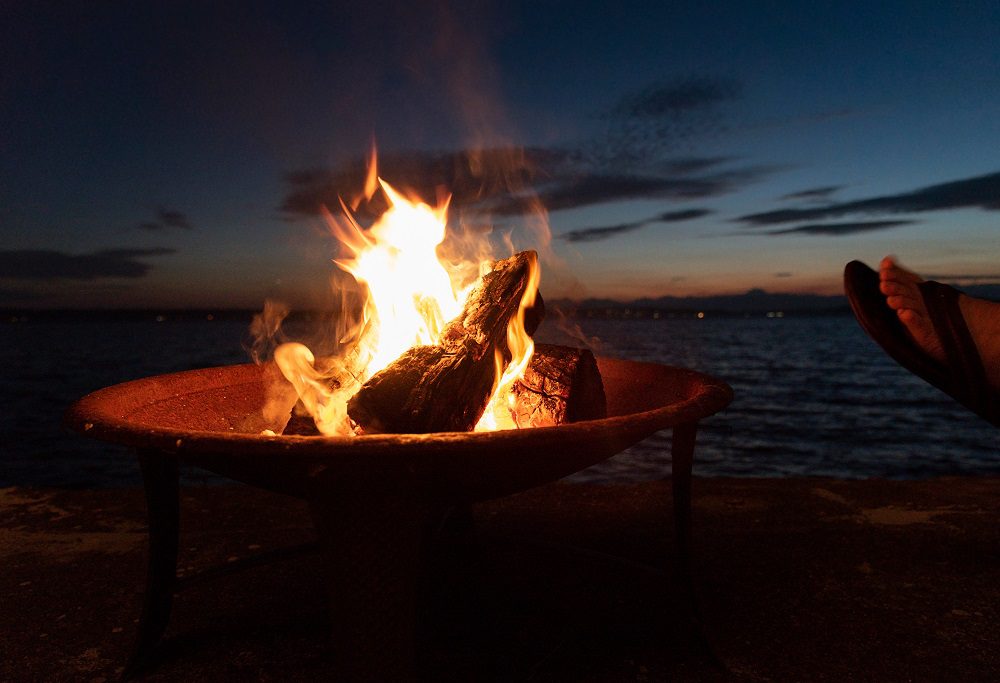
Did you think it was impossible to build a fire pit by yourself?
Maybe you have decided to spruce up your backyard, or maybe there is a sunken park on your patio that you want to repurpose. There are a lot of reasons why you would want a fire pit in your yard! After all, it gives you a perfect way in which you can extend the outdoor season into the cooler months, and you can always enjoy a quiet time together with friends and family around one.
It may seem pretty hard to attempt to build one yourself, but you’re going to be surprised just how easy it is, and anyone, even beginners, can attempt it. All you will need are a few materials and tools and about two days of your time to make it happen.
Let’s be honest, having a fire pit in your garden is the safest way in which you can gather around the fire, and, despite not being at a cabin in the woods, you can still share the lovely atmosphere that would be created there with your family. Not to mention, it will be the perfect way in which you can tie up a garden party with your closest friends!
Read along as we teach you how to make the most amazing DIY fire pit, and let us know if you have attempted it yourself!
Materials you will need
The tools you will need are pretty basic, and if you’ve ever tried to do anything as a personal project, you may just have all of them lying around already. Otherwise, you will definitely have them lying around the garden, and you can easily find the ones you need at any hardware store around town.
Tool-wise, you will need: a tape measure, a string, a stake, a shovel, a rake, a wheelbarrow, a tamper, a level, and a mallet. These are simple tools that you will find useful even after you have completed your DIY fire pit project!
As for the materials, they are easily found at a hardware store or anywhere you can get some building materials. You will need some spray paint, gravel, modular retaining-wall units, coarse concrete sand, concrete adhesive, plastic or aluminum edge restraint, and optionally some pavers.
Some regular materials and, with the help of a friend to gather them all, you can finally start your project!
Fire pit making step 1: Outline the place
You will need to make sure that you have the area in which you want the fire pit to go clean of any extra debris and potential leaves, as you do not want them to make your job harder than it should be. After you make sure of that, measure the area of your fit to be about 12 feet in diameter on a flat surface.
You can also choose to make it bigger or smaller, depending on how you want it to look at the end and the dimensions of your backyard. If the area you chose is not flat enough, try to level it out a few days ahead so you know it will be flat and won’t deform after you’re done building.
After you make the site of your pit, take the stake and place it in the middle of the area you have. Then you are going to use part of the string to attach the spray paint can to the stake. This will help you draw a perfect circle around the area, which you can later use as a template for your pit.
It may seem unnecessary, but spray painting the shape is way easier than trying to do it by eye, and it will ensure you don’t end up with a funky shape or the fire pit being oval instead of circular.
Afterward, all you need to do is dig out the dirt inside the circle to about 18 inches deep!
Fire pit making step 2: Create a level base for it
After you have your pit done, you will have to make a level base for it so you can later build your structure upon it. If your spot ends up not being as level as you intended at first, this is the moment where you can make sure you correct any of these mistakes, so your fire pit can be straight, and there are no issues of spilling coal around.
Take the gravel and fill part of the pit with it, raking it smooth after and tamping it down to make sure everything is smoothly spread around and compact. You can do this in one coat of 6 inches or in several ones. Just make sure you check that each one is leveled.
Then take the coarse sand and spread a layer of it on top, repeating the tamping and leveling process again!
Fire pit making step 3: Create the inner portion of the retaining walls
Use the same method as earlier in order to draw an inner circle guide for the base of your retaining walls! This will ensure that your retaining wall units will end up being spaced well and that they will have the shape you desire. It’s an added step that will make sure you don’t make any mistakes or that you don’t end up creating any anxiety for yourself.
After all, it’s a DIY project, and we can always make sure to double-check. If you planned to use a fire ring, this step would be where you place it inside the painted circle and make sure it fits well.
Fire pit making step 4: Build your first layer of the walls
Place the first layer of your retaining wall units inside the painted circle carefully, making sure to follow the pattern, and making use of the mallet in order to set them in your sand and gravel base. This step is very important as they will be the base of your wall, and you need to make sure they’re properly anchored.
Using the level, make sure you don’t end up with an uneven first wall, checking between each unit you add. This is because once you start adding layers, you will not have it easy if you have to tear everything down because it isn’t leveled.
Fire pit making step 5: Finish the walls
Using the concrete adhesive between your rows, start building up the second layer of retaining units that make up your wall. A lot of fire pits have a groove on the bottom, and they also include a ridge at the top, so it would allow the rows to interlock, but you can choose to make them your own, and they can look however you may want them to.
Make sure all your unit blocks are dry and clean as you add them, and never forget to apply the adhesive. It will be a little bit tricky at first, but after a row or two, you will get the hang of it. Depending on the shape and height of your fire pit, along with how big your retaining wall units are, you may need between two and several rows of them.
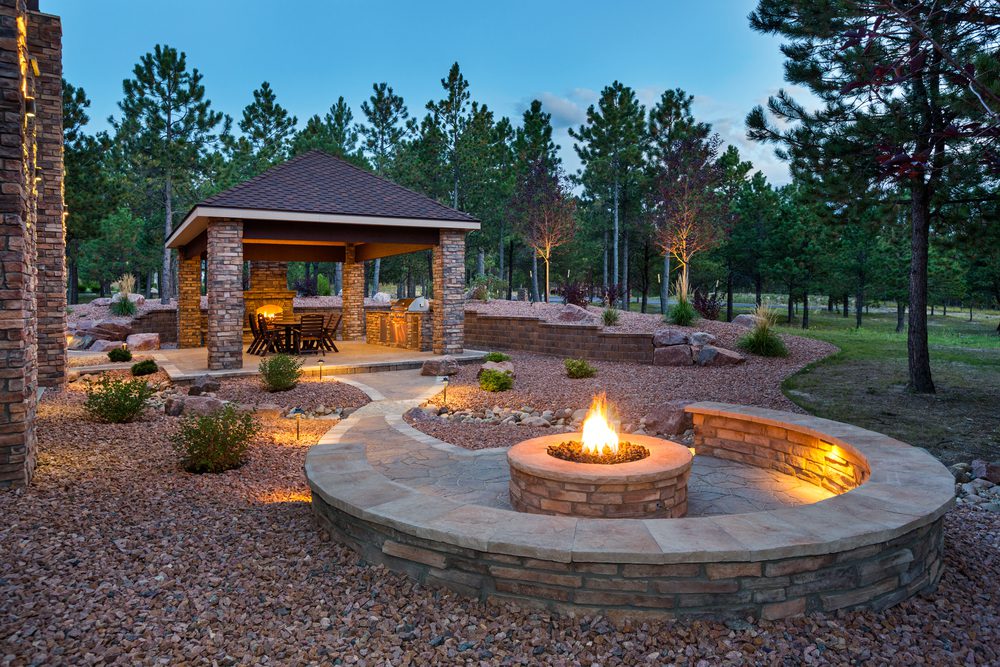
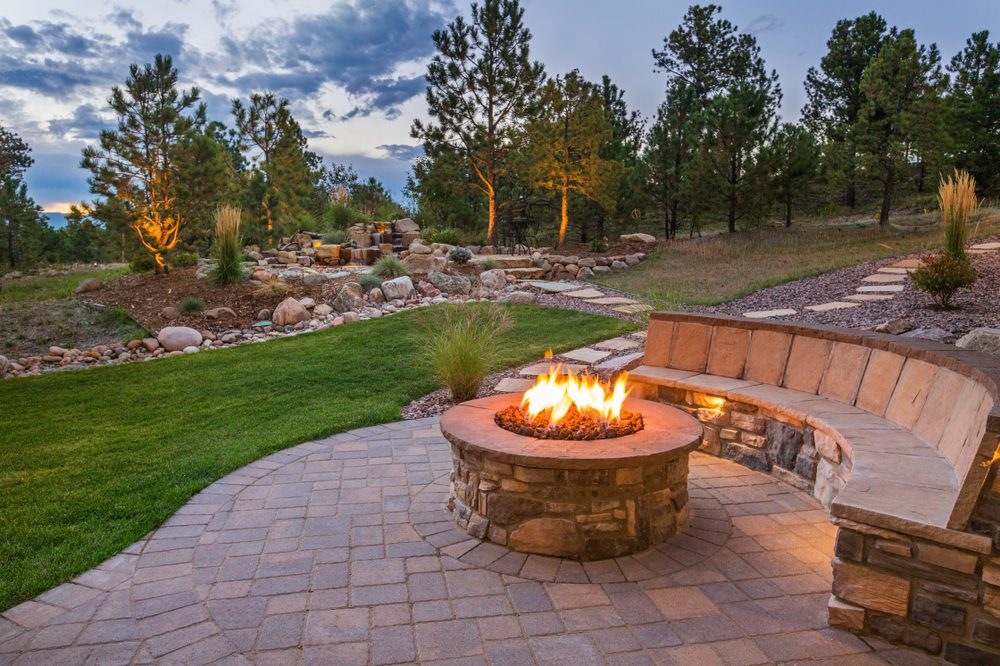
When you are done with the rows, you can glue some finishing pavers on top of everything to give your pit a sleek look and make it look professional. In the long run, it can also double as a ledge! But you can also leave it as is for a more rustic feel. And with that, you’re pretty much done!
Optional: Paving
You can leave your fire pit as is, as with the last step, it is pretty much done. But if you want to add paving around it, you can attempt to do it yourself as well. You will just have to make sure you have enough pavers to cover the area you want, and then take some notes from our pit instructions!
You will have to create a 6-inch gravel base topped with a 1-inch layer of coarse concrete sand, much like the base of the pit. Afterward, you have to lay down all the pavers in the pattern you desire. When that is done, install the plastic or aluminum edge, and sweep concrete sand all between the joints of the pavers until they’re full.
The tricky part will be to compact the whole area. You can either do it with a hand compactor, or you can take the easy way out and rent a plate compactor to do it for you. Whichever way you choose, make sure everything is really well compacted, so that nothing will move around.
And with this, your very own DIY fire pit is done for you and your family to enjoy! You just need to inaugurate it with some smores!
If you want to learn more about other DIYs you can do around the house for fairly cheap, read all about them here!


Leave a Reply
You must be logged in to post a comment.